Home › Forum › Ask A Member › Omc 22 cubic inch 25 hp differences
- This topic has 17 replies, 8 voices, and was last updated 4 years, 10 months ago by
daveh.
-
AuthorPosts
-
November 18, 2019 at 9:50 pm #187483
I have a 69 Evinrude Sportster that I am replacing the powerhead on.
I have acquired a new 387646 replacement powerhead, and I’m in the process of switching things over to it. I have drilled out the hole for the breather bolt at the exhaust cover, so that’s no issue, but I noticed one other thing.
The crankcase openings under the Reed plate are slightly different and I’m not sure that it matters or not.
The 1969 motor has some passages that the newer replacement does not have. Pics attached.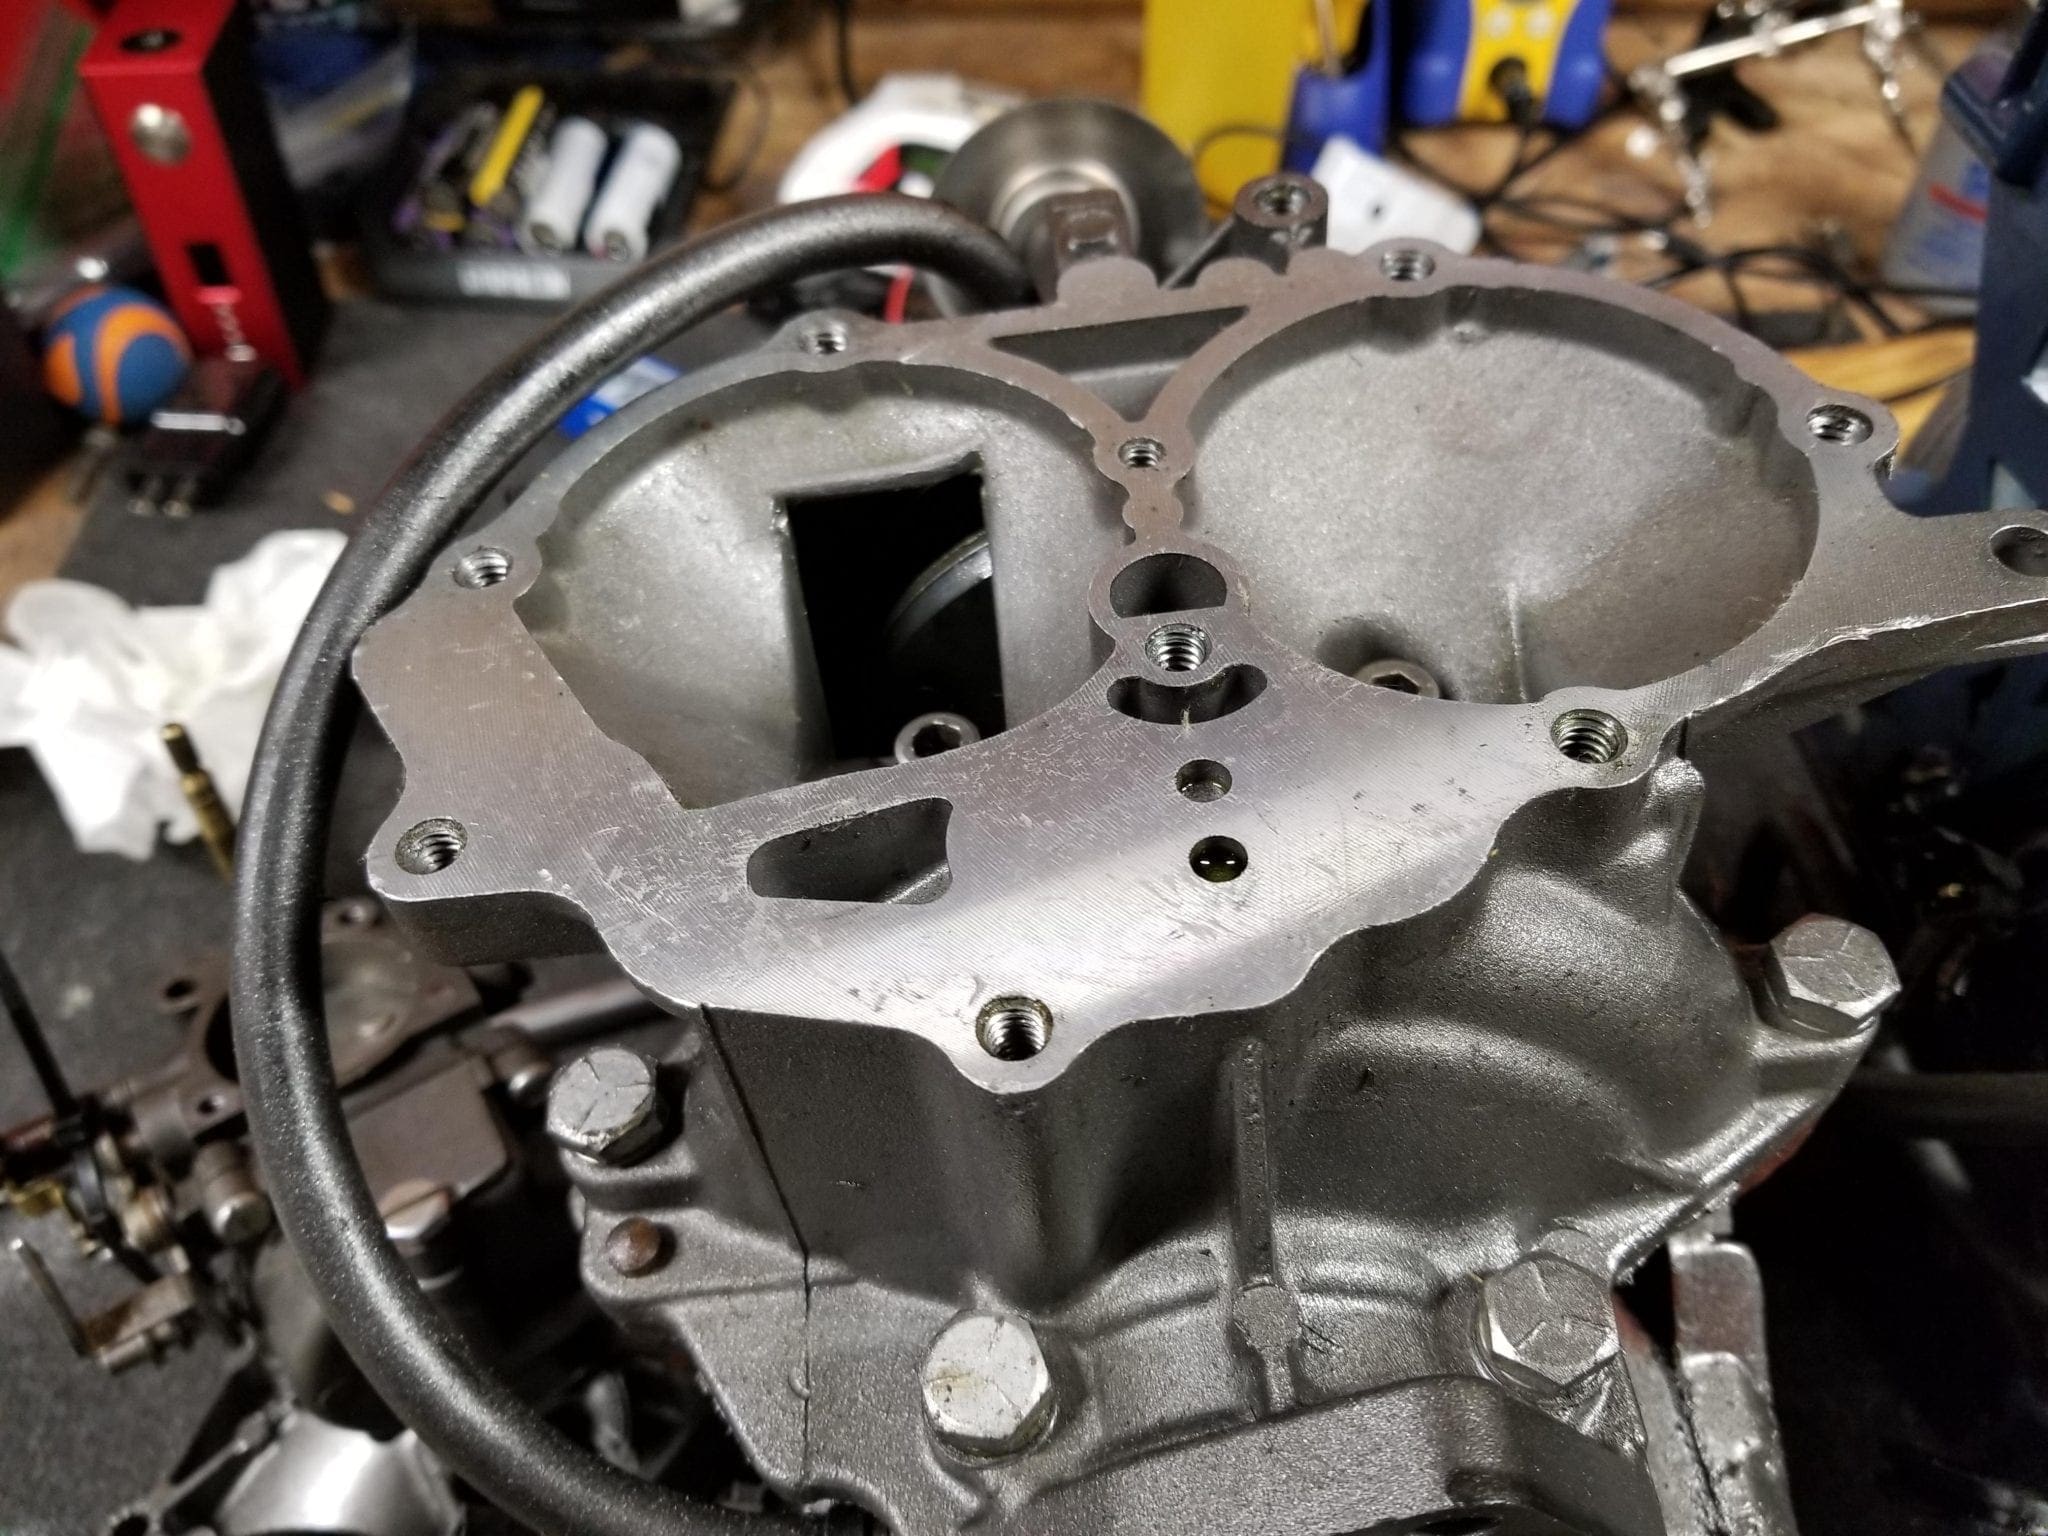
-
This topic was modified 4 years, 10 months ago by
 Mumbles.
November 18, 2019 at 9:54 pm #187489Here is the 1969 motor
November 18, 2019 at 10:04 pm #187493They did away with the puddle drain to protect the environment. ? ? ?
 November 18, 2019 at 10:17 pm #187495
Not really sure.
I mentioned that I drilled the exhaust breather. It was the transfer port cover, not the exhaust cover.
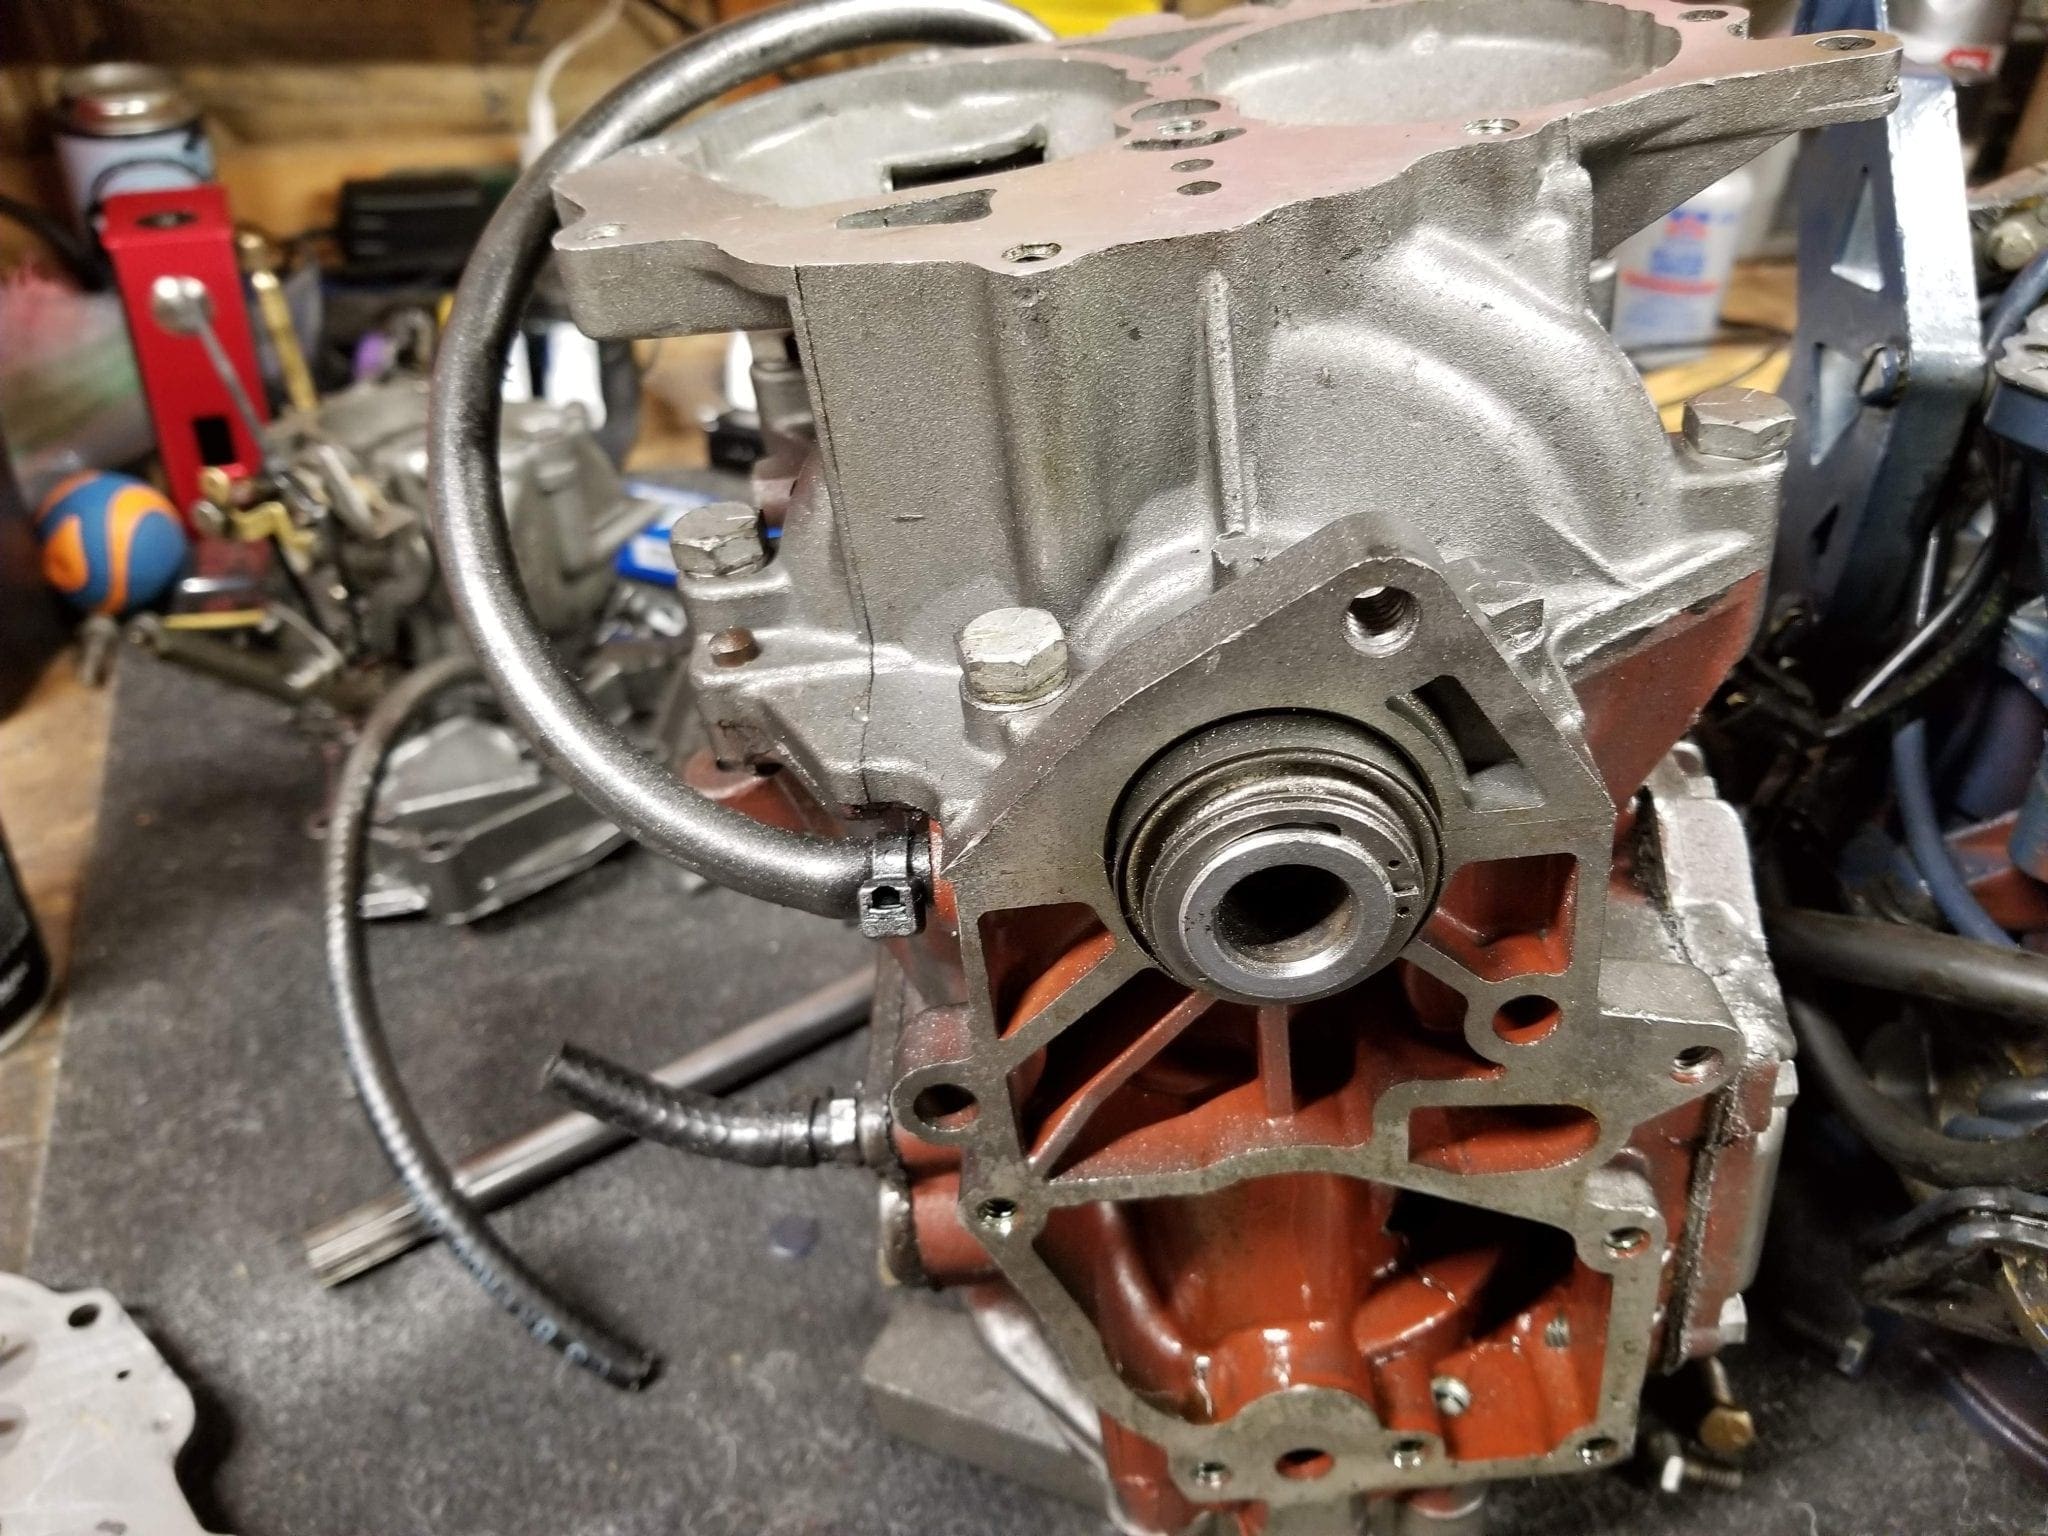
On the 1969 carb manifold, there is an oil breather tube that comes off and goes to the transfer port cover on the side, and from there, it exits into the leg. I do know they changed a few things with that part of it.
I’m just not sure why it’s a bit different under the reeds.
I don’t think it’s gonna make a difference, but I just want to make sure that it wasn’t for oiling or something of that nature.November 18, 2019 at 10:29 pm #187500Garry, you may be right about that.
This may be part of what they did away with around 1972.
I noticed that the passages correlate to some runners going from under the reed plate to the crankcase seam. They are no longer present on the later replacement motor.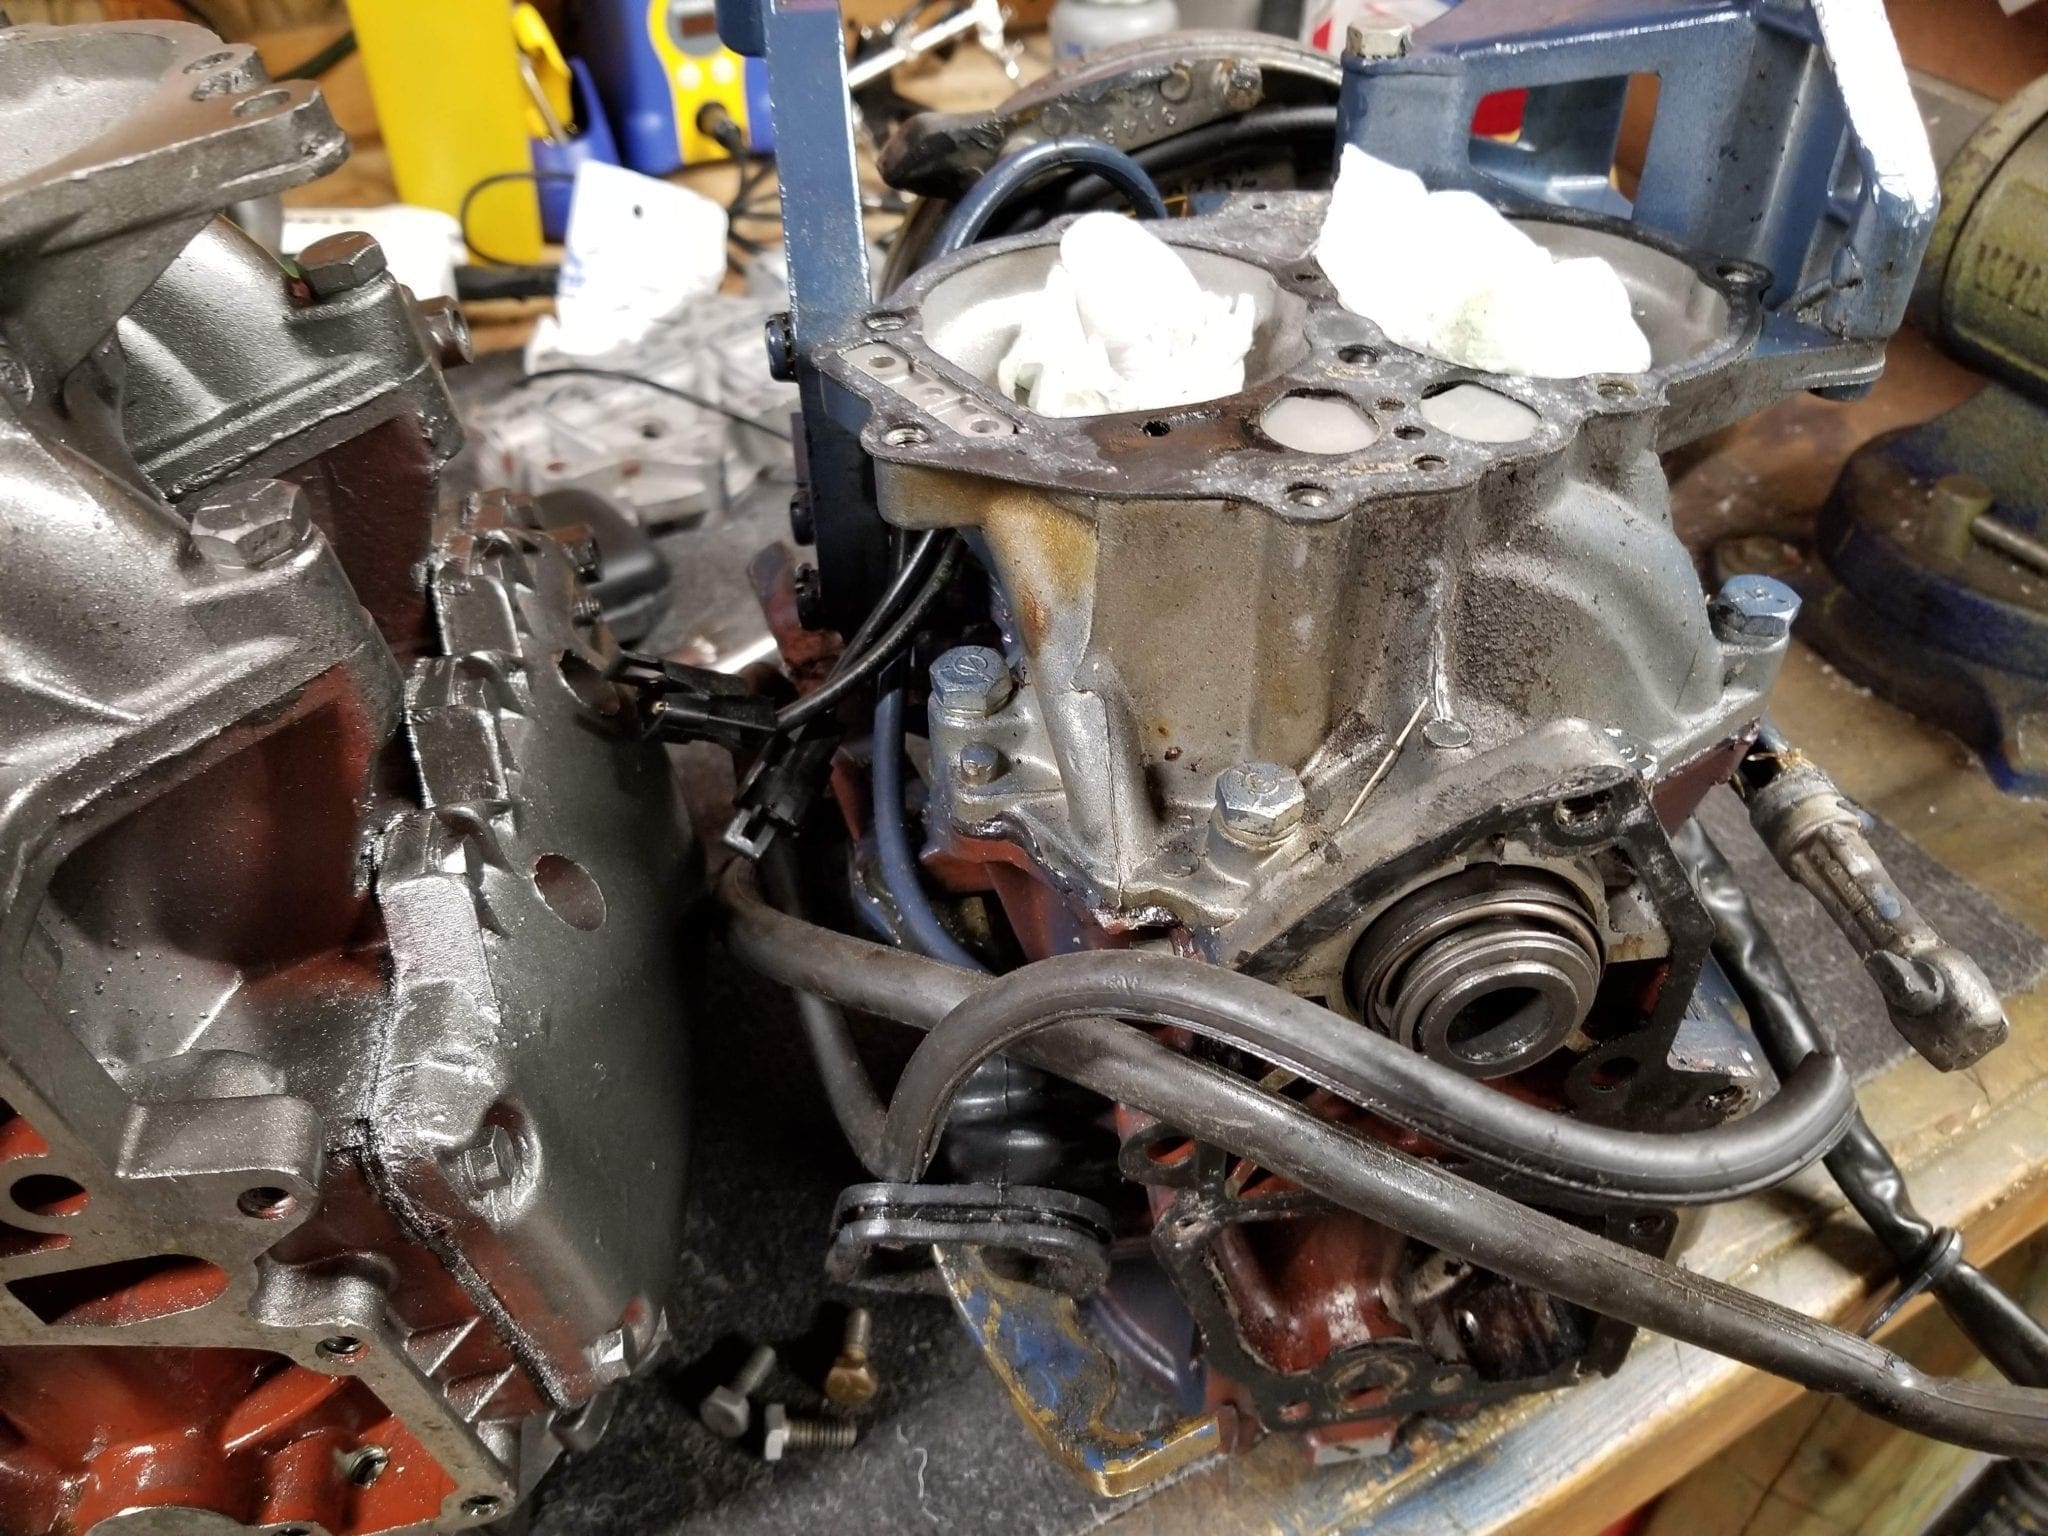
-
This reply was modified 4 years, 10 months ago by Mumbles.
November 19, 2019 at 6:05 am #187511For years, the 22 cu incher had puddle drains that dumped raw fuel near the lower seal. That raw fuel went directly into the lake. But the motors ran great. Then in 1968 the puddle drains were re-routed to dump into the hot exhaust stream, via a hollow bolt in the lower bypass cover. That was supposed to burn or evaporate some of the drainage to keep it out of the lake. It sort of worked. Then in 1971 the drains were re-routed again to a fitting in the upper bypass cover and into the upper cylinder for burning. The immediate result was complaints from customers that traded their old motor in for a new one. The new one didn’t idle worth a hoot in comparison. The drainage made the upper cylinder run rich. Adjust the mixture leaner and the lower cylinder would lean sneeze. Meanwhile, while all this was happening, some of the crankcase drillings and passages were eliminated which increased the puddle effect, also making the motors run worse.
It appears you are draining your new powerhead through the 1968-69 hollow bolt. That is about as good as you are going to get it. It will still suffer from puddling because of the lack of crankcase drainage, which you probably will notice if you troll a lot..
Don’t worry about the powerhead oiling. That will not be affected.
Remember when cars also ran crappy during that era due to “smog controls”?
-
This reply was modified 4 years, 10 months ago by
 frankr.
November 19, 2019 at 9:07 am #187521I put a side by side comparison of your powerheads to file away in case
I run into the same issue in the future. Let us know how it runs when all done!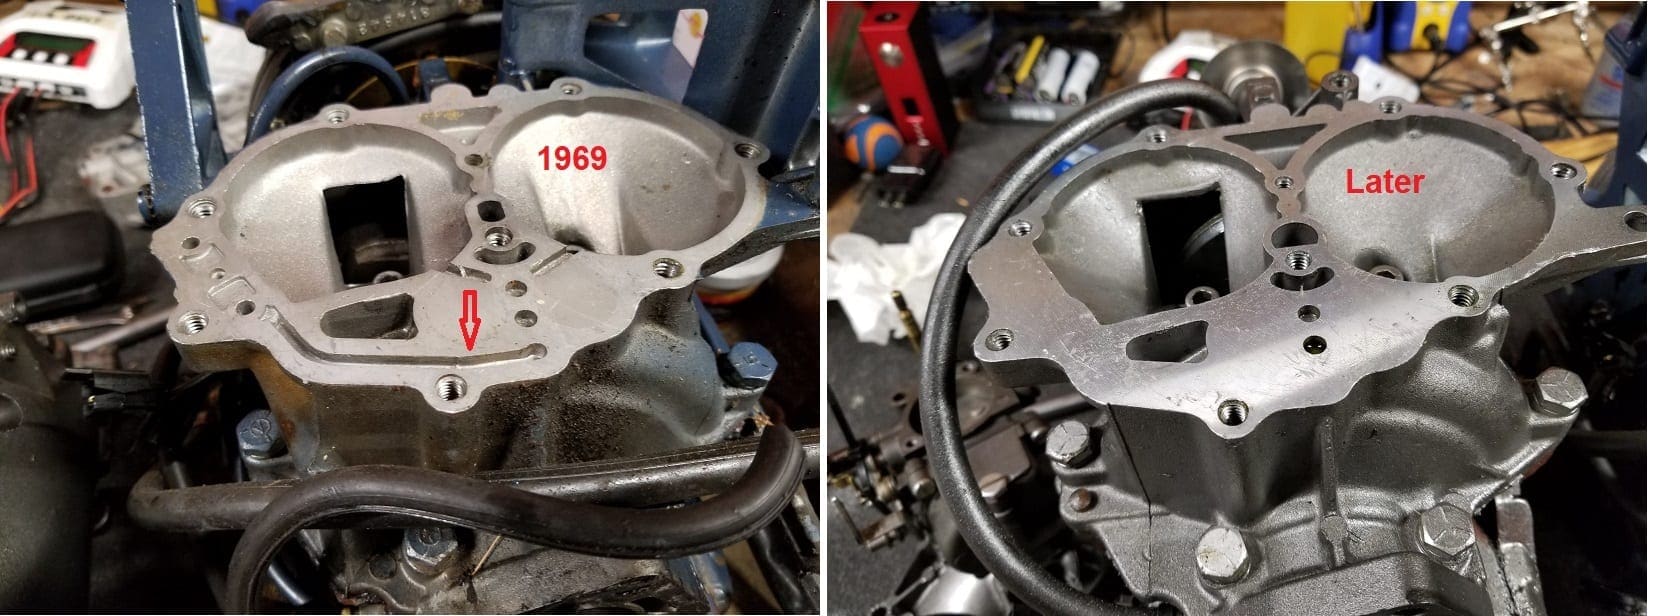
Prepare to be boarded!
November 19, 2019 at 12:30 pm #187533Yes, plenty of changes made to the overboard drain system made in those years…The drains were removed and that funky recirculation system was added. I don’t think we ever got it right, idle quality went down hill and plug fouling issues followed. Is this a new powerhead still in the box? If so, were there any instructions. I don’t know how this swap is going to work out with a mix of the overboard drain and recirculation systems…
November 19, 2019 at 12:53 pm #187534I wrote up and posted a brief history of the drains system on the 22 cu in motors, but the posting disappeared (!!). I’ll try again. For years, the puddle drains discharged raw fuel near the lower seal, and the excess fuel went right into the lake. Beginning in 1968, the drainage went through a lose leading to a hollow bolt in the lower bypass cover. From there, it was discharged into the hot exhaust stream, which I suppose might have evaporated some of it, but the rest still went into the lake. In 1971 the discharge was again re-routed to a fitting in the upper bypass cover for injection directly into the cylinder for burning. All that really accomplished was making the motor idle lousy due to the upper cylinder being too rich. Leaning out the mixture needle just made the lower cylinder lean sneeze. We got many complaints from customers that traded in an older motor and immediately noticed the new motor did not run as well as what they traded in.
While all this was going on, the drainage system was being modified and/or partially eliminated. Needless to say, that also made the motors idle poorly.
November 19, 2019 at 3:07 pm #187538Frank, Not sure if this was the write-up but there was such great info in it I saved a notepad file of it for future reference.
From around 1950 thru 1967 the crankcase puddle drains led to a channel and passage in the front of the casting and were dumped into the exhaust housing and lake. And the motors ran very well. Then came the years of “smog control” in cars and they ran like crap. Outboards didn’t escape either. A mad rush was made to eliminate emissions into the water, and some of them ran like crap also.
OK, here is the plan.
Starting 1968 part of the drainage system was eliminated, and what was left was routed through a hose to a fitting in lower bypass cover….actually one of the bypass cover bolts which was a combo bolt and fitting. From there it went through the casting and into the exhaust area, where the heat was supposed to evaporate and “smoke off” some of the fuel & oil. The rest still went out the exhaust into the lake.Starting 1973? They re-routed it into a fitting in the upper bypass cover so it would be drawn into the cylinder and burned. You know how well that worked out.
What we are going to do is revert your motor back to the 1968 system. It won’t run as well as the pre-1968 models, but the only way to do that is with a pre-1968 powerhead. To do this you will need a 3/32″ aircraft (extra long) drill bit and a special fitting and gasket washer. The fitting is part number 315230 and washer is 303630. Try a dealer. A decent hardware store should have the drill bit.
Remove the bolt from the lower front corner of the lower bypass cover. Before you go any further, screw your fitting and gasket into the hole and attach a piece of hose. Can you blow through it? If you can, it already is drilled, so do NOT continue with the drilling step in the next paragraph. But if you cannot blow through it, it needs to be drilled, so remove the fitting and continue.
What we are going to do is drill a 3/32″ hole through the bottom of the existing bolt hole, into the exhaust area for the drainage to flow through. Yes, I know, you can’t get a clear shot at that with the drill. That’s what the aircraft drill bit is for. Eyeball-align the bit as close as you can with the bolt hole and drill right through the lower motor cover pan, enter the bolt hole, and carefully drill through the bottom of the hole till it breaks through inside. You should be able to tell when it hits “air” inside. Then STOP drilling. You don’t want to drill on through the next wall.
Screw the combo fitting into the bolt hole and attach the drain hose. You are done.
-
This topic was modified 4 years, 10 months ago by
-
AuthorPosts
- You must be logged in to reply to this topic.