Home › Forum › Ask A Member › Paint colors for a 7518
- This topic has 9 replies, 6 voices, and was last updated 3 years, 10 months ago by
Mark Baillie.
-
AuthorPosts
-
August 12, 2021 at 9:13 pm #244791
Hi everyone, I am new to this forum
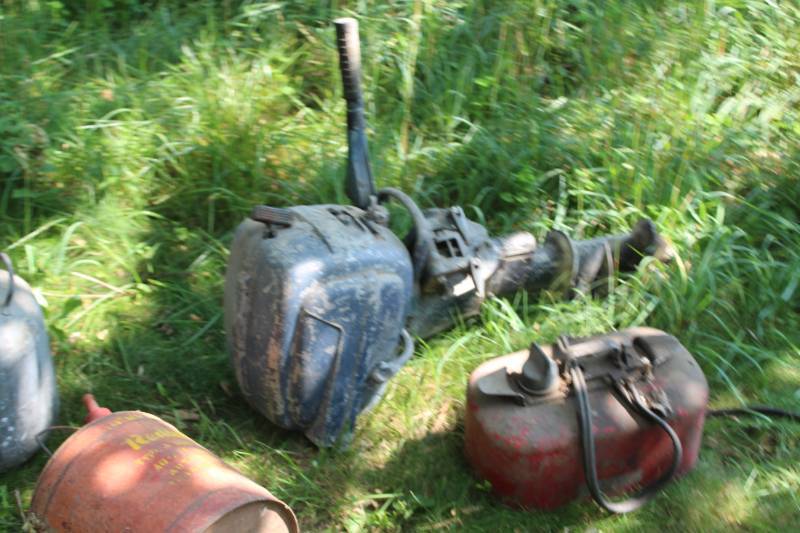
I’m trying source color and availability of paint for a Fleetwin 1955 7518I recently inherited a this little gem.
Seems mechanically sound but will need so cosmetic work to be presentableThanks for your help
-
This topic was modified 3 years, 10 months ago by
-
This topic was modified 3 years, 10 months ago by
 Mumbles.
August 12, 2021 at 9:23 pm #244794NY Marine has everything you need.
1 user thanked author for this post.
August 12, 2021 at 11:06 pm #244798The fellow sells paint as well………
https://retropaints.net/?fbclid=IwAR0W8fqPXDUJLupM95_CqB-qYThnSelPD7piNCl3i1Cuz2CFN7SmN6ctmcMPrepare to be boarded!
1 user thanked author for this post.
August 23, 2021 at 12:52 pm #245340Thank you !
any suggestions on getting her paint readyIm waffling between sand blasting and paint remover
pressure washing was good to take the loose layer off ( it was repainted at some point with Black )
Im thinking the PR would leave less pittingthen a wet sanding down to a 400 grit
is this the correct track?
Thanks
August 23, 2021 at 11:54 pm #245372Mark, I would start by using 120 grit on a pad sander. You can leave some of the original paint as it was very strong. I use bondo on any dents or badly scratched areas . Then 320, followed by a few coats of self etching primer, after I use a light grey filler primer, and then color coats. Make sure you use a light color grey filler primer, or your topcoat colors may look muddy and dull.
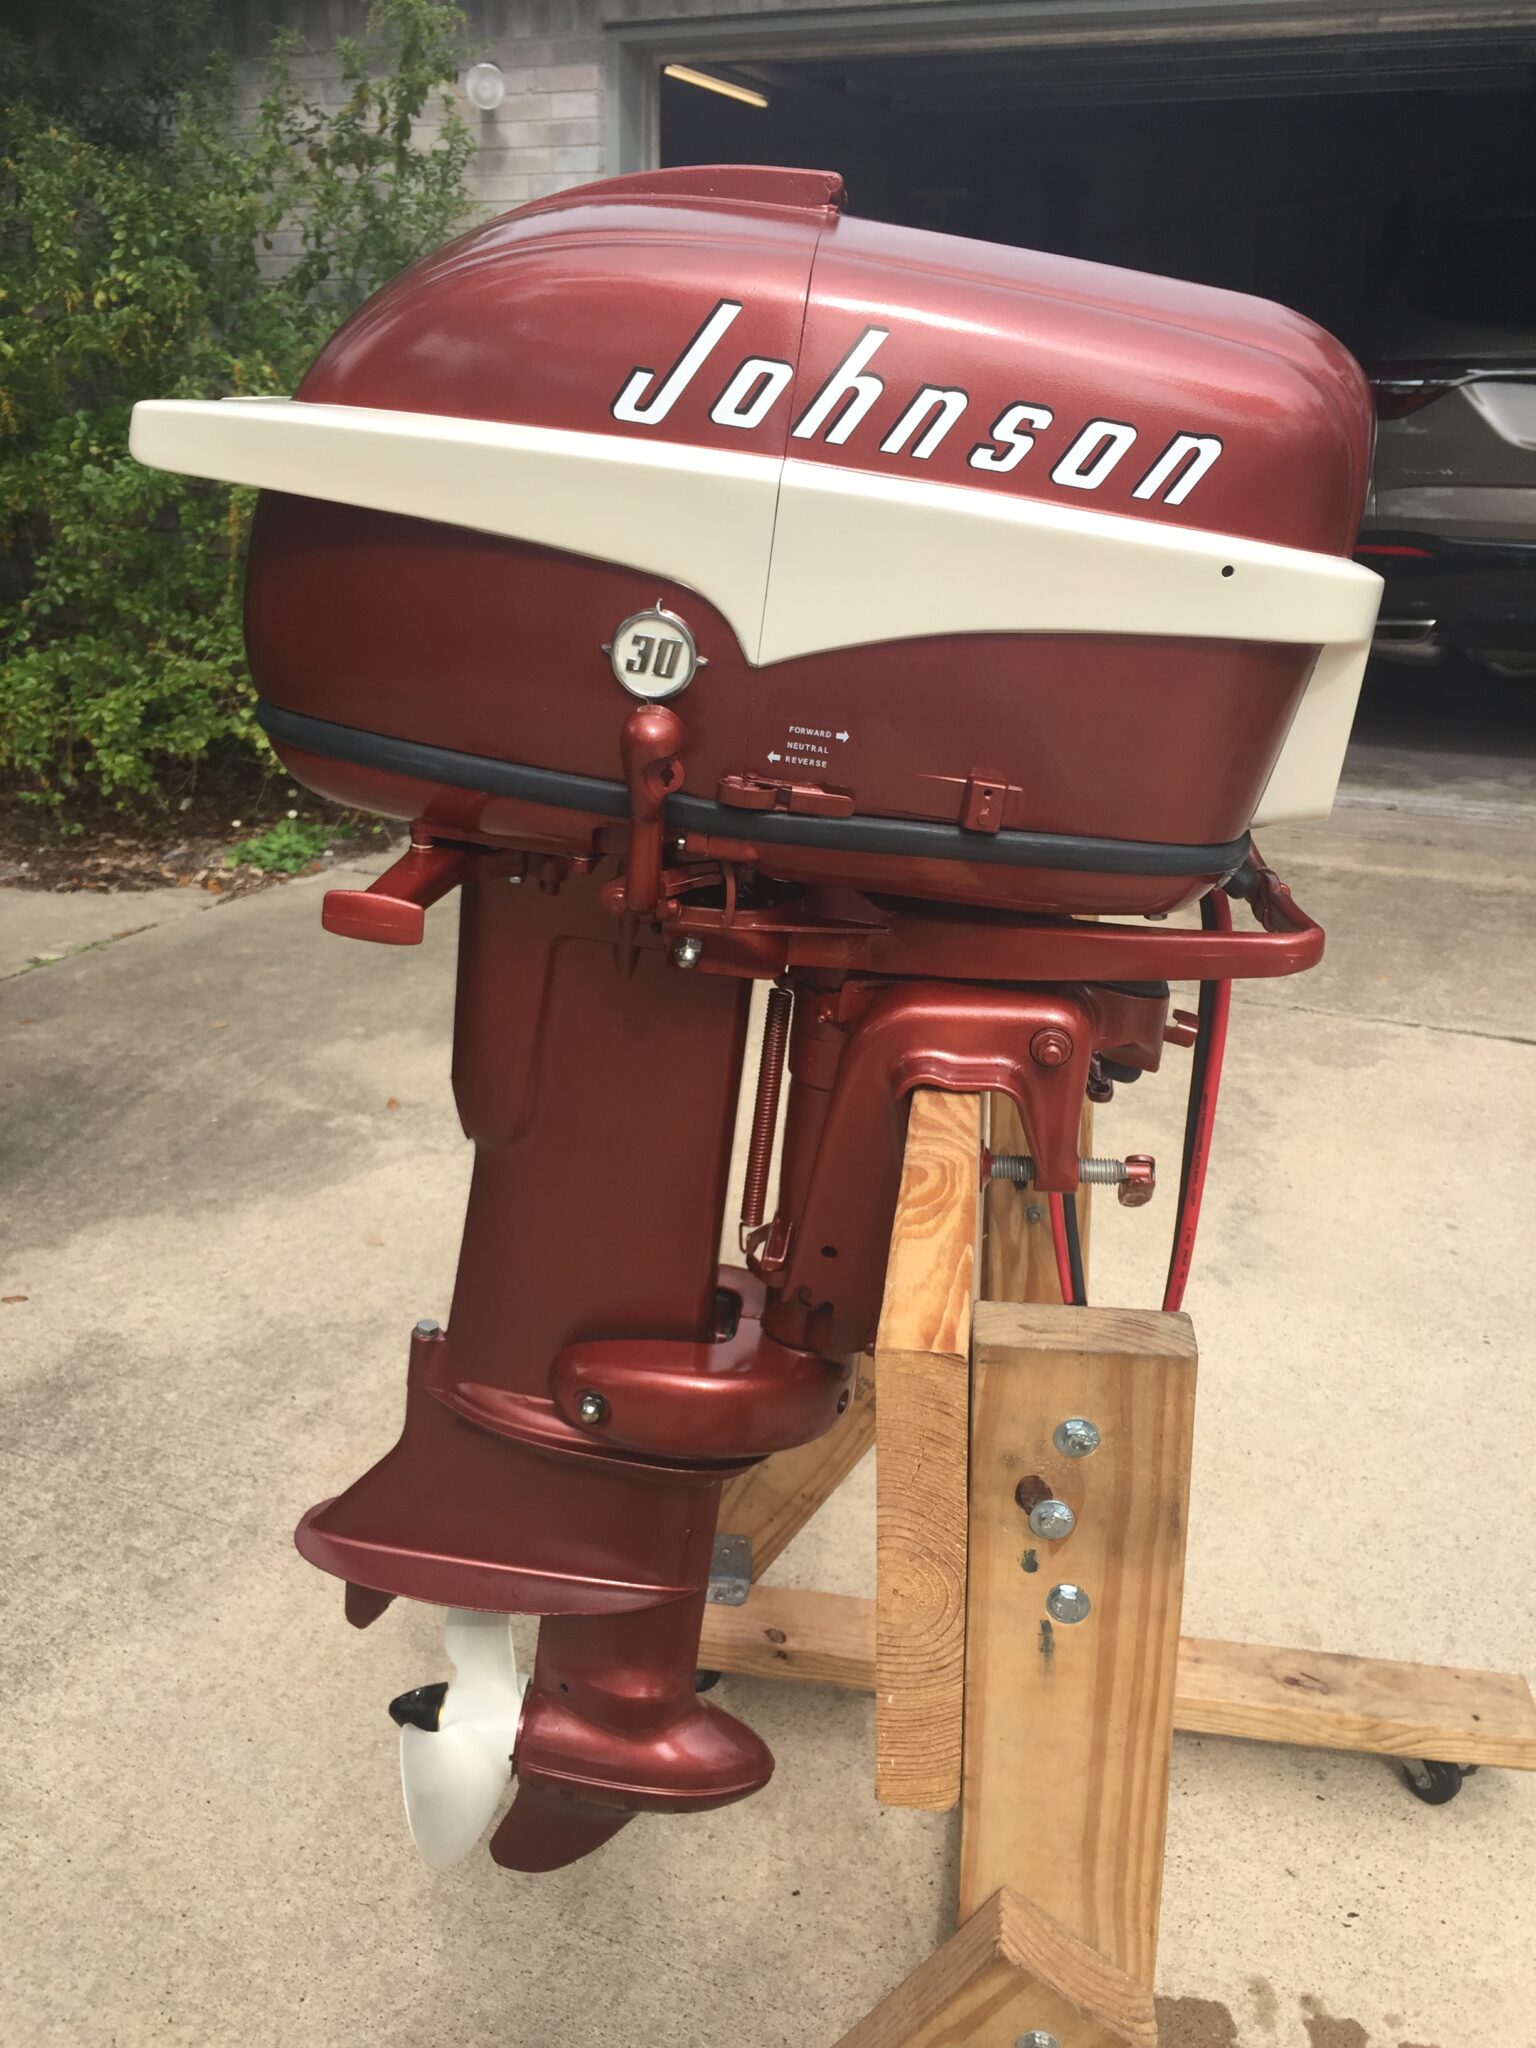
That’s motor is a bit tricky to paint as it had two different colors. Look around on the internet for pictures of an original 55 motor for paint and decal placement. I would shoot the white portion first, then mask the white and shoot the blue. That way the white goes over the lt grey primer, and not the blue. It will make the white pop. I’m not a fan of clear coat as most of the motors I have seen clear coated seem too shiny and over restored. Some members have mentioned using a semi gloss clear, but I have not tried it.
Retro Paints has good color matched paints . In order to mask with sharp lines use 3M 06404 fine line tape. Make sure you get the correct vinyl decals after all of your hard work.
I use basically the same methods on all of the motors that I restore. Hopefully other members have some additional tips / techniques. Just remember the painting is the easy part, it’s the many hours of sanding etc. that will give you fantastic results.
Here is a picture of a 1958 Johnson 10HP that I restored using the above method.
Hope this helps,
Bob D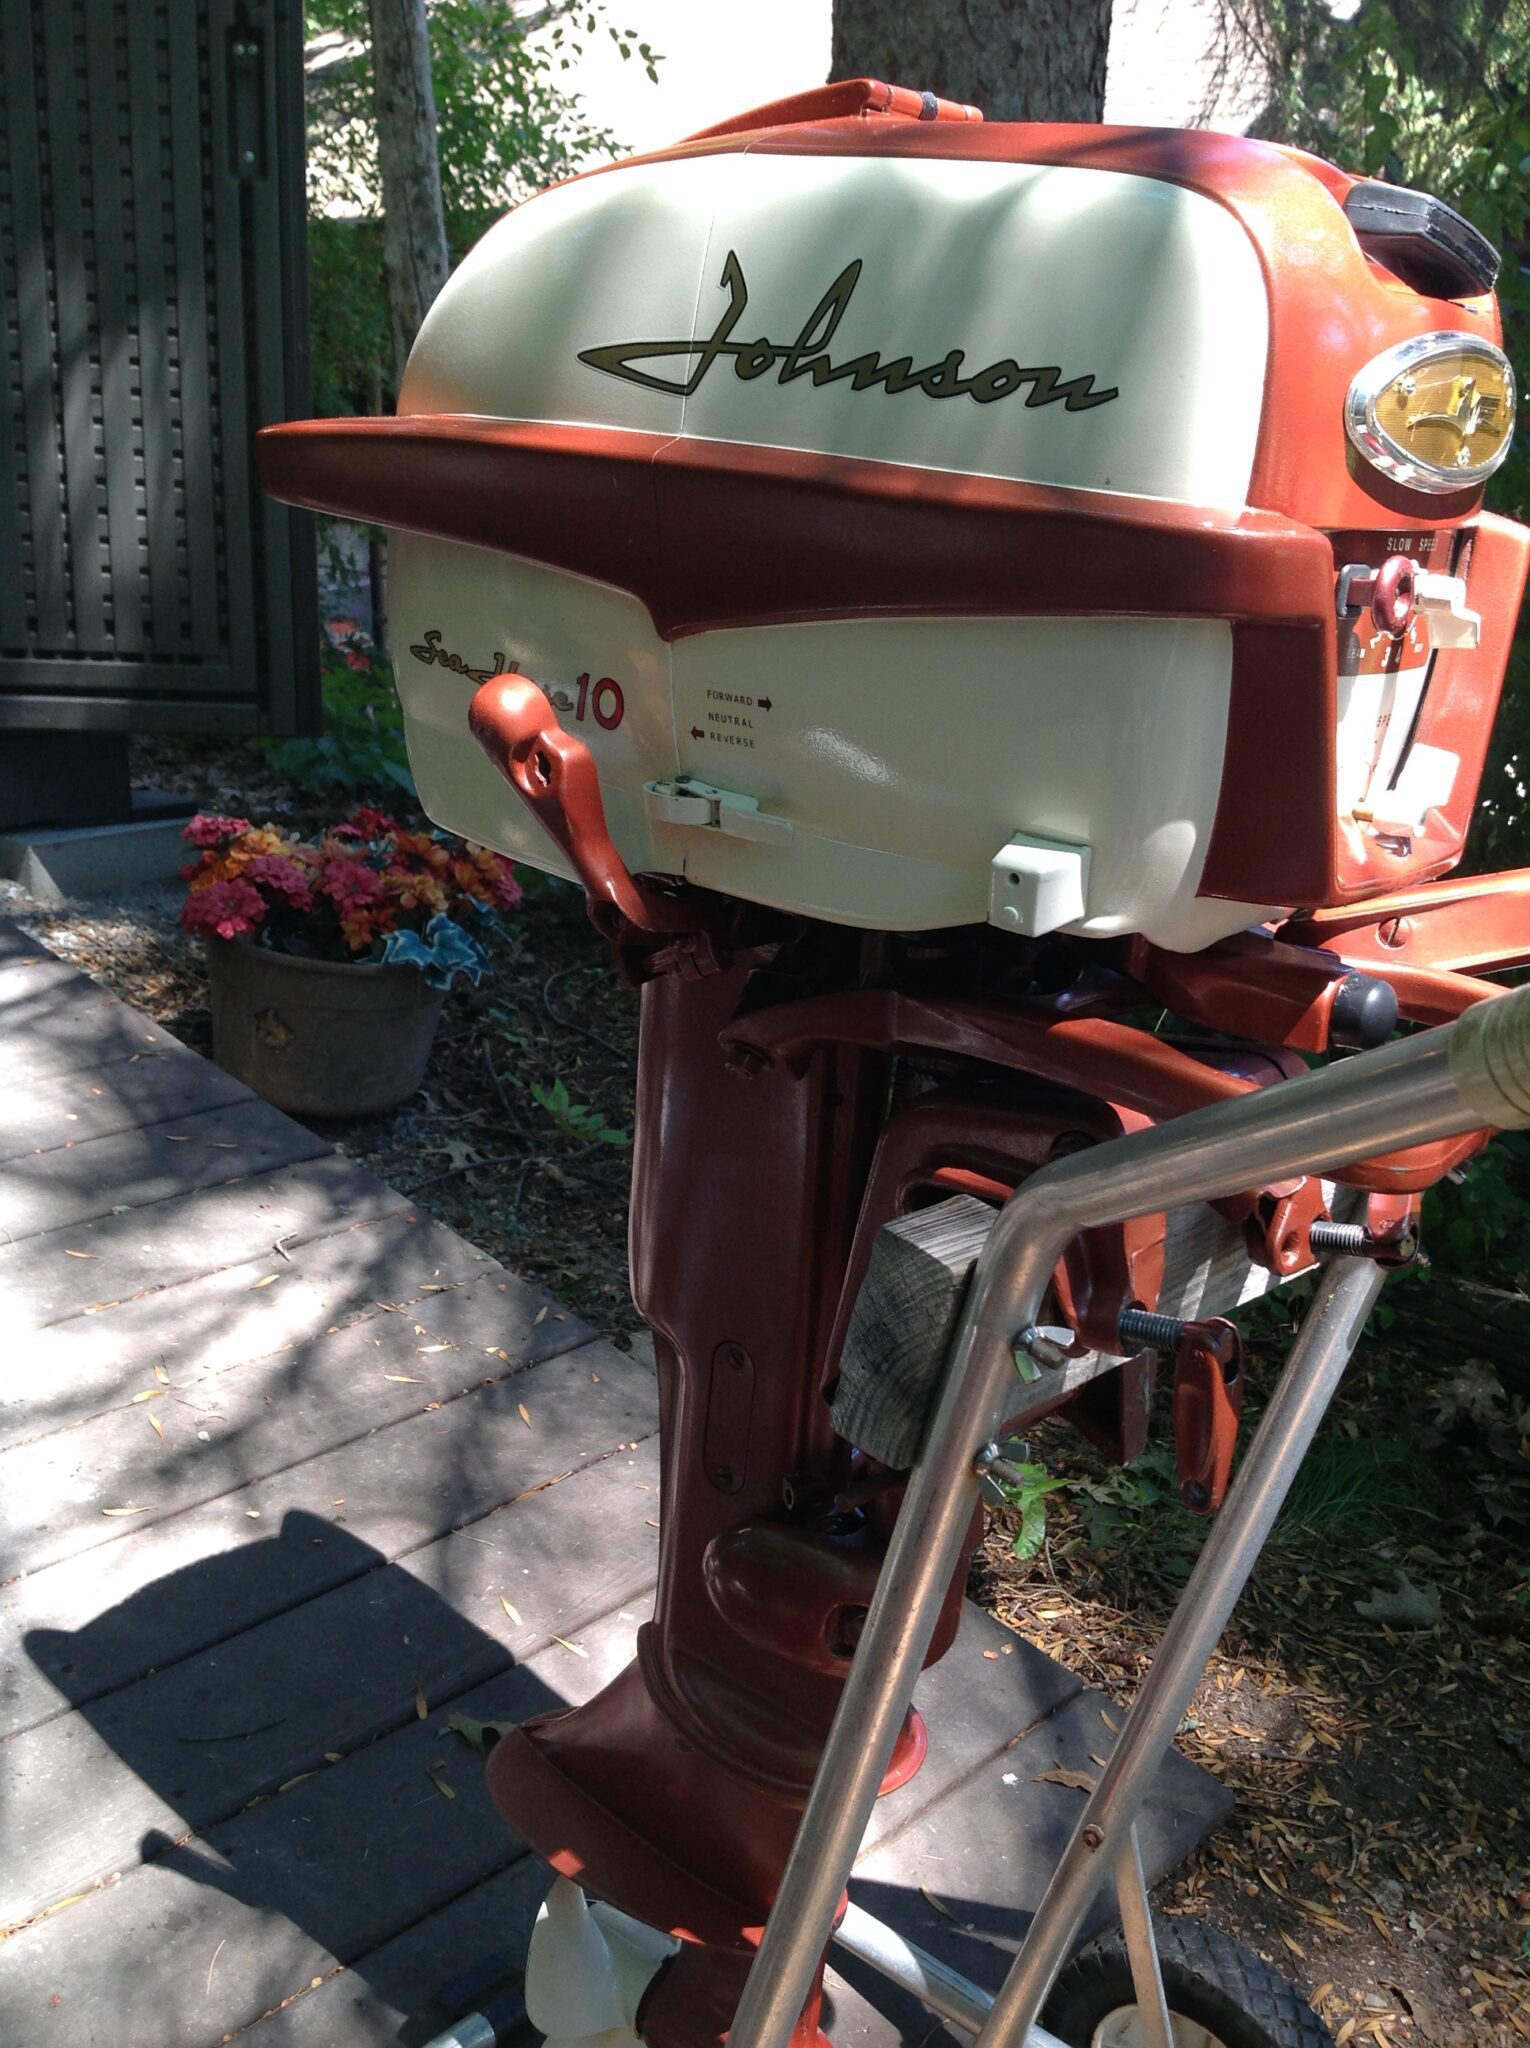 August 24, 2021 at 12:28 am #245383
Mark,
I typically do complete mechanical and cosmetic restorations and tear the motor down into pieces as part of that process. While torn down in pieces, I’ll strip the old paint to bare metal using glass bead or soda blasting, which doesn’t etch the metal like sandblasting. Never done it myself, but others have used walnut shells for blasting with good results. After blasting and a thorough cleaning, I’ll use a good quality self etching primer followed by color coats.I have typically used paint and decals from North York Marine on my projects. As Bob D noted, I also use the 3M fine line tape for masking edges between different colors and I don’t use a clear coat over the final color coat. As Bob D also noted, 95% of the job is in the prep work.
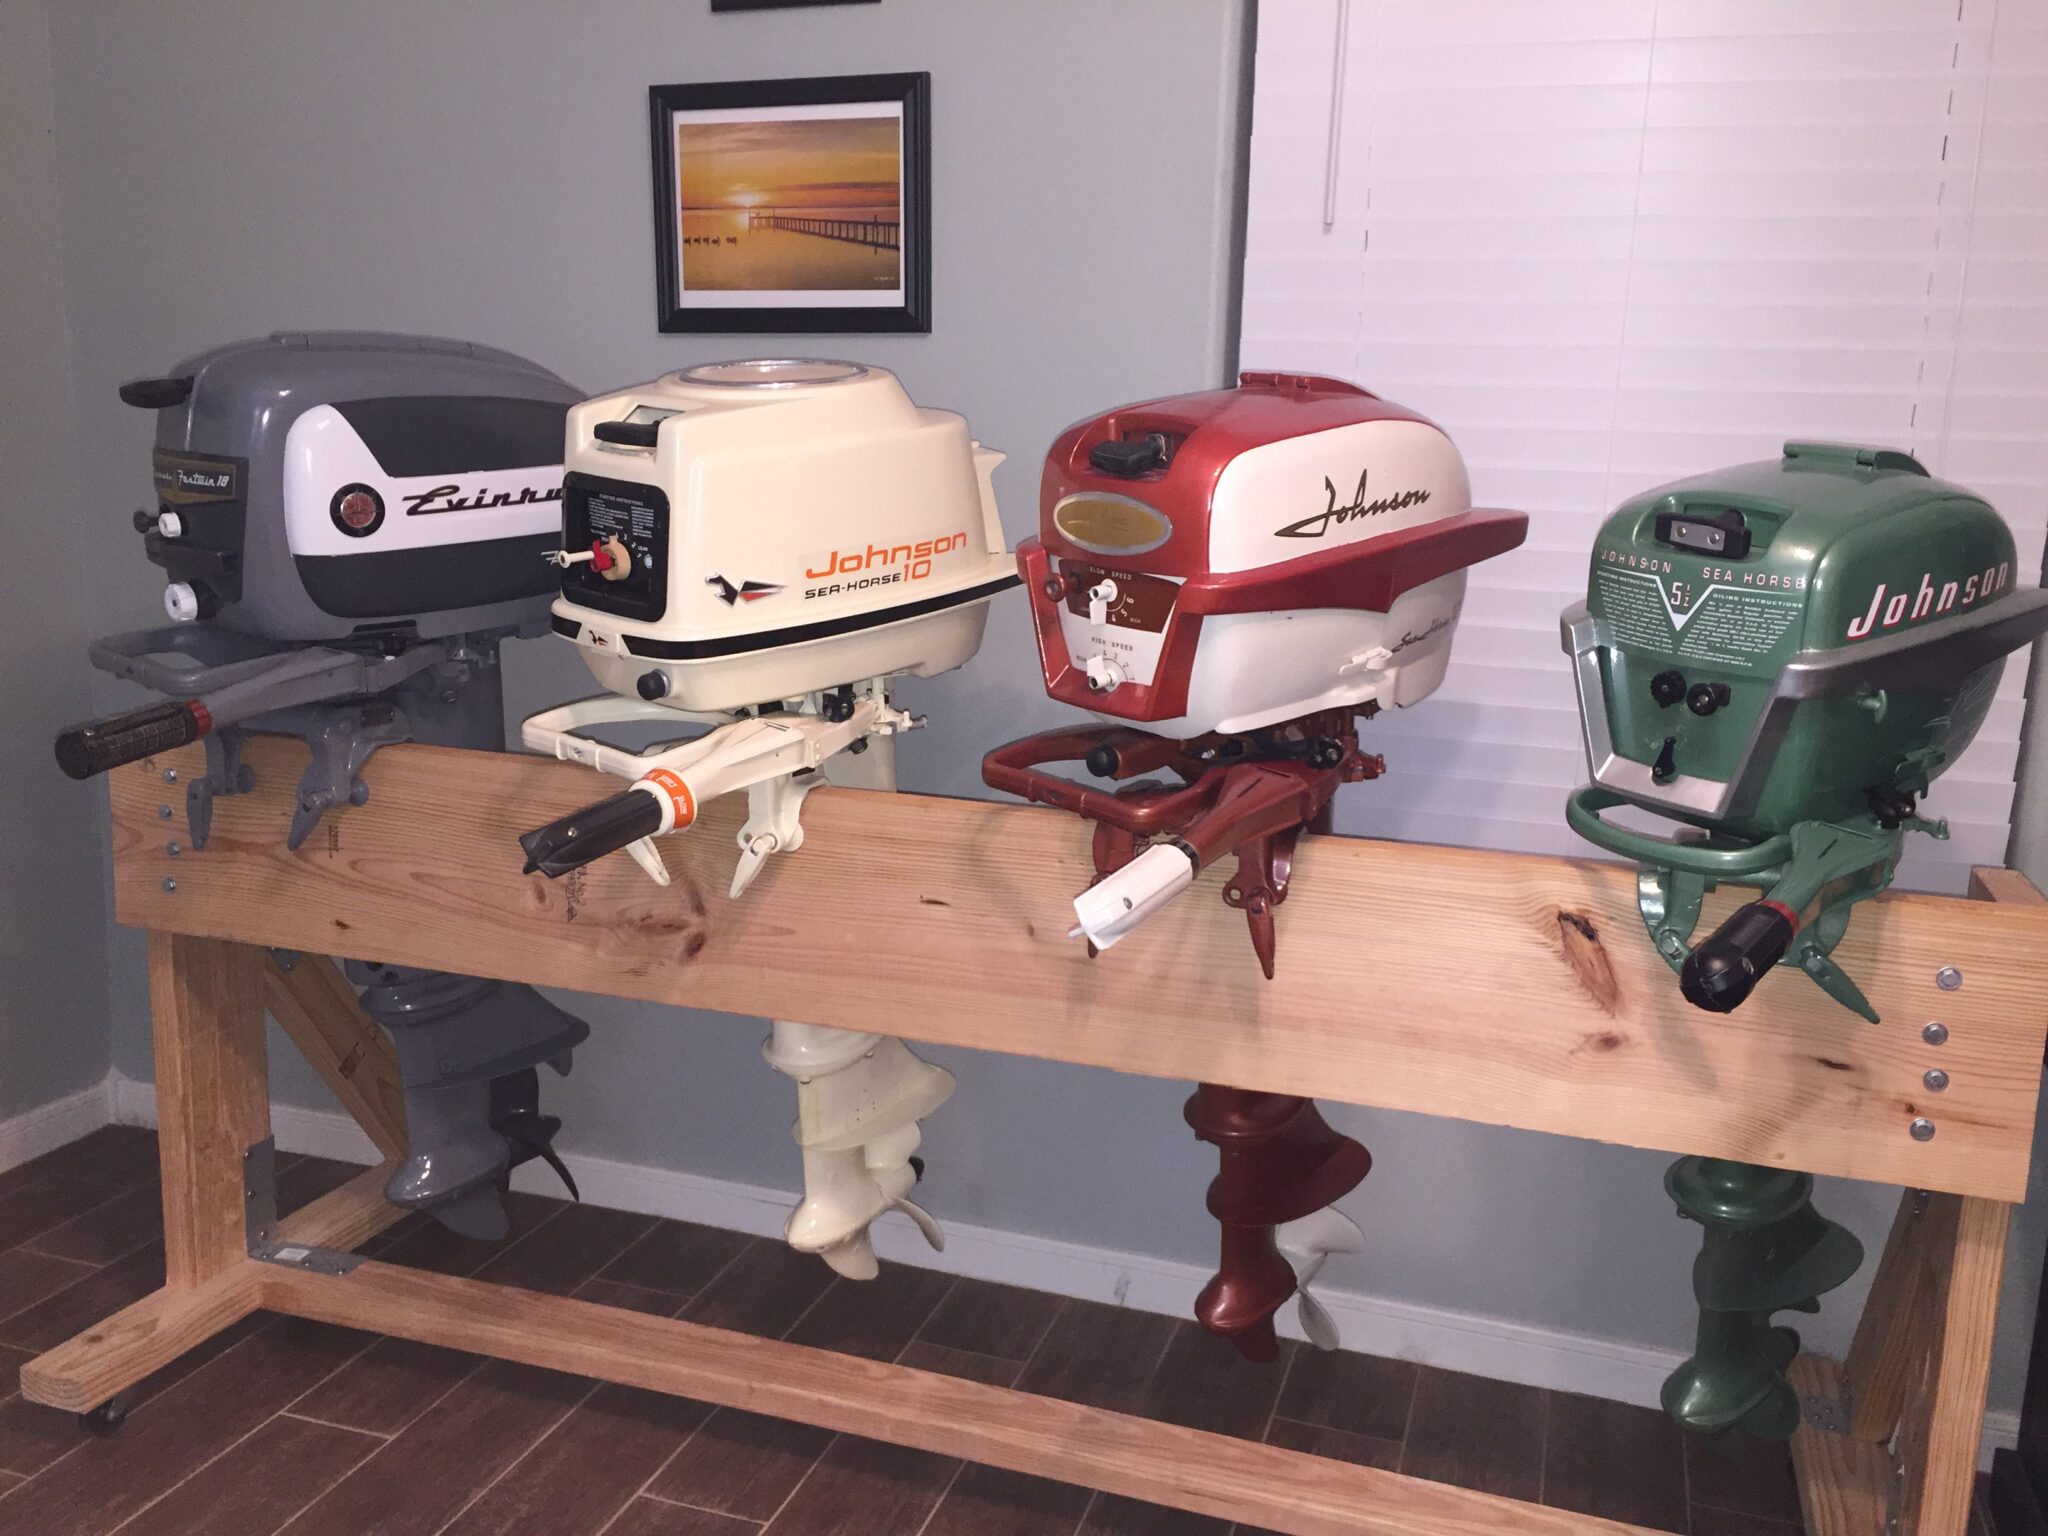
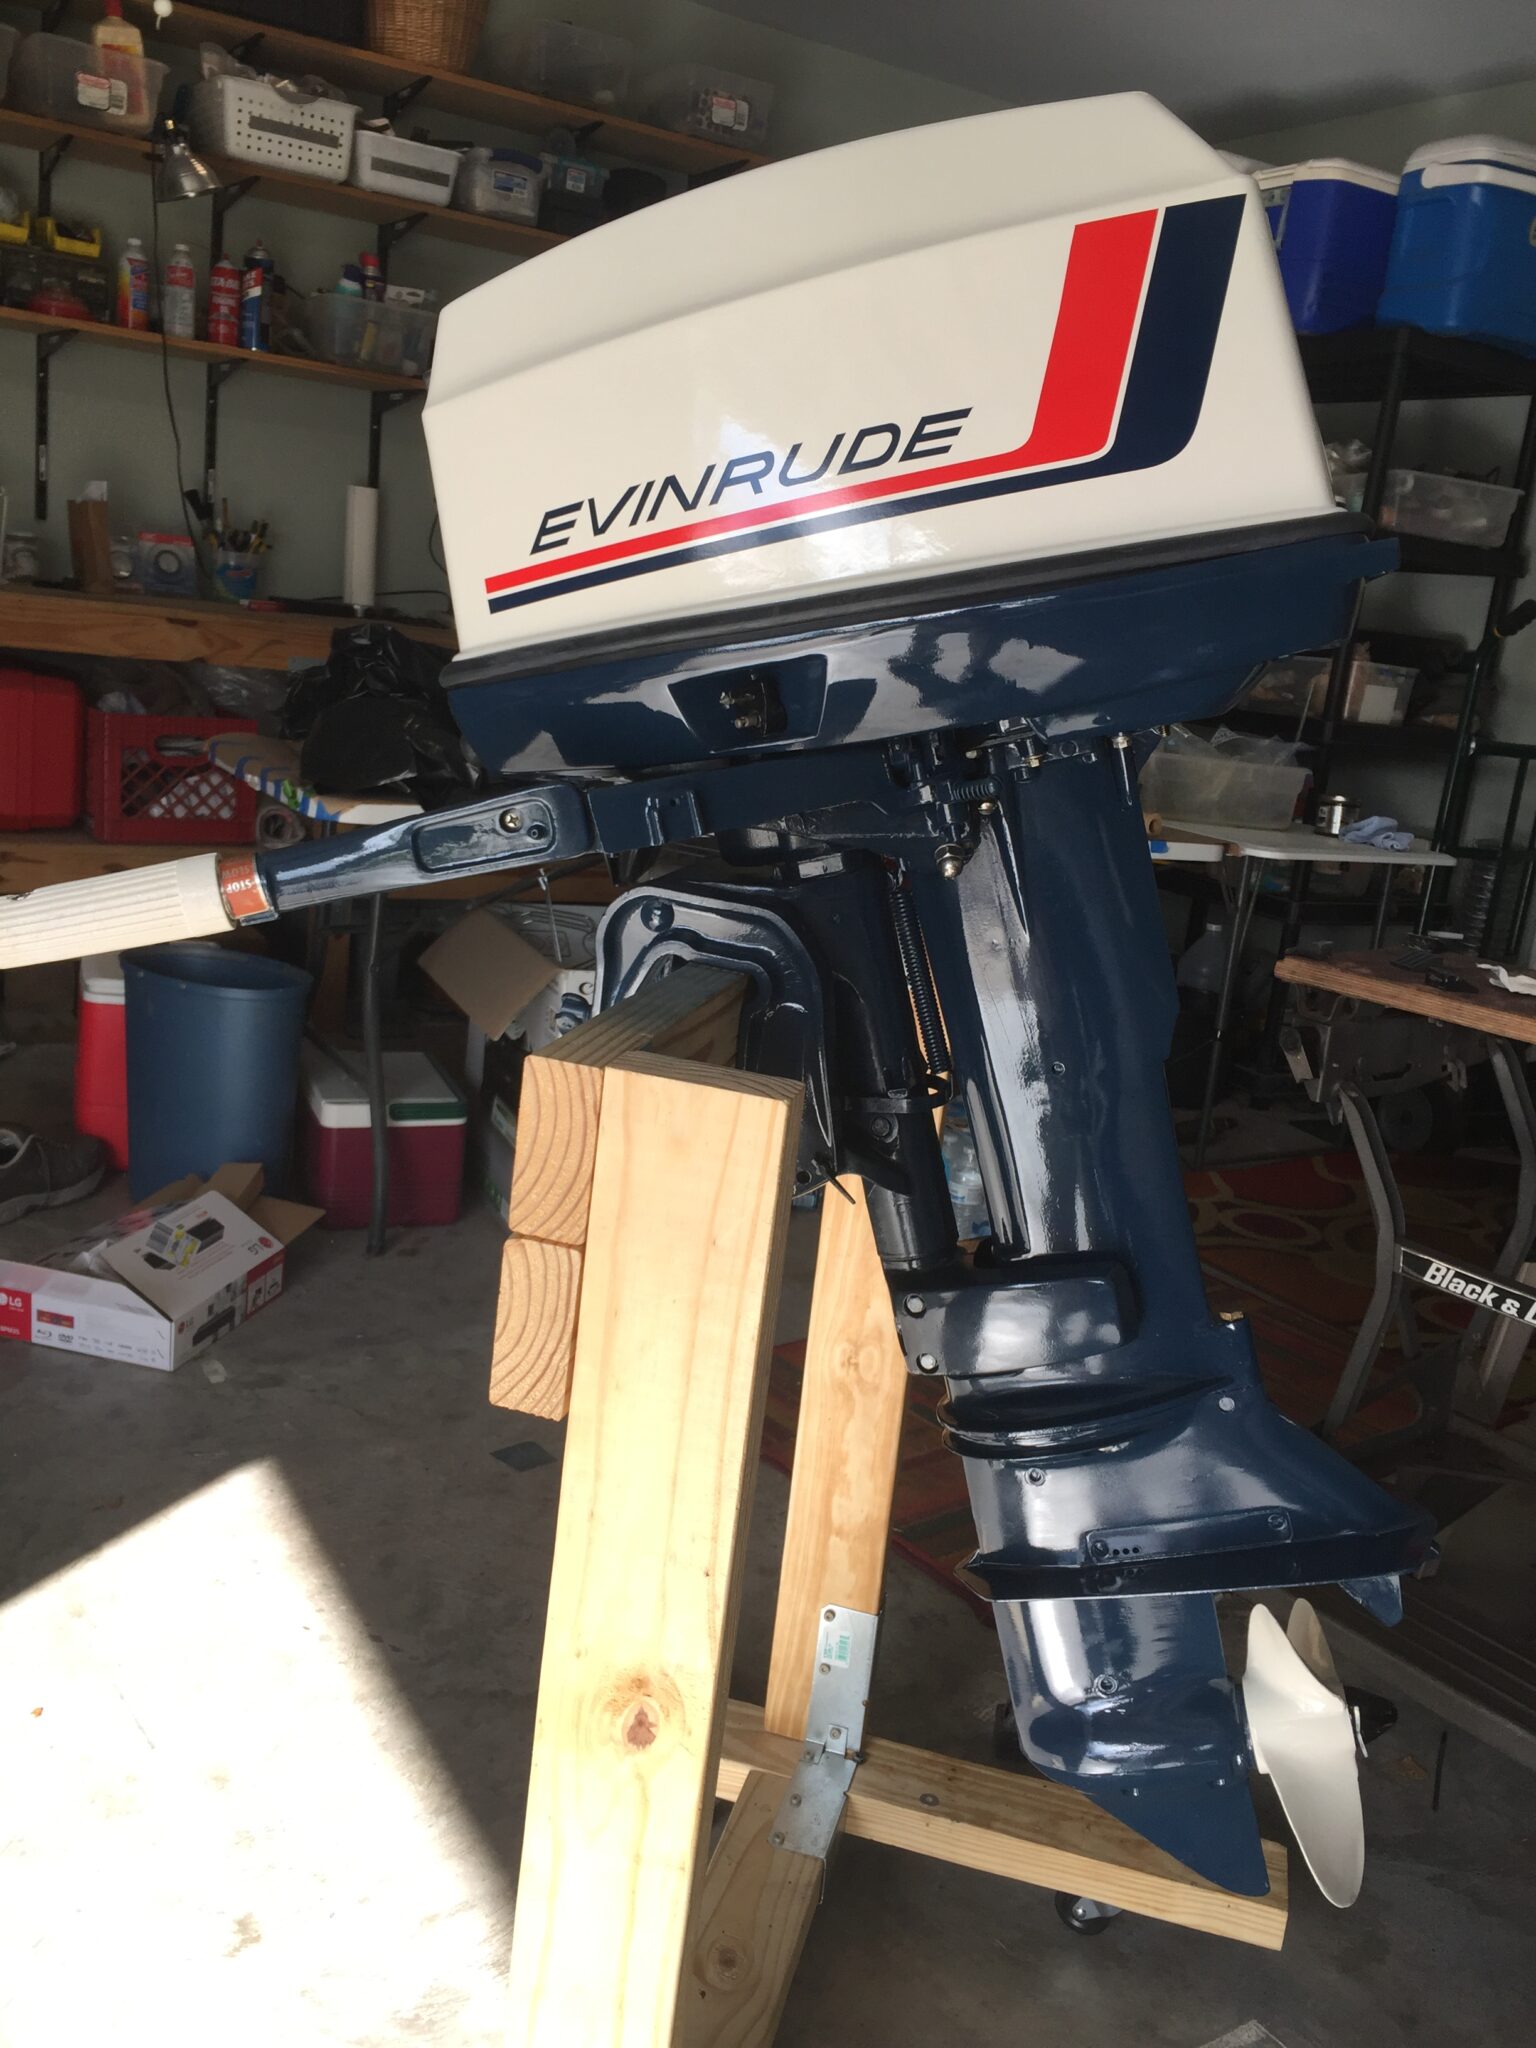
Here’s some pics of my projects. Note on one of my Evinrude restorations, I chose my own gray color scheme rather than the original factory blue.
Bob
1937 Champion D2C Deluxe Lite Twin
1954 Johnson CD-11
1955 Johnson QD-16
1957 Evinrude Fastwin 18
1958 Johnson QD-19
1958 Johnson FD-12
1959 Johnson QD-20“Every 20 minute job is only a broken bolt away from a 3-day project.”
"Every time you remove a broken or seized bolt an angel gets his wings."August 24, 2021 at 6:48 am #245391Hi bobw. Your motors look fabulous! Do you paint the motors while they are in pieces, such as the gear box, the trunk , power head etc, before you reassemble them?
Monte NZ
August 24, 2021 at 9:01 am #245397Monte – yes, I paint the individual pieces while I have it torn down, then reassemble. Just have to be careful not to scratch things up during reassembly – I usually put some protective tape on my wrenches and screwdriver shafts.
Bob
1937 Champion D2C Deluxe Lite Twin
1954 Johnson CD-11
1955 Johnson QD-16
1957 Evinrude Fastwin 18
1958 Johnson QD-19
1958 Johnson FD-12
1959 Johnson QD-20“Every 20 minute job is only a broken bolt away from a 3-day project.”
"Every time you remove a broken or seized bolt an angel gets his wings."August 27, 2021 at 10:53 am #245558thanks you do nice work
Im familiar with the 3M 06404. I was thinking last night I really need to find a good photo of this before re-painting
almost done with the cover the power head is next.August 27, 2021 at 11:02 am #245559Thanks Bob
they all look great!
That green Johnson is striking.
Struggling how far I want to take this project its a slippery slope in the end I will probably bite the bullet or regret it -
This topic was modified 3 years, 10 months ago by
-
AuthorPosts
- You must be logged in to reply to this topic.