Home › Forum › Ask A Member › 1952 Johnson Seahorse qd 13
- This topic has 64 replies, 17 voices, and was last updated 8 years, 10 months ago by
shoestringmariner.
-
AuthorPosts
-
January 15, 2017 at 2:34 pm #51079
Thanks Jerry! I’m not completely sure which year these motors went to the OMC Universal Magneto. My gut tells me it was 1951, but I am not sure. I have a ’49 SD-20 16hp on my to do list and it does not have the universal magneto. This QD seems like a strong runner, but she’s a noisy old girl. Should be a fun occasional runner though.
-BenOldJohnnyRude on YouTube
January 15, 2017 at 2:59 pm #51081Here’s the inside of the gearcase.
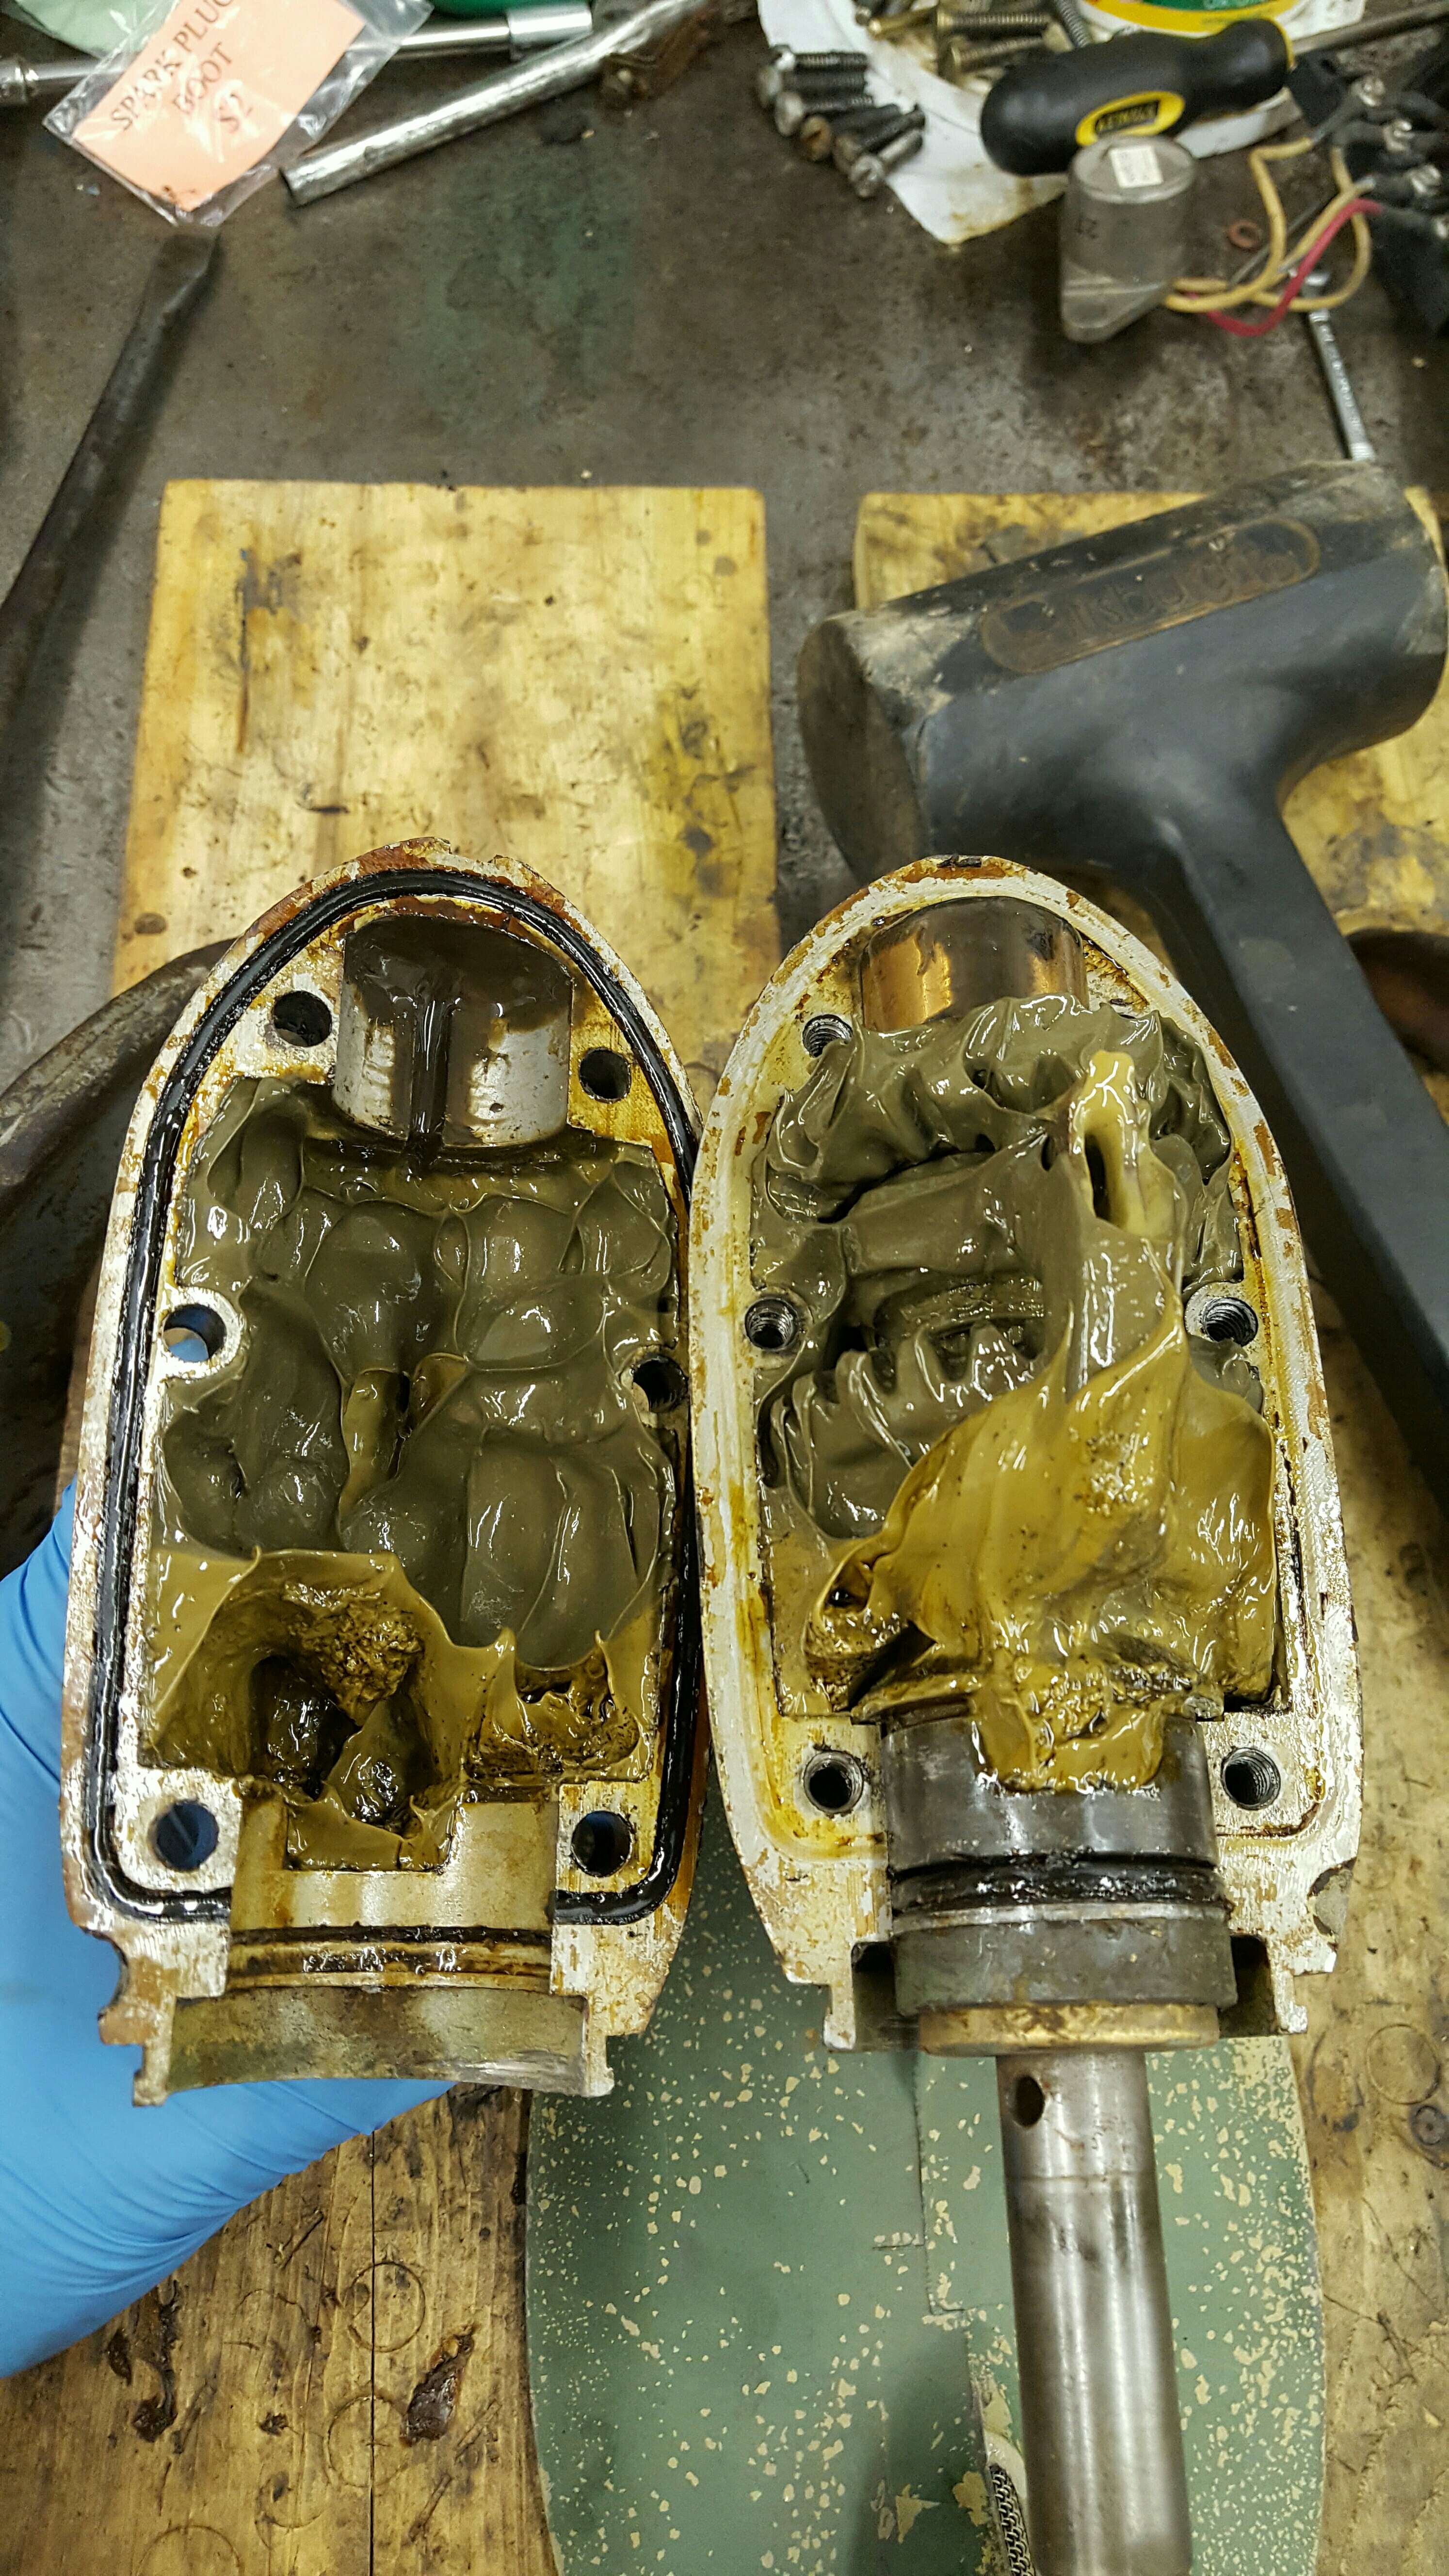
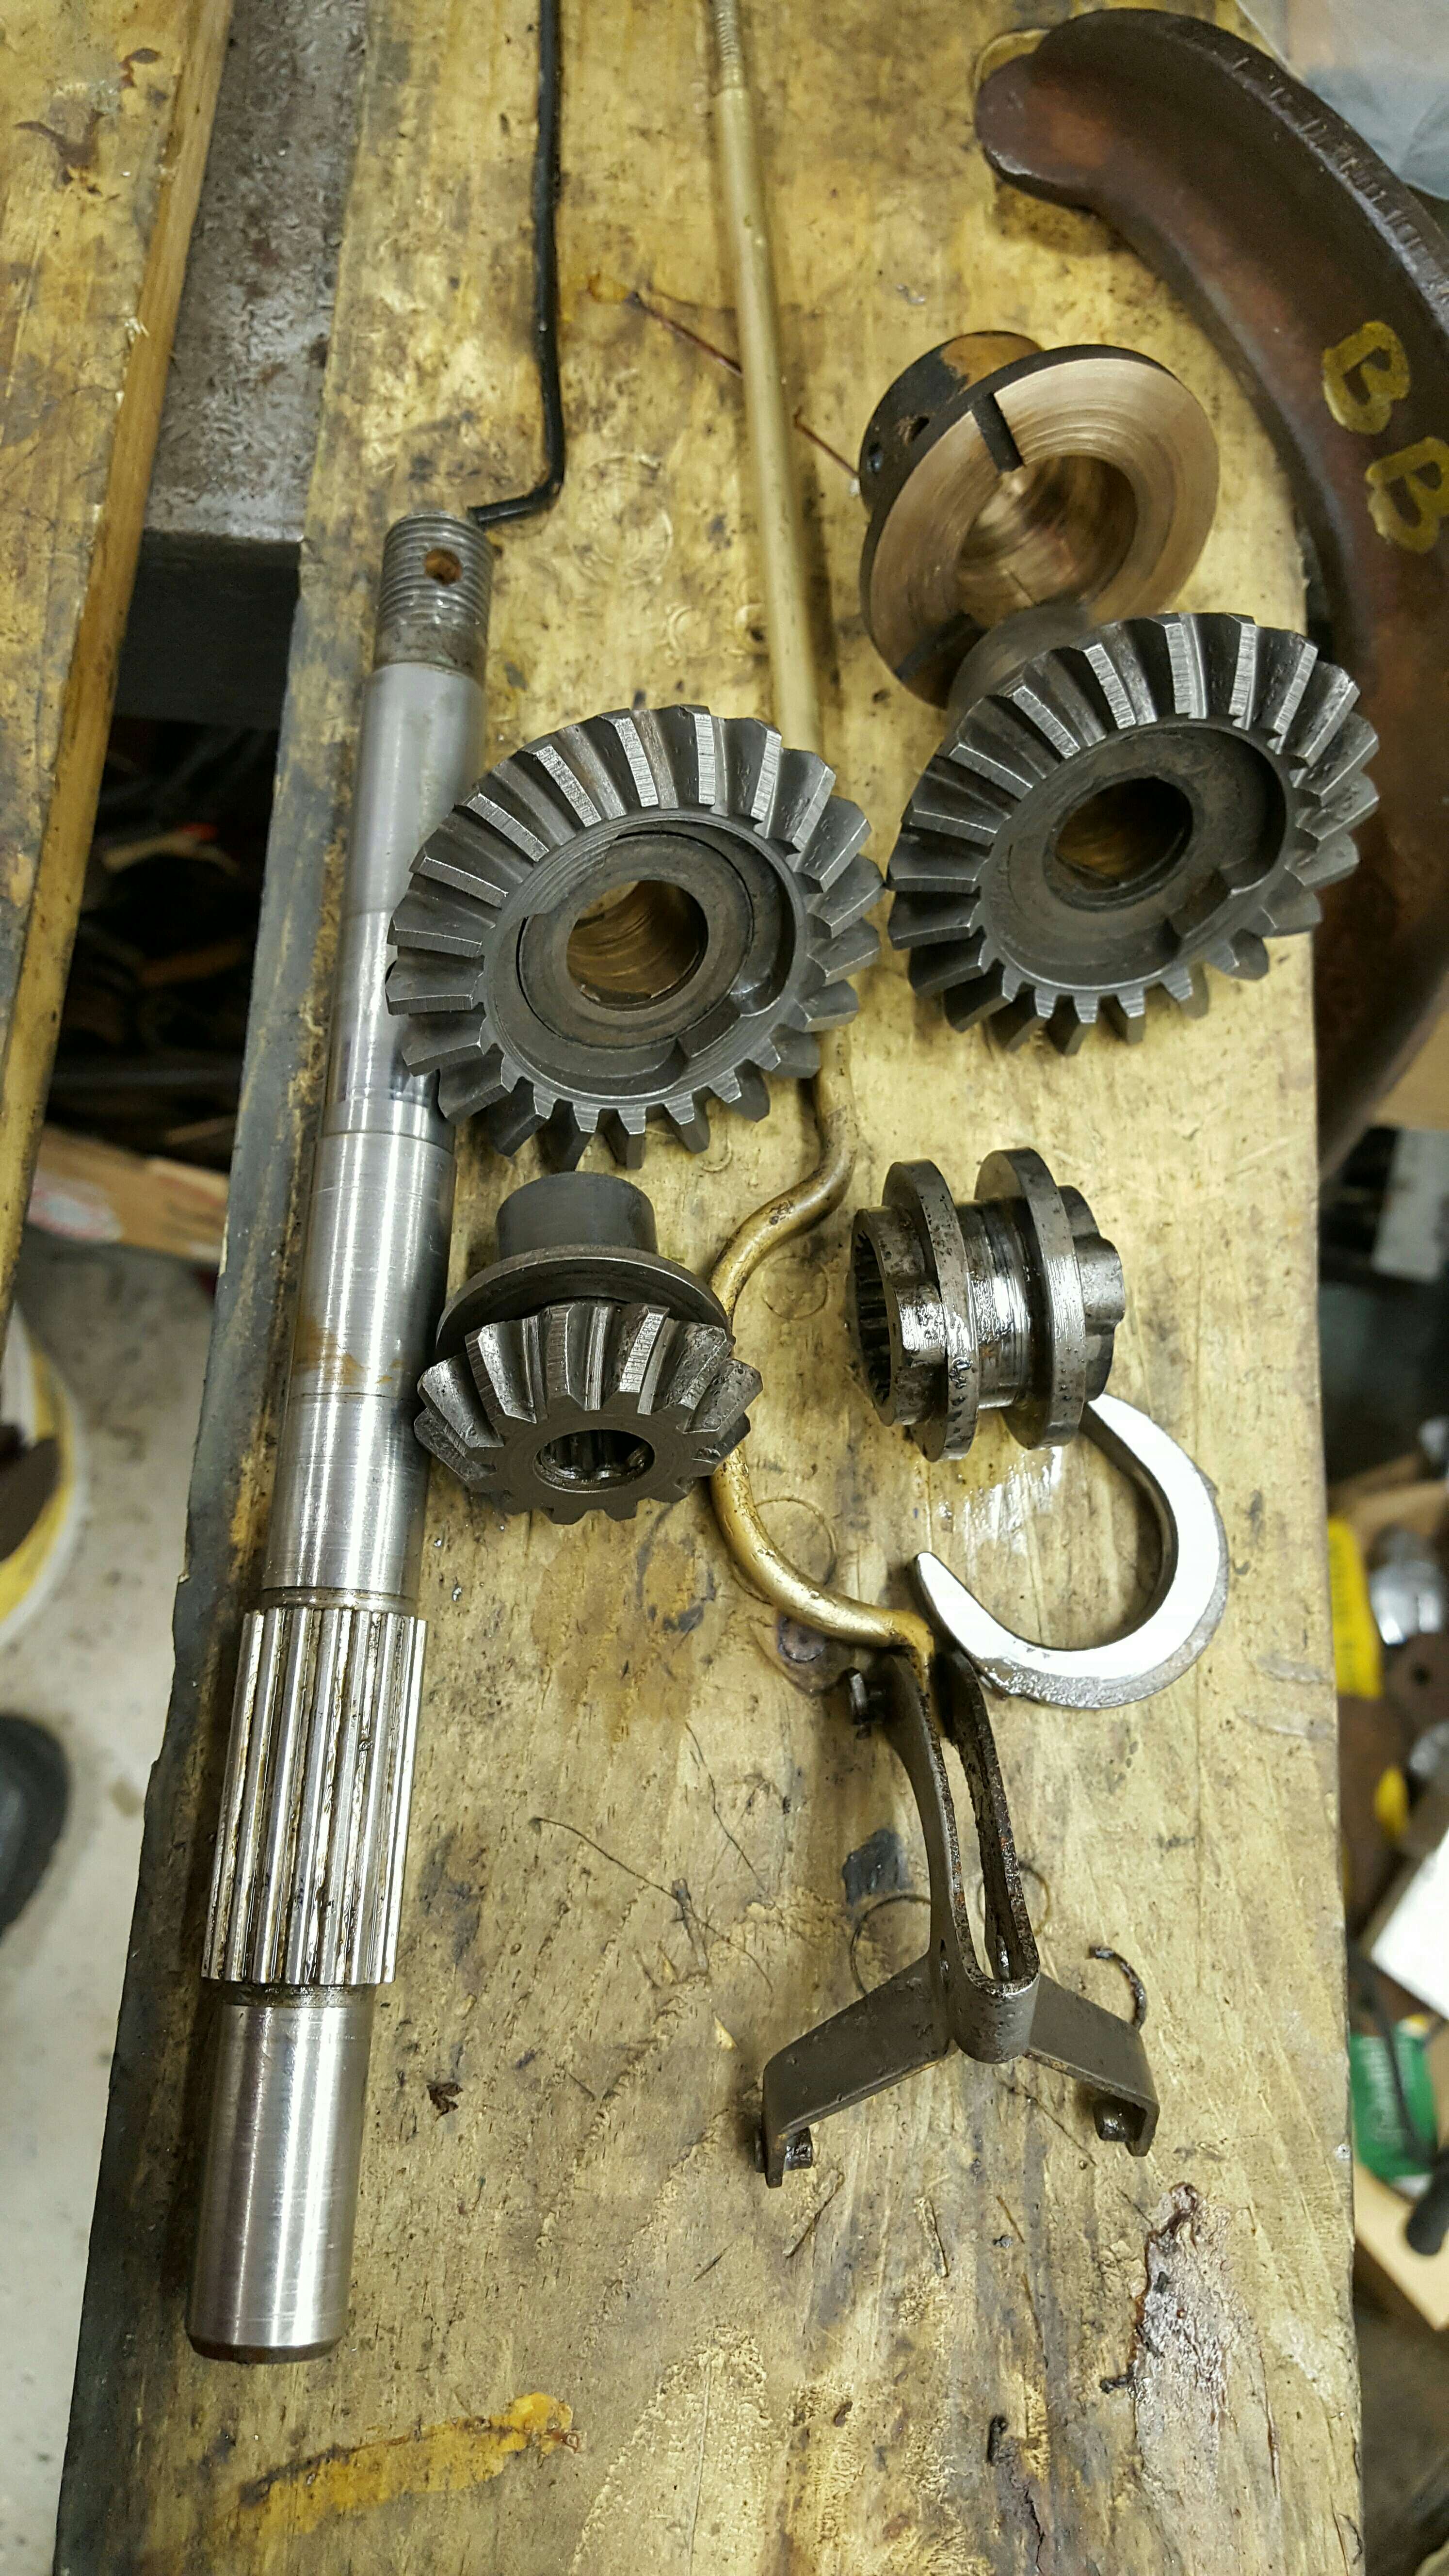
The good news is the gears and bearingsmooth still look decent. The shafts have some wear so may not seal perfectly but it will get new seals and fresh gear oil.
Nick, I guess I sort of inadvertently hijacked your thread. I probably should have started a new one. Sorry about that. I’ll keep updating through completion if you like.
-BenOldJohnnyRude on YouTube
January 16, 2017 at 3:34 am #51116I got the gearcase cleaned out today. The gears were a little rusty, but not terrible. I got those all cleaned up. The old seals are pulled out ready to be replaced. I have put a new shift rod O-ring in and cleaned up the sealing surfaces of the gearcase in preparation for the new spaghetti seal.
-Ben
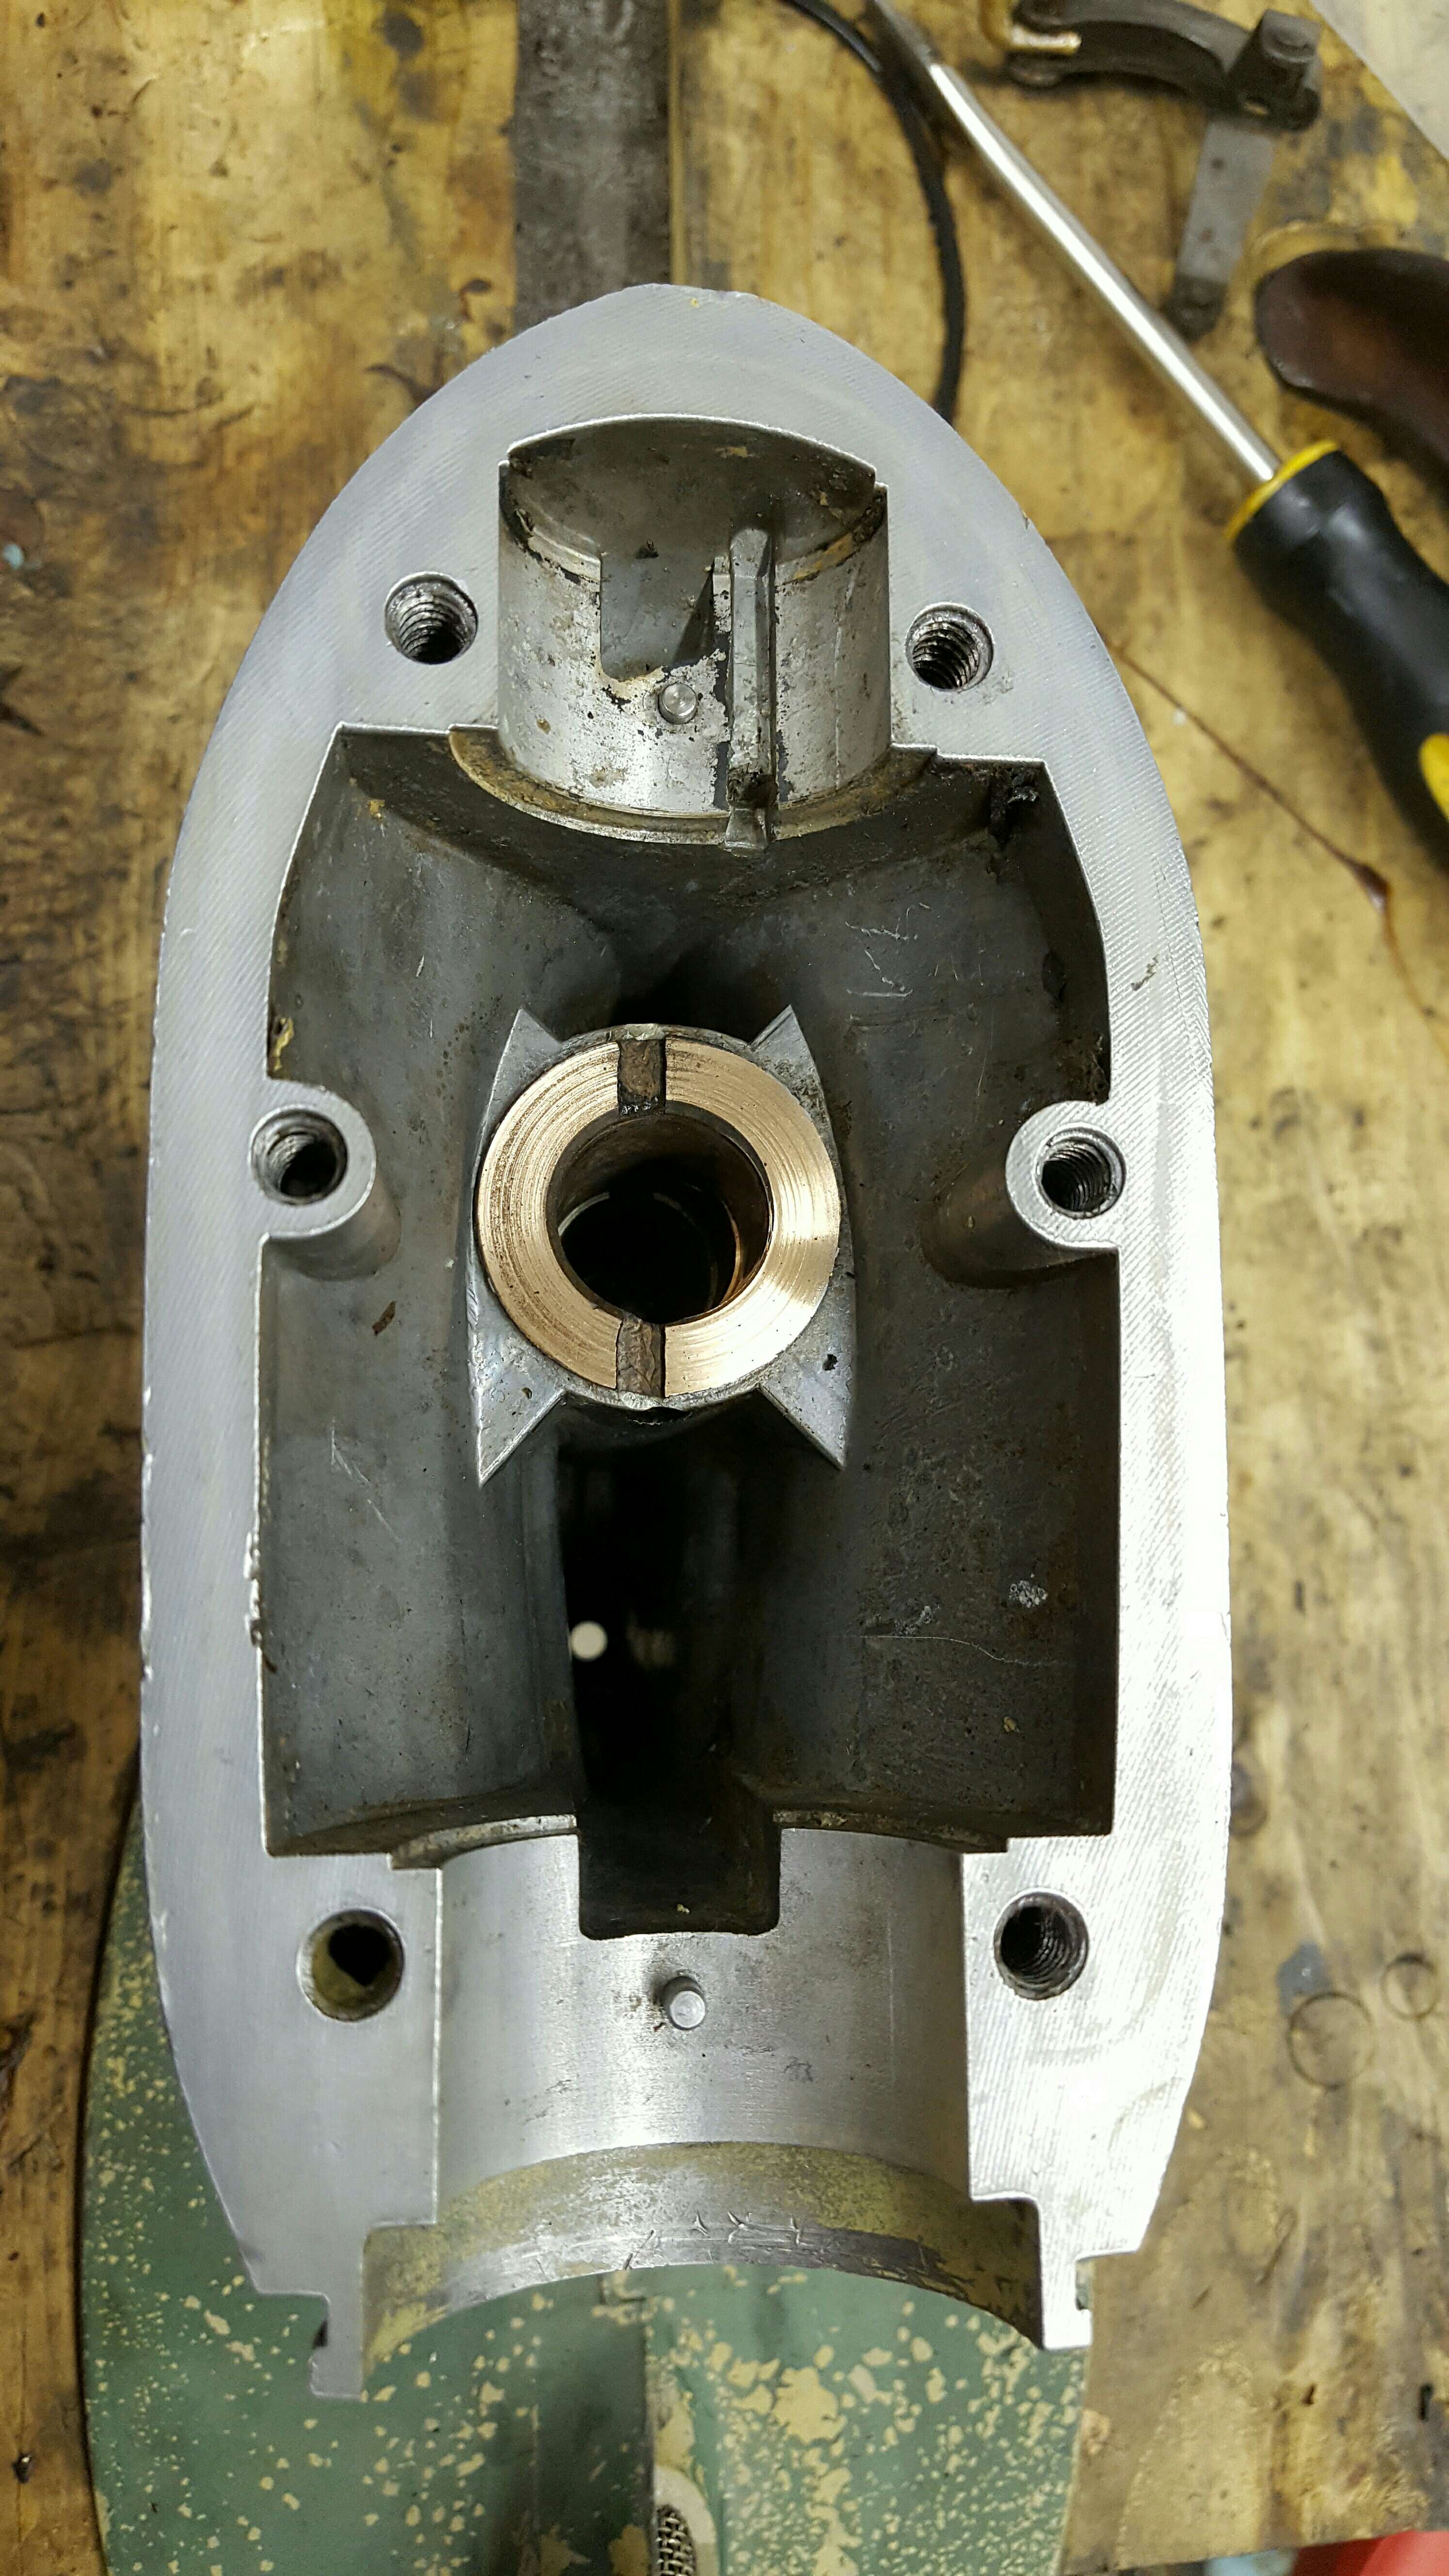
OldJohnnyRude on YouTube
January 17, 2017 at 3:59 pm #51209Ben
No worries on Hi-Jacking the thread. WOW looks awesome just pumps me up even more to keep working on mine. I am remodeling my house and currently finishing the basement so the motor time has been minimal to sat the least. Motor looks great in the video and runs well but i do have a question. In the video just after start up i see you adjust something on the right side of the carb. What is that? I thought the only adjustments were the high and low speed needle.Also another question on the exhaust side of the motor the part that looks like a type if manifold. When i removed that to get some of the carbon out the seals were in bad shape. The part is two pieces looks like the water is pumped thru it and in the jugs of the cyclinders. I would like to create a post int he classified for those two gaskets but do not know what the part is called.
Thanks for the help.
I will also post some video this weekend when i get a chance to fire the beast up. Been cold here but the next few days are warmer and i will get the test tank ready.Nick
January 17, 2017 at 4:31 pm #51210Nick,
Thank you and I’m glad to hear my posts are keeping you motivated to work on yours.
To answer your first question, the adjustment I was making on the right side of the carb as I was facing the motor is the high speed needle. I had the linkage unhooked and was making the adjustment to the needle itself. Once the carb is dialed in as close as I can get it, I replace the linkage and set the dial in the middle of its travel to allow for fine adjustments later.
Regarding your second question, the gaskets you are needing are called exhaust cover gaskets. One goes between the block and the baffle plate. The other goes between the baffle plate and the exhaust cover. I’m glad you didn’t end up with any broken fasteners when you removed the cover. For future, I never remove that cover unless it is completely necessary. You can do what you like with that advice, but I leave them alone 99% of the time. A bit of carbon in there isn’t going to hurt anything. There is too much likelihood of twisting off fasteners and gaskets are getting harder to find for these motors. There are still some available and you should be able to get replacements though.
Try member Dan Gano for the exhaust cover gaskets. His email is ganotech at mchsi dot com. Dan is excellent to work with. He’s does his sales old school. You contact him and let him know what you need, he gives you the cost, you mail him a check and he’ll send you your parts after he gets the check. There may be a few other sources for this gaskets but Dan would be my first go to.
I understand the other projects limiting motor time. I’d have done this one in a day or two instead of 3 weeks if I had the time. I’ll be glad to get the gearcase resealed and get this one back together again. I have a few more I need to get through this winter. I’ll be looking forward to your video. Feel free to ask any other questions you may have. I’m nearly through with this one so I should be able to answer them.
-BenOldJohnnyRude on YouTube
January 19, 2017 at 2:25 pm #51332Before I put the gearcase back together with new seals I had to get rid of some pretty bad pitting on the thrust washer for the pinion gear. I should have taken a before picture, but here is what it looked like after a little ride on the surface grinder. I had to take about 0.007" off to get rid of nearly all of the pitting. Considering the pitted surface would have eaten 0.007" away from the bronze bearing in short order, I think this was my best option. It should run a long time now. Almost ready to wrap this one up. Need to pressure test the gearcase after the reseal and make a new gasket for the lower section of the exhaust housing. Then it gets reassembled and new gear oil and it will be ready for boating season.
-Ben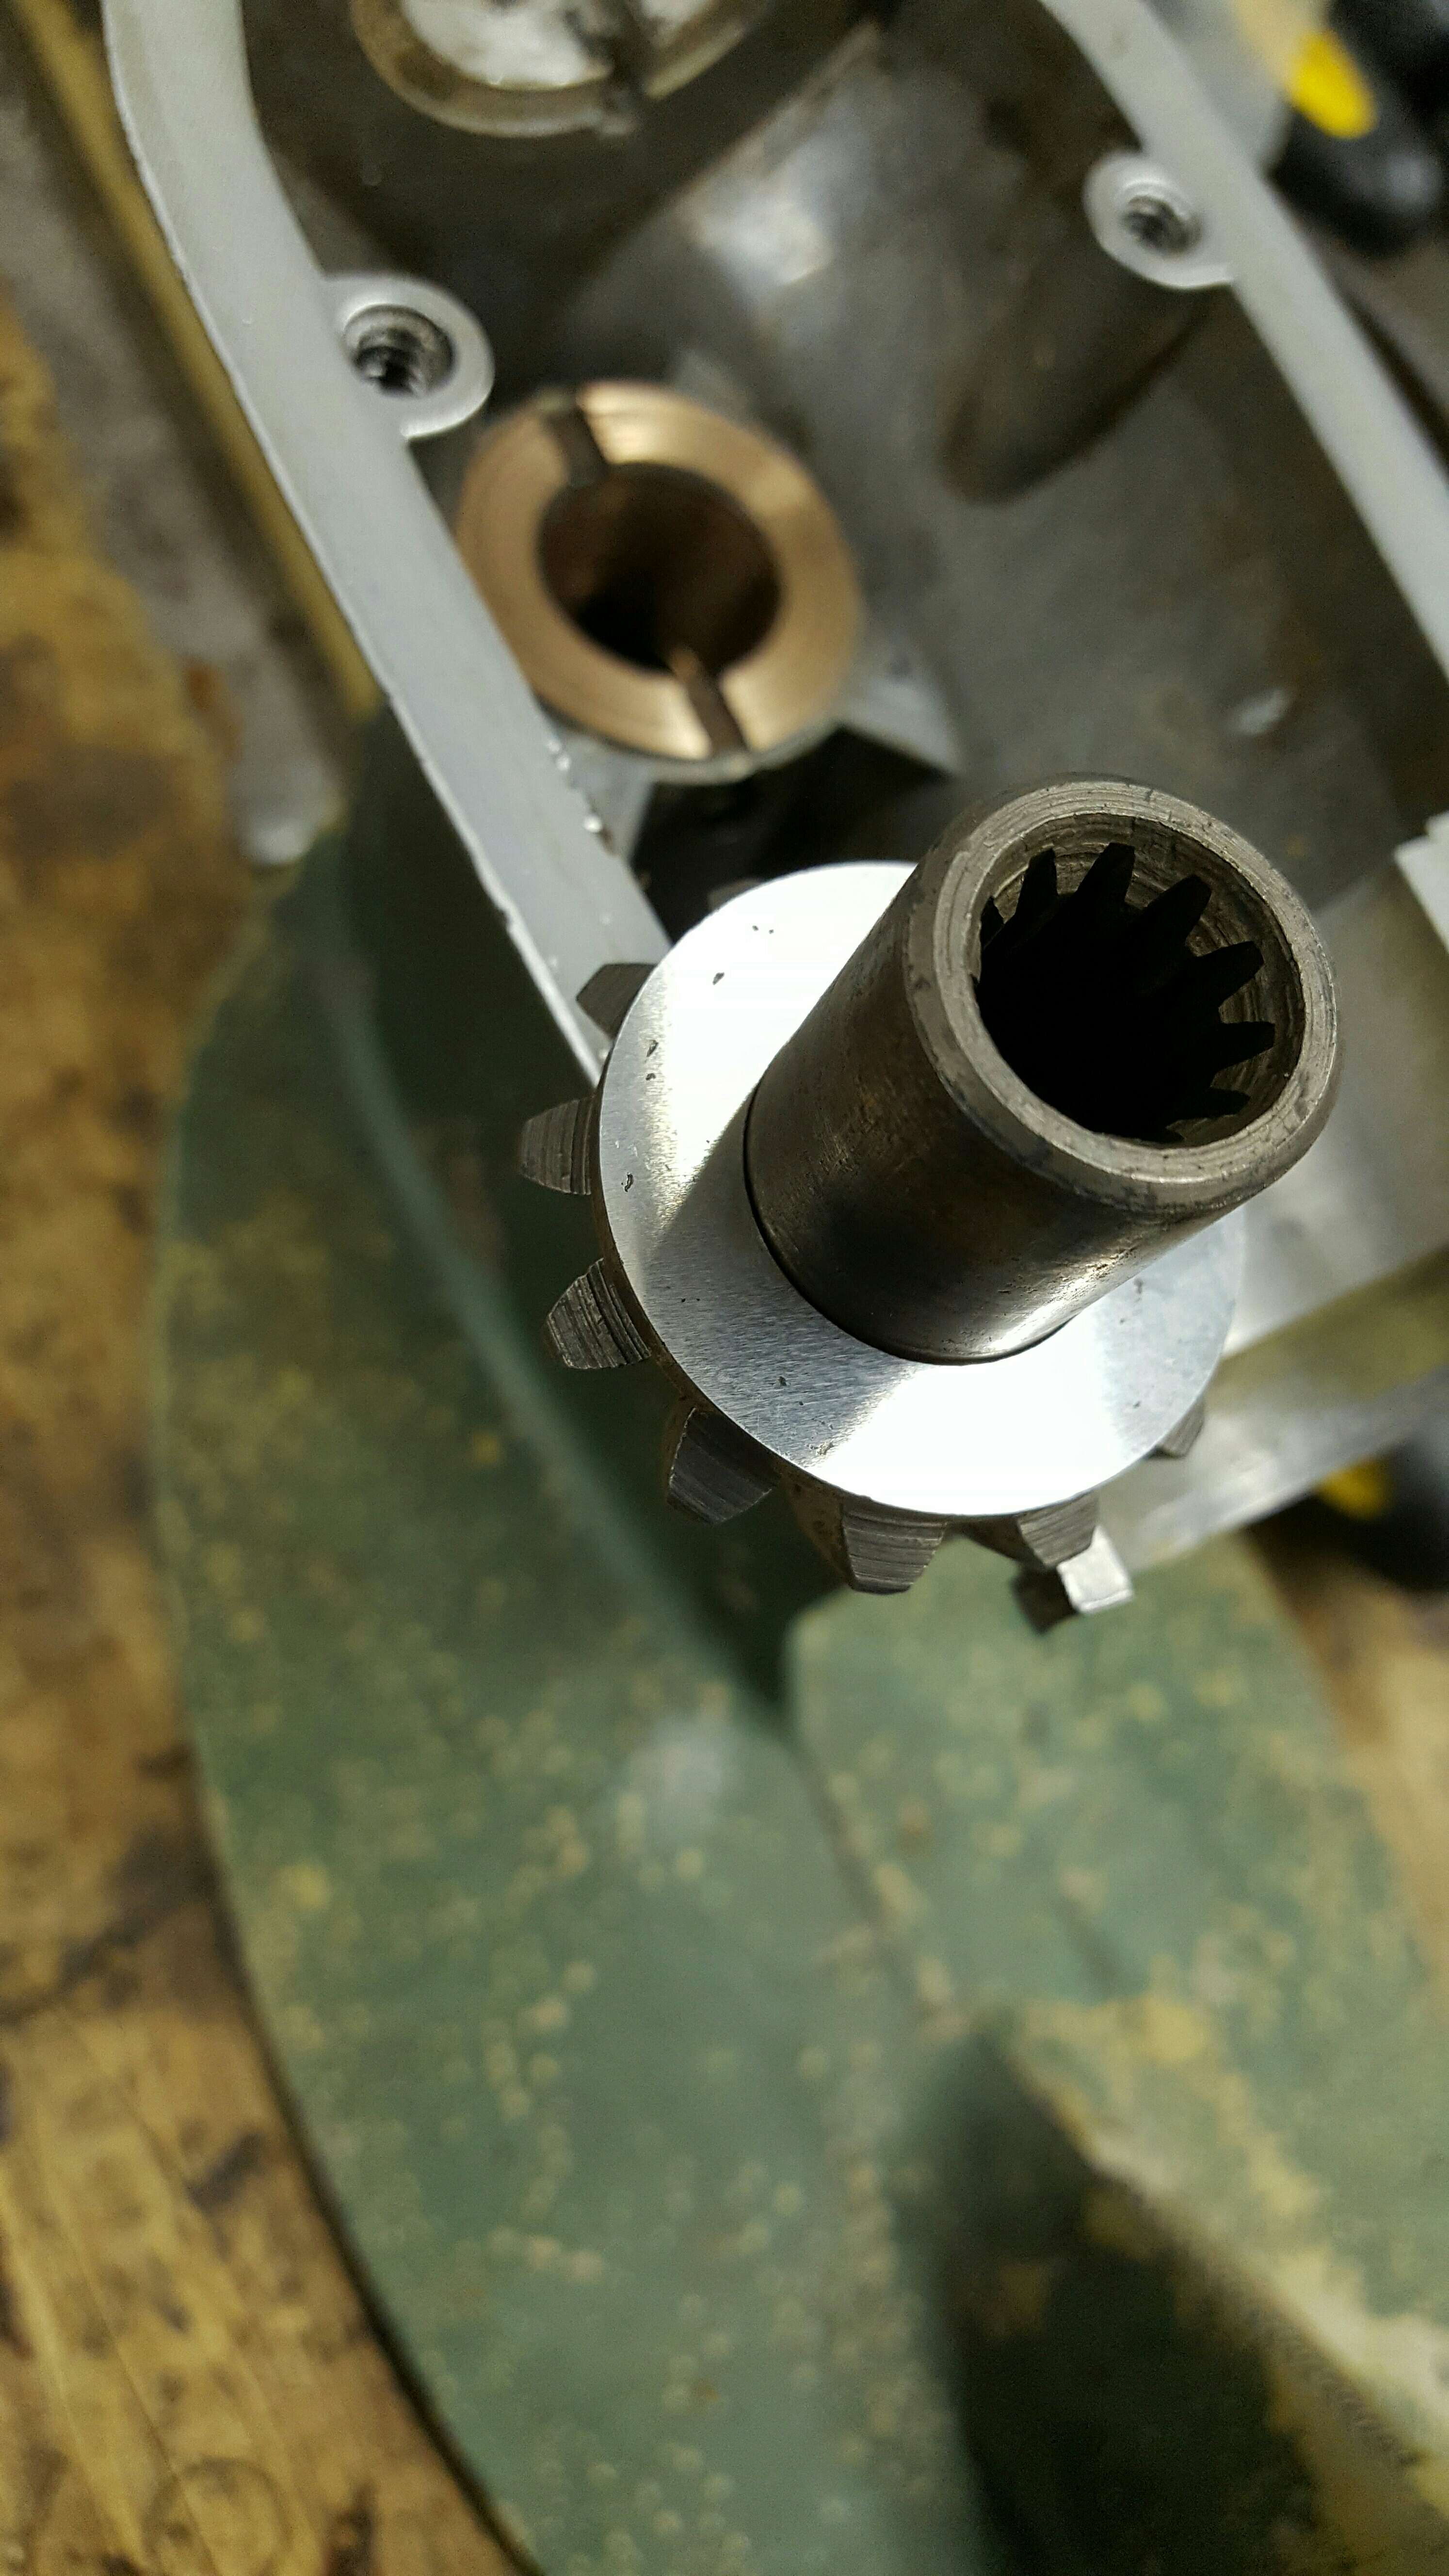
OldJohnnyRude on YouTube
January 20, 2017 at 2:19 am #51375
You will probably have to install a shim washer to adjust the gear lash. . . 😉

 January 20, 2017 at 12:50 pm #51394
I thought about that being a possibility too. After assembling it dry, the gear fit felt as good or better than most high mileage gearcases I have been into. It has the big, nearly straight cut gears in it and I think it will be OK without shimming it. I’ll try running it some and if it seems like it will need a shim, I’ll go back in and shim the excess lash out of the gears. I’ll pay extra attention to it Garry and thanks for the heads up.
-BenOldJohnnyRude on YouTube
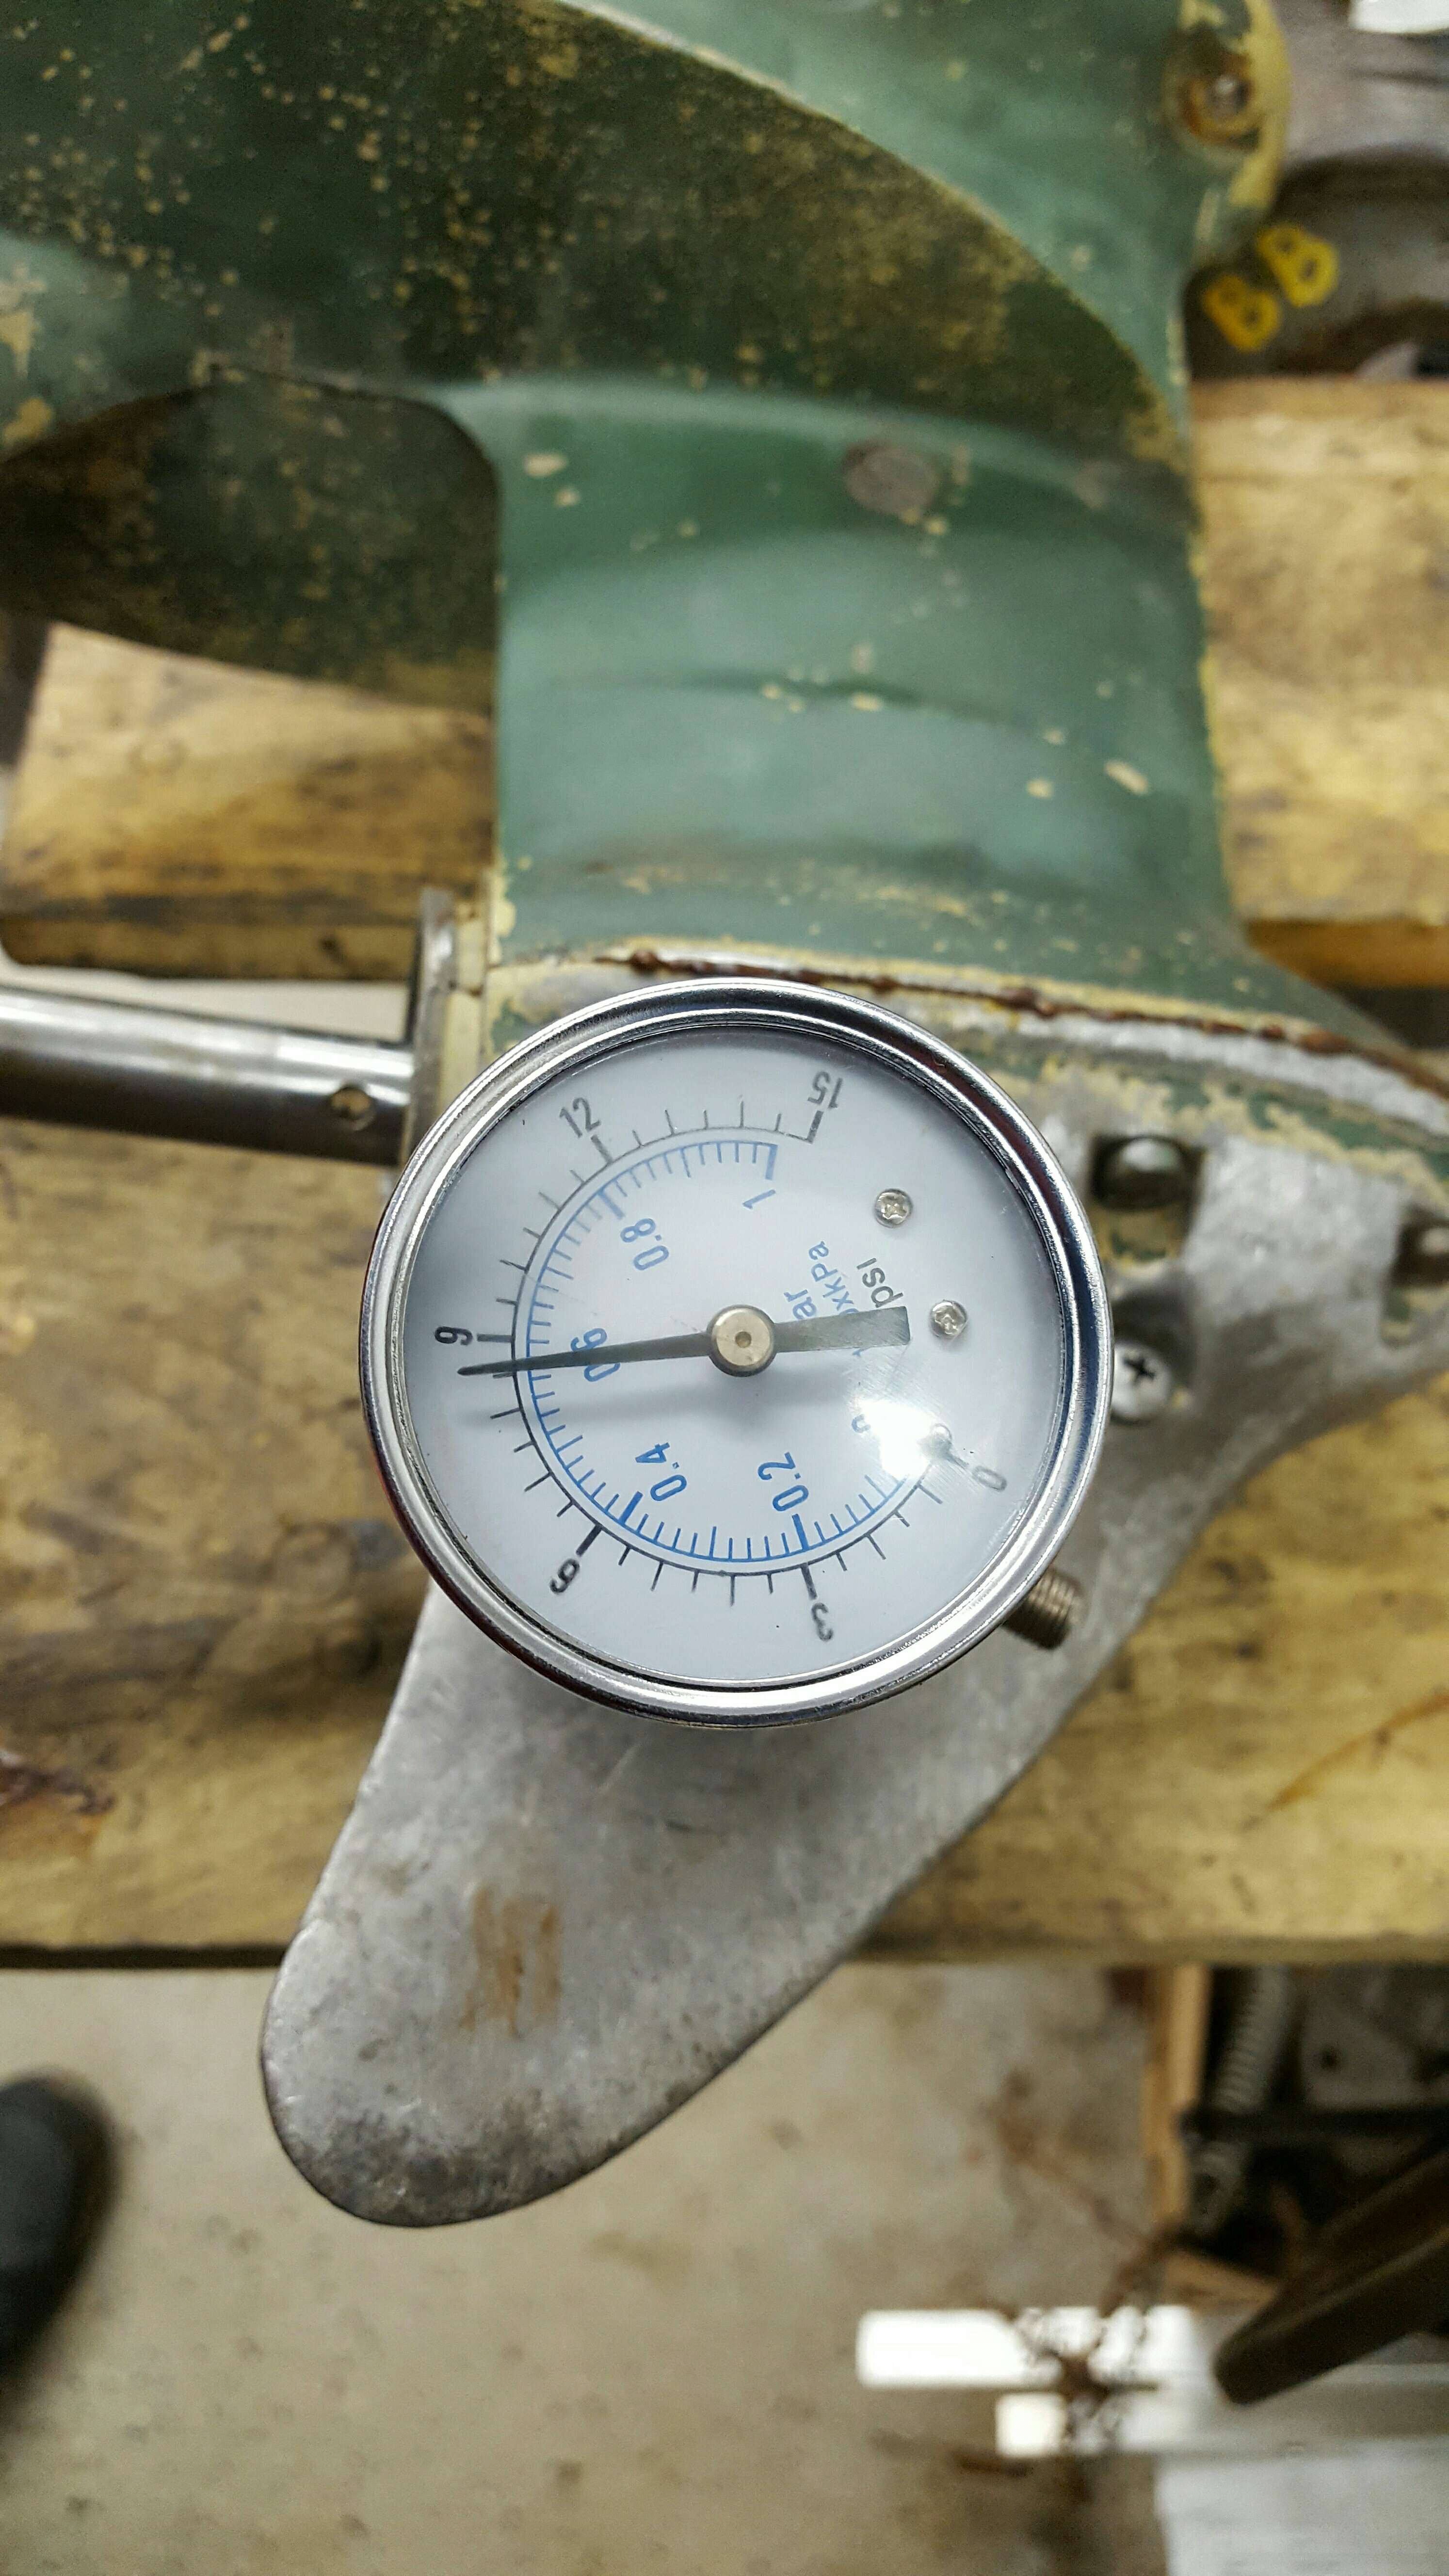
January 20, 2017 at 7:02 pm #51411I got the gearcase back together and pressure checked it. At ~8psi it showed zero leakage after 40 minutes and actually came up a bit to around 9psi with the temp in the shop and my handling it while reinstalling the shift rod connector and water pump… twice… but we won’t go into that right now. 😳
And I got the lower unit reattached along with the shift rod. It’s ready to be reassembled once I make a new gasket for the lower section of the exhaust housing.
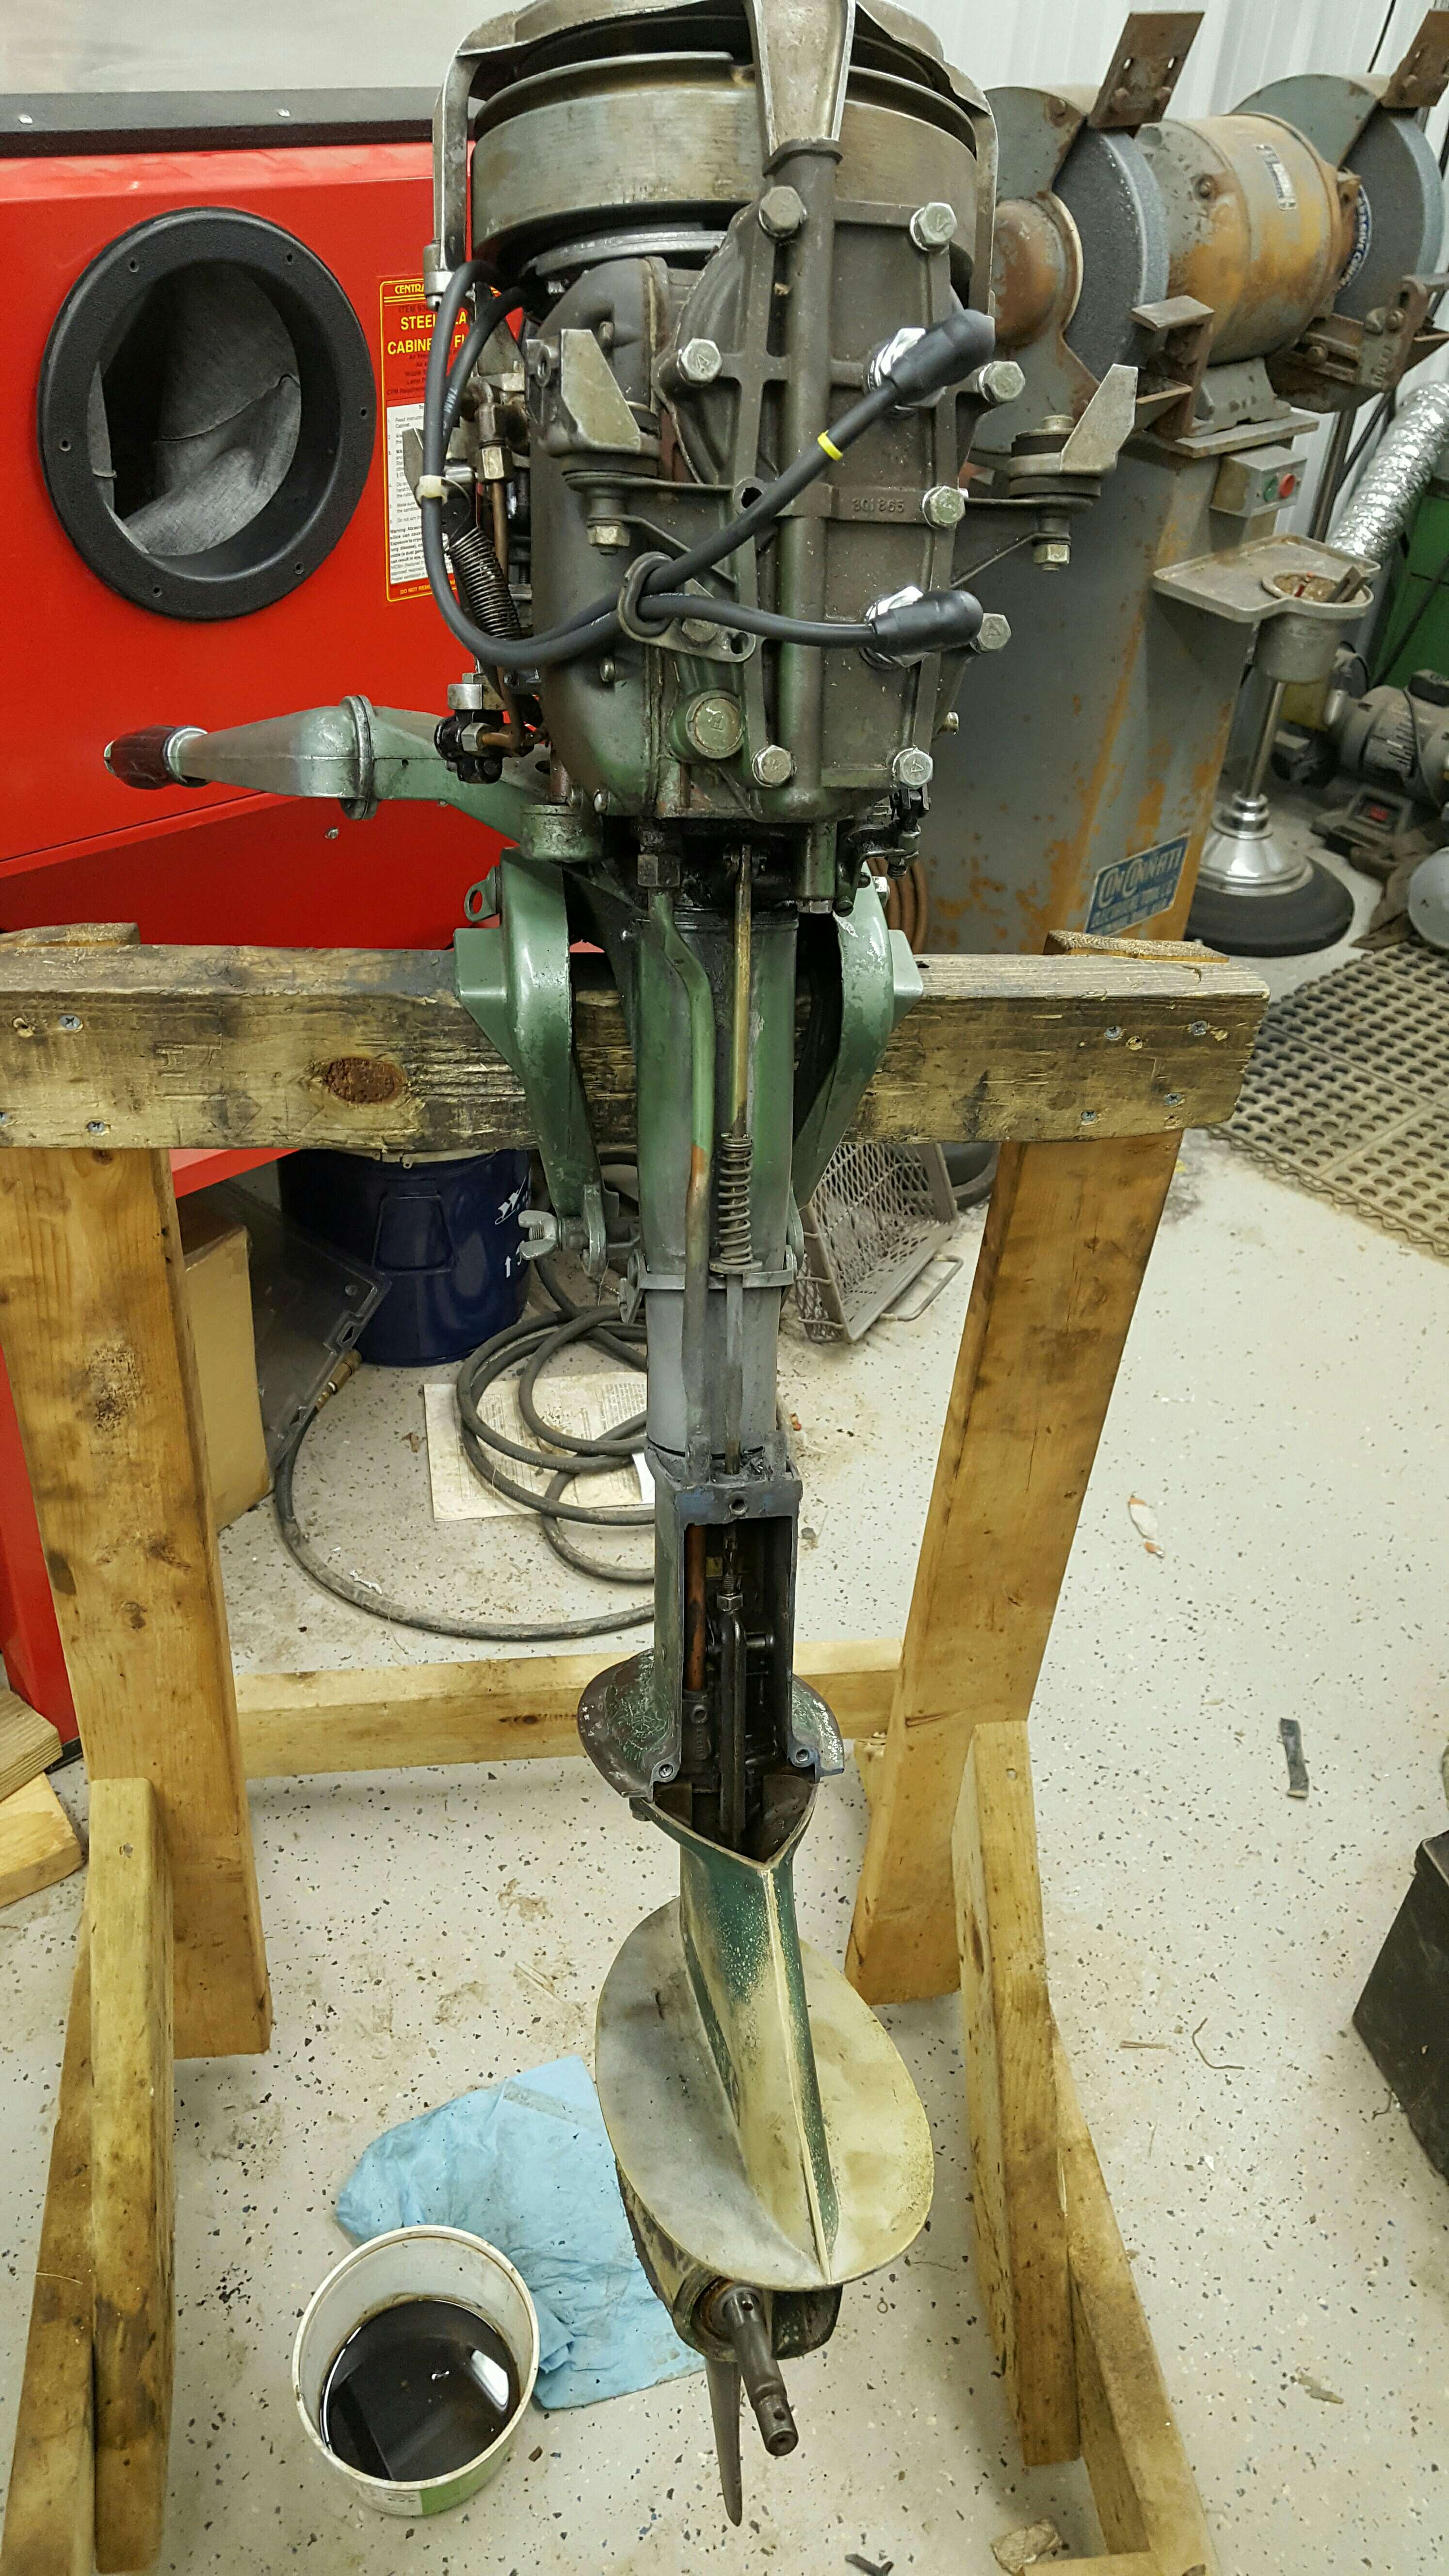
It’s almost back together. Hopefully tonight I’ll finish it and it will be another one ready for a boat test when the water softens up again.
-BenOldJohnnyRude on YouTube
January 21, 2017 at 1:44 am #51434I promise to not hi jack your thread. But you pushed me into working on a QD13 that I have had for the last few years. New points and condensers, changed lower unit fluid, and it fired right up! No one told it that it hadn’t run in decades! Pumped great water. There is a lower unit leak that has to be attended to
Thanks! -
AuthorPosts
- You must be logged in to reply to this topic.