Home › Forum › Ask A Member › 1955 Johnson 25 RD-17 Float Replacement
- This topic has 12 replies, 6 voices, and was last updated 4 months ago by
 Chad Graves.
-
AuthorPosts
-
December 12, 2024 at 9:23 pm #292577
I am restoring a 1955 Johnson 25 RD17
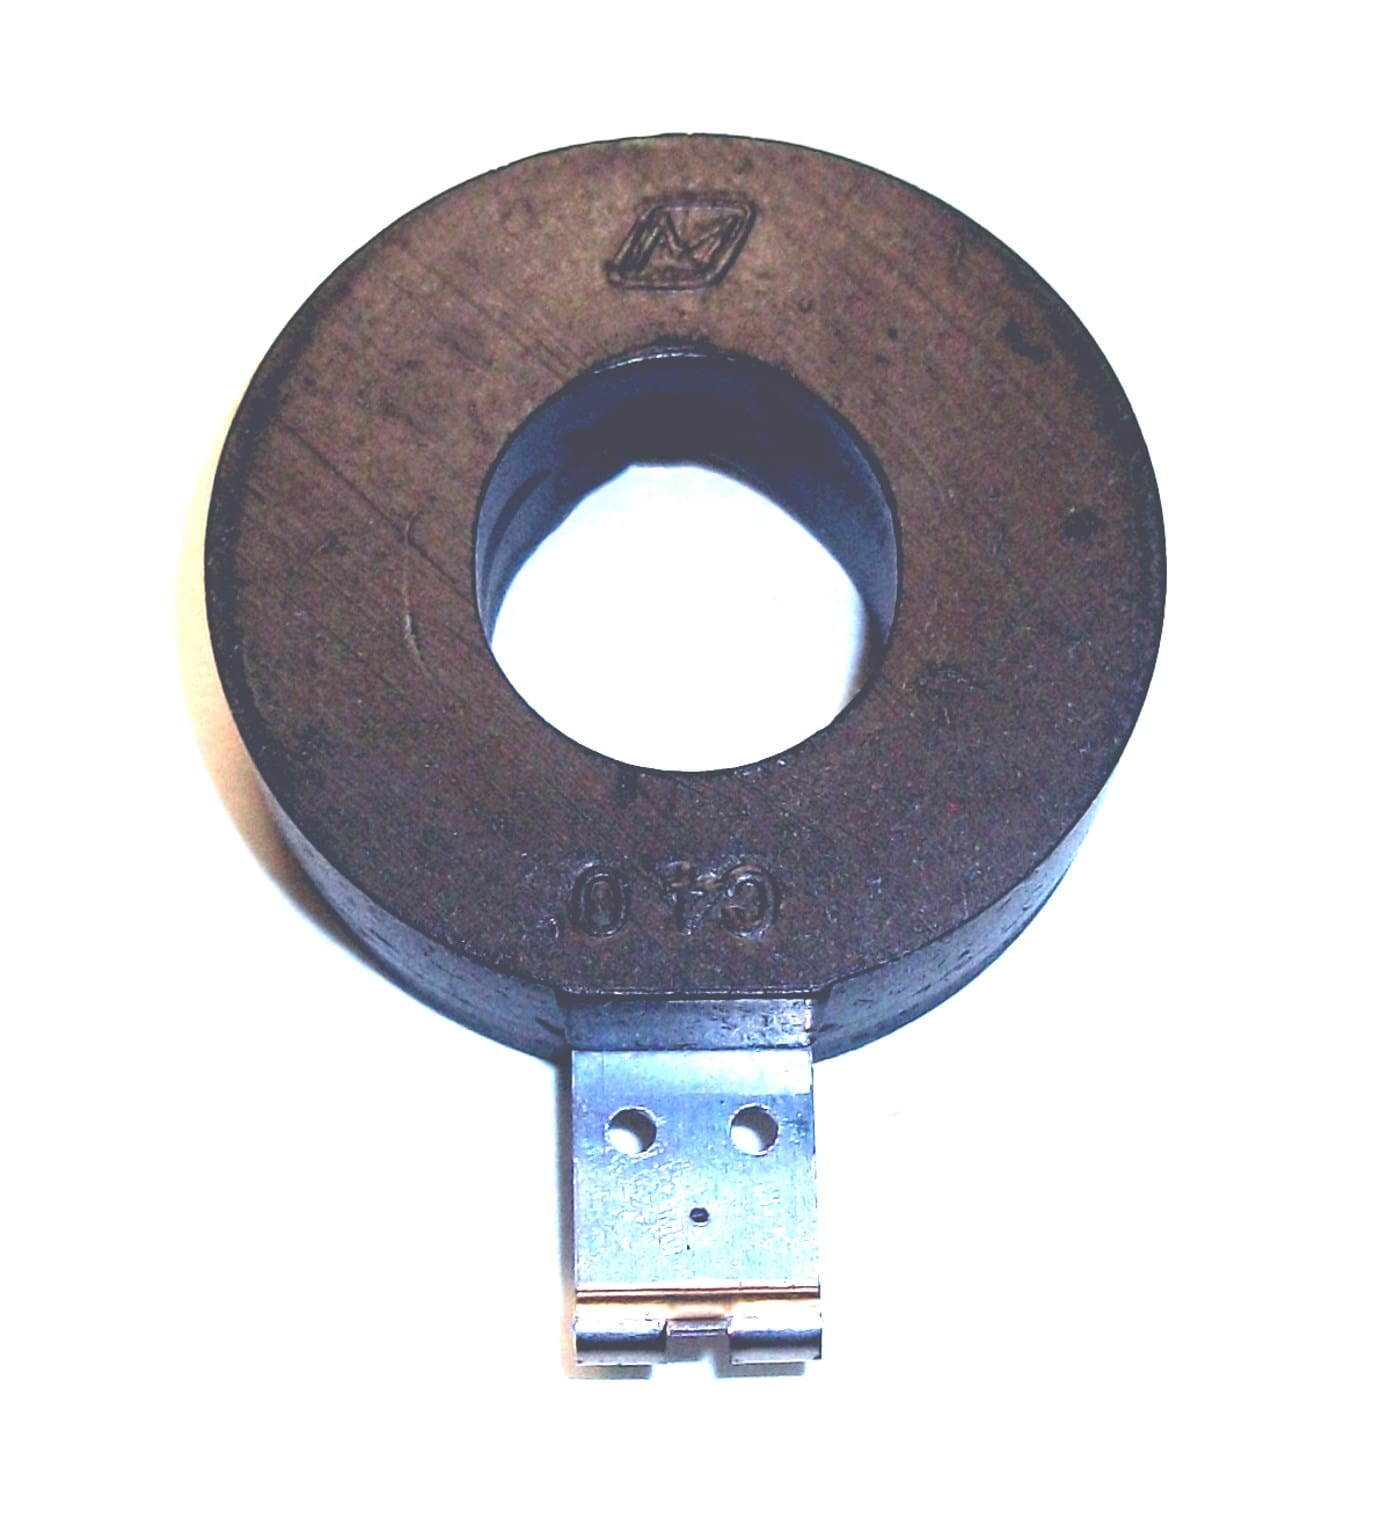
Is there another Float anyone knows of that is close to the original? I have the original, but the metal clip is not tight and the coating is peeling, I can’t find a replacement for the original part #0375792
Thanks for the help,
V/R
Chad Graves
1953 Johnson JW – 10
1954 Johnson QD – 15
1955 Johnson RD – 17
1956 Evinrude 5512
1957 Johnson CD – 14
1957 Johnson QD – 18
1958 Johnson FD – 12December 12, 2024 at 11:24 pm #292580lots of floats available in cheap chineese carb kits or you can gently sand the peeling coat resurface it with crazy glue (careful with fumes !)
you should be able to reclip the tab in the cork if to loose …remove it and reclip at another location
Joining AOMCI has priviledges 🙂
December 14, 2024 at 8:30 pm #292616Hmmm, that’s interesting. I can’t find a part number for an updated plastic float either
December 17, 2024 at 8:25 am #292680Hmmm, that’s interesting. I can’t find a part number for an updated plastic float either
I wonder if the marketing idea was that you have to buy the OMC/BRP carburetor kit in order to get the Nytrophyl float?
If the clip is loose on the float, that’s because they tend to shrink with time and degradation. I have tightened up the clip by gently squeezing the clip together with my thumb and index finger. Then after a light scuff sanding with 400 Gr sandpaper, a wipe down with isopropyl alcohol, and two coats of dollar store superglue, you should be good to go.
After applying the superglue, flip the float over every few minutes until set up. This will prevent sags and provide an even finish. No need to sand between coats but you can if you prefer. Give the final coat lots of time to cure before exposing it to gasoline.
All of this is dependent on the condition of the original float. If it’s dry rotted, and the original finish is gone, then don’t waste your time.
December 17, 2024 at 9:06 am #292681Hmmm, that’s interesting. I can’t find a part number for an updated plastic float either
I wonder if the marketing idea was that you have to buy the OMC/BRP carburetor kit in order to get the Nytrophyl float?
If the clip is loose on the float, that’s because they tend to shrink with time and degradation. I have tightened up the clip by gently squeezing the clip together with my thumb and index finger. Then after a light scuff sanding with 400 Gr sandpaper, a wipe down with isopropyl alcohol, and two coats of dollar store superglue, you should be good to go.
After applying the superglue, flip the float over every few minutes until set up. This will prevent sags and provide an even finish. No need to sand between coats but you can if you prefer. Give the final coat lots of time to cure before exposing it to gasoline.
All of this is dependent on the condition of the original float. If it’s dry rotted, and the original finish is gone, then don’t waste your time.
Judging from the pictures of the OEM carb kit, looks like it comes with another cork float, but who knows, pictures are not always accurate.
December 17, 2024 at 10:07 am #292684if you don’t like to clean up the old float… with crazy glue
lots of floats in cheap China kits… just keep the flot and discard junk inlet needles and gaskets that melt …
Amazon.ca : evinrude carb kit float
Joining AOMCI has priviledges 🙂
December 17, 2024 at 11:12 pm #292704December 18, 2024 at 2:49 am #292710Hmmm, that’s interesting. I can’t find a part number for an updated plastic float either
I wonder if the marketing idea was that you have to buy the OMC/BRP carburetor kit in order to get the Nytrophyl float?
If the clip is loose on the float, that’s because they tend to shrink with time and degradation. I have tightened up the clip by gently squeezing the clip together with my thumb and index finger. Then after a light scuff sanding with 400 Gr sandpaper, a wipe down with isopropyl alcohol, and two coats of dollar store superglue, you should be good to go.
After applying the superglue, flip the float over every few minutes until set up. This will prevent sags and provide an even finish. No need to sand between coats but you can if you prefer. Give the final coat lots of time to cure before exposing it to gasoline.
All of this is dependent on the condition of the original float. If it’s dry rotted, and the original finish is gone, then don’t waste your time.
Judging from the pictures of the OEM carb kit, looks like it comes with another cork float, but who knows, pictures are not always accurate.
Unfortunately the kit does not come with a float,
Chad Graves
1953 Johnson JW – 10
1954 Johnson QD – 15
1955 Johnson RD – 17
1956 Evinrude 5512
1957 Johnson CD – 14
1957 Johnson QD – 18
1958 Johnson FD – 12December 18, 2024 at 11:18 am #292717For what it’s worth
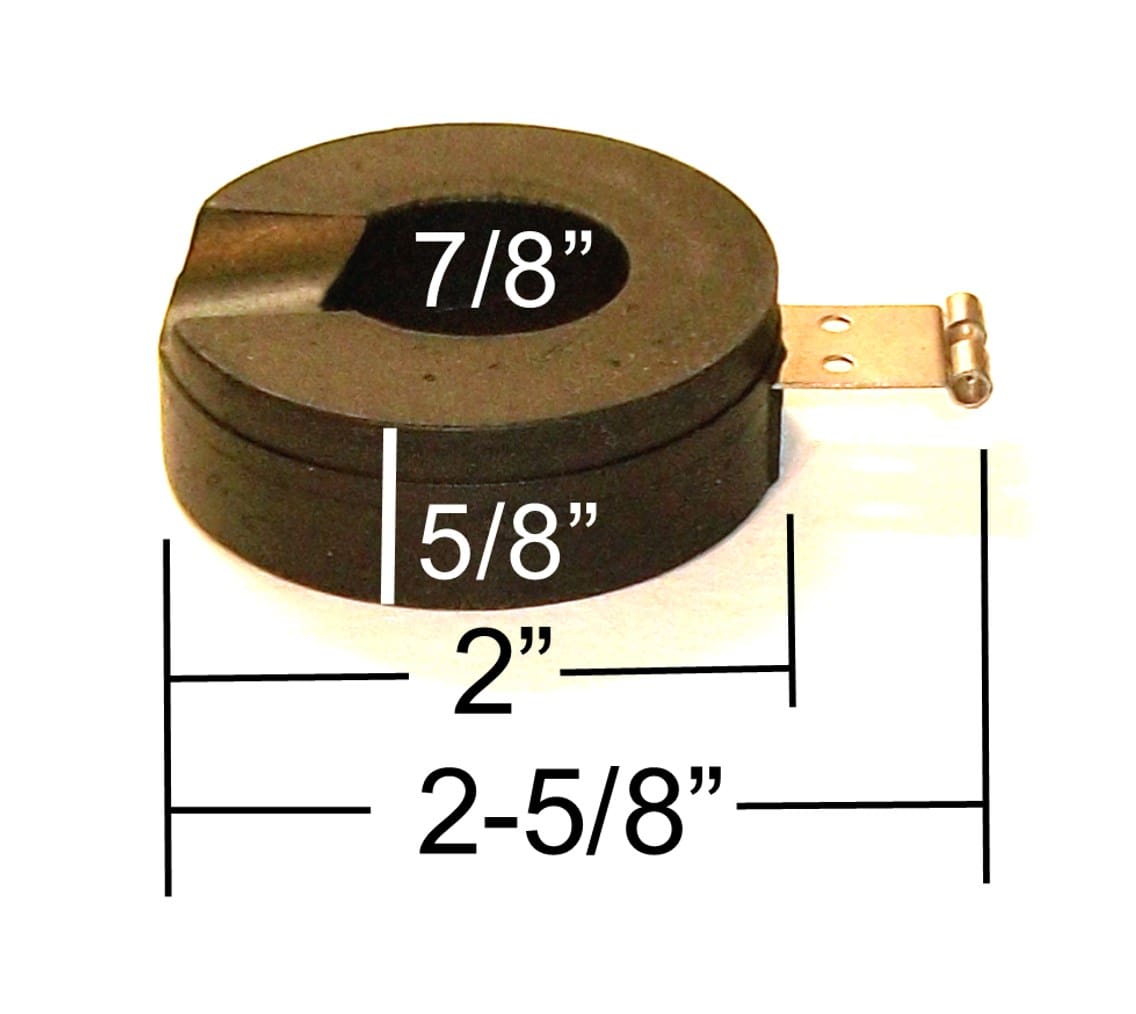
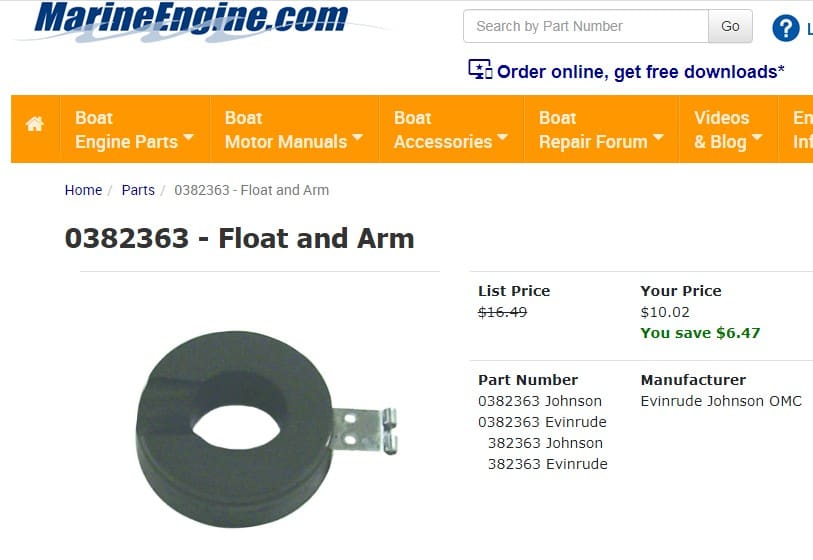
There is a guy(Arthur Simler) on Facebook that is reproducing this float with a 3D printer. I made him aware of this post. He says the black float is different from the cork float. The arm of the black float is in the middle of the body while the cork floats are on top. I went to my stash and compared the two. He’s right. Too bad the dimensions are the same.December 18, 2024 at 12:44 pm #292722if it fits horizontally parallel with the carb body right side up or upside down it would probably be ok no ?
in any event if OEM floats are not available …. Chineese ones are probably the only option or fixing up the old one .
not a big problem to solve.
or….. 3 kits for 34$ …incl floats !!!
Joining AOMCI has priviledges 🙂
-
AuthorPosts
- You must be logged in to reply to this topic.


