Home › Forum › Ask A Member › 1957 Big Twin Exhaust Tube and Swivel Mount
- This topic has 9 replies, 5 voices, and was last updated 3 years, 11 months ago by
 Buccaneer.
-
AuthorPosts
-
May 31, 2020 at 9:37 pm #204619
I snuck out on the bathroom remodeling for a while today to work on the project.
Saved the least fun for last to go through…… exhaust housing / swivel tube / transom mount “stuff”.
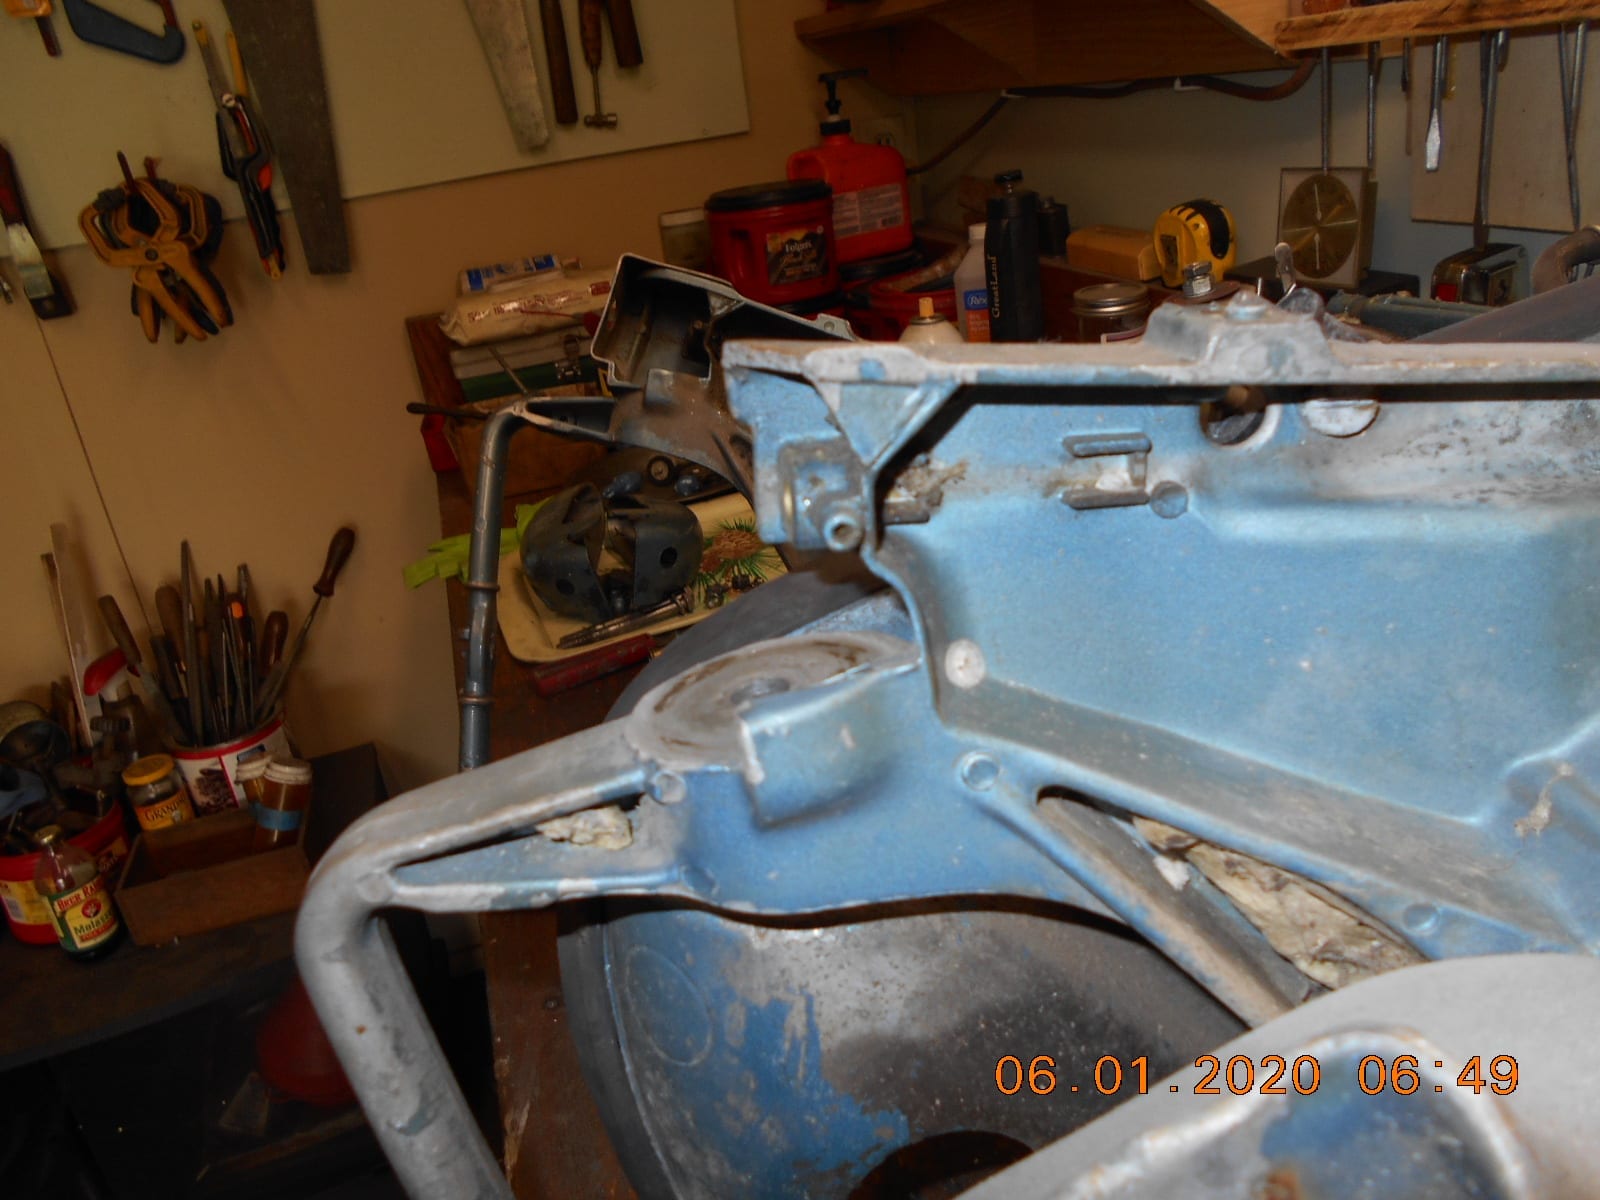
The “safety chain” hole in the transom mount is broken out, as well as the ends of both transom
screw handles, and one rubber shock mount, so I’m going to try to scavenge parts from other 1957
Big Twin motors I have.
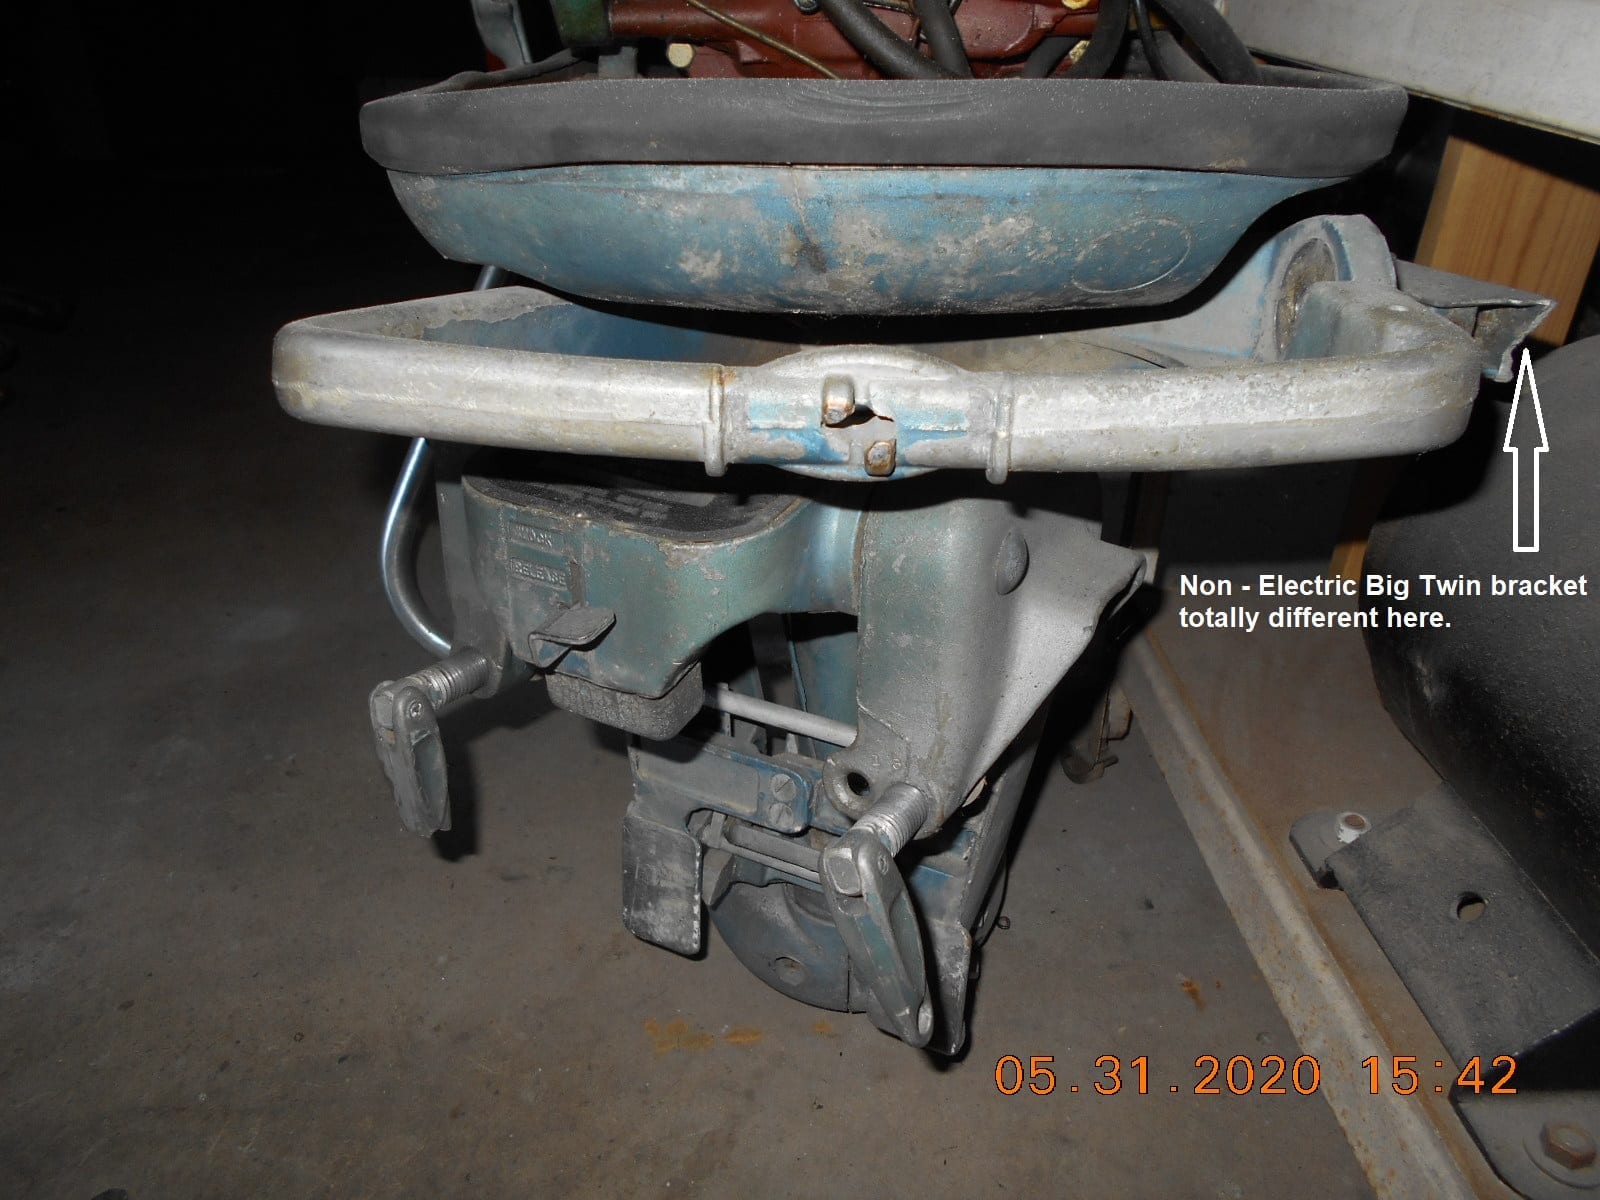
I was thinking about swapping the whole exhaust housing with the other with good parts,
but the project motor is electric start, and now I see the pivot shaft assembly is different
that the non-electric units, being that the electric start units don’t have the mount
ability for a tiller handle, and if they do some how, it’s totally different looking.
Also, I want to maintain the correct model and serial number tag.
It appears I can just swap out with the transom bracket with the good safety chain mount and be good
to go.
Q. Any potential problems I don’t know about?Also, when I was taken everything apart, I had Deja Vu about the rubber mounts. The side rubber mounts
that go out at an angle are a bugger to allow the swivel tube to disengage from the exhaust housing.
This one was easier because one of the rubber mounts was broken.
I remember fighting with the mounts on a 25 hp, after all the parts were painted, trying to get it back together
without ruining the new paint. One of the bolts holding the rubber mounts on is not accessible
when it’s together.
Q. Is there a good procedure to get the mounts back in place without lots of trouble?Did OMC make any solid handles for the transom screws.……. out of the six handles on the three Big Twins
I’m working one, only three aren’t broken, lol.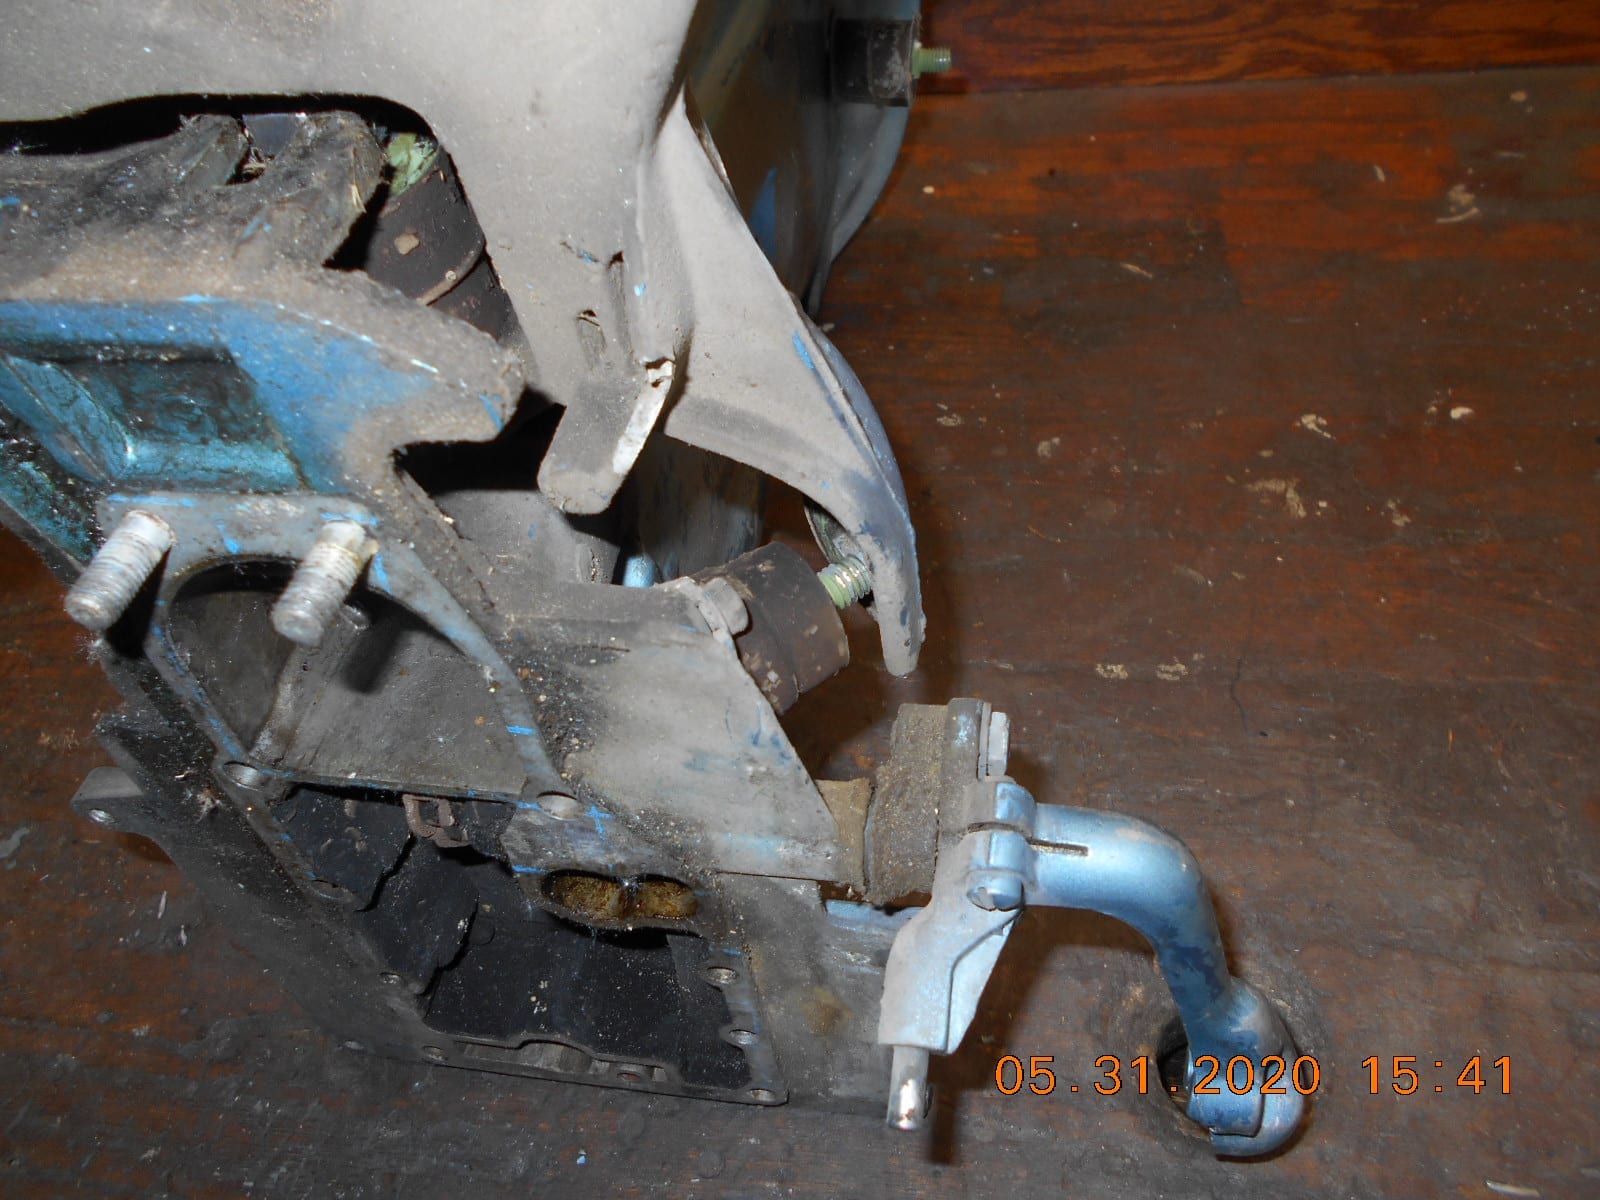
Prepare to be boarded!
May 31, 2020 at 10:27 pm #204632I checked the pivot shaft / handle bracket for the ’57 Johnson and Evinrude. They are all the same part # for manual and electric start.
Tiller handle is an option for electric start motors.
Transom half bracket was an easy swap for me.
Don’t know about the mount issue or solid handles but I do see a lot of broken ones.May 31, 2020 at 11:24 pm #204641Buc,
Here’s what I know based on what I did with my ’56 Johnson 30hp:– You should be able to swap out the transom brackets so you can keep the original model/serial ID tag. If not, easy enough to swap tags out by driving out the drive screws from the back side of the bracket, then re-install on the correct bracket.
– Never seen solid handles for the transom screws. One of mine was broken. Drilled the pin out and replaced the broken handle with a spare I had and made up a new pin.
– To keep from scratching paint when reassembling the exhaust housing onto the swivel tube, I tape off the “ear” where the rubber motor mount engages into the bracket. Hang the housing onto the front mount, engage one of the side mounts, then use a small screwdriver to lever the other side mount into its bracket hole. I then use some tweezers and an Exacto knife to remove the protective tape. Worked real good on my 56 with no paint scratches.
Bob
1937 Champion D2C Deluxe Lite Twin
1954 Johnson CD-11
1957 Evinrude Fastwin 18
1958 Johnson QD-19
1958 Johnson FD-12
1959 Johnson QD-20“Every 20 minute job is only a broken bolt away from a 3-day project.”
"Every time you remove a broken or seized bolt an angel gets his wings."May 31, 2020 at 11:42 pm #204644Likewise, I checked and find part #376912 steering bracket/pivot shaft for both electric and rope start, so I don’t understand what the supposed difference is.
I can see where scratching fresh paint could be a problem when installing the exhaust housing to the steering bracket, but there is no non-scrape way to do it.
Yeah, people put bike padlocks through those clampscrews. It’s easy to see that locks are only for honest people. It doesn’t take a crook long to figure out how to unlock them with a hammer.
June 1, 2020 at 7:40 am #204654I checked the pivot shaft / handle bracket for the ’57 Johnson and Evinrude. They are all the same part # for manual and electric start.
Tiller handle is an option for electric start motors.
Transom half bracket was an easy swap for me.
Don’t know about the mount issue or solid handles but I do see a lot of broken ones.I’ll compare the perceived swivel mount differences this morning and bring my camera
in case I wasn’t having an optical delusion!Prepare to be boarded!
June 1, 2020 at 7:45 am #204655Likewise, I checked and find part #376912 steering bracket/pivot shaft for both electric and rope start, so I don’t understand what the supposed difference is.
I can see where scratching fresh paint could be a problem when installing the exhaust housing to the steering bracket, but there is no non-scrape way to do it.
Yeah, people put bike padlocks through those clampscrews. It’s easy to see that locks are only for honest people. It doesn’t take a crook long to figure out how to unlock them with a hammer.
I never thought about the motor being appropriated in a past life
by someone whacking off the padlock. Hopefully I don’t have a
hot motor.
The guy I got it from went to tons of auctions, and literally had
tons of outboards. He was going to start an “outboard junkyard”,
but never got around to it…. He might have whacked it to free it from a
scrap boat.Prepare to be boarded!
June 1, 2020 at 7:47 am #204656following
June 1, 2020 at 7:49 am #204657Buc,
Here’s what I know based on what I did with my ’56 Johnson 30hp:– You should be able to swap out the transom brackets so you can keep the original model/serial ID tag. If not, easy enough to swap tags out by driving out the drive screws from the back side of the bracket, then re-install on the correct bracket.
– Never seen solid handles for the transom screws. One of mine was broken. Drilled the pin out and replaced the broken handle with a spare I had and made up a new pin.
– To keep from scratching paint when reassembling the exhaust housing onto the swivel tube, I tape off the “ear” where the rubber motor mount engages into the bracket. Hang the housing onto the front mount, engage one of the side mounts, then use a small screwdriver to lever the other side mount into its bracket hole. I then use some tweezers and an Exacto knife to remove the protective tape. Worked real good on my 56 with no paint scratches.
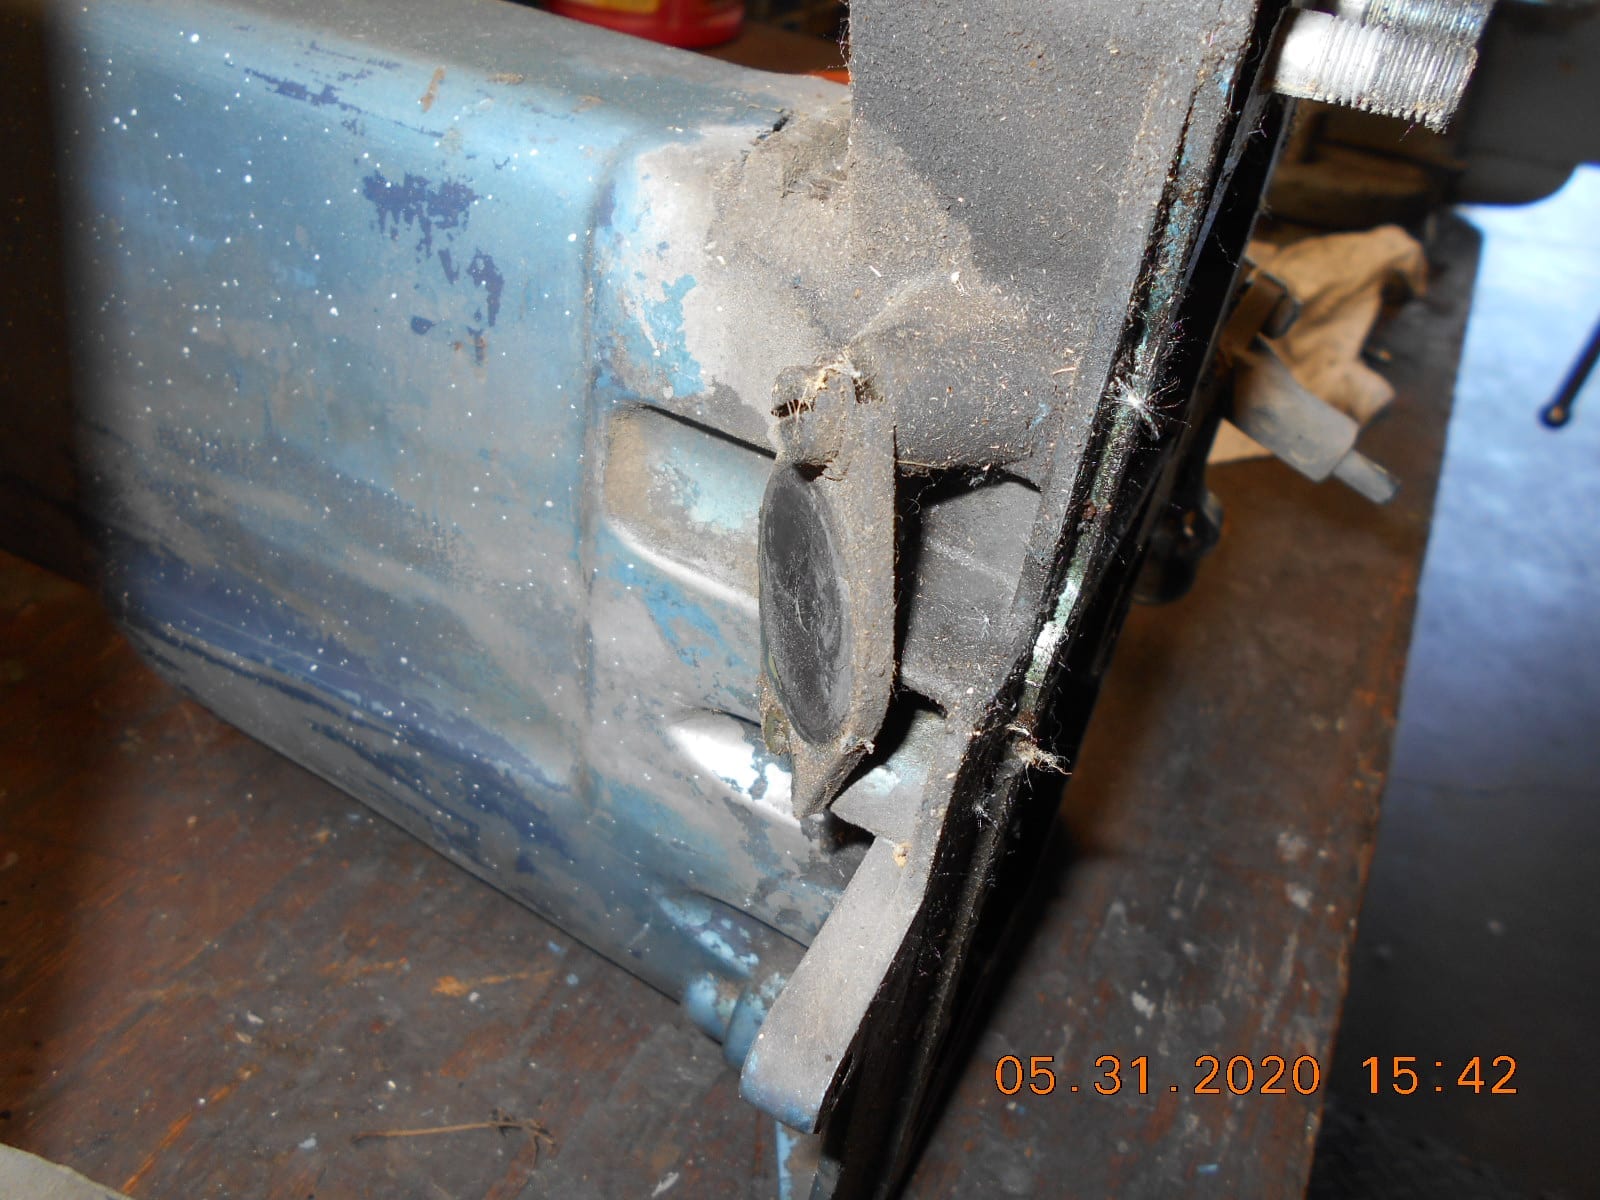
I’ve removed other data plates for painting purposes, etc., but even if I can
get the big rubber bumper off on the back side, the access hole looks
way to small to get at the data plate drive pins. I’ll just keep that whole
part original to the motor. Always makes a nicer paint job though if you
can get the data plates off.Prepare to be boarded!
June 1, 2020 at 9:11 am #204668Buc – sorry, can’t believe I forgot about the ID plate location on the big twins. On my ’56, the ID plate was all messed up and needed replacing. I just drilled the drive pins out from the front – no access from the back.
Bob
1937 Champion D2C Deluxe Lite Twin
1954 Johnson CD-11
1957 Evinrude Fastwin 18
1958 Johnson QD-19
1958 Johnson FD-12
1959 Johnson QD-20“Every 20 minute job is only a broken bolt away from a 3-day project.”
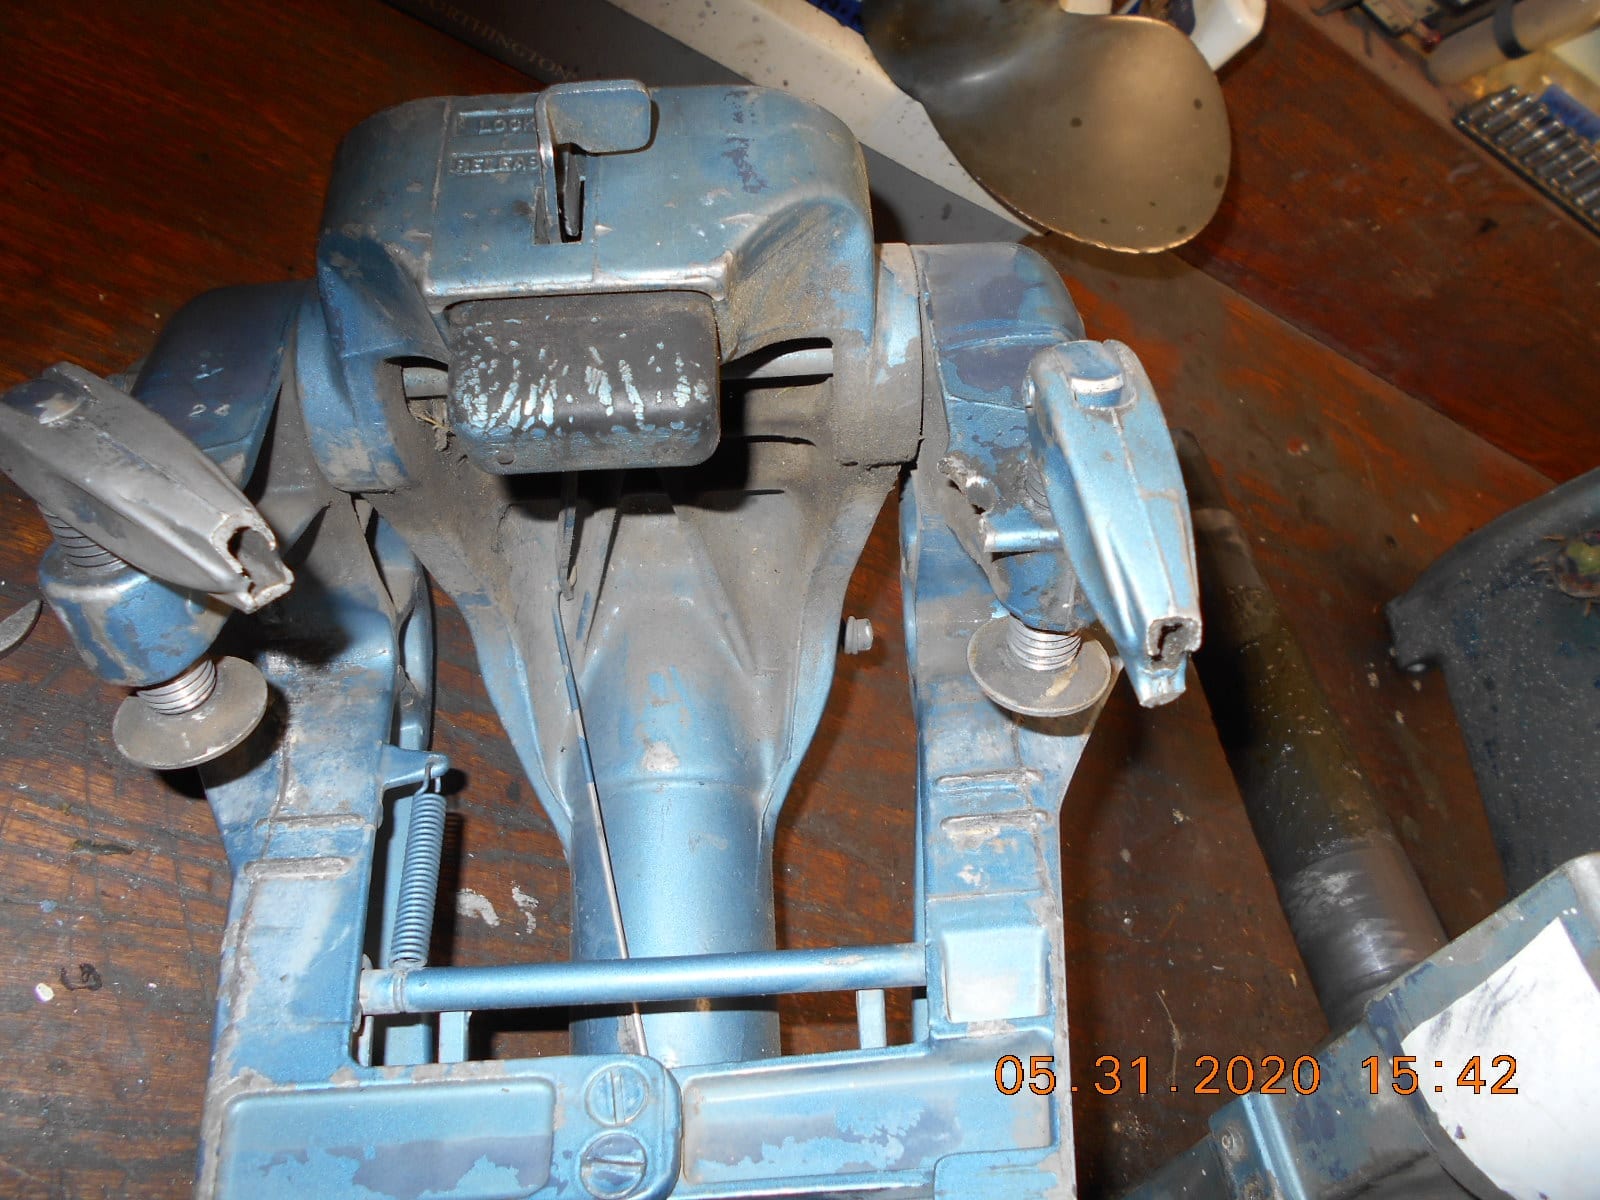
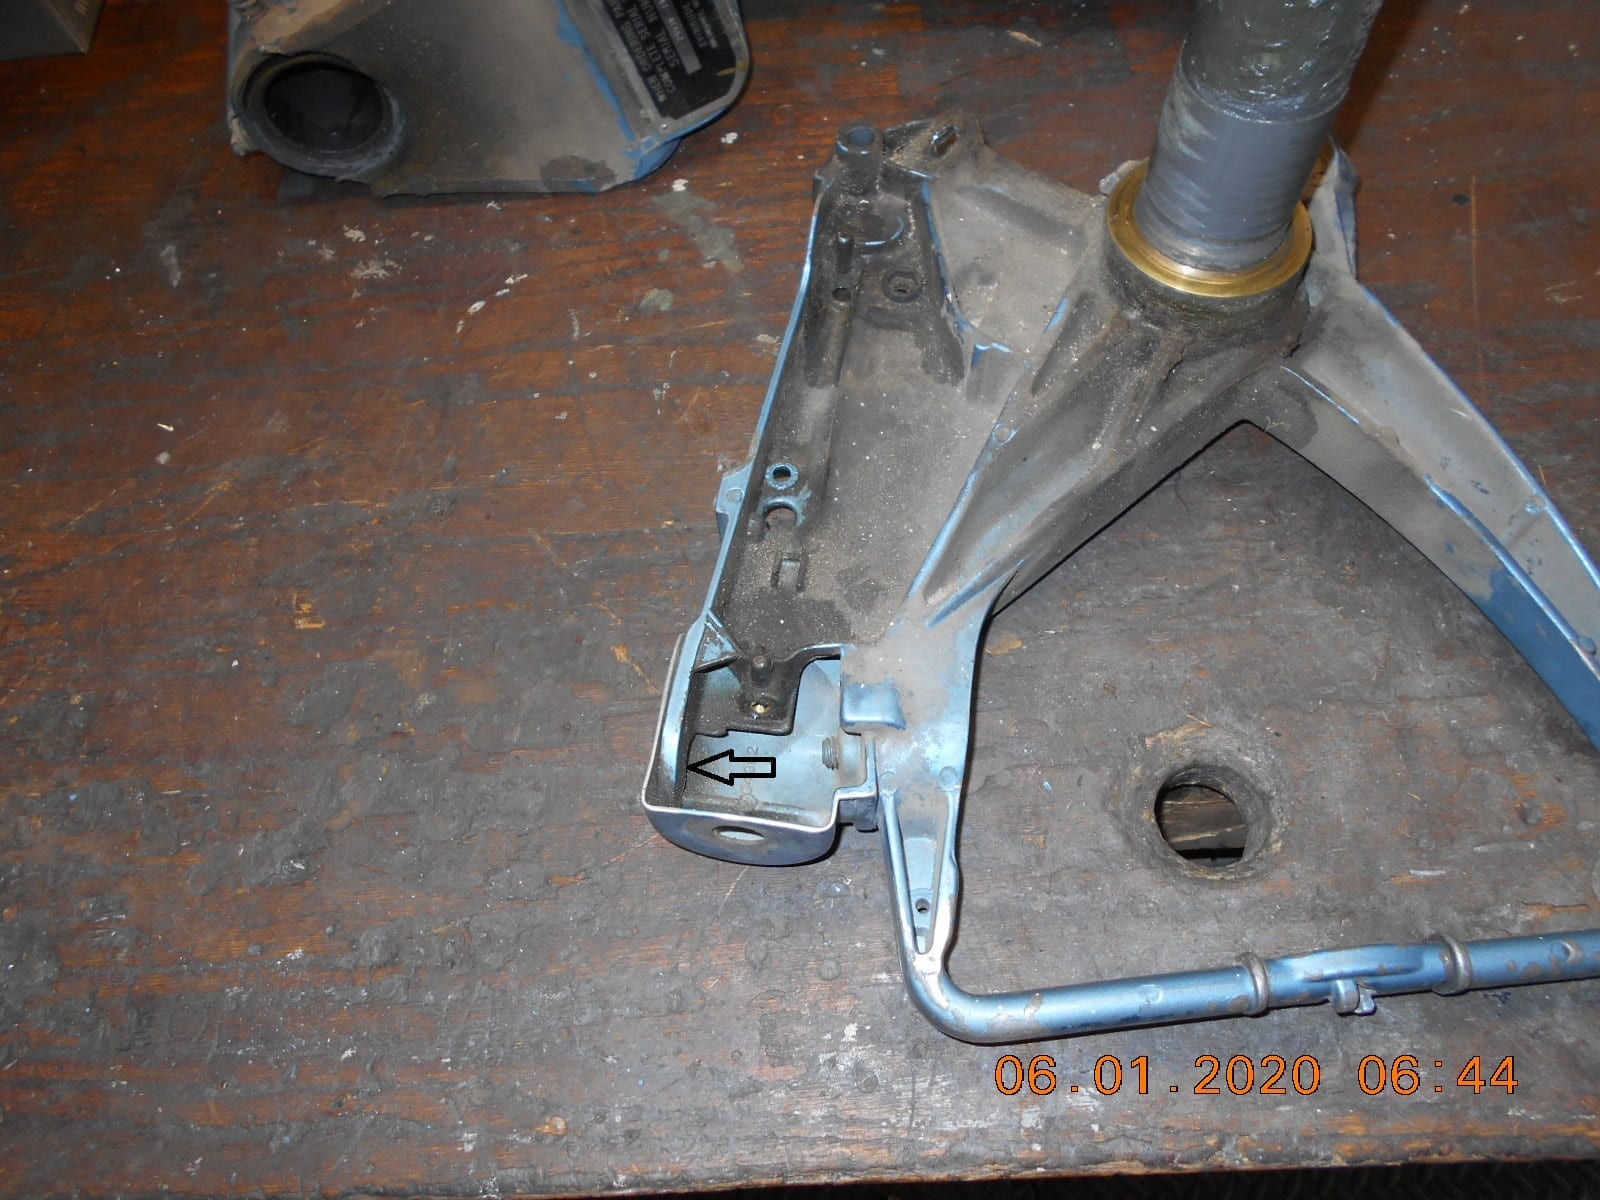
"Every time you remove a broken or seized bolt an angel gets his wings."June 1, 2020 at 12:22 pm #204695I looked over the Electric 25930 model and the non electric 25028 model
swivel mounts. You guys were correct, they’re the same……. at least they
were originally! With the throttle control cover on the electric model, and
the end of the mount broken off by the throttle shaft on the other, the
looked different until I got them both upside down for closer inspection.I’ve never seen one that didn’t have the end broke off…….. I always thought
OMC had a crummy mold for that part!In no time I had the needed parts stripped from the parts motor, so I should
be good to go now.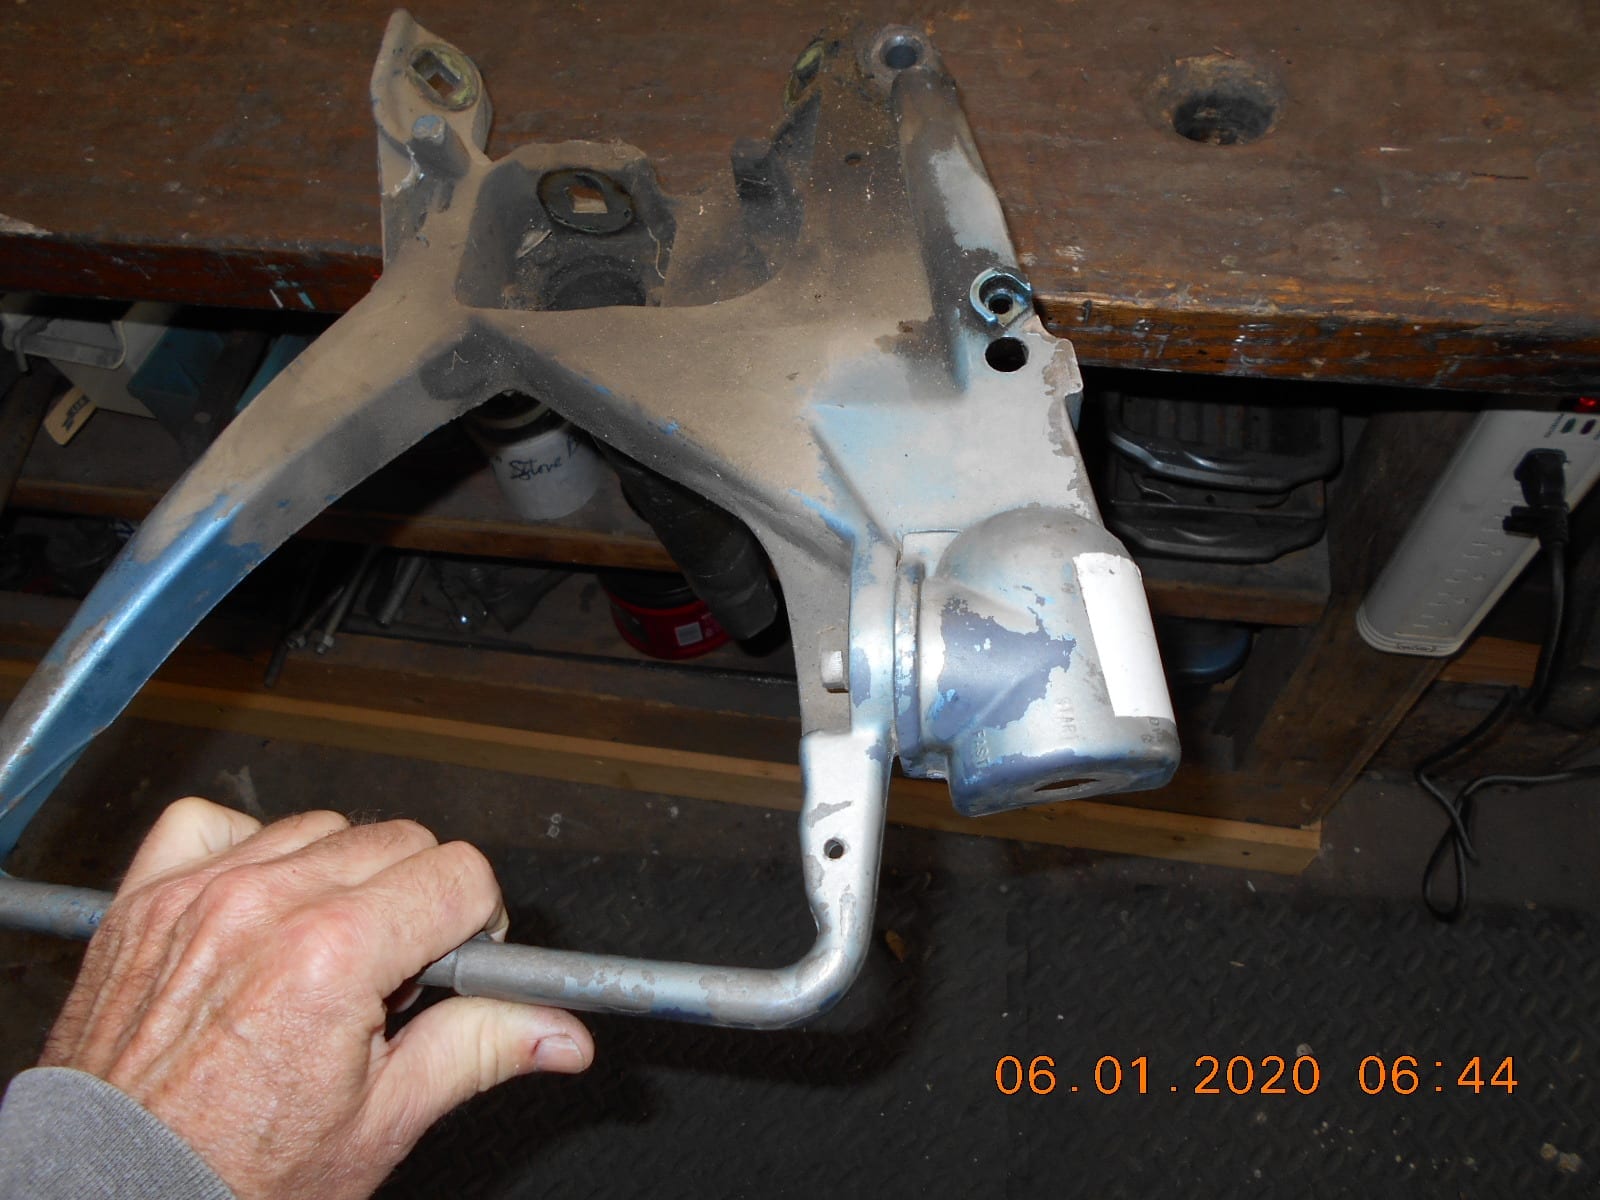
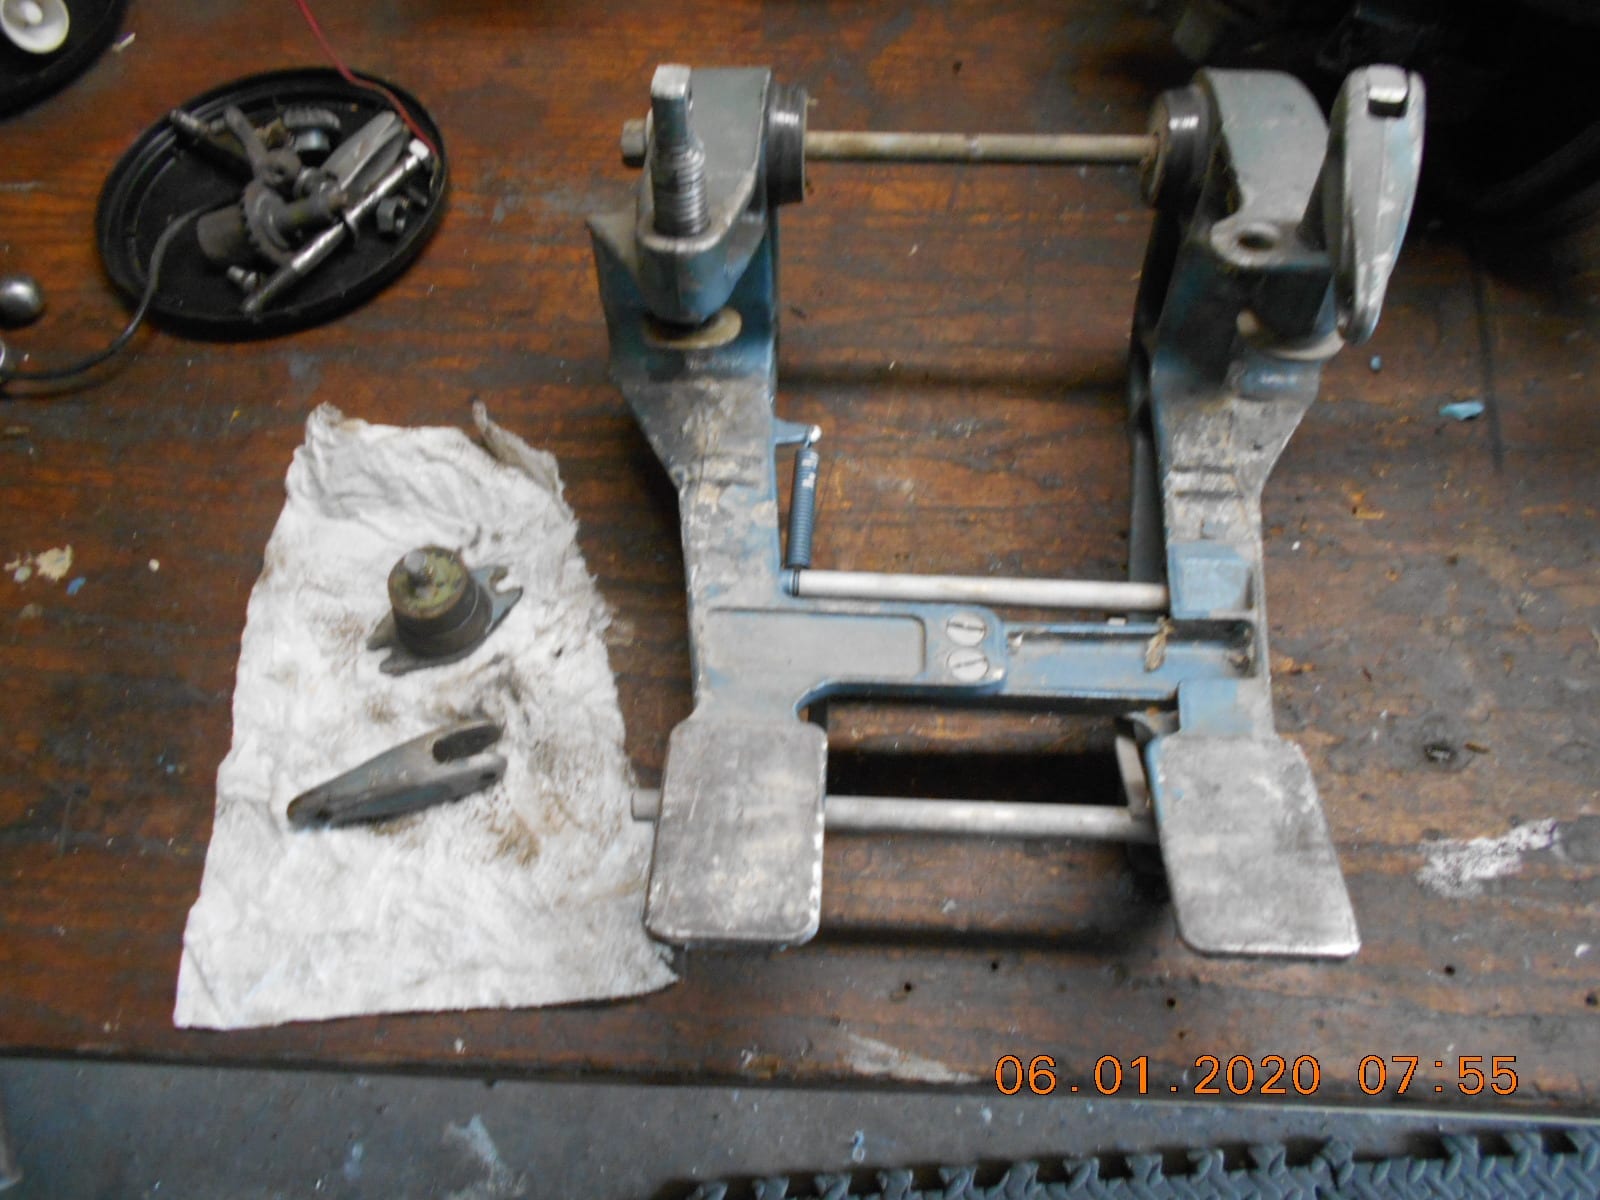
Prepare to be boarded!
-
AuthorPosts
- You must be logged in to reply to this topic.