Home › Forum › Ask A Member › 1958 Evinrude 10 hp Sportwin New Pinion Gear
- This topic has 24 replies, 9 voices, and was last updated 4 years, 9 months ago by
Mike Nazarenko.
-
AuthorPosts
-
March 12, 2021 at 11:53 am #233672
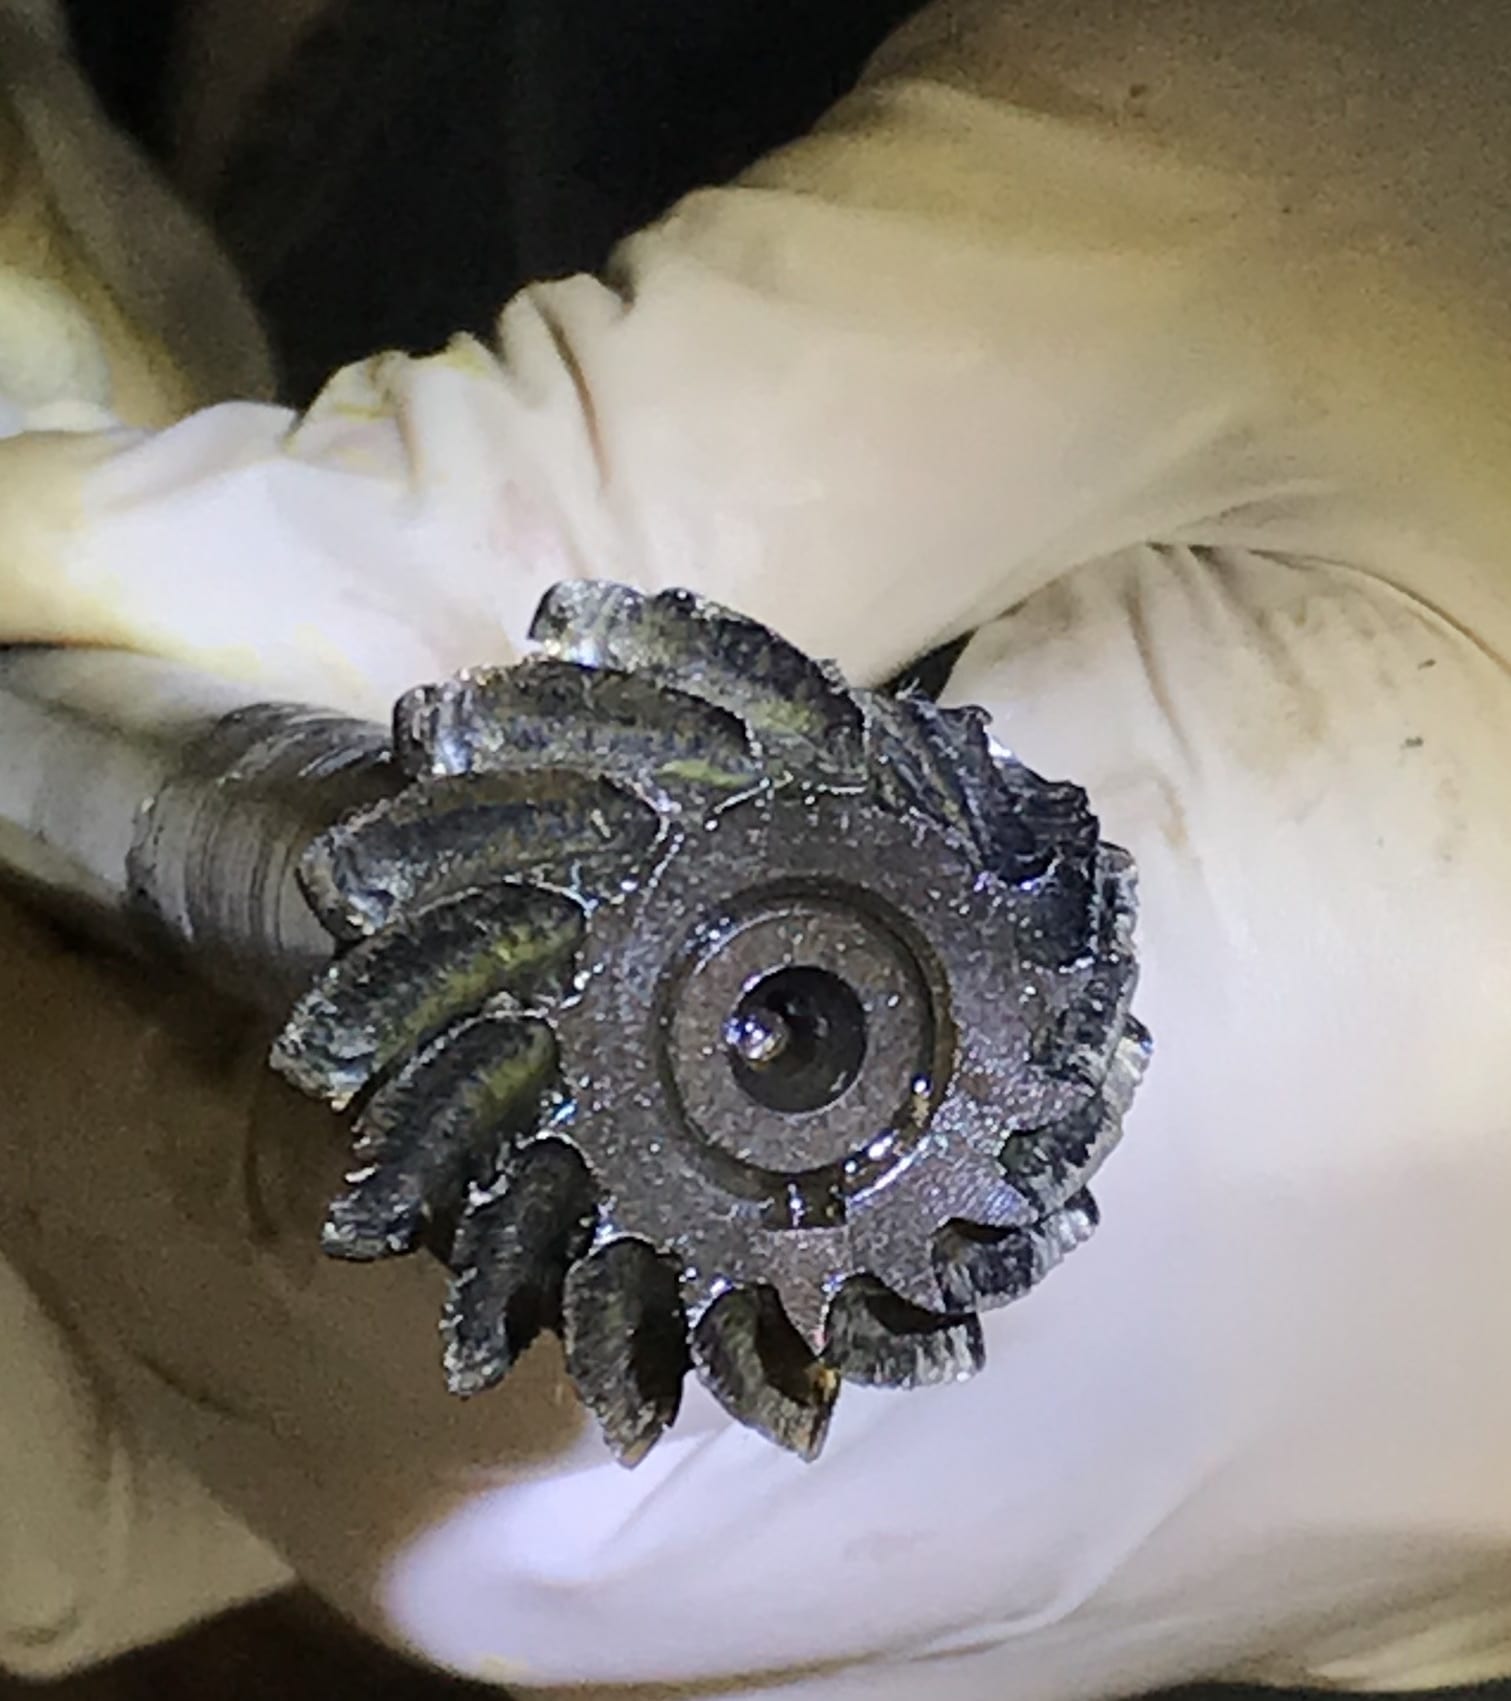
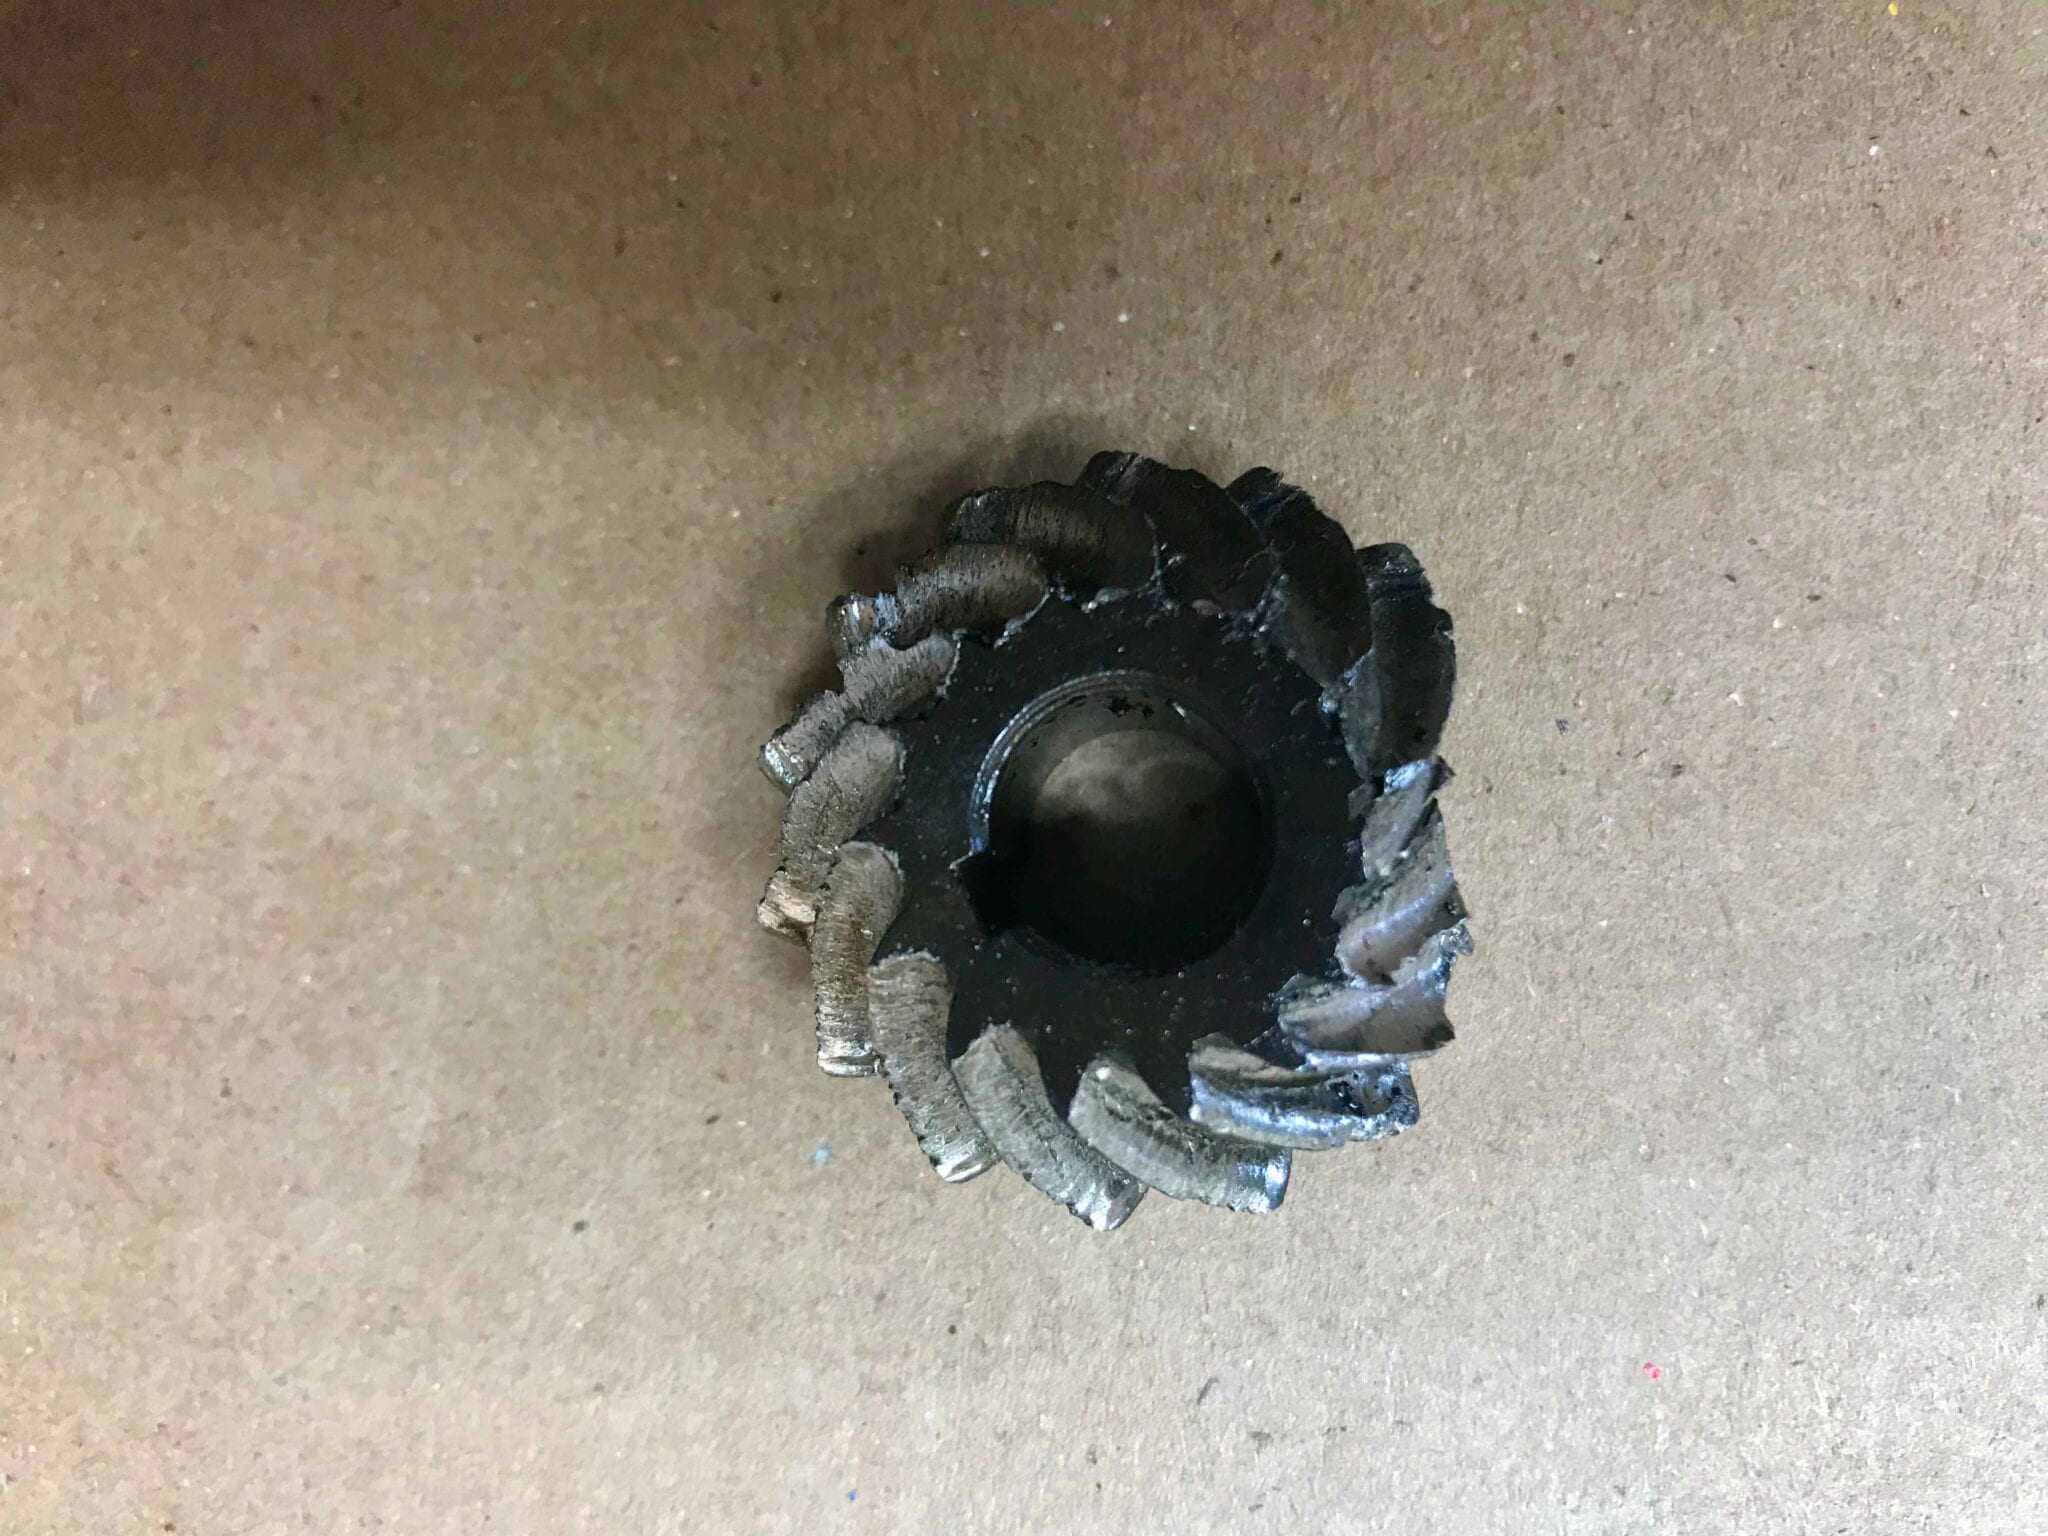
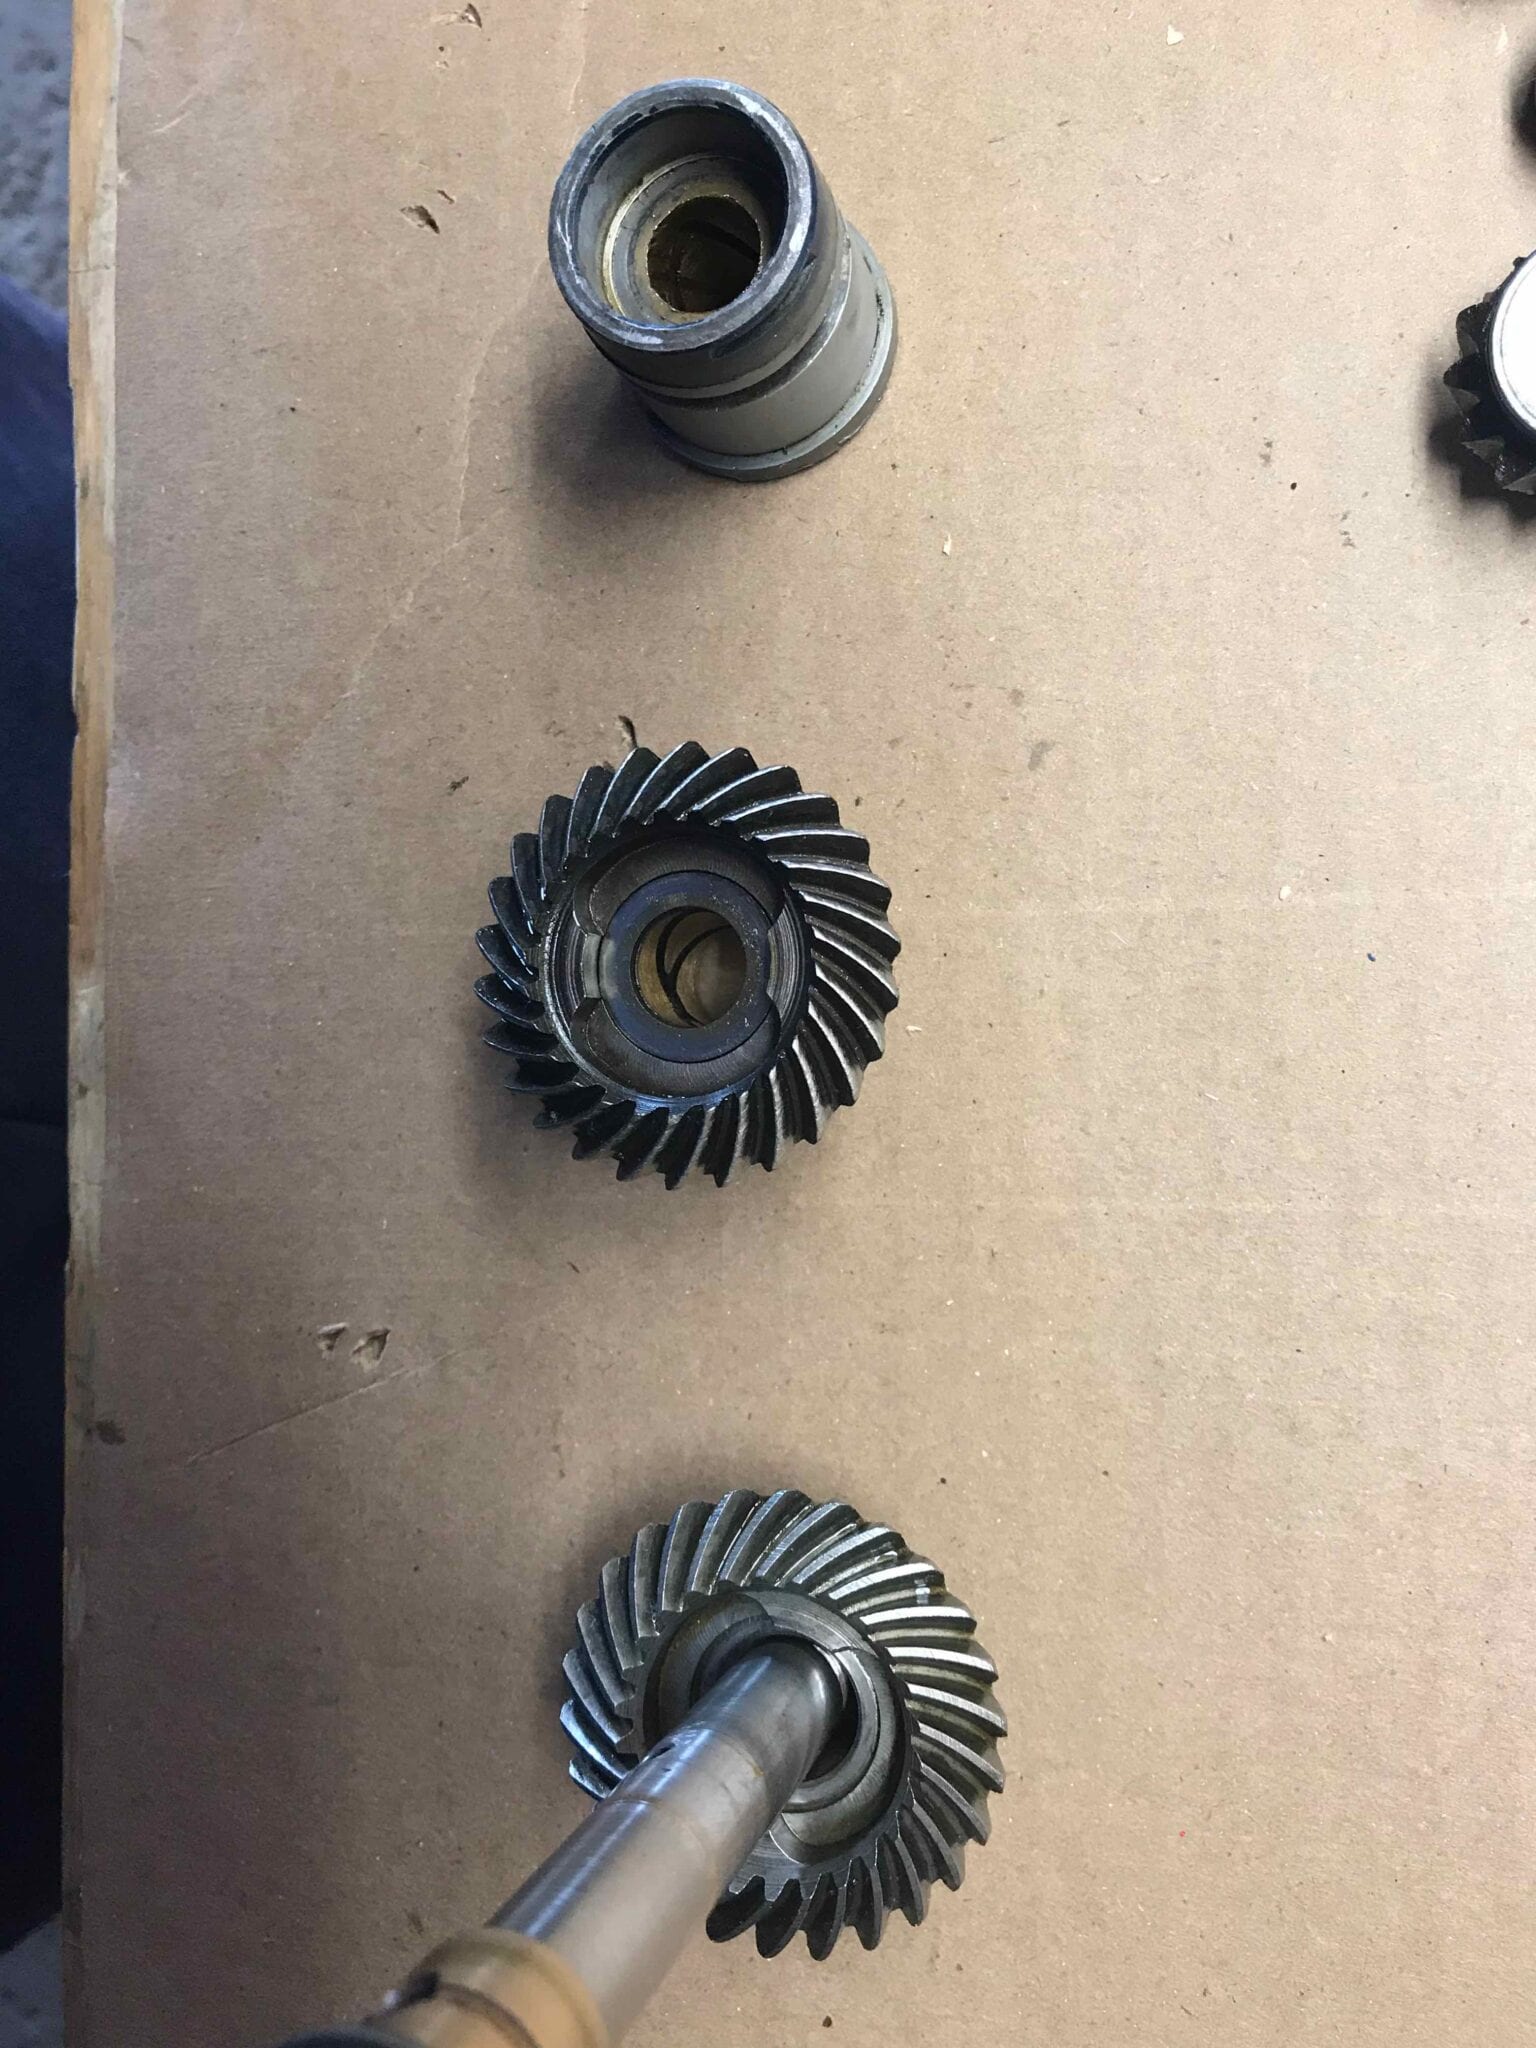
In rebuilding the lower gear case on my newly acquired 1958 Evinrude 10 hp Sportwin the pinion gear in the case was missing 2 teeth which i found in tiny pieces in the sludge at the bottom of the gear case.
I purchased a new pinion gear. In test mounting it to the drive shaft it is a VERY tight fit. The old one was also tight and I had to tap it off the drive shaft.
Is this common. In videos I have watched the rebuilder was able to just lift (and replace) the pinion gear from the drive shaft without any persuasion.
I am replacing the drive shaft bearing housing with a new one which should rectify any fit issues the drive shaft had.
Will I be okay in tapping the pinion gear into place onto the drive shaft when I put everything together?
Thank you.
-
This topic was modified 4 years, 9 months ago by
 Mumbles.
March 12, 2021 at 12:39 pm #233682Try fitting the new pinion onto the shaft without the key in place. If it’s still too tight, polishing the shaft and gear might loosen it up. If it slides on easily without the key, the key will need to be either reset deeper or have its sharp corners rounded off slightly. These parts should fit snuggly but not too tightly.
March 12, 2021 at 2:08 pm #233701ye gads, that pinion looks awful. So does the drive shaft, right above the pinion. I am not there to examine it, but I suspect the brass bushing in the gearcase, right above the pinion is badly worn. That throws the pinion off to one side, messing up the gears matching. If I am correct, those new parts are destined to destroy themselves also.
Per your other questions about the seals, both the prop shaft bearing housing and the drive shaft bearing housing have been superseded by different numbers. The superseded parts contain different seals than the original.
Whatever the deal here, I suggest you back off and take another look at your other gears and bushings. I see you fixing to throw good money after bad.
March 12, 2021 at 3:03 pm #233702Yikes! I never saw one that bad. One for the record books! I just put one of those gear cases together. The new housing should help a bunch. My drive shaft slid on and off the pinion gear easily. Those gear cases are getting hard to find, gotta remember to keep an eye on the lube.
dale
get’em wet…. don’t let’em set!
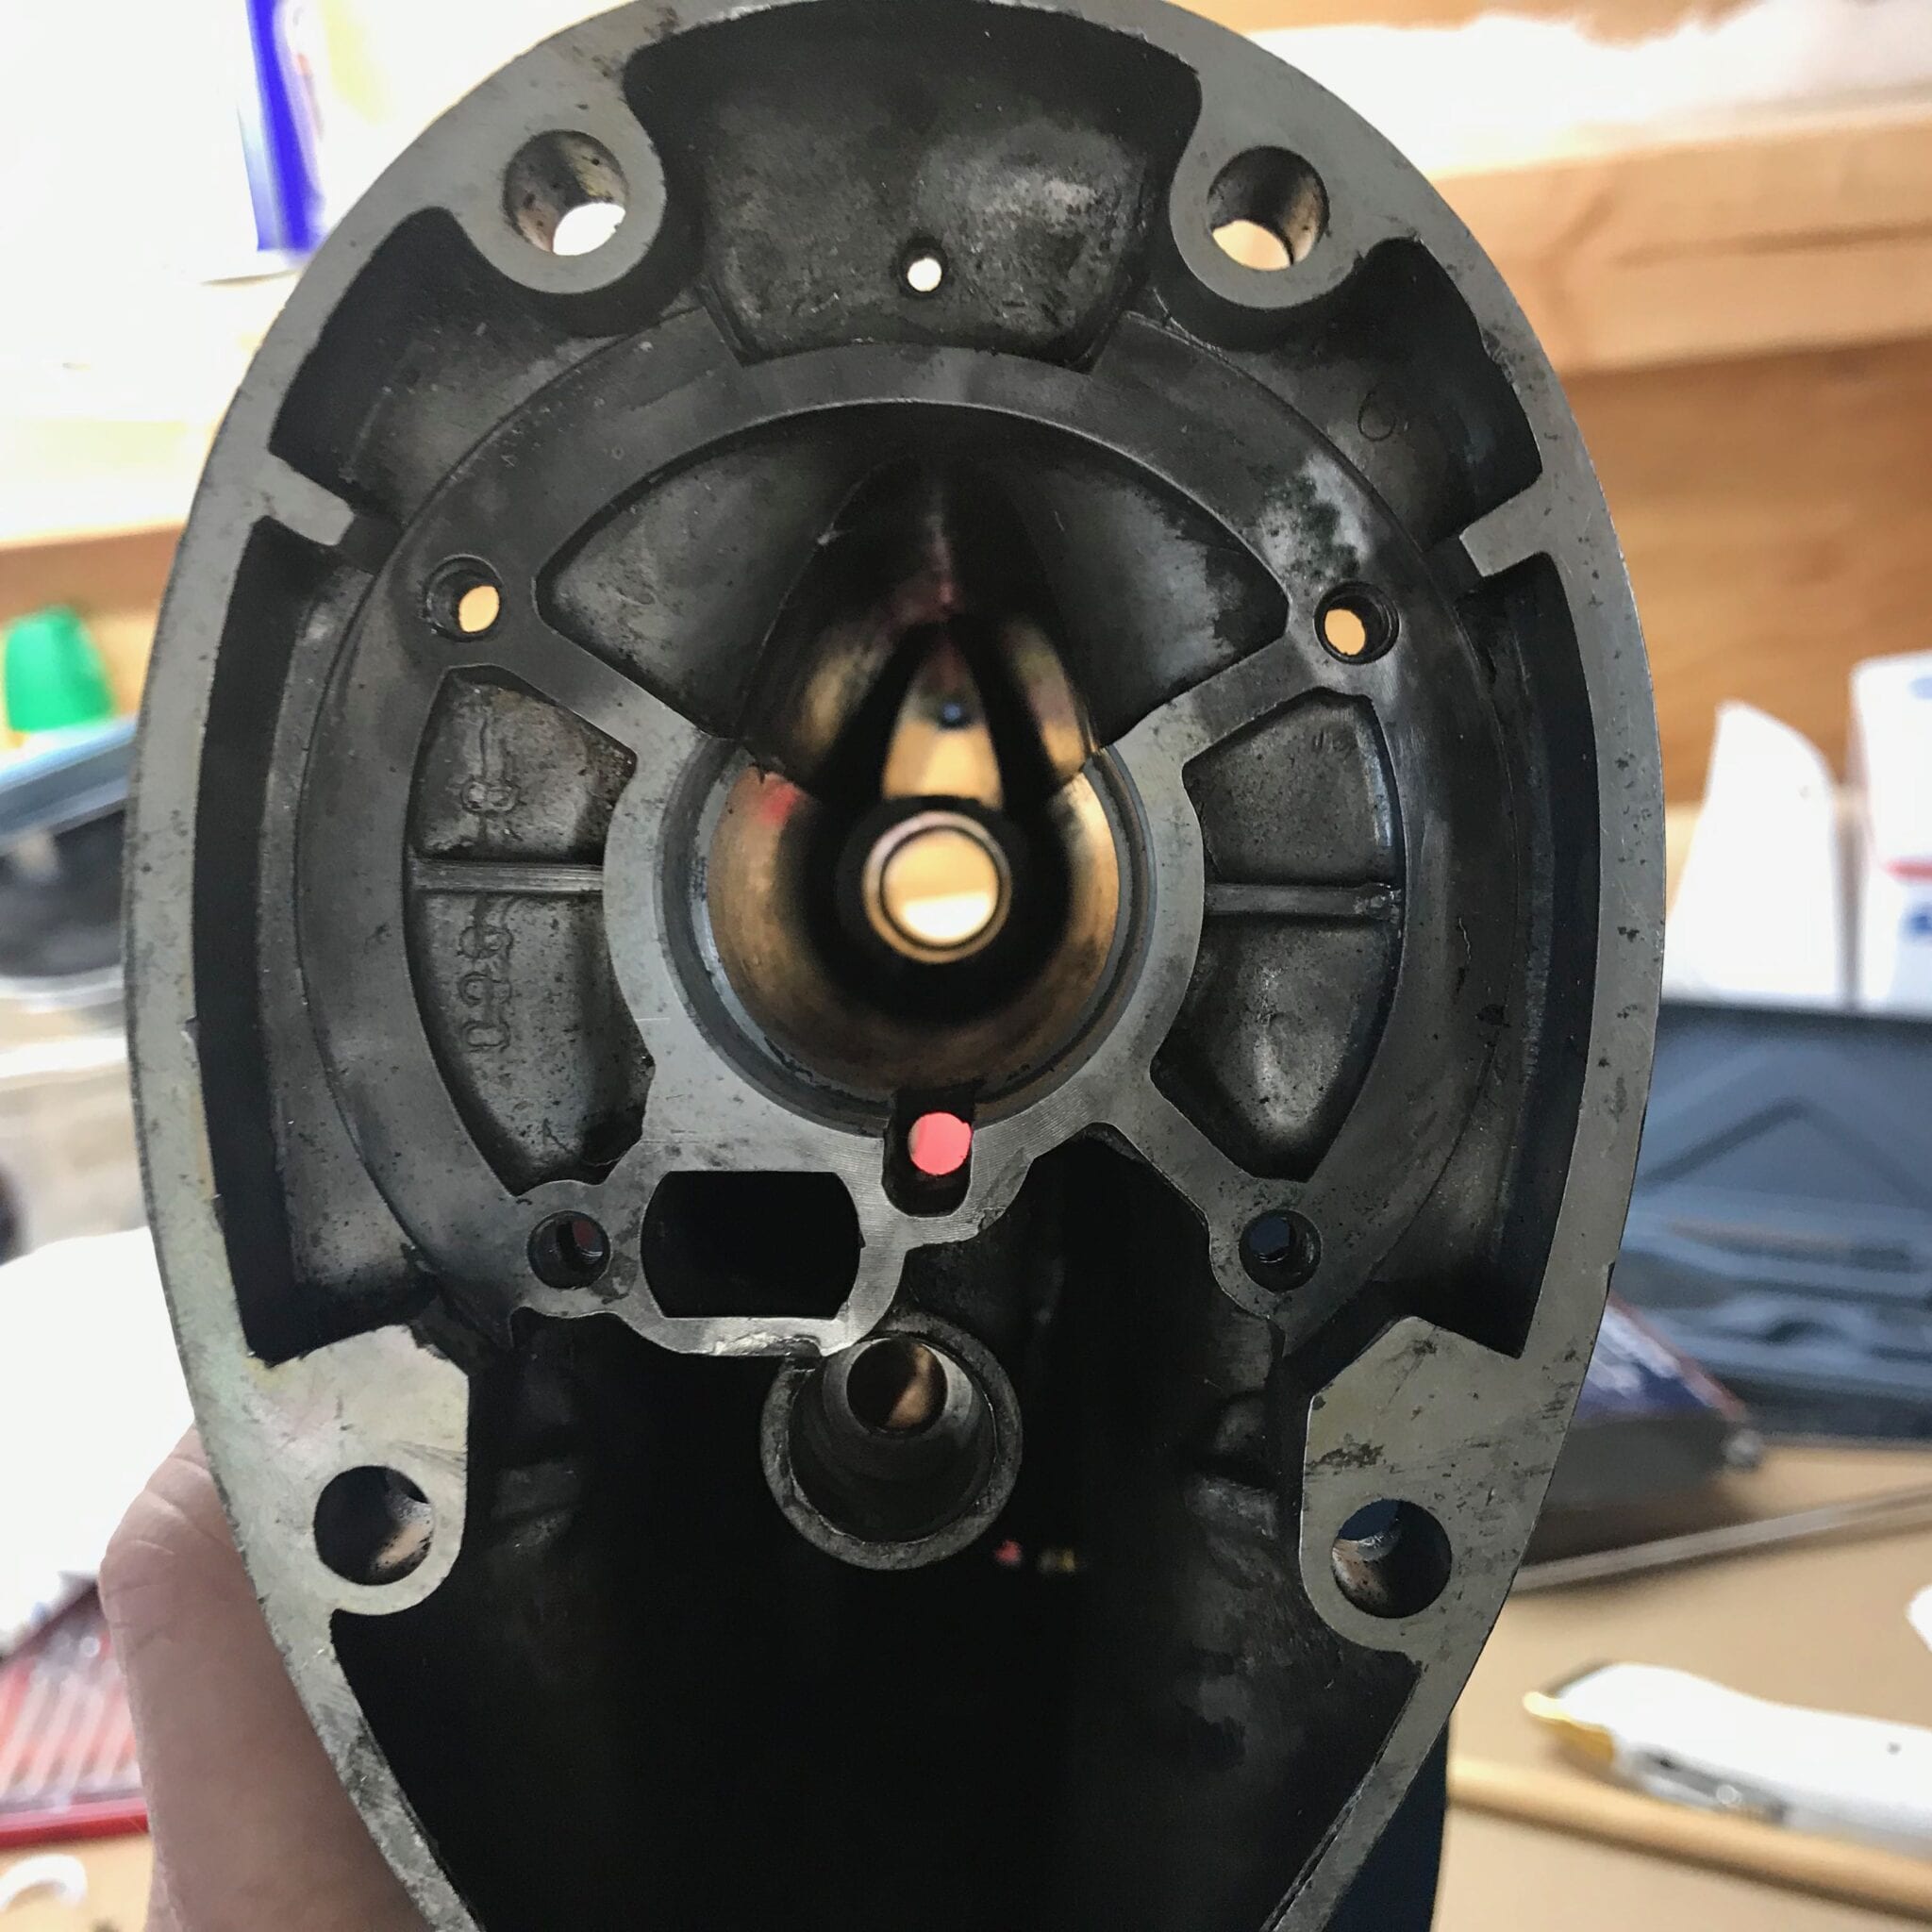
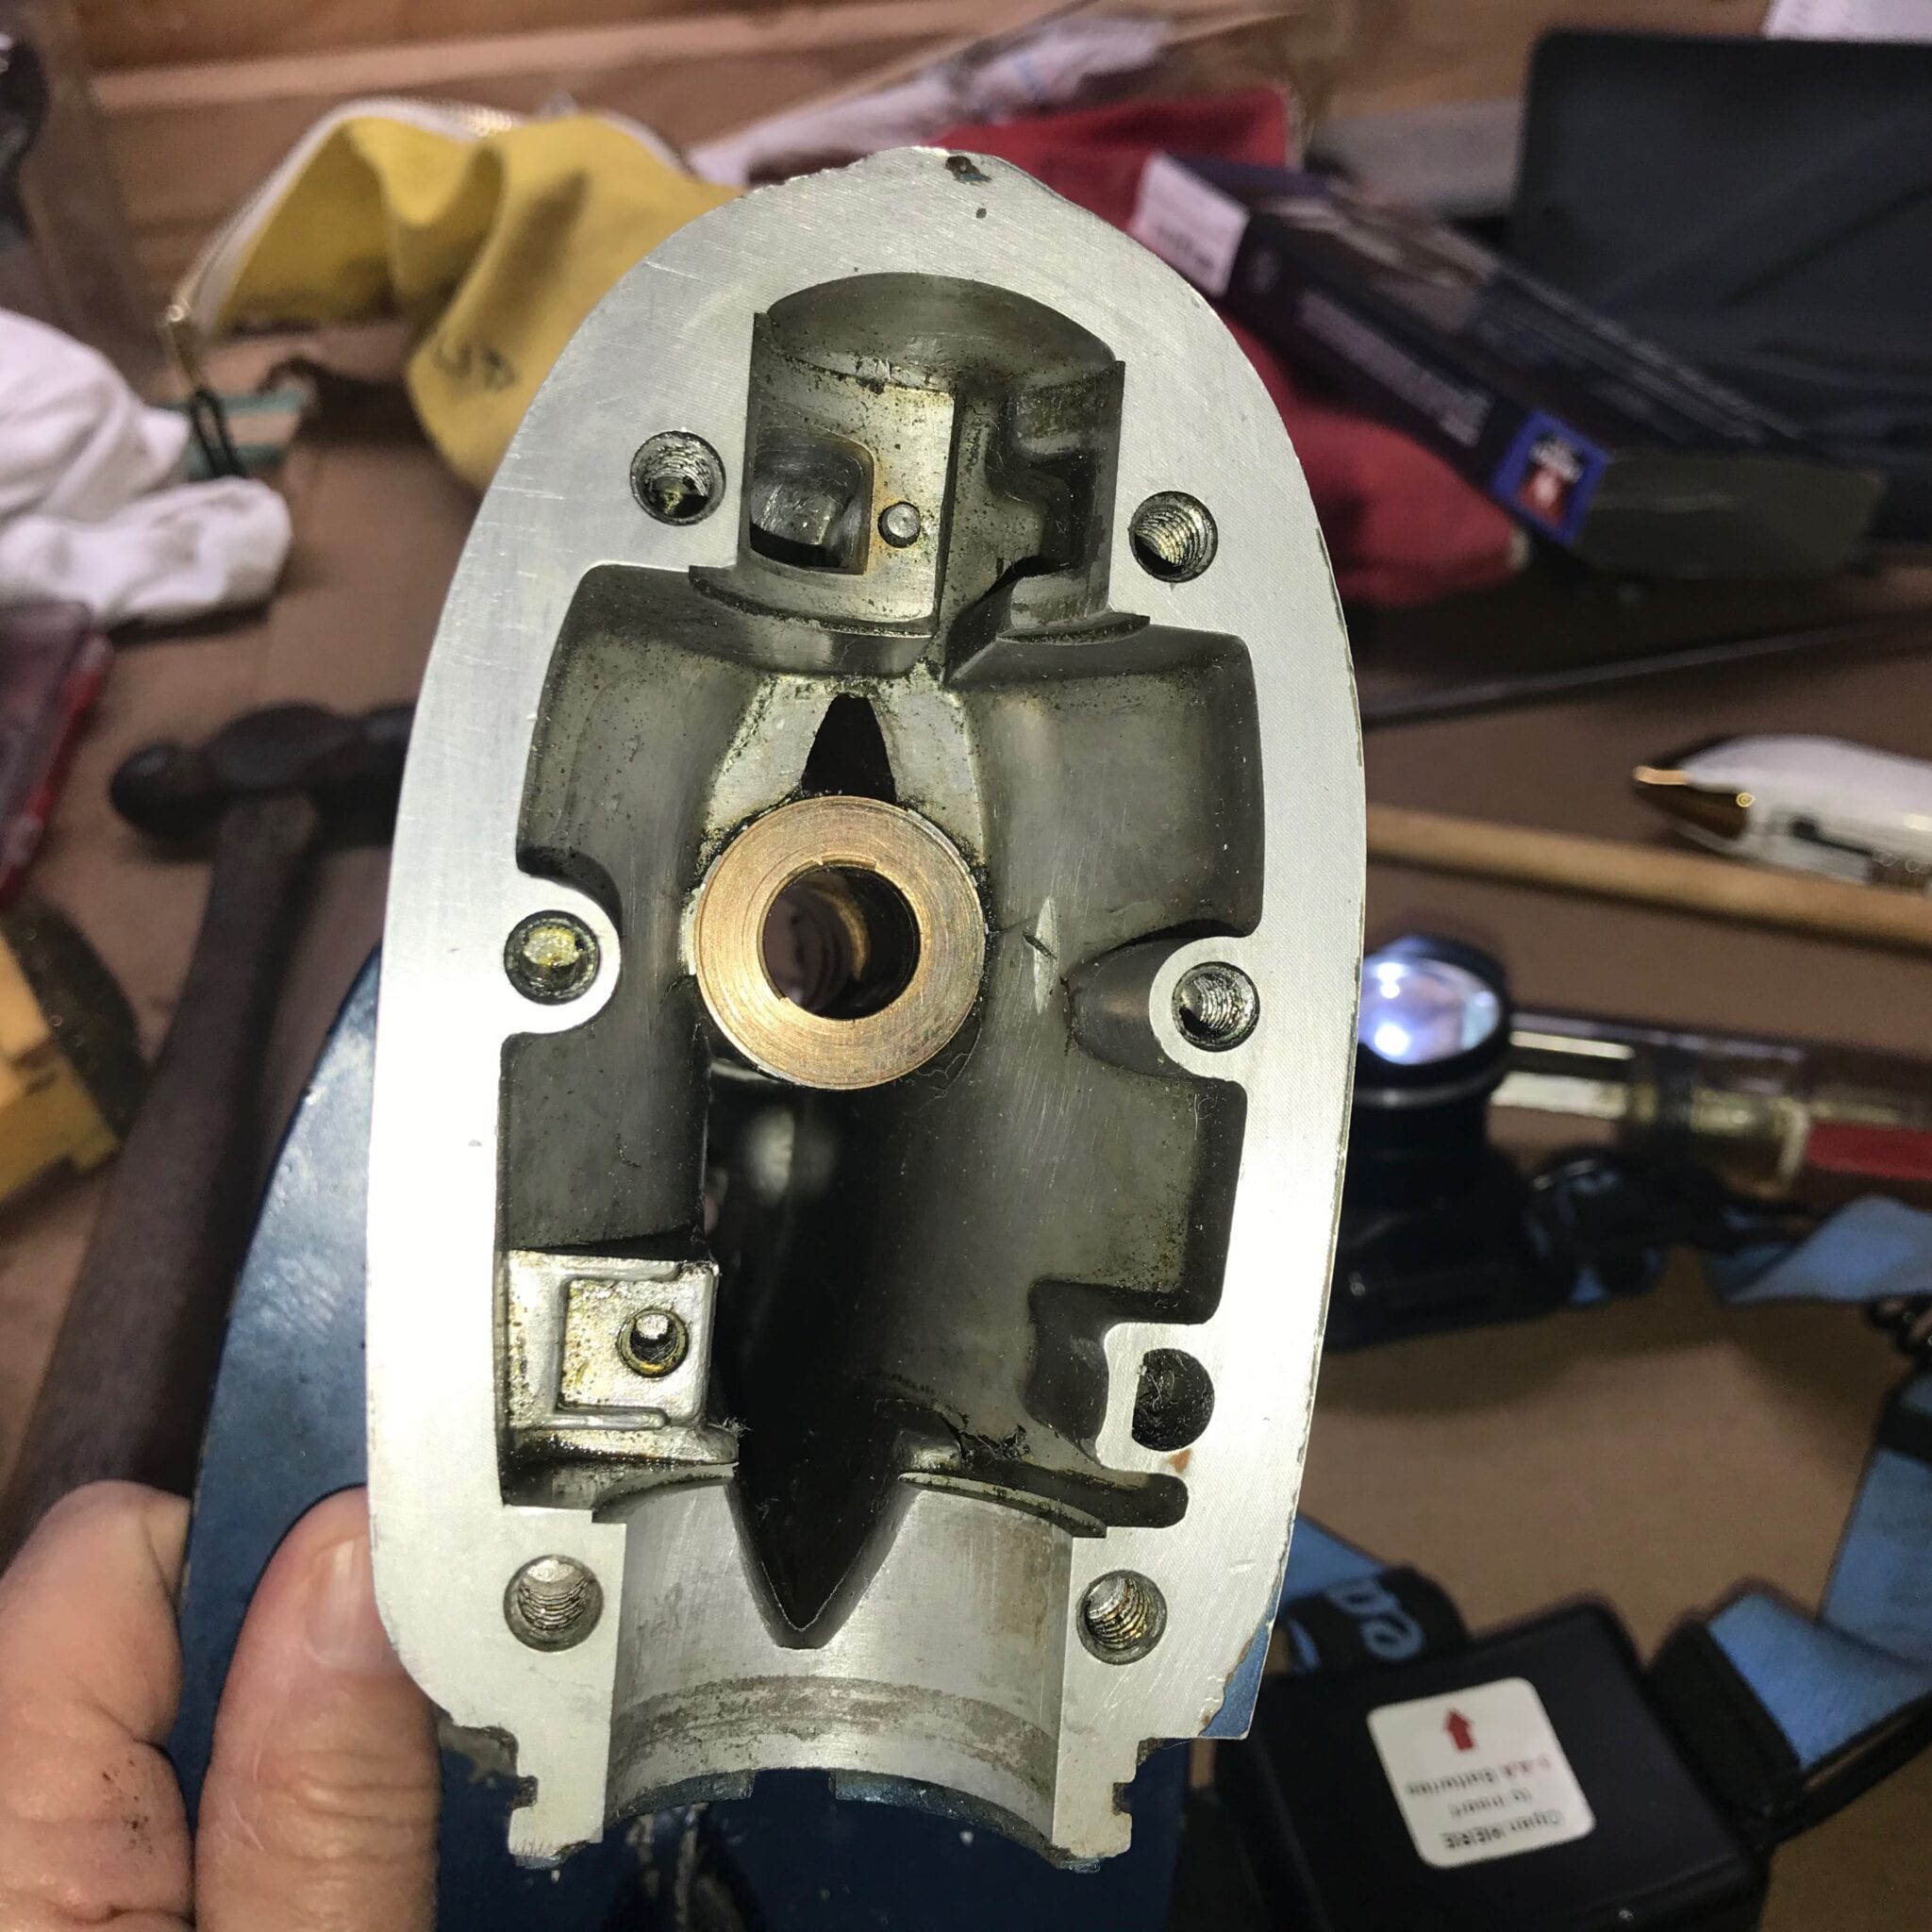
March 12, 2021 at 5:28 pm #233722Here some photos I just took of the brass bushing in the lower drive shaft housing.
In my opinion it looks very good, no scratches shiny and smooth. I fit the drive shaft into the bushing and the fit is tight and smooth.
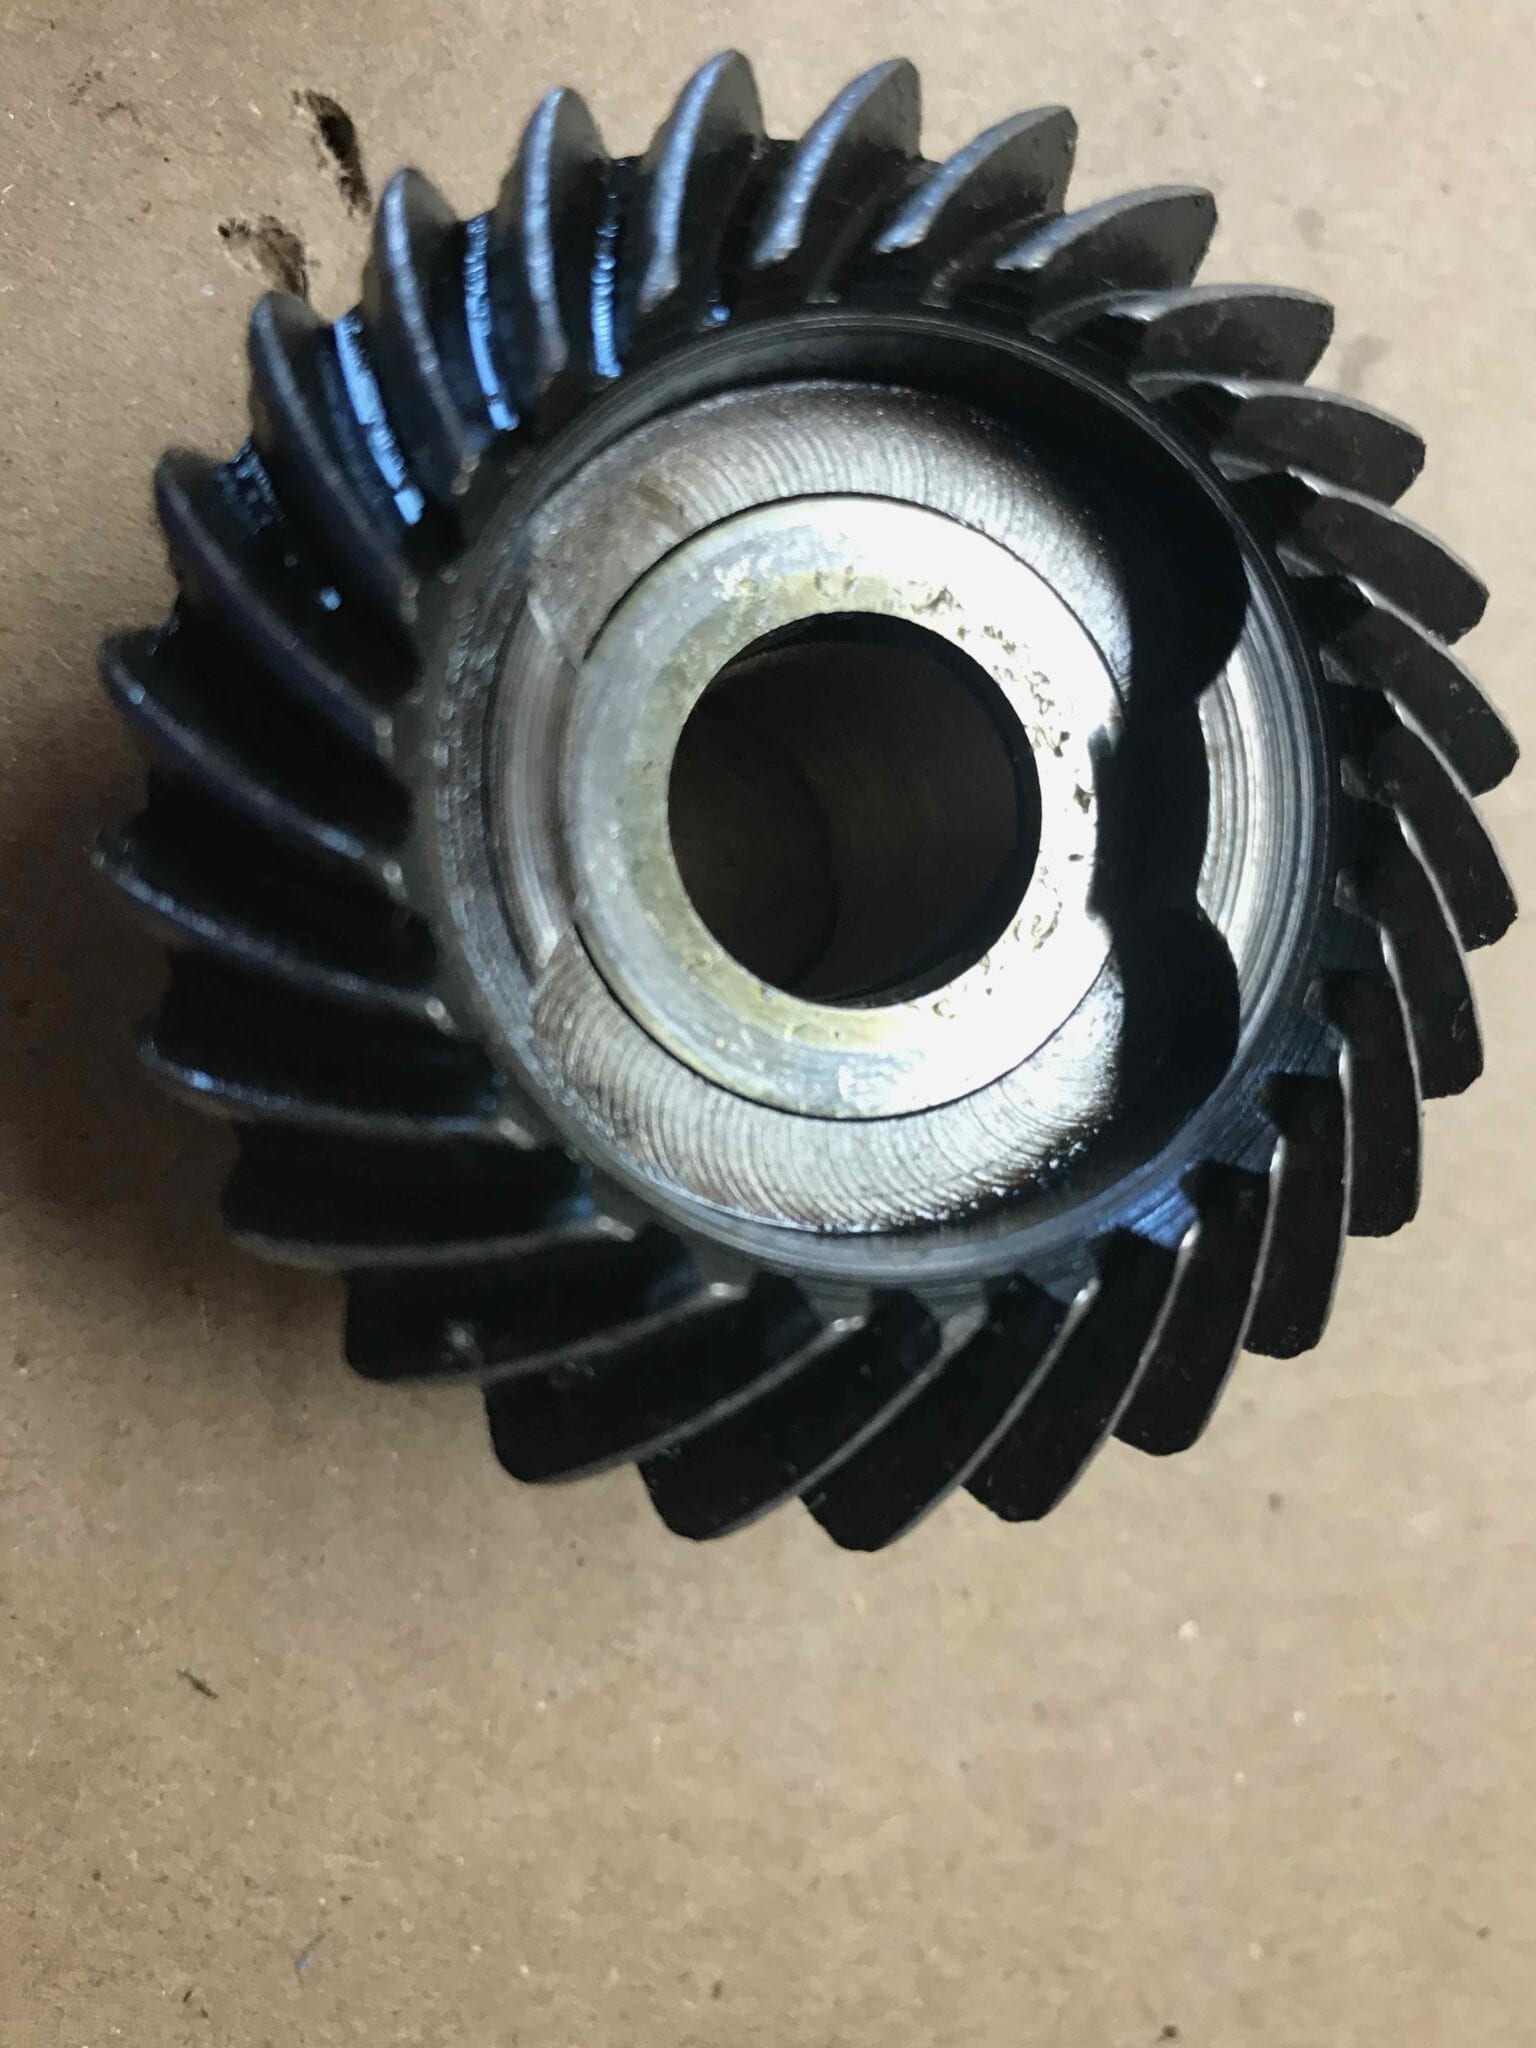
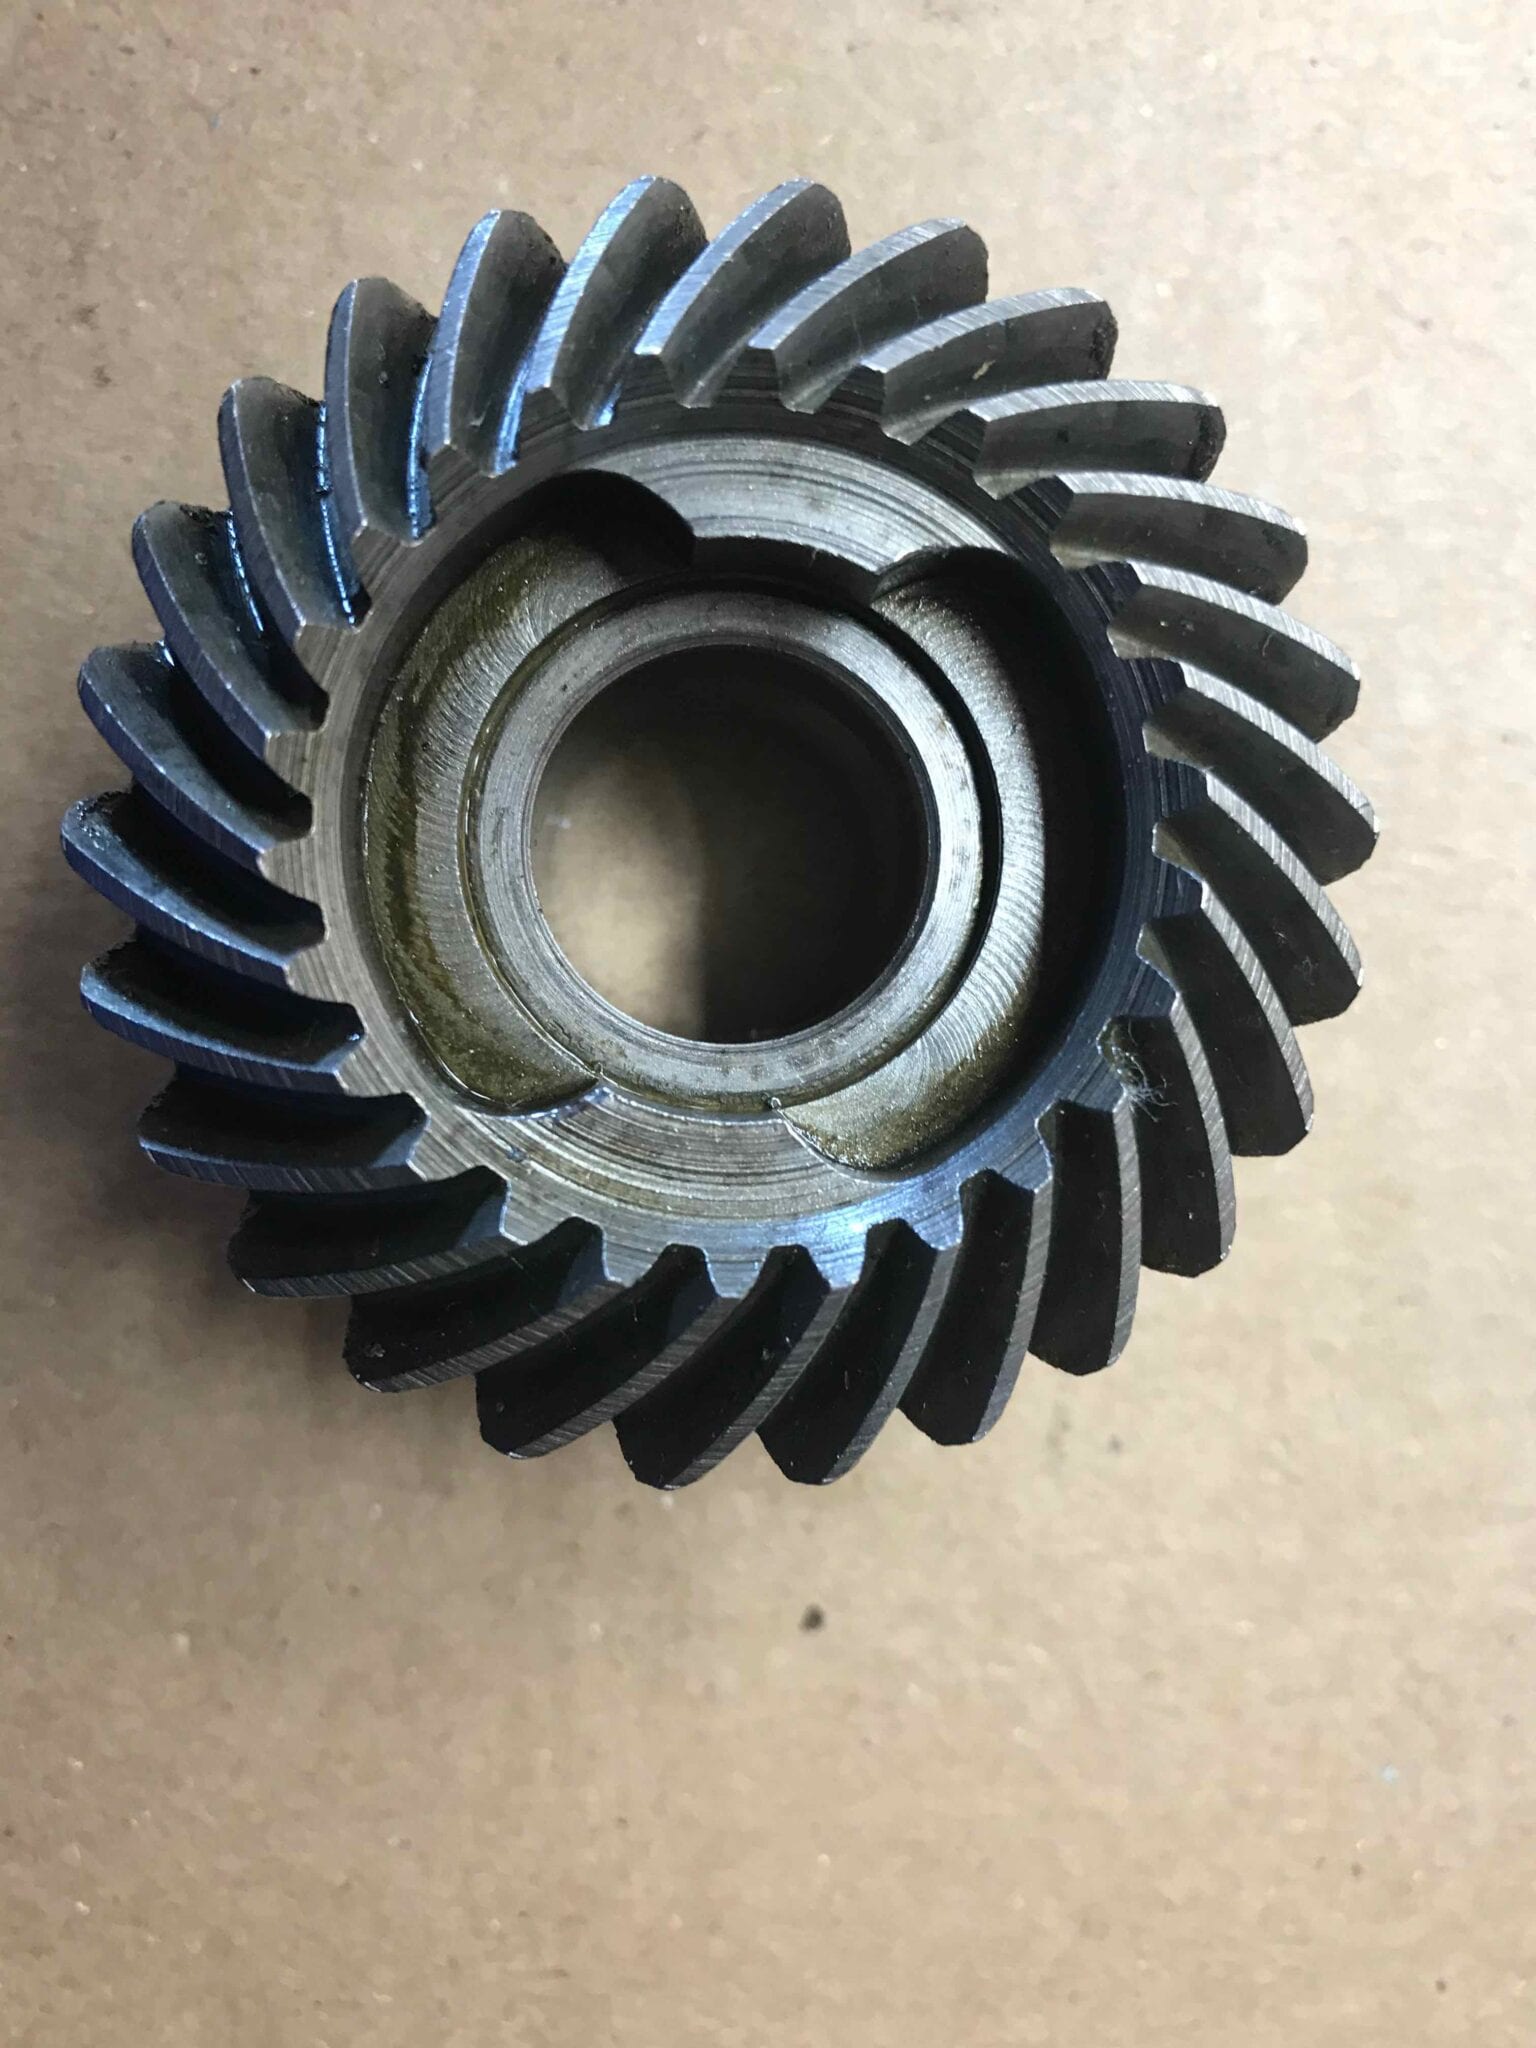
Regarding the old pinion gear, it is missing 2 teeth. The photo in the precious post was cropped/enlarged from the camera shot and would increase the grain and making it look very bad, it still isn’t good.
The new pinion gear will be a tight fit onto the drive shaft. However, with just a bit of tapping I was getting it where it needs to be, if it doesn’t go all the way I’ll round off the edges of the key as suggested.
I joined AOMC for purpose of getting sage and expert advice and you have all provided it. I’m confident that this gear box will work properly and will assemble it tomorrow. Any suggestions are most welcome.
Thank you.
-
This reply was modified 4 years, 9 months ago by
 Mumbles.
March 13, 2021 at 7:21 am #233767Like you say, sometimes photos can be deceiving…The pinion’s snug fit onto the driveshaft is OK, provided you can tap it into place without much force. Otherwise follow the advice given about cleaning up the driveshaft and inspecting for proper key fit.
Sounds like you are all set, your new upper bushing assembly has a new seal in place already, correct?
Have another very close look at the forward and reverse gears. Just seems like the damaged pinion would have damaged the other two gears as well. Put the assembly together “dry”, no sealer/orings/spaghetti seal and rotate everything to make sure things turn smoothly. Please be very careful to ensure the forward gear get properly located on that alignment pin in the housing or you will be in trouble….
Again, wondering how that pinion got damaged to begin with…Was the unit full of water when you pulled it apart? Another thing to consider is damage from hitting (or being hit by) something which may have knocked the housing out of alignment causing the damage. Again, it is super important to assemble the unit “dry” (so seals/orings/gaskets/sealer) and rotate everything while switching gears to check for binding. (When I say “dry”, I am referring to sealer/seals/orings etc, it is surely OK to lightly coat the shafts/gears with a little gear lube).March 13, 2021 at 9:10 am #233769The upper bushing assembly is new and has a new seal already in place.
I too was wondering how the pinion gear got damaged, but all other gears and clutch dog look ok, smooth with no sharp edges or missing teeth. The entire outboard was very clean to start with which is what I was looking for, this is my first rebuild. There wasn’t any water, not much oil either in the gear box, just old sludge in the bottom. It appeared that oil leaked out from the lower drain plug on the gear box.
The entire housing was tight when I took it apart initially. Your suggestion about dry assembly is a good one which I will follow. Its a good thing I didn’t follow my urge to do a complete assembly last night.
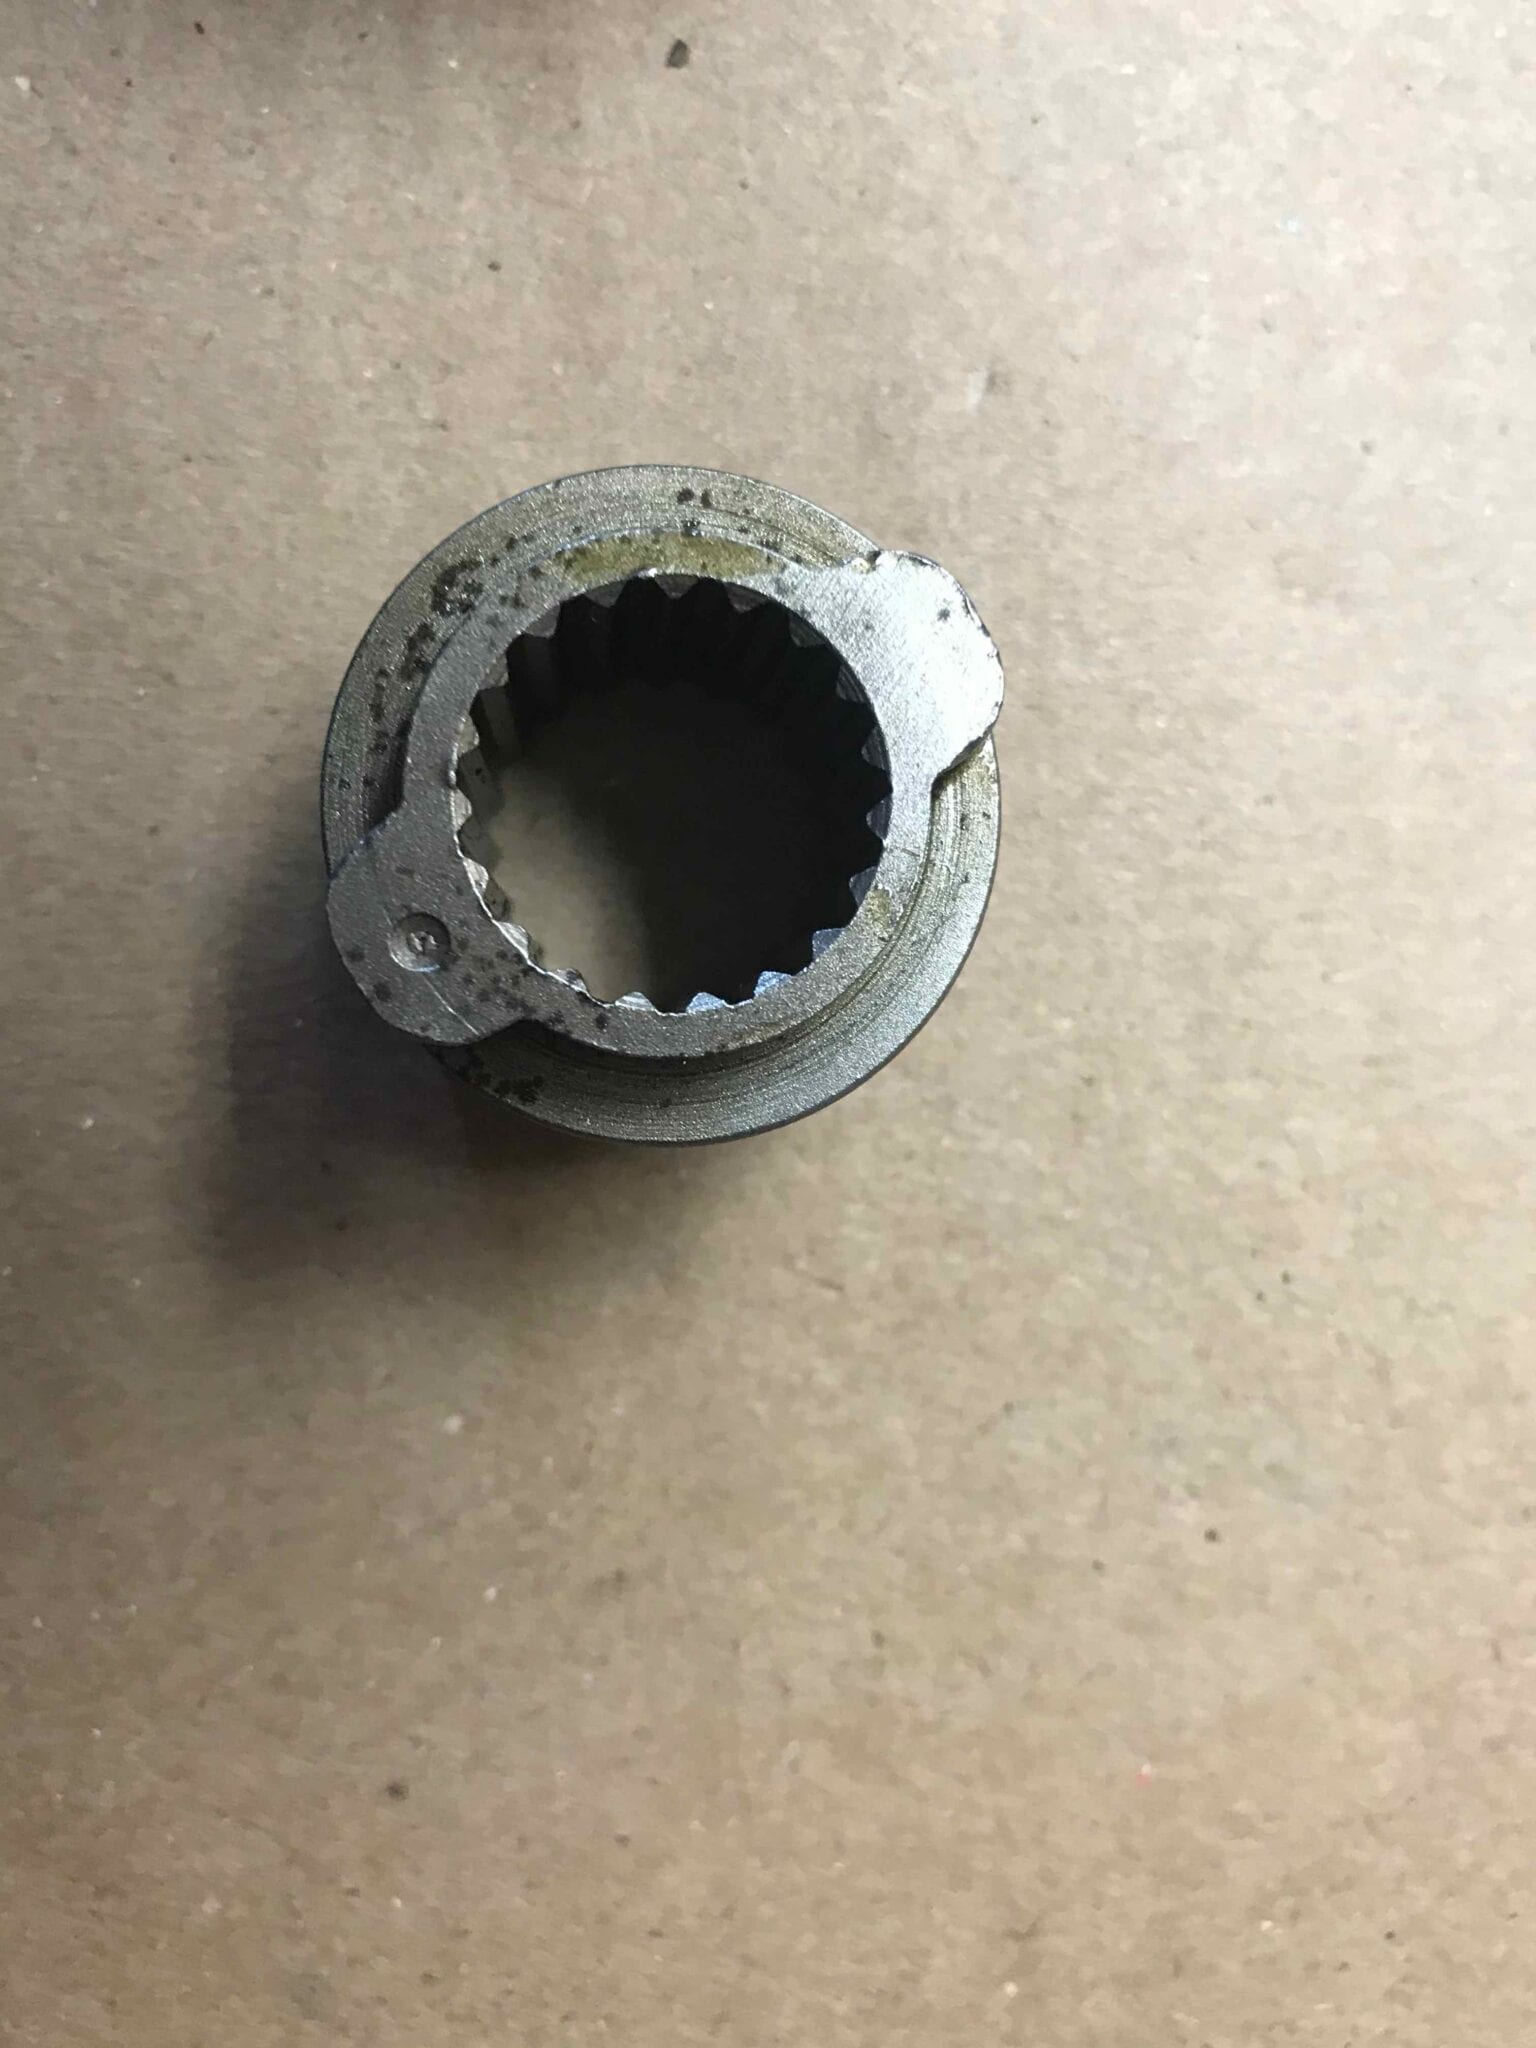
Please look at the gears and let me know what you think.
Thank you.
-
This reply was modified 4 years, 9 months ago by
 Mumbles.
March 13, 2021 at 9:28 am #233774I am truly amazed those gears look as good as they do.
March 13, 2021 at 11:41 am #233781Your dry assembly is just for a trial run to make sure everything is working OK while turning it over by hand. It will have to come apart again to lube everything before sealing it up.
March 13, 2021 at 3:43 pm #233798They gears do look good.
I just finished a dry assembly per suggestion. Rotating the drive shaft after engaging the gears, no binding or drag. I am confident in a successful final result assuming proper sealing of all the housings and pressure testing.
Thank you for your suggestions and comments.
-
This topic was modified 4 years, 9 months ago by
-
AuthorPosts
- You must be logged in to reply to this topic.


