55 RDE-17, 25 hp, Power Head O-rings, etc
Home › Forum › Ask A Member › 55 RDE-17, 25 hp, Power Head O-rings, etc
- This topic has 54 replies, 12 voices, and was last updated 5 years, 8 months ago by
 outboardnut.
-
July 8, 2018 at 3:56 pm #79226
Would I replace both of the 302540 o-rings with a "quad" style,
and what would be the part number?
Is the larger 302537 o-ring on the bottom not replace with a quad
style o-ring?
Thanks.
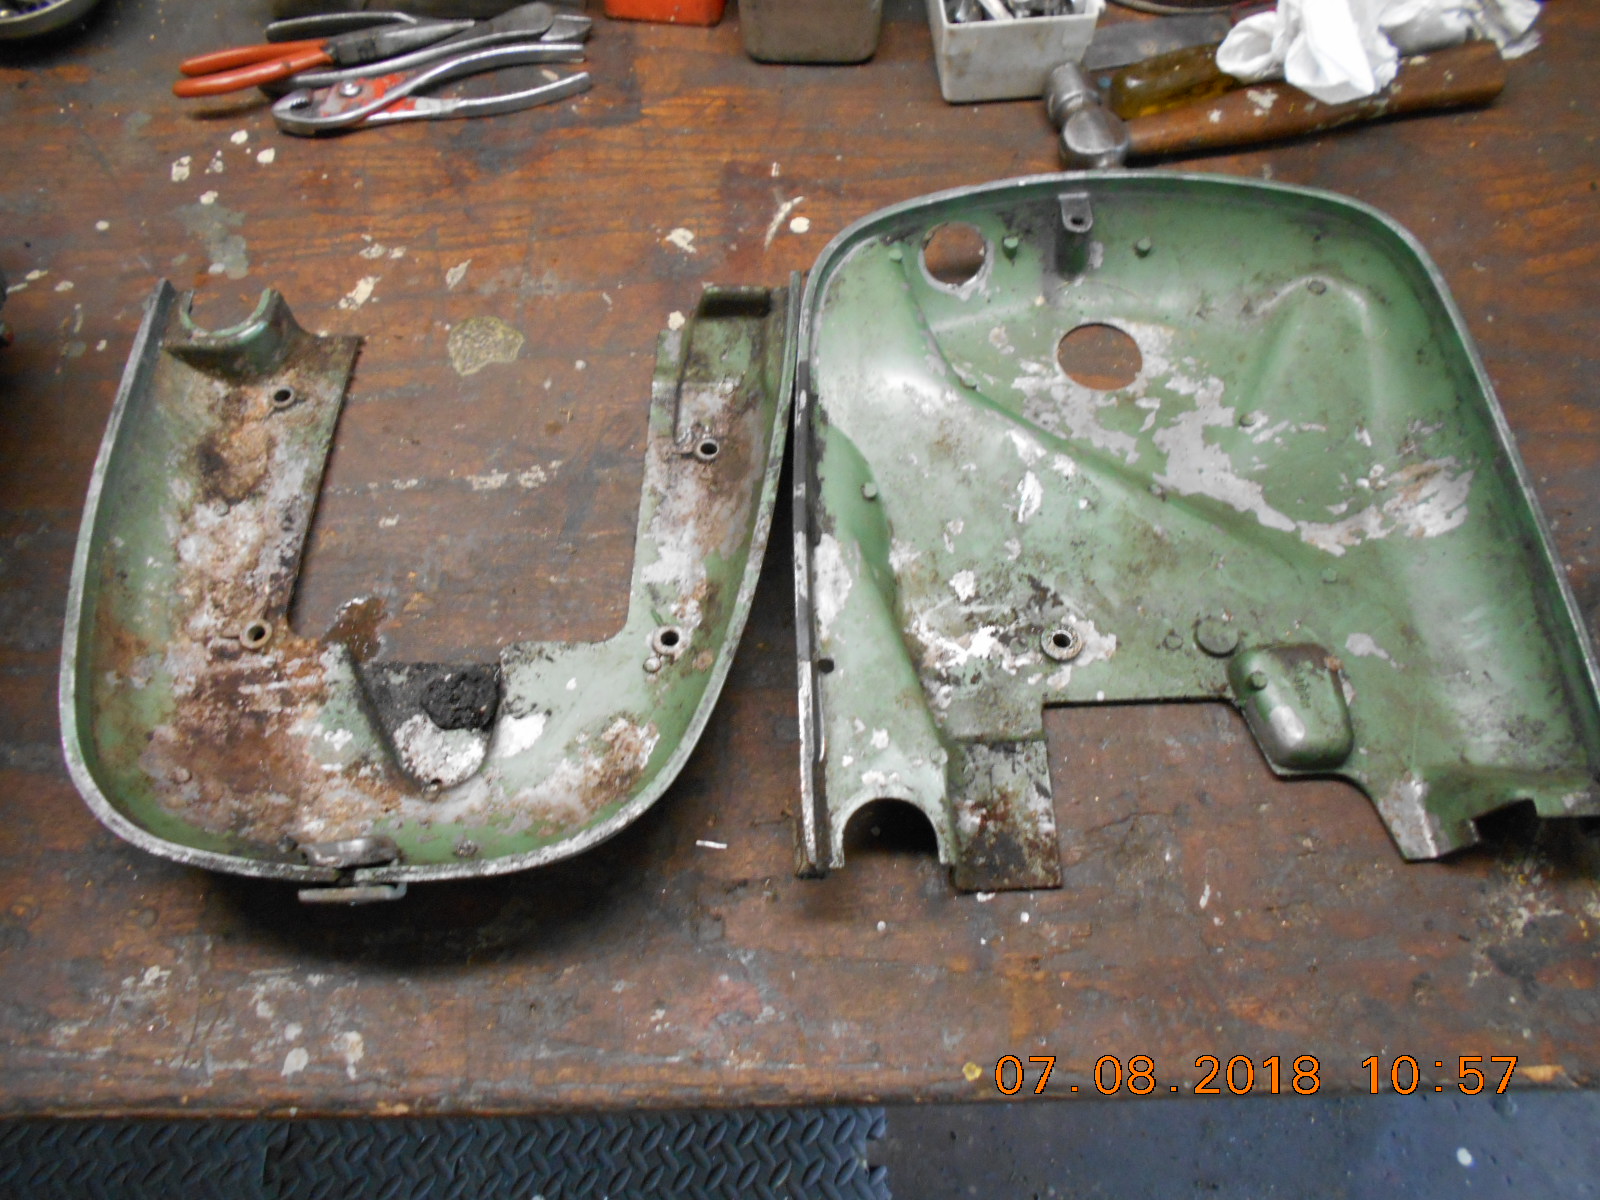
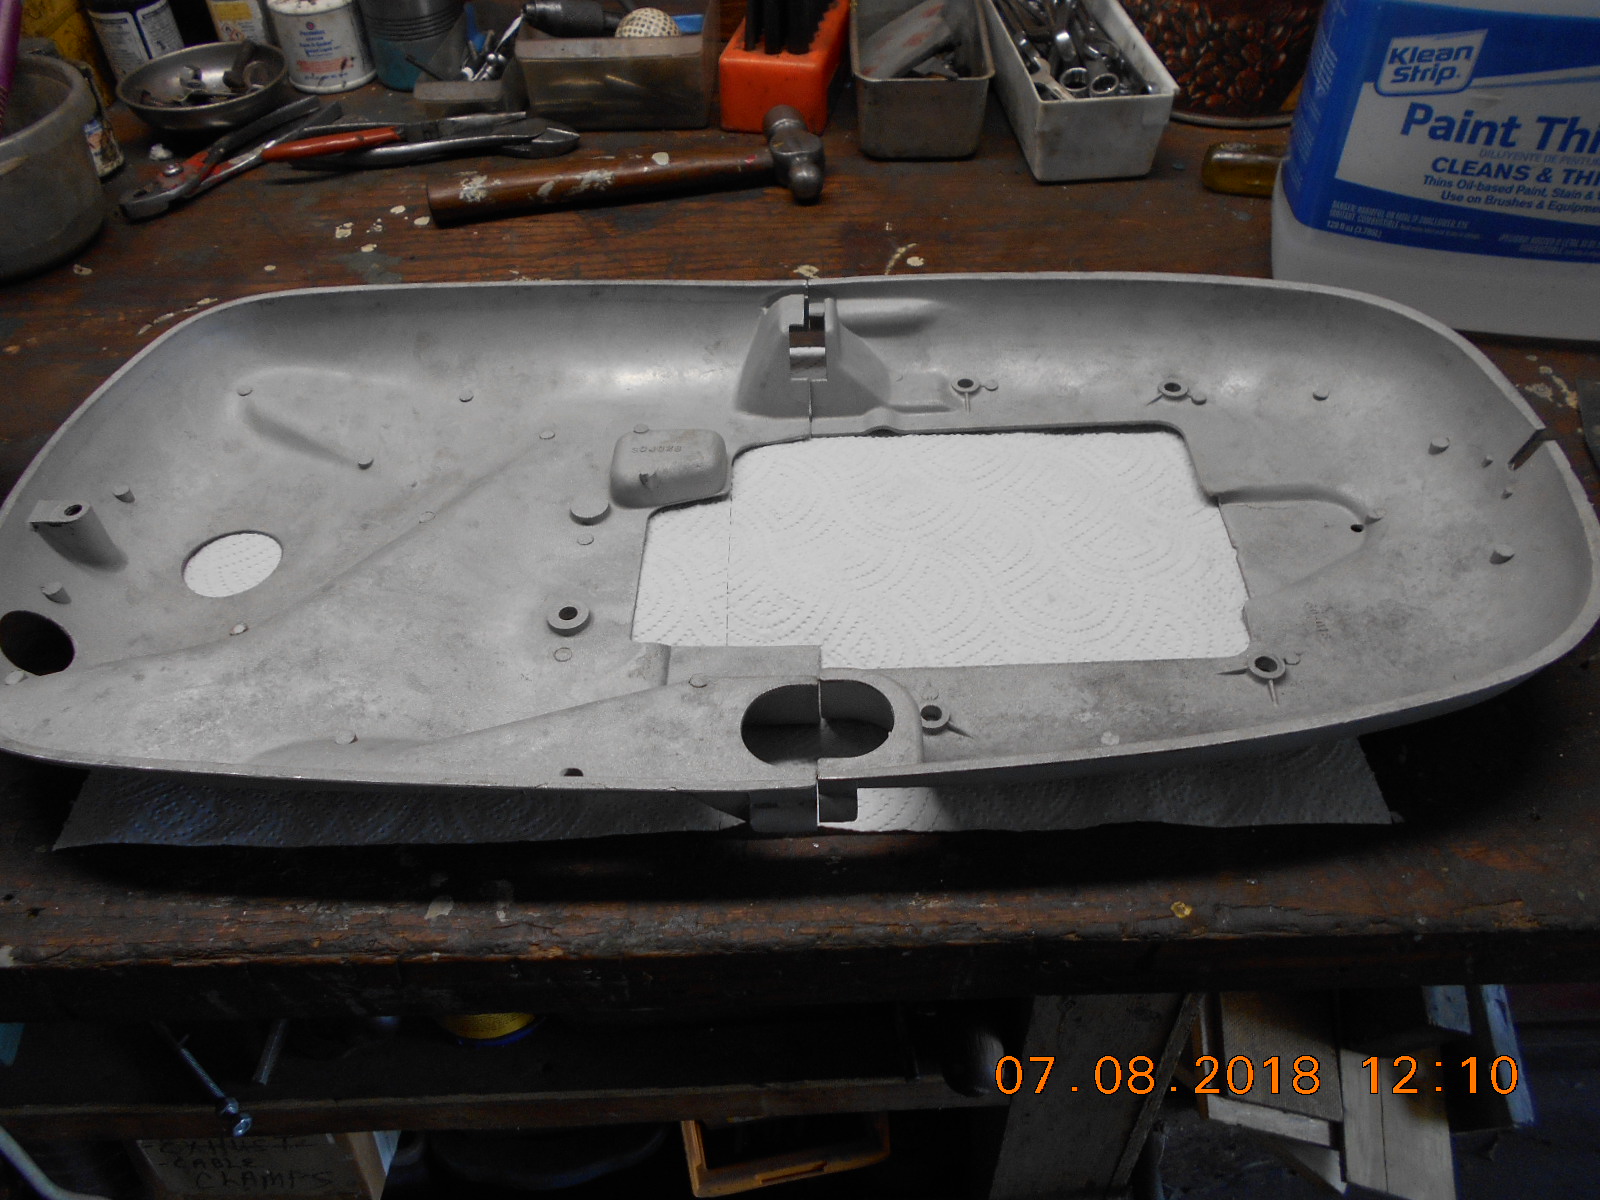
BTW, I got the motor pans off now. I didn’t even know they
were two pieces until closer examination.
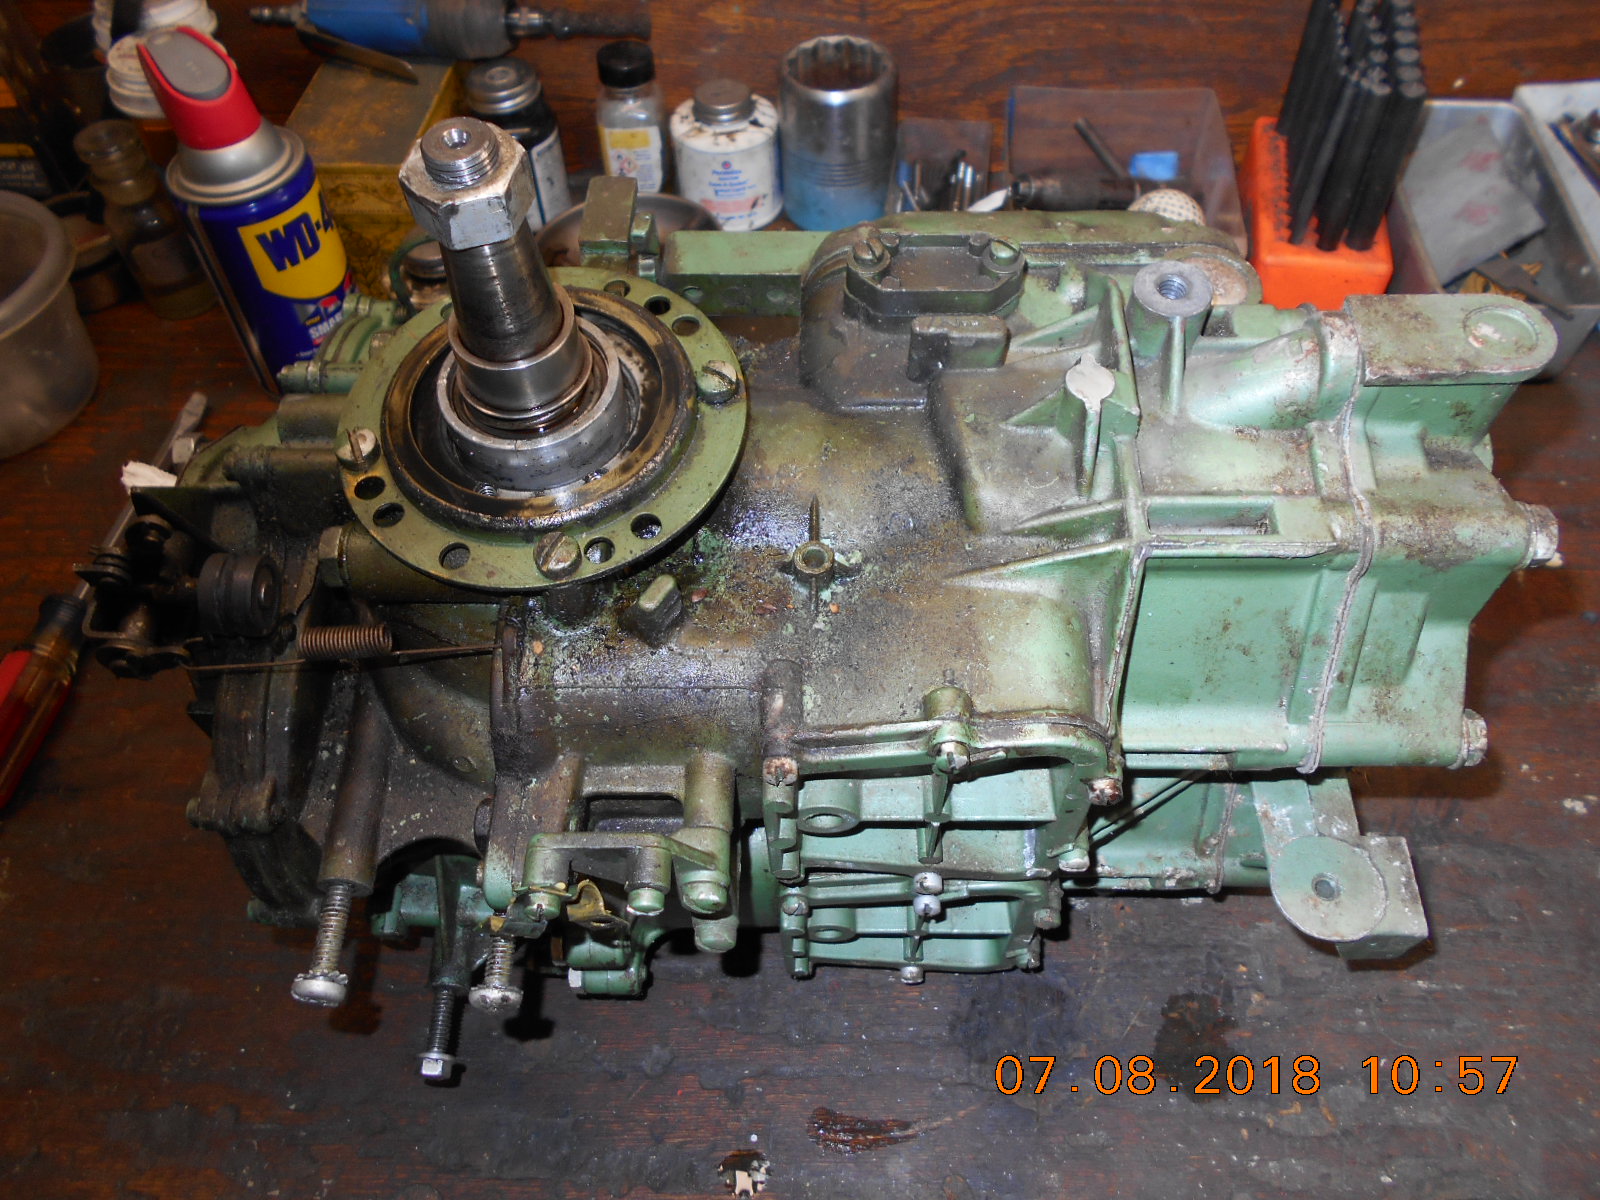
Trying to get the power head screws out now to remove it, but
having trouble with the ones on the starboard side not wanting
to turn. 😥quote FrankR:Omc went to the "square" o-rings a few years after your motor was built. OMC calls it a "quad ring". They are better suited to a sliding shaft than an o-ring. The shaft is able to move up and down within the bearings, and the carbon seal must slide on it in order to stay in contact with the bearing.Prepare to be boarded!
July 8, 2018 at 5:05 pm #79228302537 is an ordinary o-ring. It just sits there, nothing moving. As for a quad ring in the upper seal, OMC didn’t use them there. I don’t know any reason why or why not. Quad ring part number is 305098. marineengine is mighty proud of them. I bought 100 from mcmaster several years ago and have been giving them away ever since.
July 8, 2018 at 7:11 pm #79233Thanks for the part number Frank!
quote FrankR:302537 is an ordinary o-ring. It just sits there, nothing moving. As for a quad ring in the upper seal, OMC didn’t use them there. I don’t know any reason why or why not. Quad ring part number is 305098. marineengine is mighty proud of them. I bought 100 from mcmaster several years ago and have been giving them away ever since.Prepare to be boarded!
July 8, 2018 at 7:23 pm #79235Power head is off now. Ended up breaking off one of the 1/4" screws
holding it on. Worked it back and forth and sprayed it with WD-40, and had it out
1/8" of an inch before it broke. 😕Got the pans rid of the mouse piss and old paint, and started cleaning
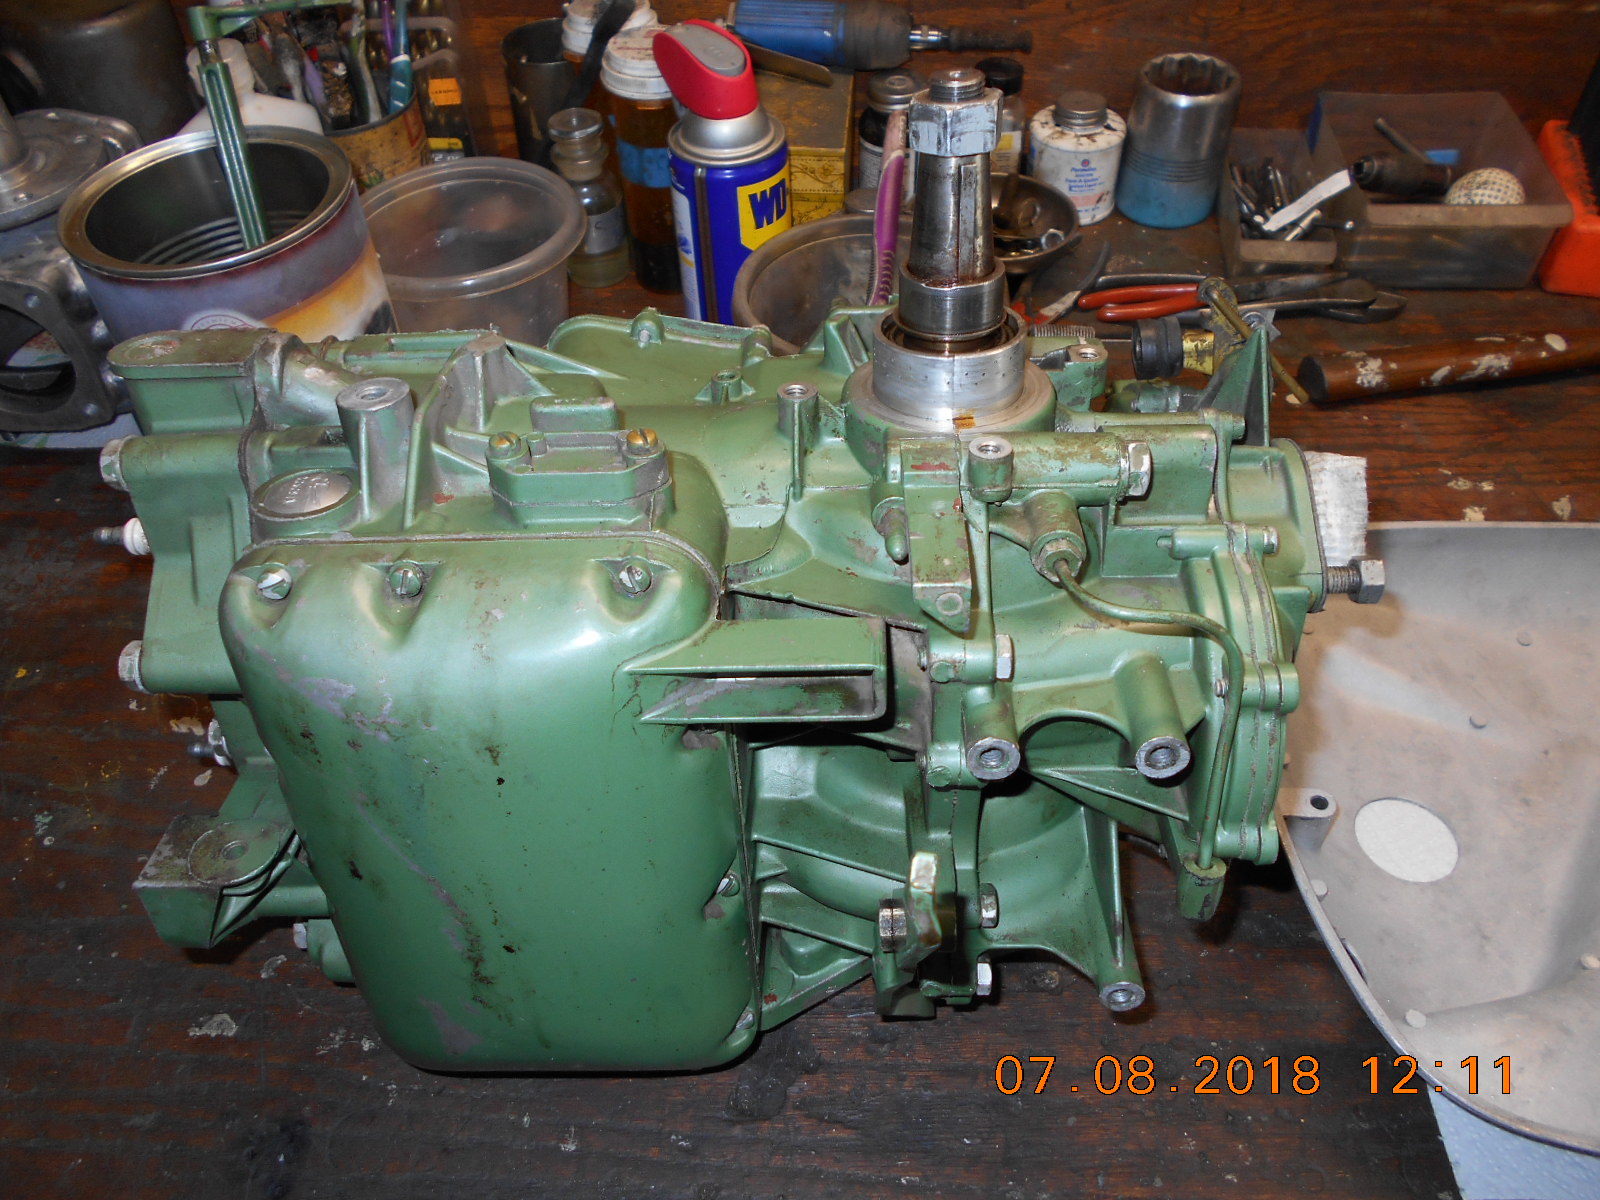
the power head.
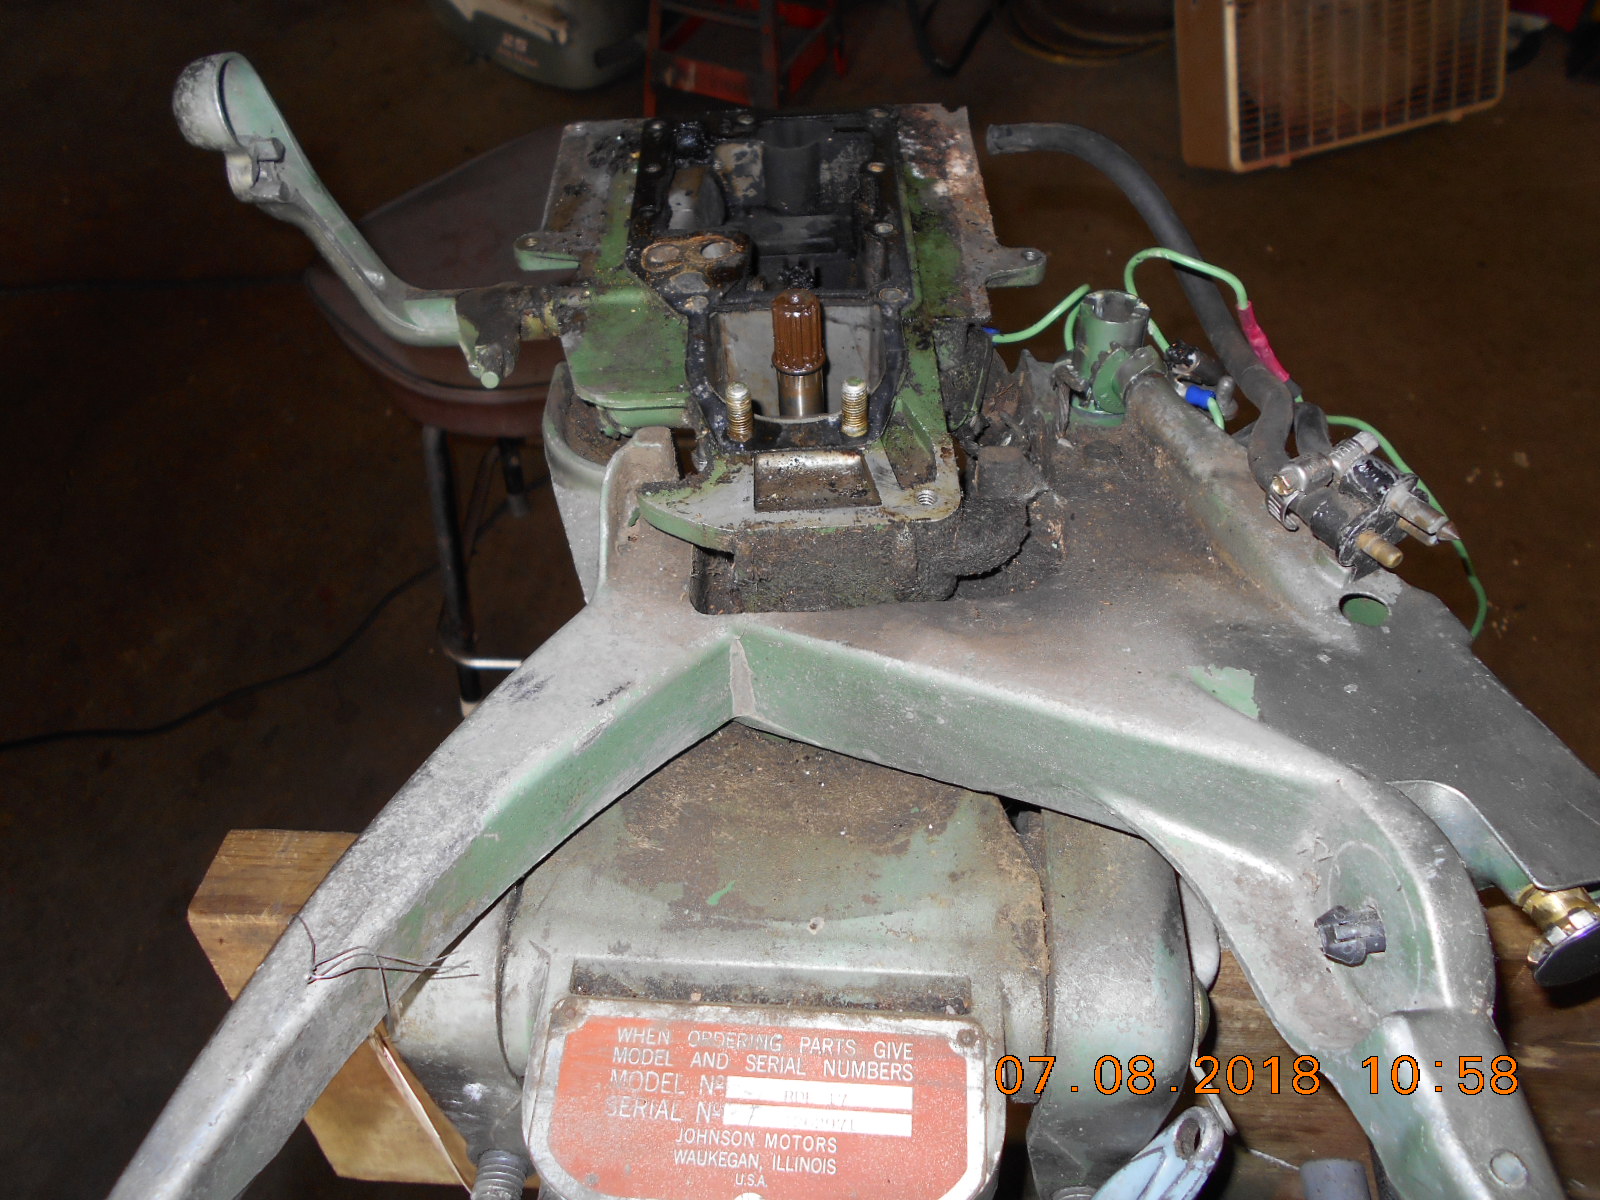
I was looking at how to remove the steering bracket / grab bar, for cleaning
and painting purposes. Can I remove it without removing the lower unit from
the swivel bracket? I’m seeing three upper rubber mounts and not
sure what else!
Attachments:
Prepare to be boarded!
July 8, 2018 at 10:17 pm #79248To remove the steering bracket, first remove the clamshells from the lower rubber mounts. Then remove the nuts from the upper side mounts and the nut off the upper front mount. Now, swing the lower unit rearward and lift the whole thing out of the steering bracket. Now you can do whatever you want with the steering bracket, etc.
July 8, 2018 at 10:28 pm #79249Frank, I started removing every bolt and nut that remotely looked
like it could be holding either the steering bracket or
the lower unit. Unfortunately, I can’t get the clam shell bolts
to budge, using my big screw driver with a wrench on it for
leverage. Doesn’t help that the motor is on an engine dolly
with casters. Tried wrapping the screw driver with a hammer,
WD-40, etc.
Any ideas?I removed the items marked with the "green" stars, the "red" star
bolts are "no go".
Thanks!
Attachments:

Prepare to be boarded!
July 8, 2018 at 10:57 pm #79251Buccaneer
Time to break out the blue-tip wrench aka propane torch. Heat up the area at the threaded end of those bolts where they screw into the covers and also the area around the head of the bolt. You should also use a better penetrating fluid like PB blaster or a 50/50 mix of acetone and transmission fluid to help break the corrosion loose. WD40 won’t do it. Apply a good amount of heat then spray the penetrating fluid (careful of fluid flare ups from the heat). Go thru a few cycles of heating, penetrating fluid and cooling and those bolts should come loose. May take awhile to get them loose but use large amounts of patience. I’ve had bolt that took me a week to finally work loose.Bob
1937 Champion D2C Deluxe Lite Twin
1954 Johnson CD-11
1957 Evinrude Fastwin 18
1958 Johnson QD-19
1958 Johnson FD-12
1959 Johnson QD-20“Every 20 minute job is only a broken bolt away from a 3-day project.”
"Every time you remove a broken or seized bolt an angel gets his wings."July 8, 2018 at 11:14 pm #79253That’s why we have an impact screwdriver. The kind where the bit rotates when you whack it with a hammer. Kind of hard to fine wide enough bits for them though. I would normally expect them to come out of a fresh-water motor. Yeah, here in salt country, they can be obstinate.
July 9, 2018 at 1:25 am #79255Thanks for reminding me about the impact driver.
I do have an old one, but don’t think the bits
are long enough, as the clam shell bolts are
recessed in quite a ways.
It may be problematic to get heat via the
torch where it needs to go as well.
I think I’ll clear the workbench off tomorrow
and lay the motor down and clamp it if necessary.
It was a challenge enough trying to turn the
bolts without the outboard dolly rolling around
the garage floor!
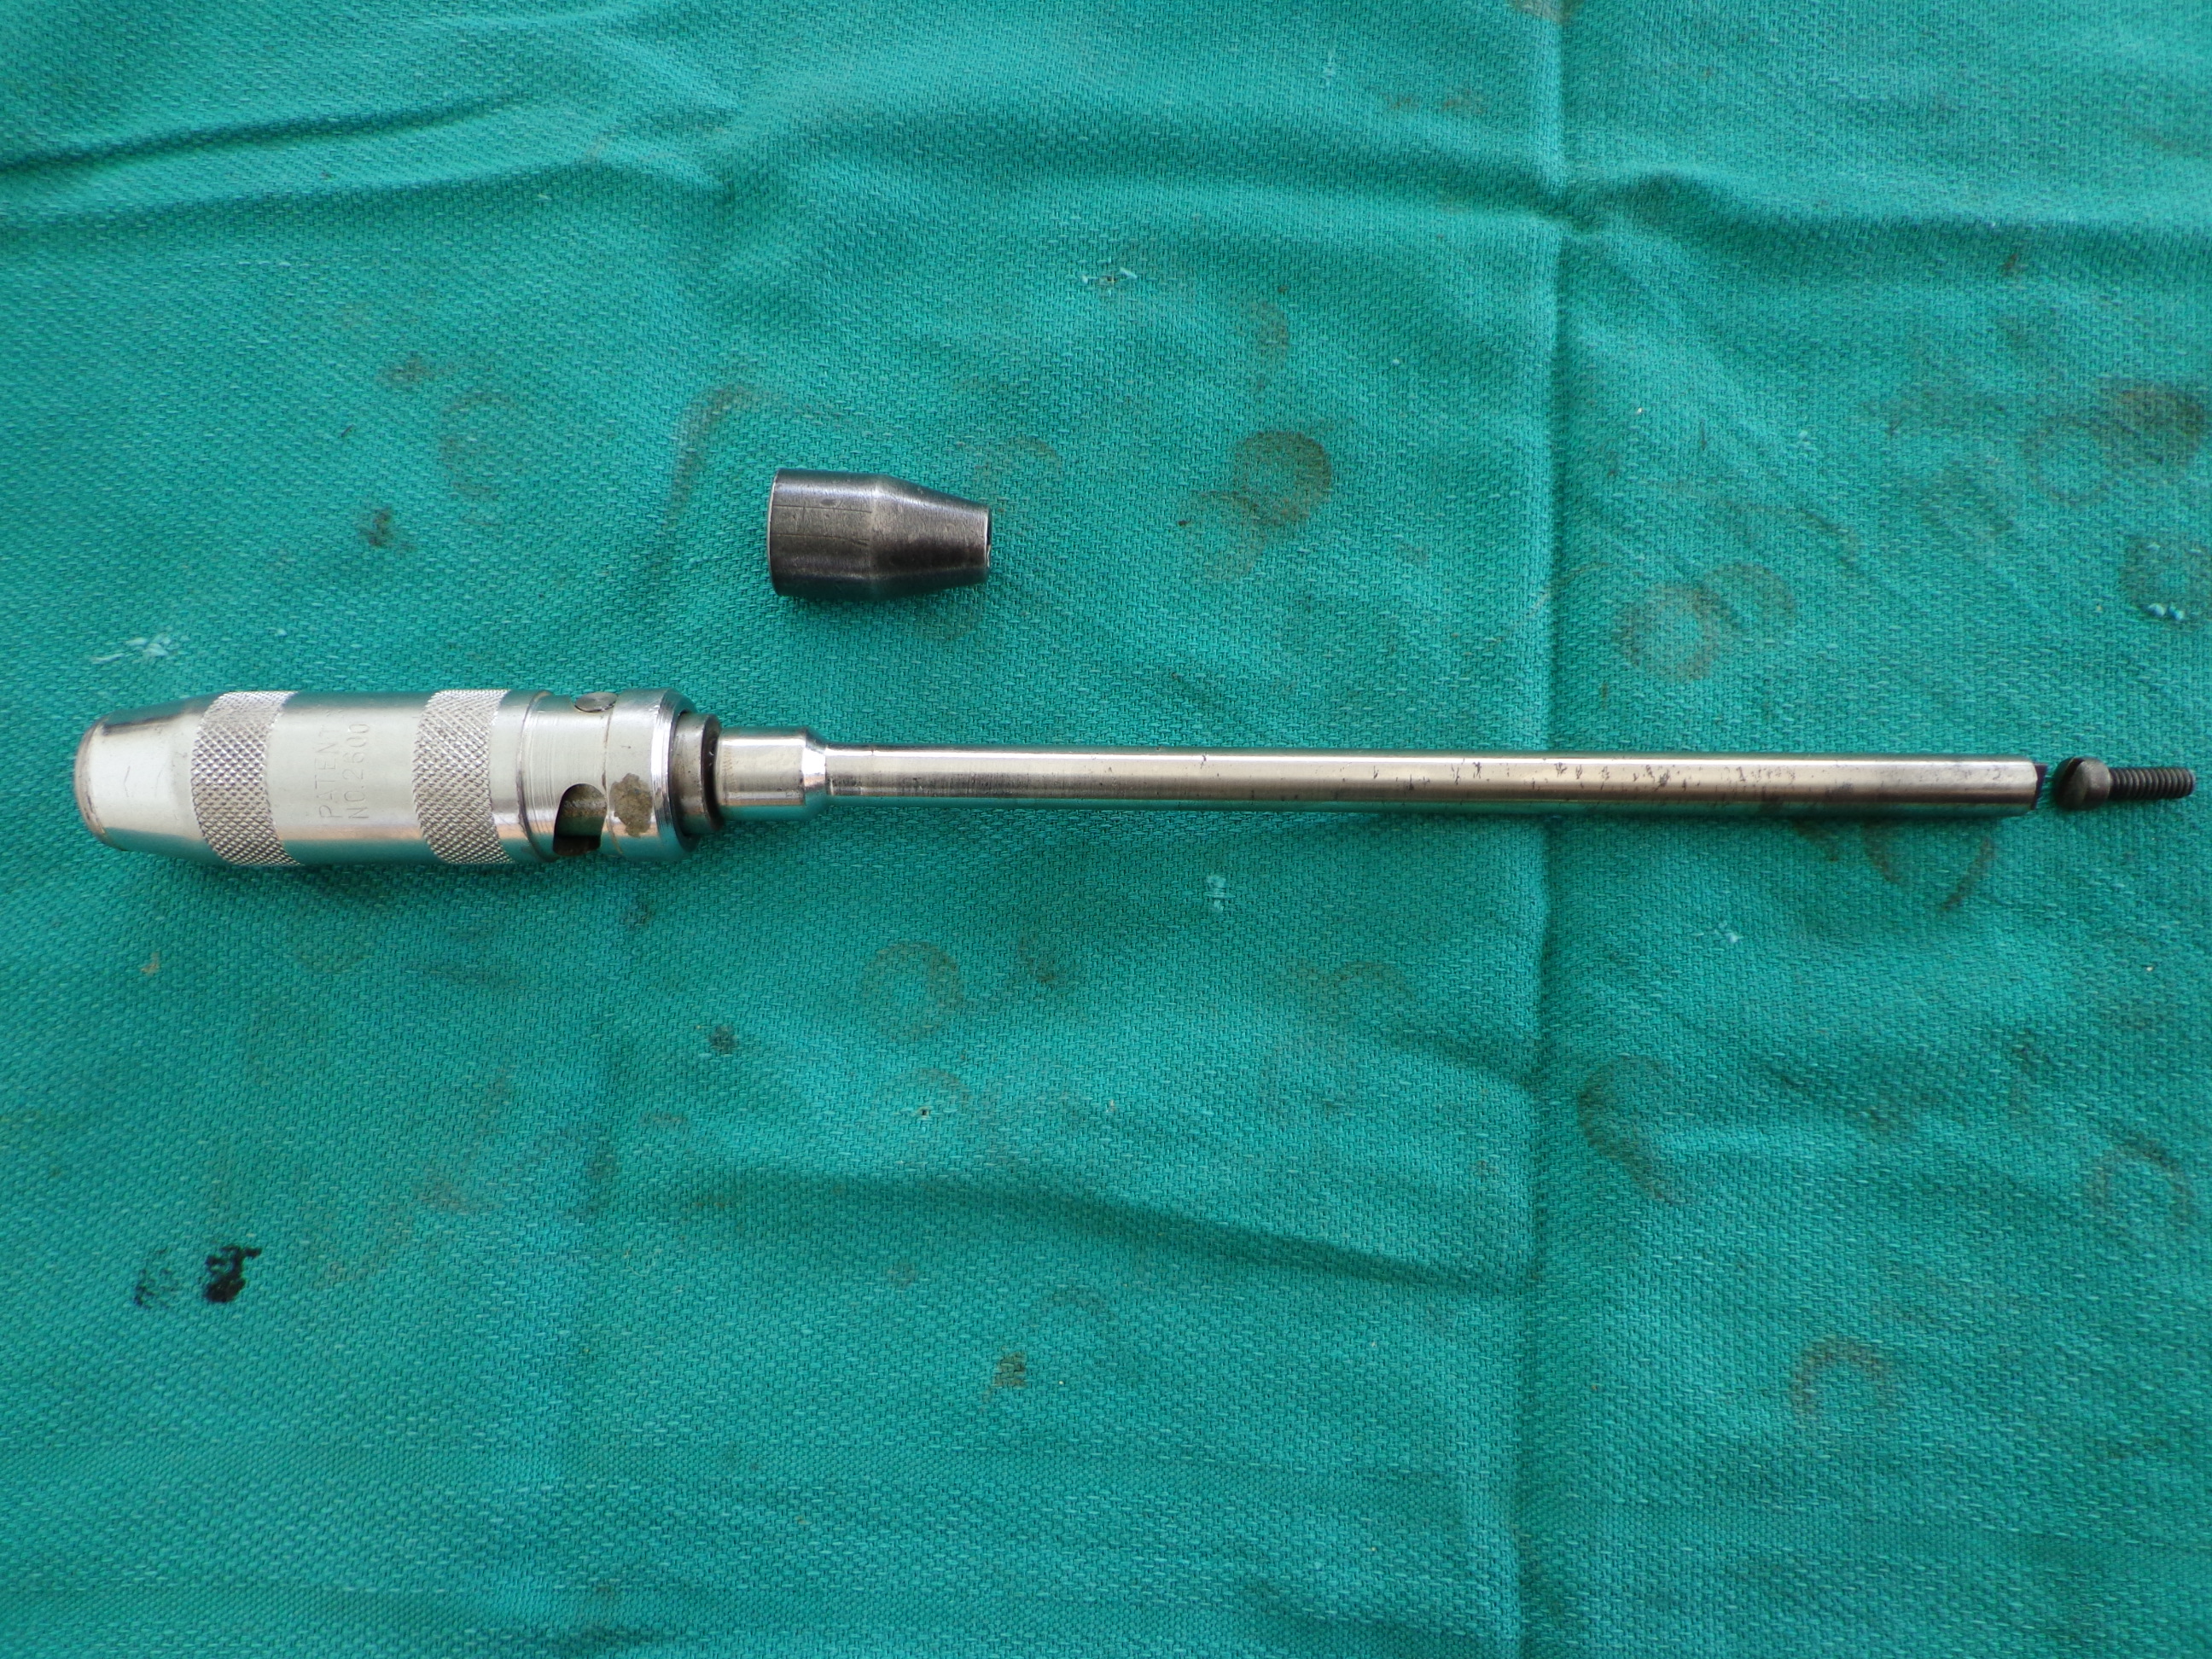
If necessary, I could try to make a longer bit
for the impact driver if I could find a suitable
piece of hex stock. Perhaps an allen wrench would
work.
Thanks!Prepare to be boarded!
- You must be logged in to reply to this topic.