Home › Forum › Ask A Member › 6039 Speeditwin Piston Removal
- This topic has 30 replies, 7 voices, and was last updated 4 years, 3 months ago by
 garry-in-michigan.
-
AuthorPosts
-
December 11, 2019 at 8:54 pm #189206
That will go in next to the piston so you can keep the pistons on the rod . The rollers are easy (the first one anyway.) to install. they are held in place in pares by the retainers and white assembly grease. We kept the powerhead attached – tilted up the motor and turned it as far as it would go in one direction. Then we put half the rollers in the rod cap and held that against the crank. Then added the remaining bearings on the crank, lowered the piston & rod in and tightened the screws. Then we turned the motor in the other direction and did the other one. My job was holding the rod cap because , at the time, I had smaller hands.
 December 11, 2019 at 9:15 pm #189207
Good progress so far. Nice job on fabricating the piston cradle!
Bob
1937 Champion D2C Deluxe Lite Twin
1954 Johnson CD-11
1957 Evinrude Fastwin 18
1958 Johnson QD-19
1958 Johnson FD-12
1959 Johnson QD-20“Every 20 minute job is only a broken bolt away from a 3-day project.”
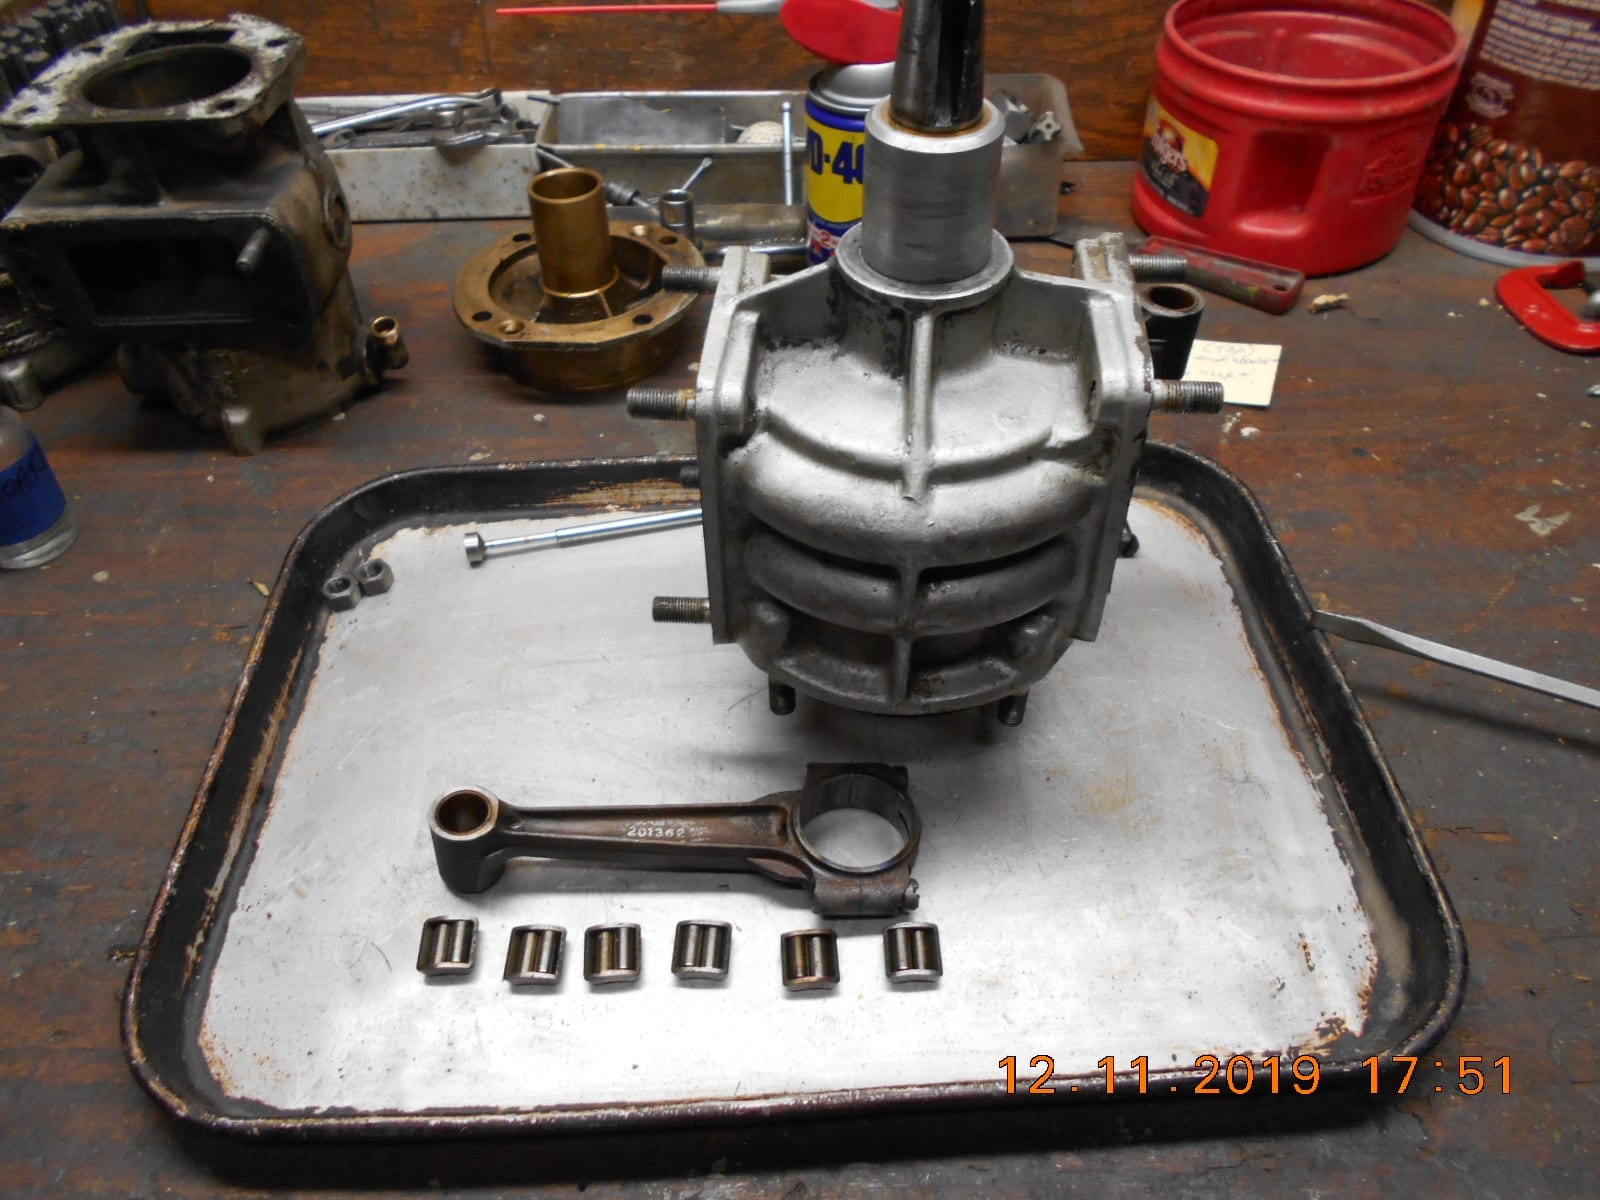
"Every time you remove a broken or seized bolt an angel gets his wings."December 11, 2019 at 10:04 pm #189208After supper I went back out to the garage for a spell, and removed both
rods from the crankcase. I’ve never run across roller bearing retainers
on the rods like these, in six sections, with two rollers in each.
I did not pull the crankshaft out yet, as I have to file down the burs
on the keyway.
Not liking what I see on the crank rod journals though…… some
etching and wear. Will “mic” them once it’s out. Perhaps it
will have to do for a “once a year” run until I come by a parts
motor, or end up using this one for parts.Garry, What are your thoughts on the Speeditwin connecting rods.
Is there suppose to be a different rod, hence part number, on
each side? Mine are both the same part / casting number and are drilled
the same, but because the small end of the rod boss is off-set, one
oil hole ends “up”, the other “down”.
Thanks.
Prepare to be boarded!
December 11, 2019 at 10:52 pm #189213I don’t know opposed twins either, but doesn’t seem right that both rods would the same configuration/part number. I’ve always known that rod oil holes should face upward. Could be that somebody was inside that case before you.
Bob
1937 Champion D2C Deluxe Lite Twin
1954 Johnson CD-11
1957 Evinrude Fastwin 18
1958 Johnson QD-19
1958 Johnson FD-12
1959 Johnson QD-20“Every 20 minute job is only a broken bolt away from a 3-day project.”
"Every time you remove a broken or seized bolt an angel gets his wings."December 12, 2019 at 5:15 am #189221Can’t go by the casting number. Both sides likely were the same casting but drilled on opposite sides to create the finished parts. Part number in the book is what counts. Sorry, I don’t have the book.
December 12, 2019 at 10:10 am #189224The only “parts” diagram I have for the power head is for a 1941 Speeditwin.
Mine is circa 1950. I only see “one” connecting rod listed…… I think, as
it’s hard to read!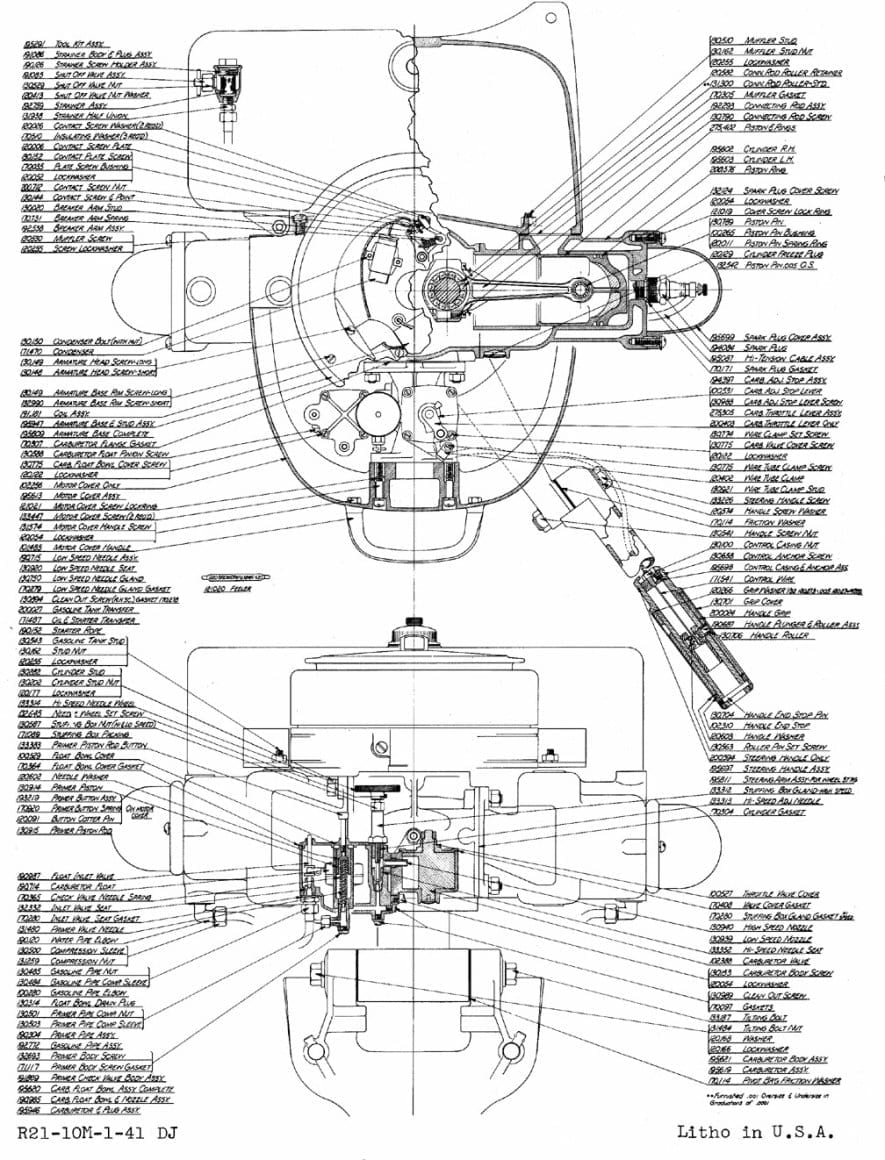
Prepare to be boarded!
December 12, 2019 at 12:11 pm #189239I’ve had one of those hand impact drivers for eons, but lack
the long bit. I’ll have to look into some hex rod that I could
adapt to. Wonder if a “big” old Allen wrench would work?Sorry about my faulty memory – Of course you are right – they are 2-¾” rings. I don’t like to use heat on those. Too much will mess up the heat treating and shorten the life of the bearing. I find a hand held hammer driven impact driver get the job done without the use of heat.
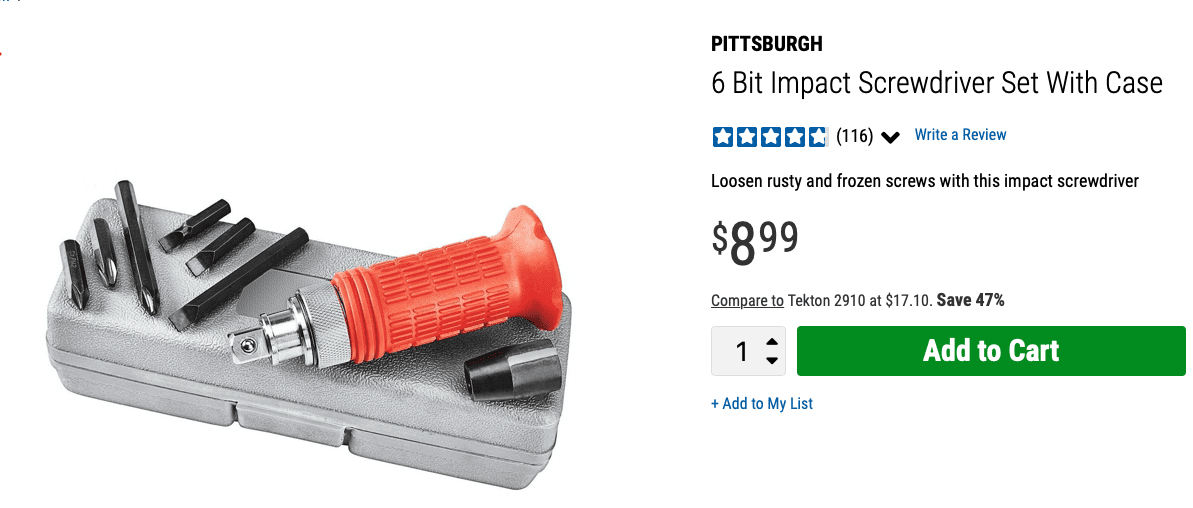
Get a foot of this hexagonal rod and grind one end to fit the screw – then use the impact driver . . .
Prepare to be boarded!
January 4, 2020 at 8:37 pm #189149RIGHT – Turn the crank so the pistons are all the way out and use a very long screw driver attachment to remove the connecting rod screws. that will also put the two piston ring gaps on the botton where they (Theoretically) will get a little more oil to seal better. Also a good time to deglaze the cylinders and install new piston rings. As I recall the wrist pins are a press fit on one end and a slip fit on the other. Don’t mess with them unless you want to race and then install 75 horse V4 connecting rods with roller bearing wrist pins.

January 5, 2020 at 1:06 am #190998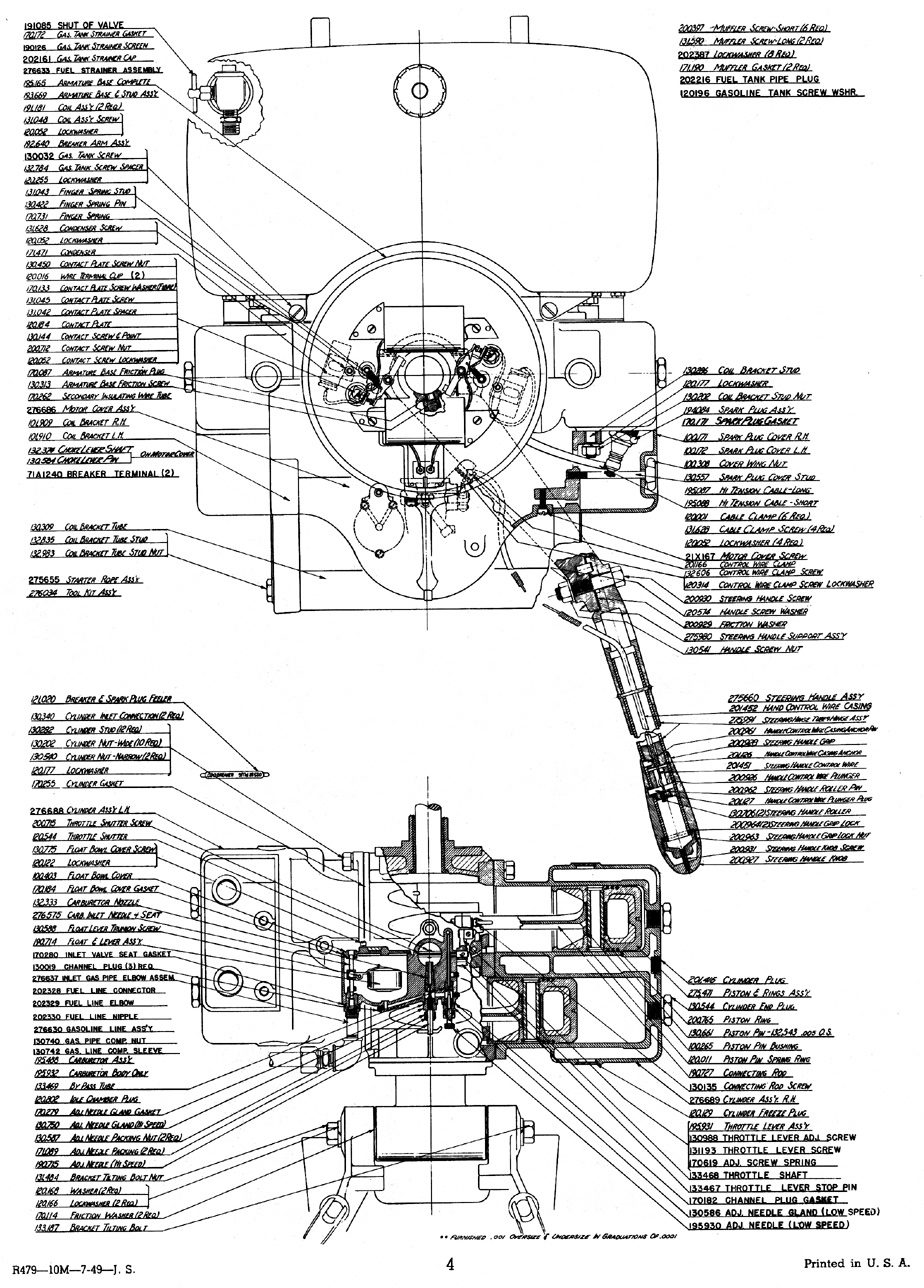 January 5, 2020 at 1:11 am #190999
Disappeared post
The Speedifour uses the exact same connecting rod. You can see in the bottom blue print, the oil hole is pointing down.
-
This reply was modified 4 years, 3 months ago by garry-in-michigan.
-
This reply was modified 4 years, 3 months ago by
-
AuthorPosts
- You must be logged in to reply to this topic.