Home › Forum › Ask A Member › Brazing Skegs
- This topic has 8 replies, 4 voices, and was last updated 7 years, 3 months ago by
 Tubs.
Tubs.
-
AuthorPosts
-
November 27, 2017 at 9:54 pm #8756
Need some sage advise from you Aluminum Brazing experts.
I brazed one side of a new skeg onto my Johnson Model 100.
Thought I’d ask for some tips before I proceeded to the
other side, as when I practiced on a scrap piece of the same
skeg material, I was able to fill in the "V" notch on the first
side okay. I waited long enough until the weld puddle cooled,
turned it over, and as I was welding the other side, I melted
the weld out of the first side. 😮I probably should have practiced more before the actual skeg,
but I didn’t.
I’m using HTS-2000 rod.
I placed a wet rag in the gear case and bolted the cover on,
thinking that would help from warping the gear case.
Not sure if it worked or not, but I had steam coming out
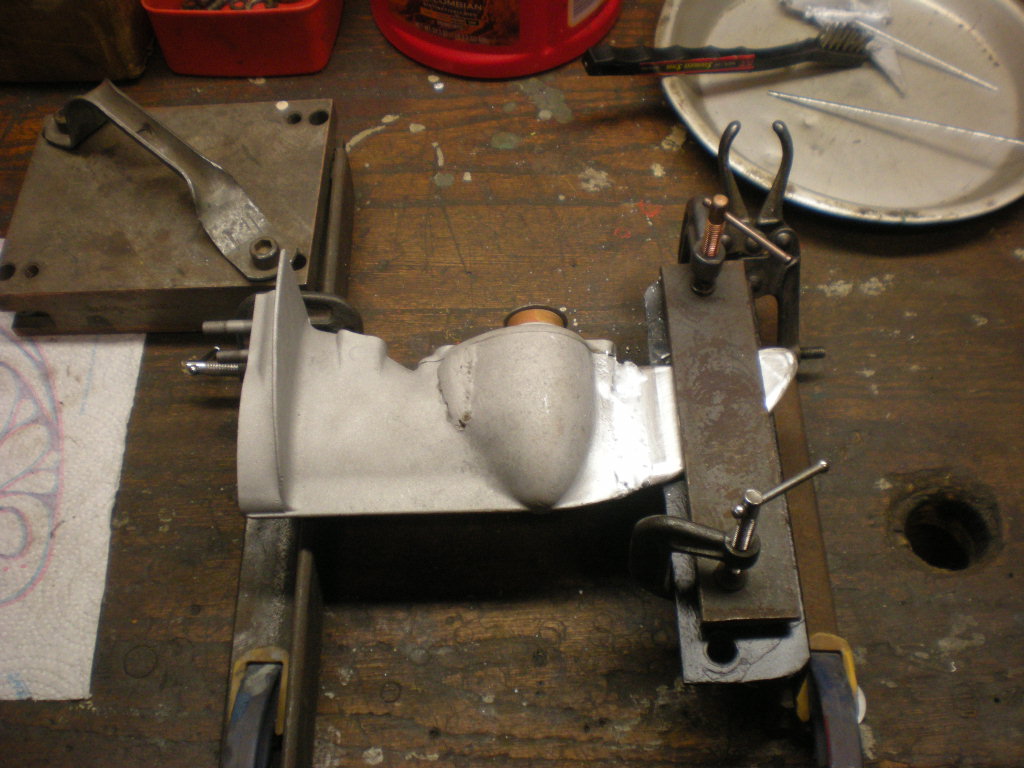
the top of the gear case before I was done!I could not find a good way to clamp the two dis-similar thickness pieces together,
and the clamps were in the way anyhow, so I clamped each piece separate
to angle iron and butted them together.
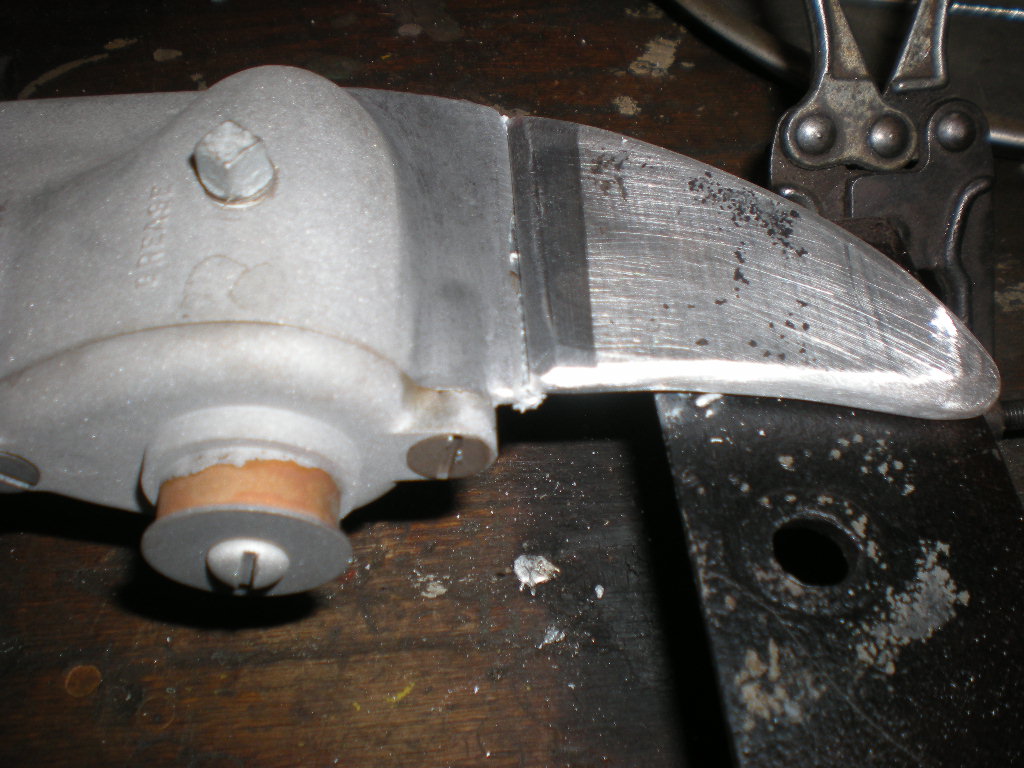
Hard to see the weld in the photo, but if I could get the second side as
good as the first, I’d be happy.If anyone has tips on not melting the first weld out
while welding the other side of the "V", I’d be most happy.
Thanks!
Attachments:
Prepare to be boarded!
November 28, 2017 at 12:27 am #67996I am planning a fishing trip to Red lake on the 5th would you like me to stop by and show you how to weld it?
November 28, 2017 at 2:37 am #68007Ben, I guess I’m in no hurry, so if it’s not too far out of your way,
I’d like to see how you do it.
I’ll PM you.
Thanks!Prepare to be boarded!
November 28, 2017 at 3:25 pm #68020Put a piece of steel on one side and let it flow through.
You need to get enough material in there the first time
as there is no going back to just add a little as you have
learned. Then remove the excess.
A "Boathouse Repair" is one that done without having tools or the skills to do it properly.
November 28, 2017 at 4:38 pm #68023Tubs, I watched some Youtube videos of similar methods
as you suggest. They used a backing plate to fix props,
and make new "ears" or bolted flanges on items, etc.
Perhaps if one made a tight enough dam out of tin
on the back side, you’d end with enough material
to machine level when done brazing.
Ben may swing by neck of the woods and show
me his method.
Thanks for the idea. I have more with broken
skegs to practice on once I know what I’m doing!Prepare to be boarded!
November 28, 2017 at 5:19 pm #68026I have got a skeg on the to do list also.
Smaller than yours though.A "Boathouse Repair" is one that done without having tools or the skills to do it properly.
November 28, 2017 at 8:06 pm #68032.
Small and thin material you can try to braze but
a skeg of a bit thicker aluminum … my way is ;
… MIG welding …
you melt and mix both materials together to form a strong new mixture,
the use of argon gas prevents corrosion during the process
it is the way to built complete constructions and big ships
good luck
😎November 28, 2017 at 10:03 pm #68037This skeg will be mostly for looks.
Assuming this Johnson runs again,
I don’t think the speed and thrust of
a mighty 1.7 hp Model 100 will strain the
skeg too much. 😆 ………
but I’d hate to have it fall off while hanging
on the rack!Prepare to be boarded!
November 28, 2017 at 10:58 pm #68039Actually tried to weld that prop first.
Too contaminated. Was just blowing
more of it off. Its on a Mercury KF-7
Super 10. Ran 55 gallons of gas through
the motor before I gave it to a good
friend of mine. Had fun with the colors
and getting it running again but its too
modern for me.
He ran it the rest of the summer. To be
honest I didn’t expect it to hold up either
and brought a spare prop but I never
needed it. Why I plan to use it on the
skeg repair. Want to get a better
understand of how to use this stuff and
its limitations.
A "Boathouse Repair" is one that done without having tools or the skills to do it properly.
-
AuthorPosts
- You must be logged in to reply to this topic.