Home › Forum › Ask A Member › Changing the shift rod seal on my Johnson CD-12
- This topic has 34 replies, 16 voices, and was last updated 7 years, 9 months ago by
 garry-in-michigan.
-
AuthorPosts
-
February 16, 2017 at 6:41 pm #53126
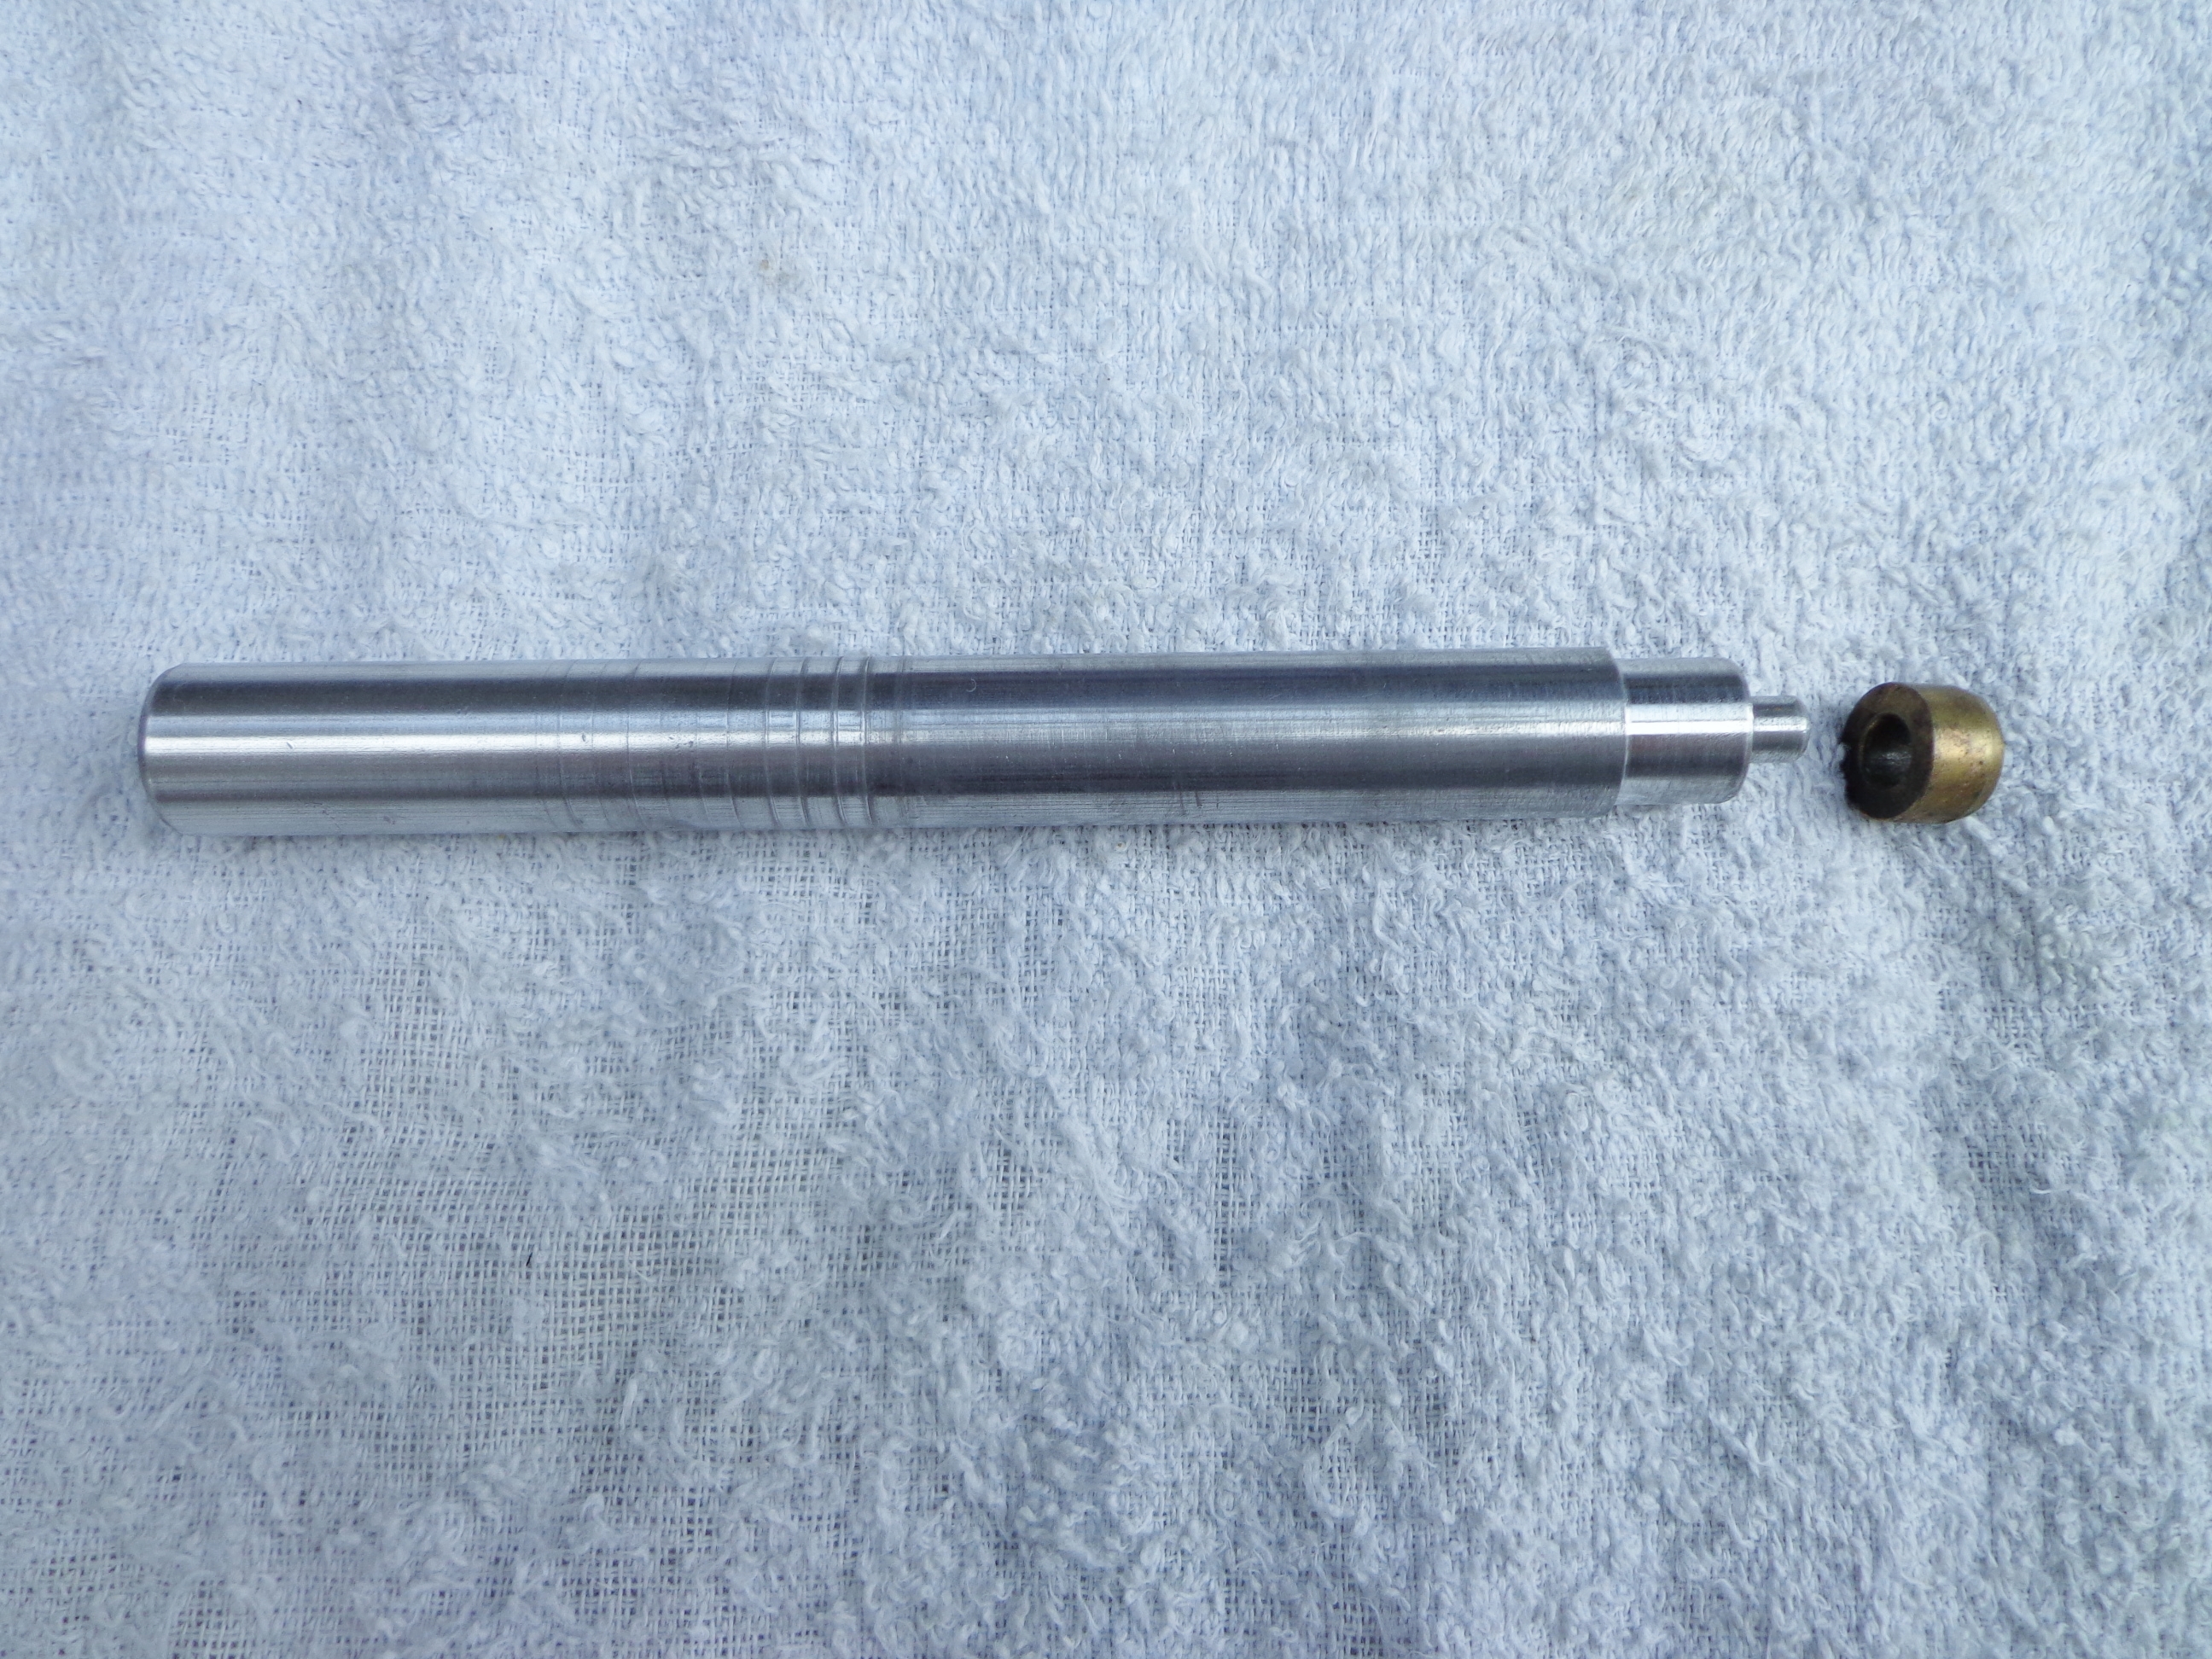
Here’s another simple tool used to install them.
Attachments:
 February 16, 2017 at 6:51 pm #53127
I made a bushing installer very similar to the one Mumbles pictured above. The main difference is the smaller diameter portion that passes thru the bushing goes thru far enough to hold the O-ring so the whole assembly can be inserted with the tool at once.
-BenOldJohnnyRude on YouTube
February 16, 2017 at 9:29 pm #53132I simply used a ratchet socket at the end of an extension to match the diameter of the brass insert
the socket needs to be simply driven squarely with the beveled edge of the brass insert facing down
Joining AOMCI has priviledges 🙂
February 16, 2017 at 10:45 pm #53134After you spent all this time and money on the lower unit, you should pressure test it to make sure there are no more leaks elseware.
February 16, 2017 at 11:52 pm #53137Yes indeed. Always pressure check after resealing and prior to refilling. If you still have leaks, that’s the time to fix ’email.
-BenOldJohnnyRude on YouTube
February 17, 2017 at 12:44 am #53139quote Fisherman6:Yes indeed. Always pressure check after resealing and prior to refilling. If you still have leaks, that’s the time to fix ’email.
-BenWhen I did mine I replaced everything while I was there anyway. What do you guys use to pressure test? I have been wanting to try that anyway
February 17, 2017 at 1:20 am #53140Steven’s Instruments makes a nice self contained pressure tester.
http://www.stevensinstrument.com/gearcase.htm
I made one that I use with regulated air pressure from my compressor. Mine looks like this.
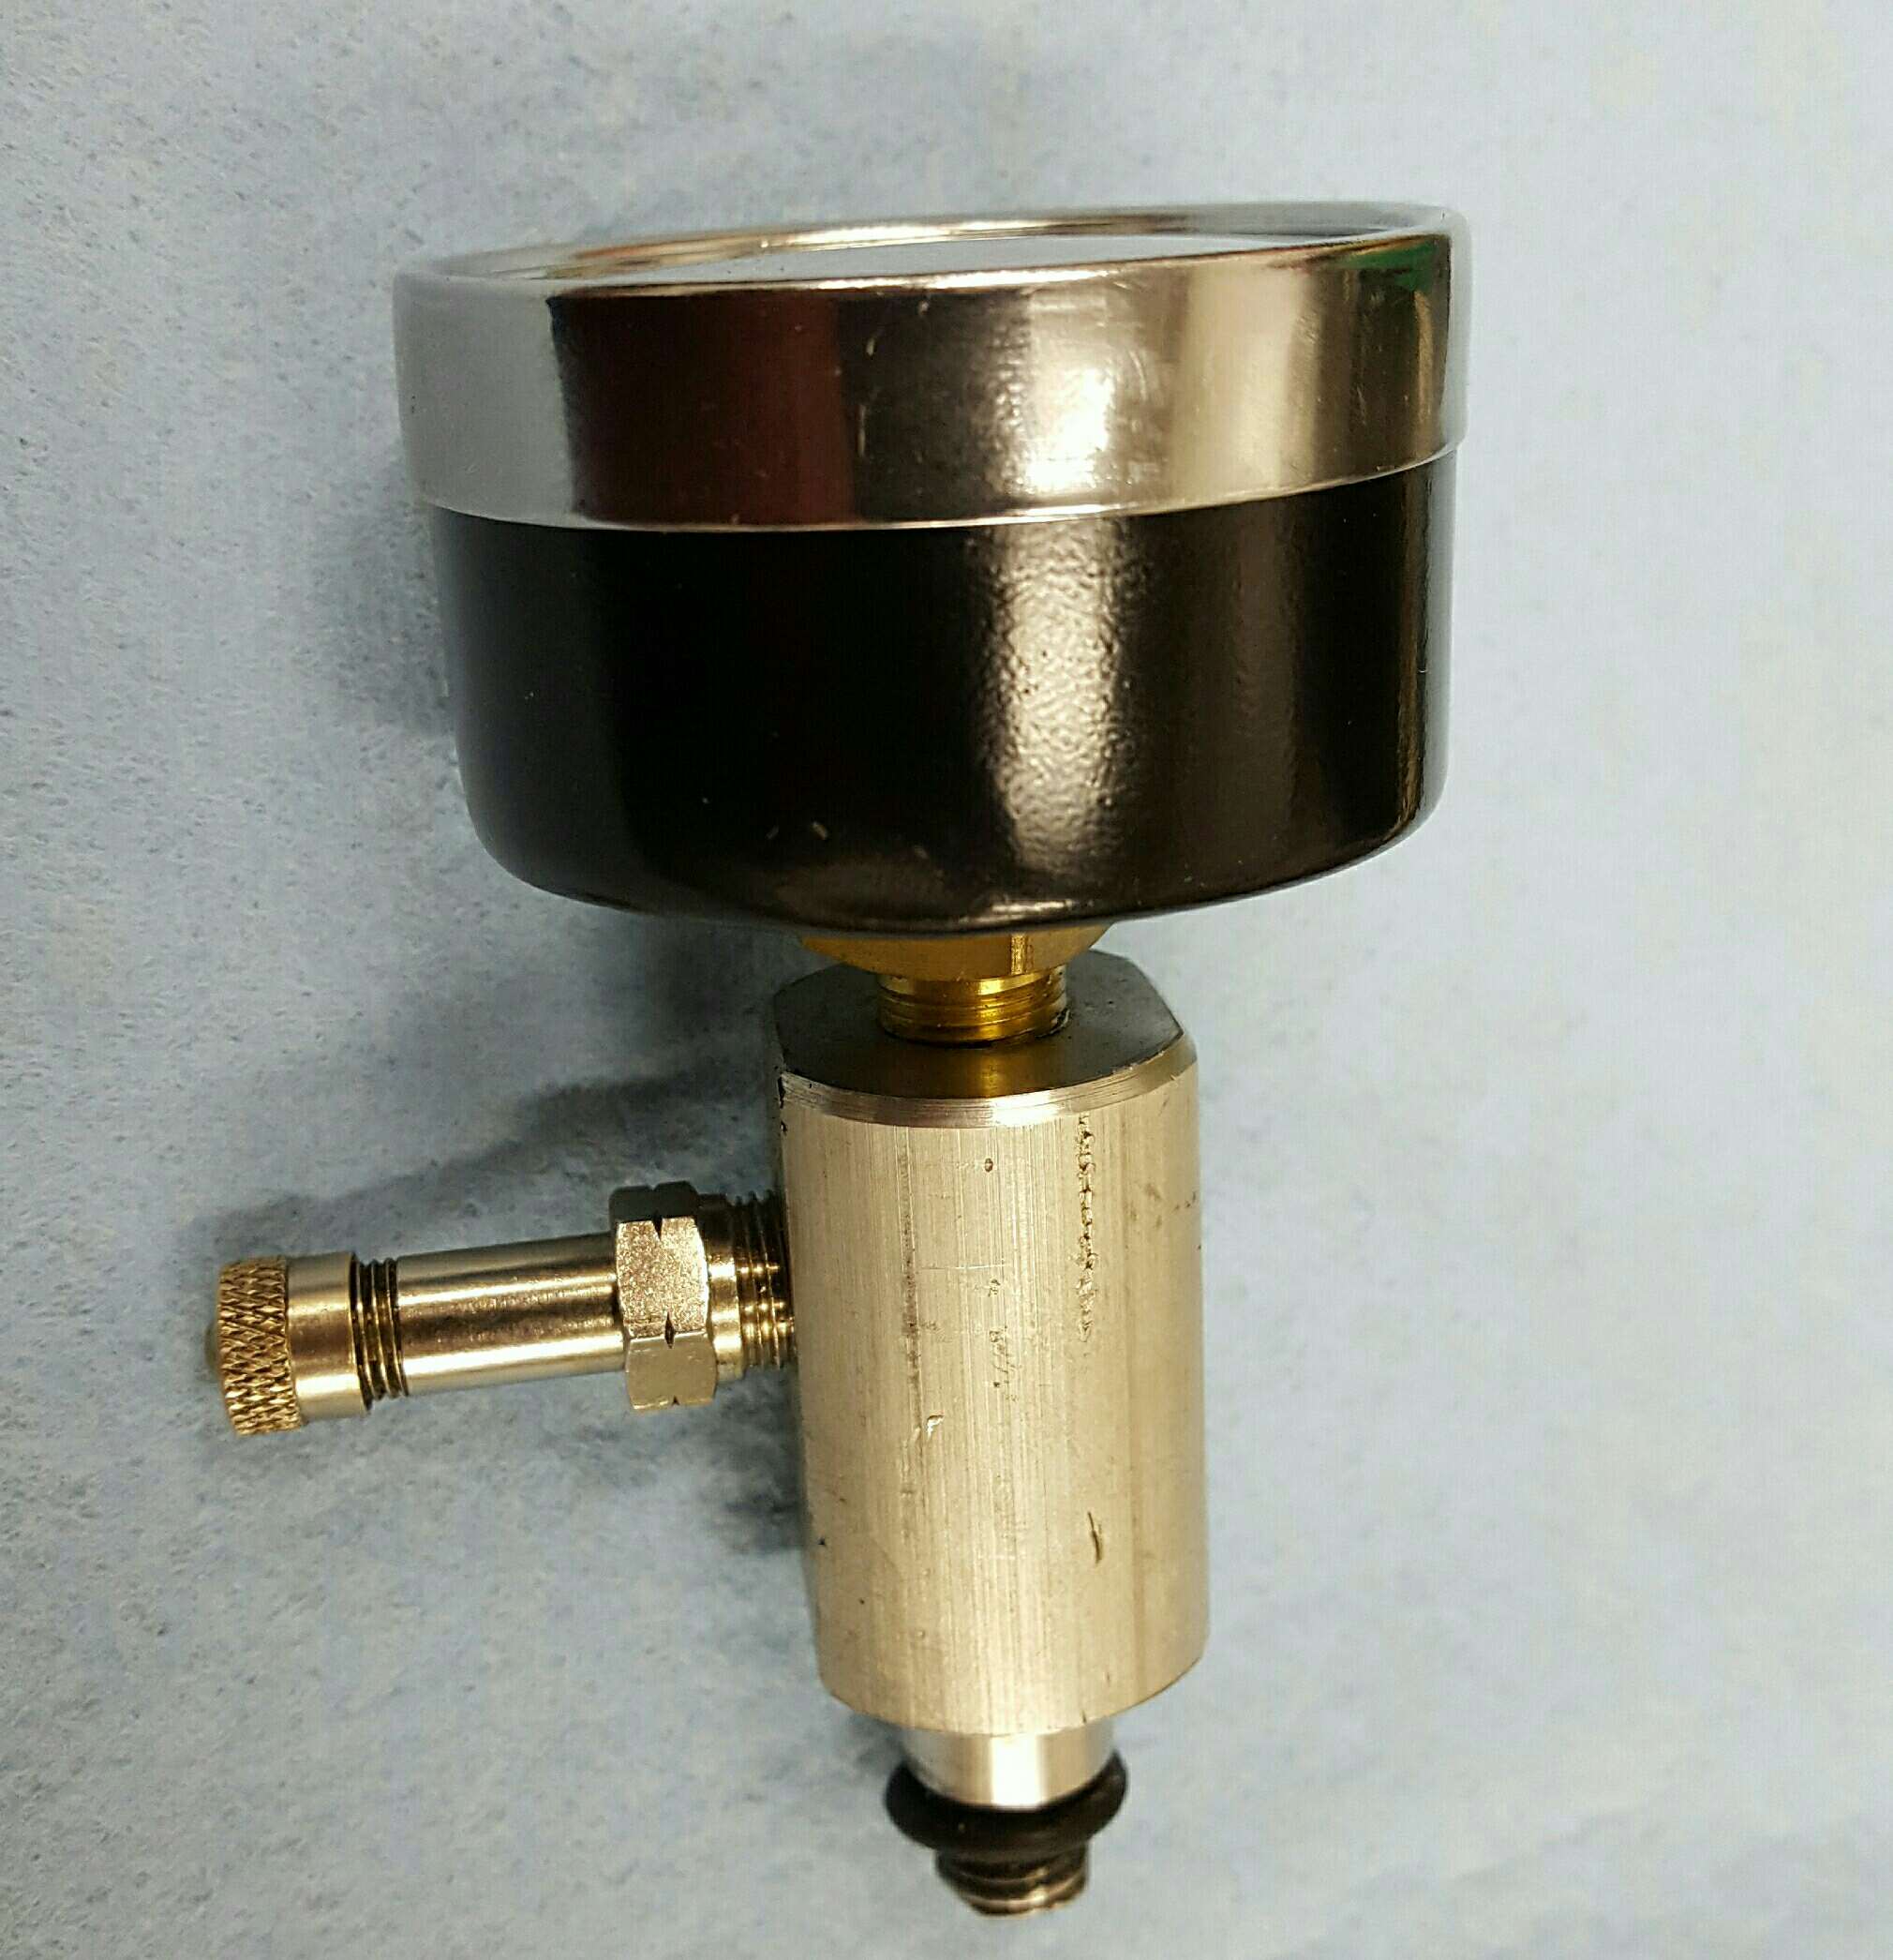
-Ben
OldJohnnyRude on YouTube
February 17, 2017 at 3:18 pm #53148Scoots,
How I installed was with the shift shaft just in place with the O-ring & bushing placed on the shift shaft. I slid the O-ring down to the cavity & bottomed out. Next slid the bushing into place & using a small punch tap around the bushing to seat it in place.
Next check for firmness on the O-ring moving the shaft up & down. This way no chuncks of rubber are removed & get a tight fit with the O-ringFebruary 17, 2017 at 4:17 pm #53155Good idea Jeff and I do have another bushing tool with a longer snout on it for just that reason. As I tap the bushing in, I move the tool up and down a bit to feel the tension of the O ring on the snout. Smearing the cavity with Triple Guard grease before inserting the O ring can help to keep water out and corrosion down to.
February 17, 2017 at 9:44 pm #53166There was an OMC tool that you place the bushing an O-ring on, then seat the leading (tapered) edge of the bushing, then tap it into place. I have a few of them. Only thing – don’t try to whack that bushing in TOO far, that orifice can and will crack. Does require some ‘feel’ for the job and experience. I usually will try to pull the installer out once it feels/sounds as if it’s bottoming out, and if it is a tough pull that means the O-ring is being squashed down and compressing the installer tip.
That’s what we want, a snug seal around the shift shaft. I reinstall the shift shaft with grease to minimize any sort of risk of tearing/gouging the new o-ring too.
-
AuthorPosts
- You must be logged in to reply to this topic.