Home › Forum › Ask A Member › Eisemann Coil Swap on Sears Waterwitch
- This topic has 16 replies, 7 voices, and was last updated 8 years, 1 month ago by
chris-p.
-
AuthorPosts
-
December 28, 2016 at 7:07 pm #5980
Decided to play with a Sears Waterwitch single cylinder motor I have today.
No spark, so pulled the flywheel and found the coil was long ago dead. A previous owner had tried to coat it, but she was toast.
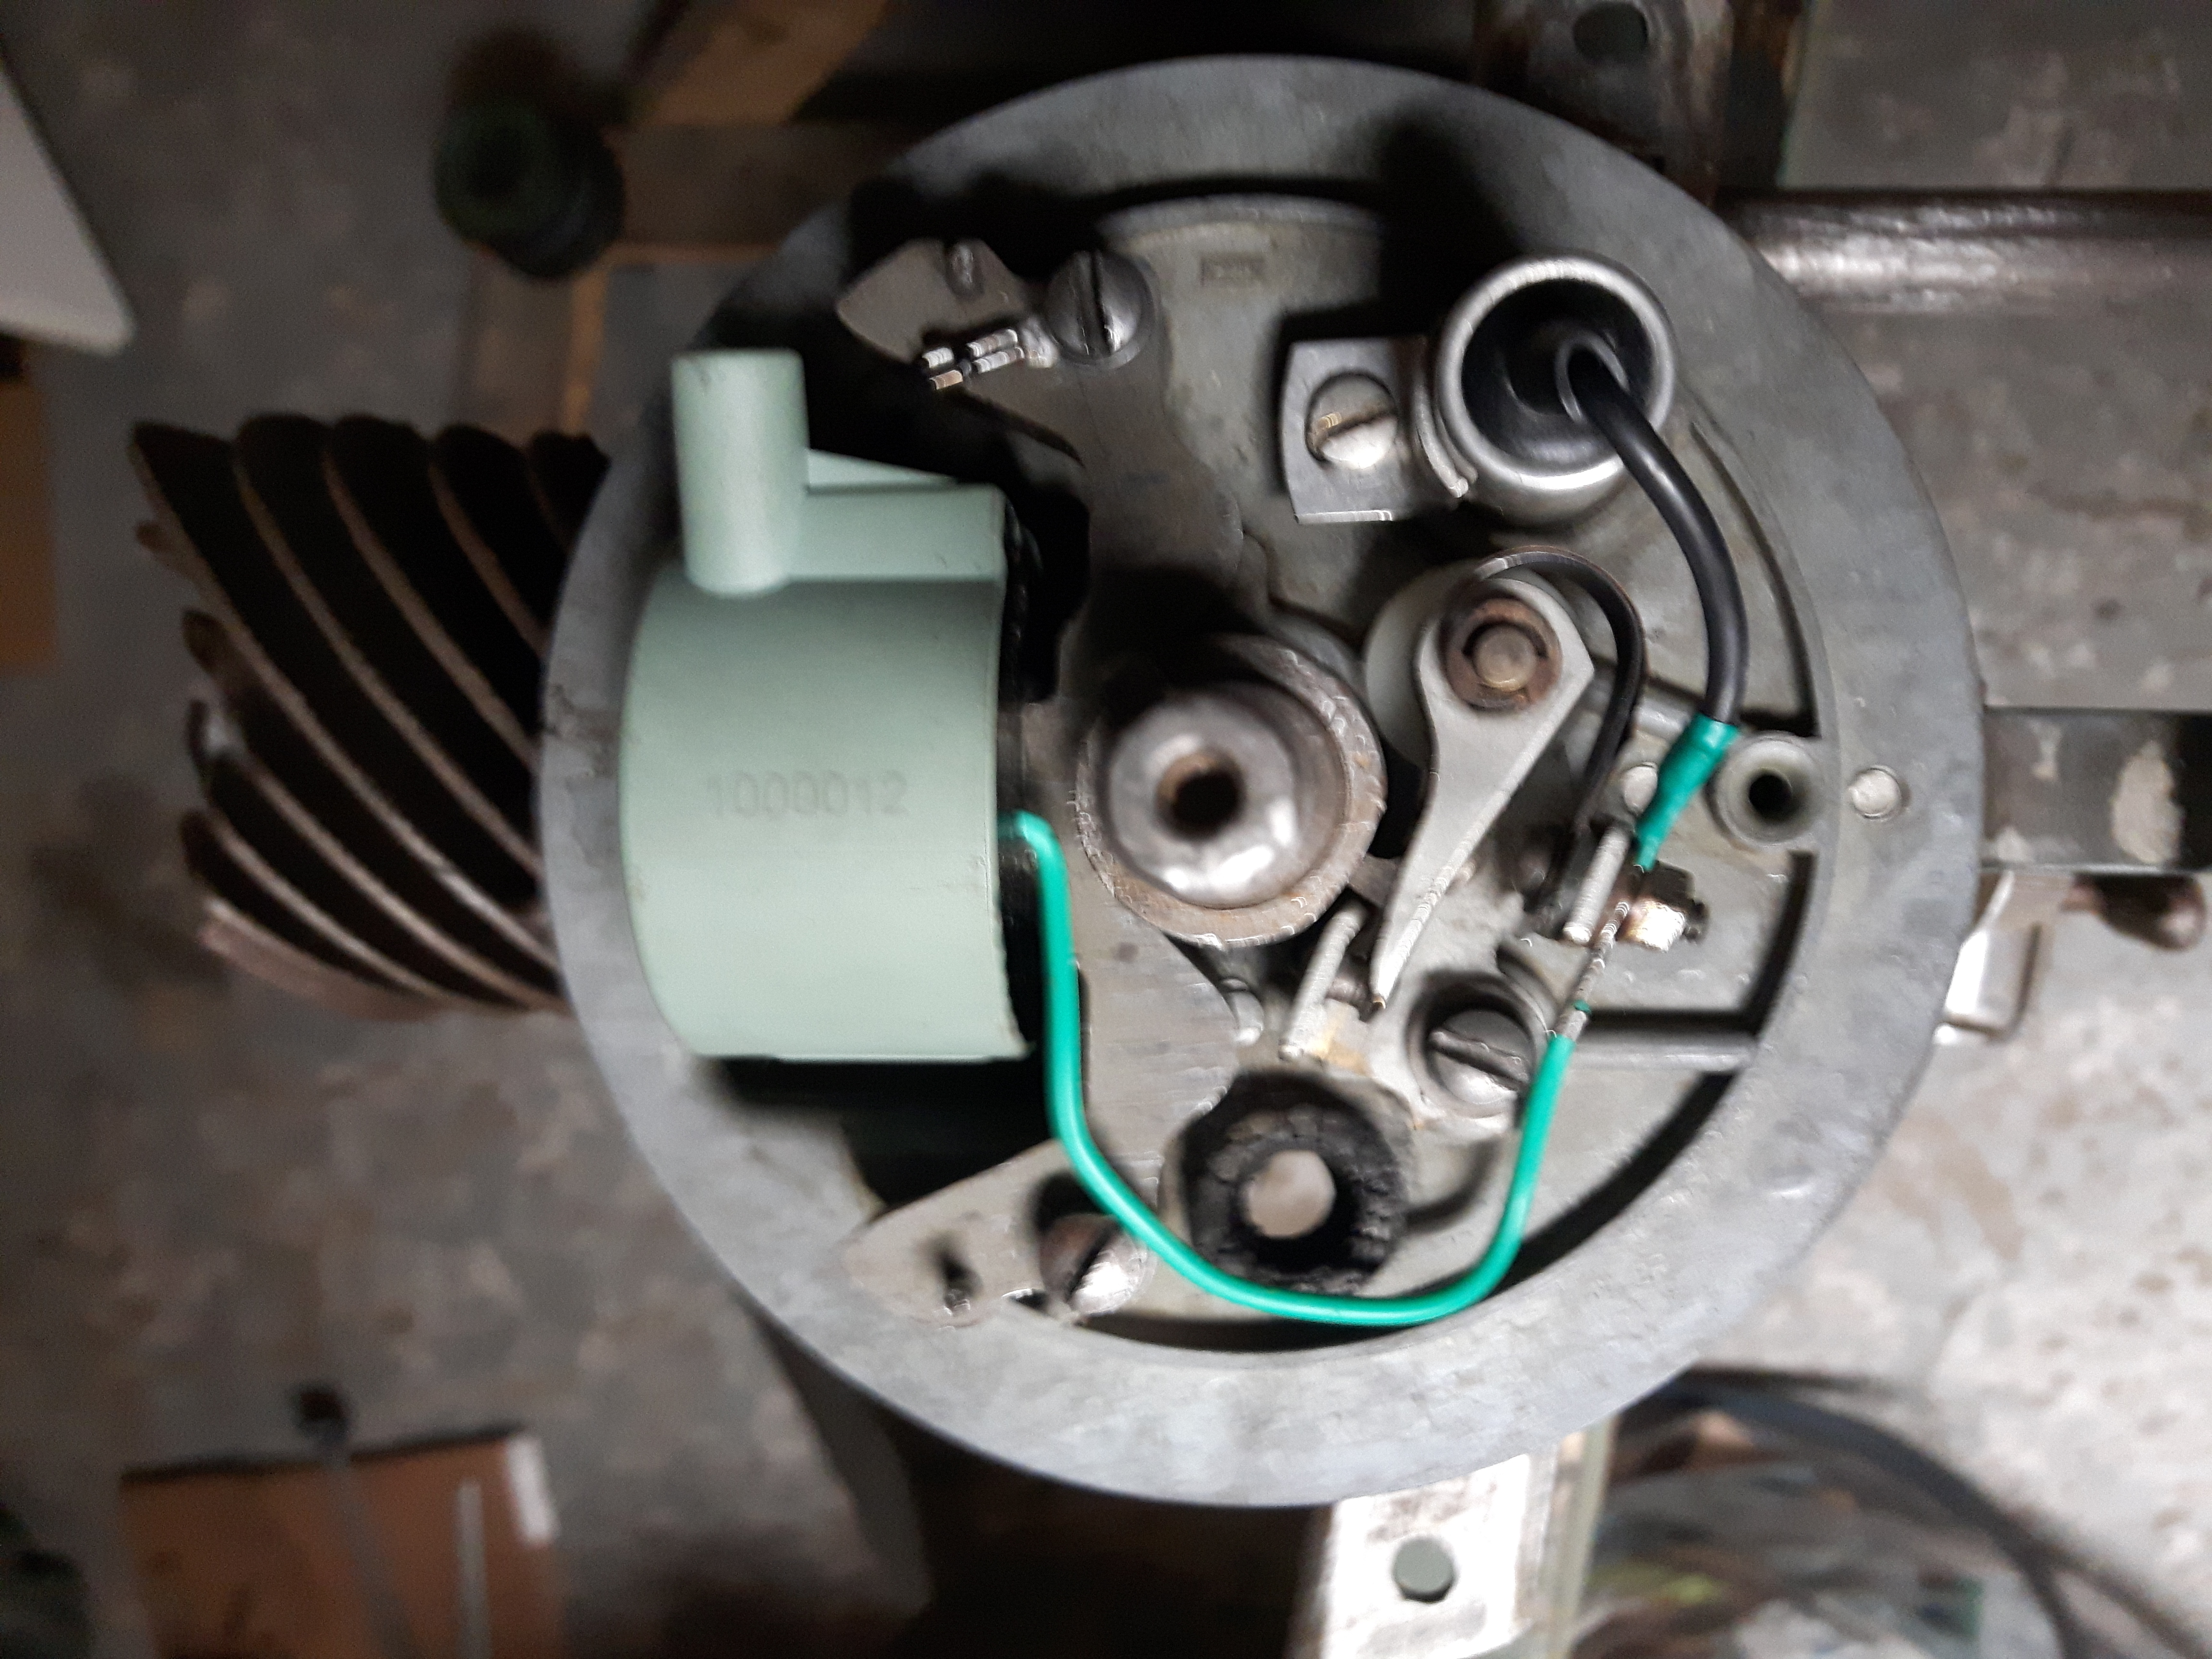
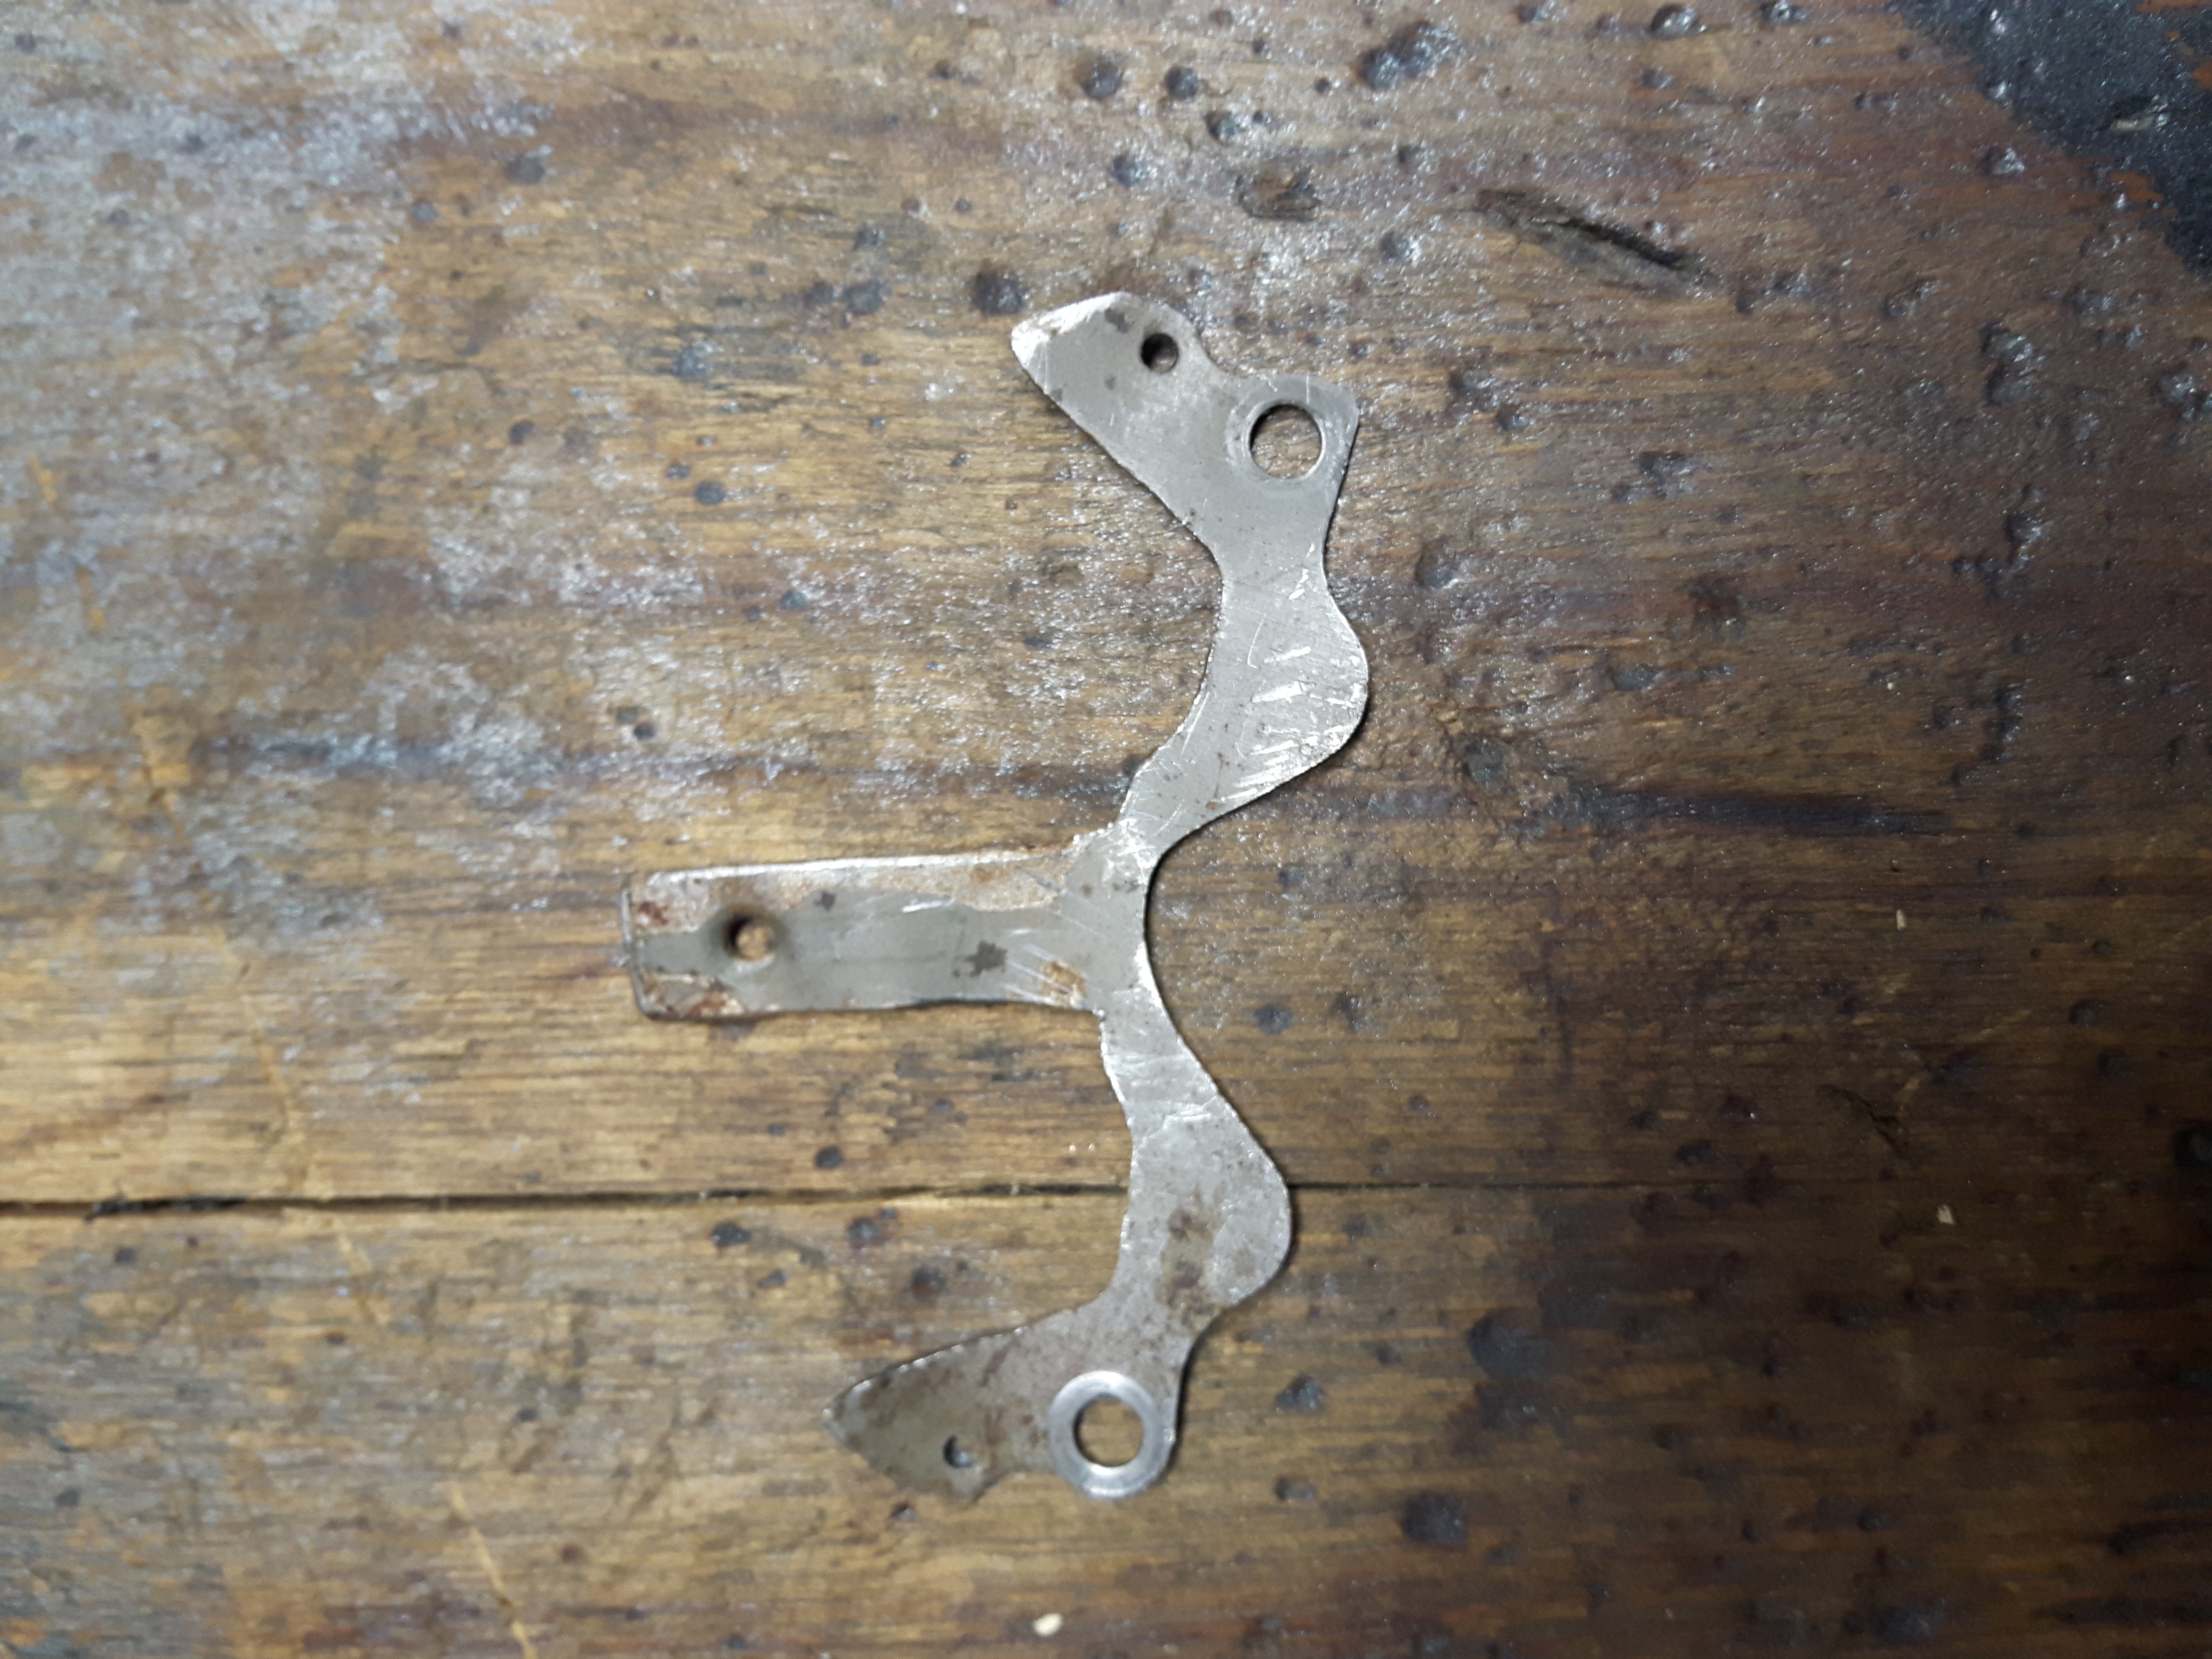
So I pulled it off the laminations, and am going to put a new Sierra coil on the old laminations. Looks like the width of the laminations tab is perfect, just a touch too tall. Need to remove 1 lamination for it to fit.
Do you remove the whole lamination, then re rivet them, or do you simply cut the portion off that will be going in the coil. That seems easier but thought I would check.
Also, if I mount it in the orientation it was, the plug wire will be facing down into the mag plate, the old plug wire faced up then looped down through a hole. Can the coil be flipped. so that the wire comes out on the other side? Ill have to drill a new hole in the mag plate, but at least it will point up, doesn’t look like much room if it points down to work. I guess I could dremel out a pocket in the cavity of the mag plate where the coil sits.
Anyone does a Waterwitch before?
Thanks.
December 28, 2016 at 10:06 pm #49869I do not think it matters which direction the coil faces…. I do recall being informed that if you have 2 OMC coils, or I guess 2 of any coil they both must be oriented the same direction..
Remove the whole lamination…
http://www.richardsoutboardtools.com
classicomctools@gmail.comDecember 28, 2016 at 10:55 pm #49870Thanks Richard.
I removed the whole lamination, re rivet them back together. Slid the new coil on, tight fit but it worked. I did not have to remove any of the width, only 1 lamination to make it work.
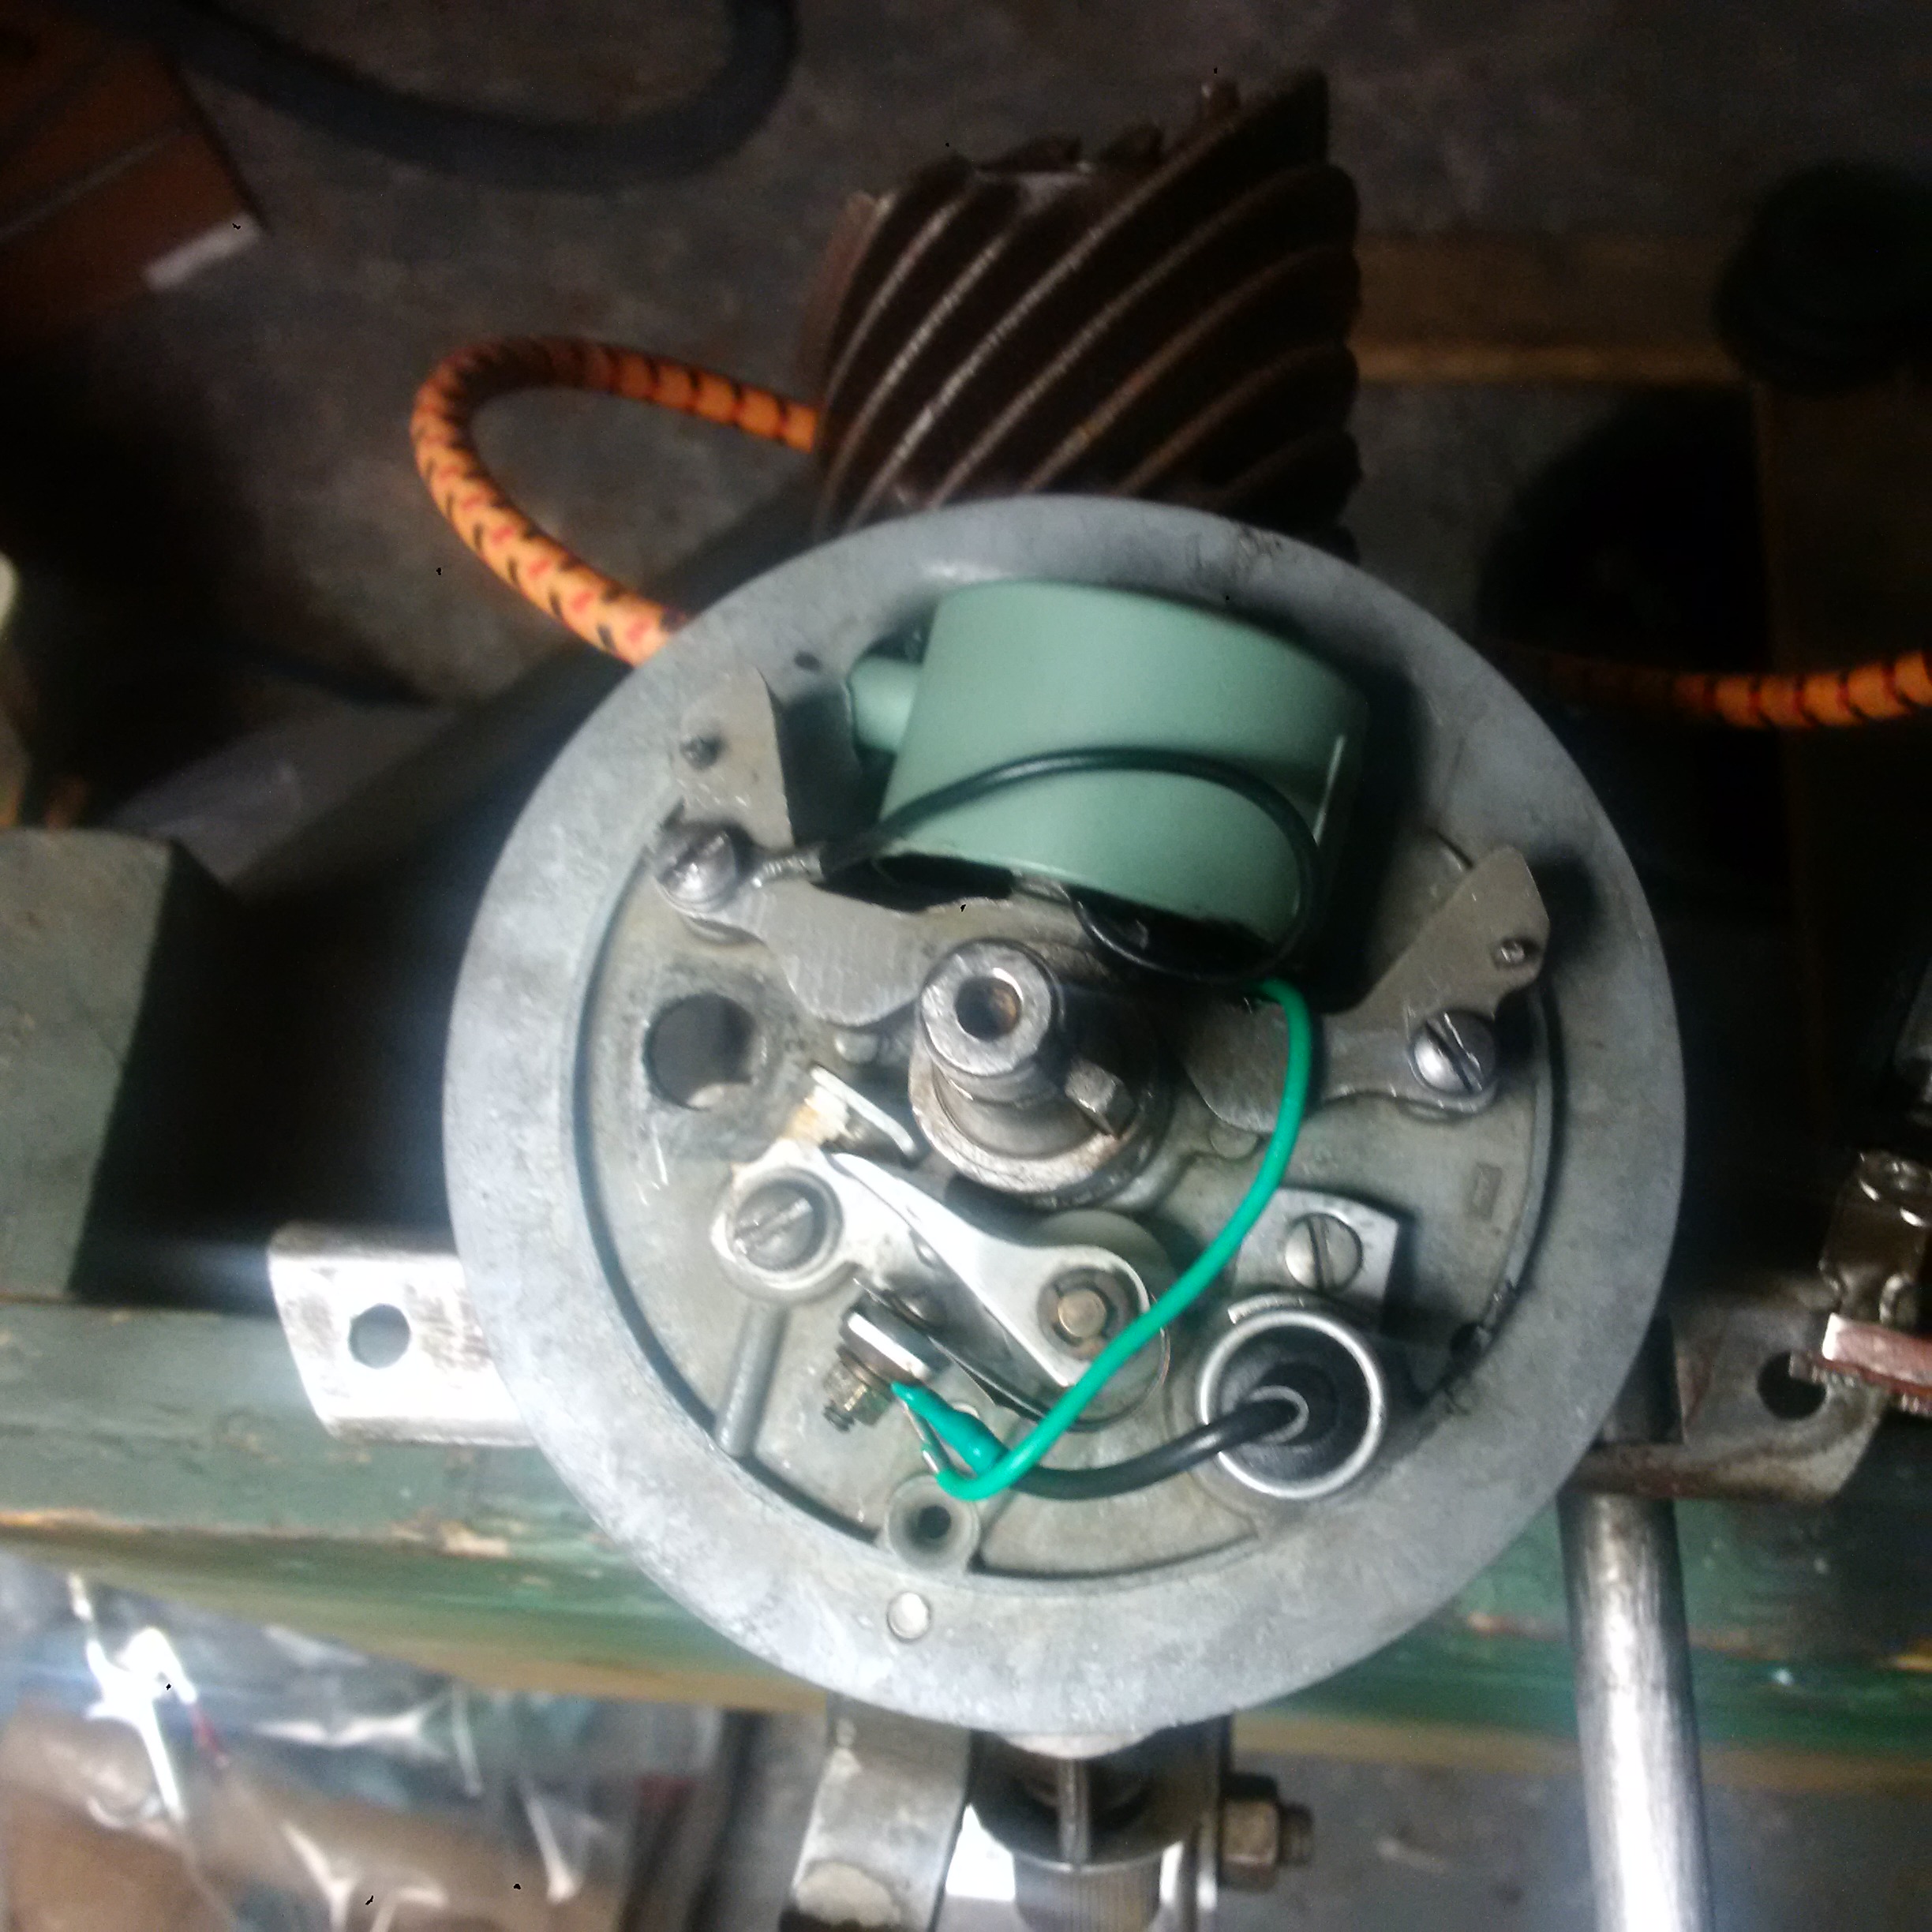
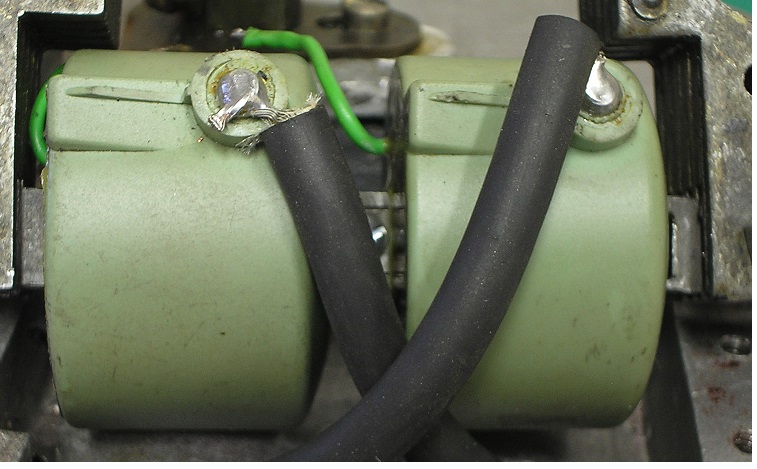
The bad news is that it doesn’t work with the plug wire sticking up. The magnets hit it. You can see in the picture attached. You have to mount the coil so that the plug wire is facing down, then you have to drill out a hole in the mag plate to accommodate the protrusion and plug wire.
Just for those of you in the future planning this conversion.
December 28, 2016 at 11:27 pm #49871December 29, 2016 at 12:31 am #49872Good info, Chris. I wish I could get to mine this winter. Keep posting photos as you move along.
Wayne
Upper Canada Chapteruccaomci.com
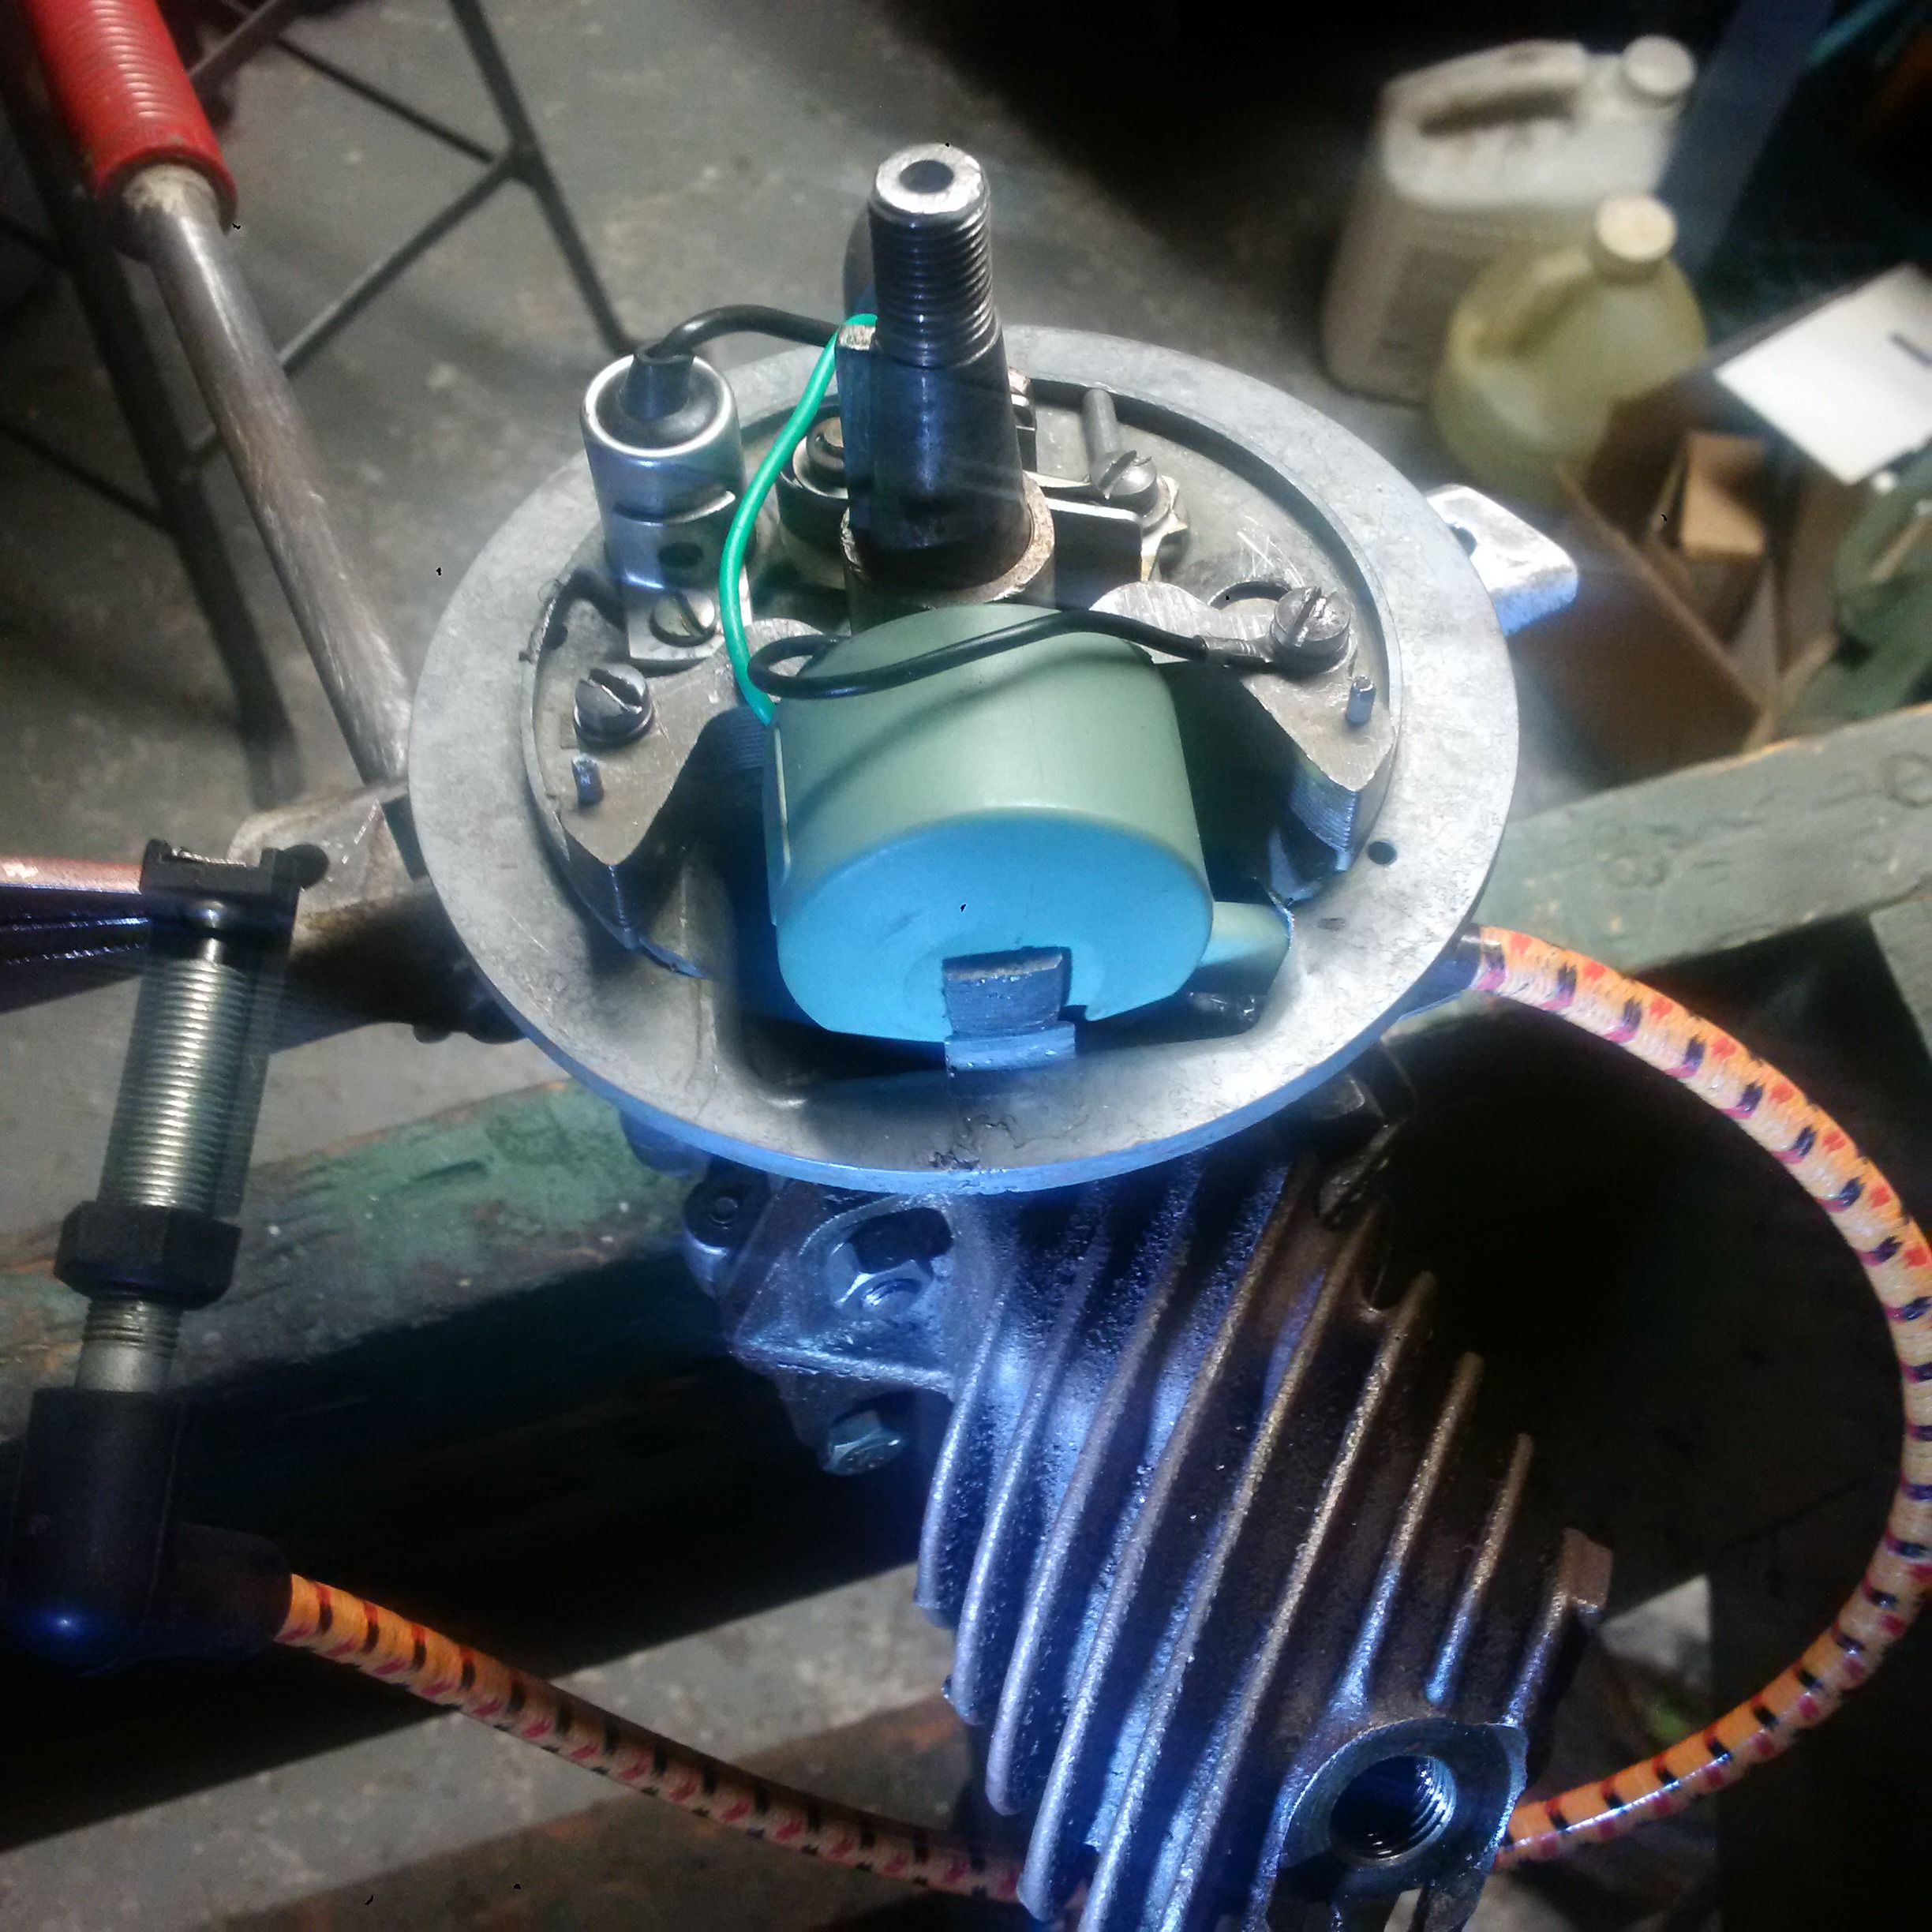
December 29, 2016 at 12:48 am #49874Here are pictures from after I flipped the coil. I used a step drill to slowly open a hole in the mag plate to create the opening for the plug wire.
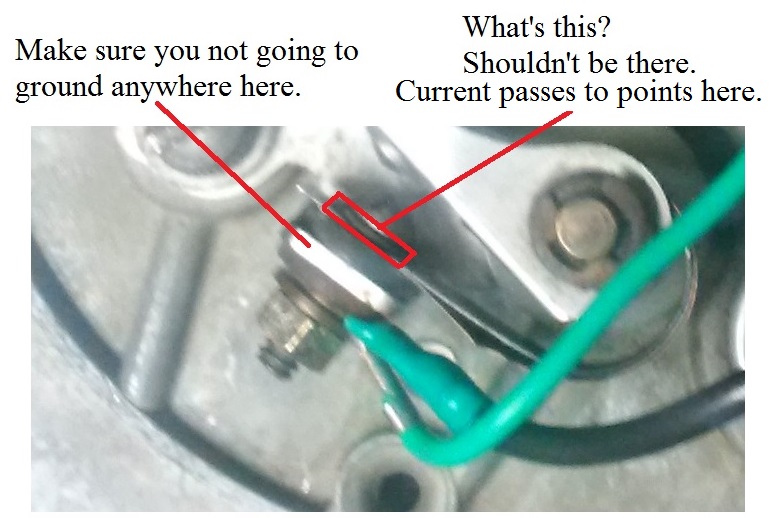
Still don’t have spark, but ill take the points apart and properly dress them tomorrow. Hopefully that is the issue.
Im assuming the gap is 020?
December 29, 2016 at 12:52 am #49876Another possibility is that my magnets need re charging, they seem pretty weak, can barely hold a screwdriver up. I know a couple guys in my area with chargers so will try that as well.
December 29, 2016 at 1:41 am #49877I was going to suggest you check the magnets. How are you checking spark?
Wayne
Upper Canada Chapteruccaomci.com
December 29, 2016 at 4:37 pm #49897I would not reverse the winding orientation otherwise the high voltage will exit to ground frame versus the HV wire going to the plug !!
the plug would fire backwards !!for a no issue …. just orient the coil structure as it would be in real life on a OMC installation.
Joining AOMCI has priviledges 🙂
December 29, 2016 at 4:45 pm #49898 -
AuthorPosts
- You must be logged in to reply to this topic.


