Home › Forum › Ask A Member › Johnson XR55 POwerhead Rebuild
- This topic has 21 replies, 2 voices, and was last updated 4 months ago by
eltoquad.
-
AuthorPosts
-
December 19, 2016 at 11:46 am #49411
when we took apart my V 70 and my V45s that giant center bearing ring was a pain in the neck so I customized pair of Old needle nose pliers by grinding them down so they would fit in the notches, I believe a large pair of snap ring pliers may work also but the modified needle nose pliers work great 😉
December 19, 2016 at 11:50 am #49412i’m sure they can Chris,send me your old gaskets, I’m sure the cylinder gaskets are different 😉
quote Chris_P:I’m rebuilding the powerhead on my XR55. I’m not sure if there is something I’m missing to release the crank from the case? Bill Salisbury had told me at one time about a snap ring, but I cannot see it for the life of me. Any thoughts? Due to rarity of this motor, don’t want to force anything!Randy, If I send the gasket manufacturer these gaskets could they reproduce them for me?
December 19, 2016 at 11:57 am #49413I believe it’s the same on all the etrv motors let me check see if I have one…
quote Adam1961:Chris,
If that broken bit is the detent for the magplate, I would bet that it is common to other motors.December 19, 2016 at 10:25 pm #49444If not, I think I have one in my spare V45 parts… if they are the same.
December 20, 2016 at 12:13 am #49453Jerry, I bought a snap ring plier from NAPA expressly for that center main. It is a large one and does the job. Those center mains have a tendency to wobble ever so slightly due to a less than perfect fit. Bill Salisbury had a modification he did that locks it in place. Basically he drills through the case and installs a locating pin that screws into the crankcase. If I remember correctly there are 2 of them,–one on each side of center.
George
December 20, 2016 at 10:15 pm #49489Is the crank supposed to slide out part way before the snap ring is removed? Or is the ring supposed to be removed from its seated position?
December 21, 2016 at 11:56 am #49518The snap ring engages in both the center main housing and the crankcase while installed. You will need to squeeze the snap ring fully into the center main housing and hold it there while pushing crankshaft out of case..
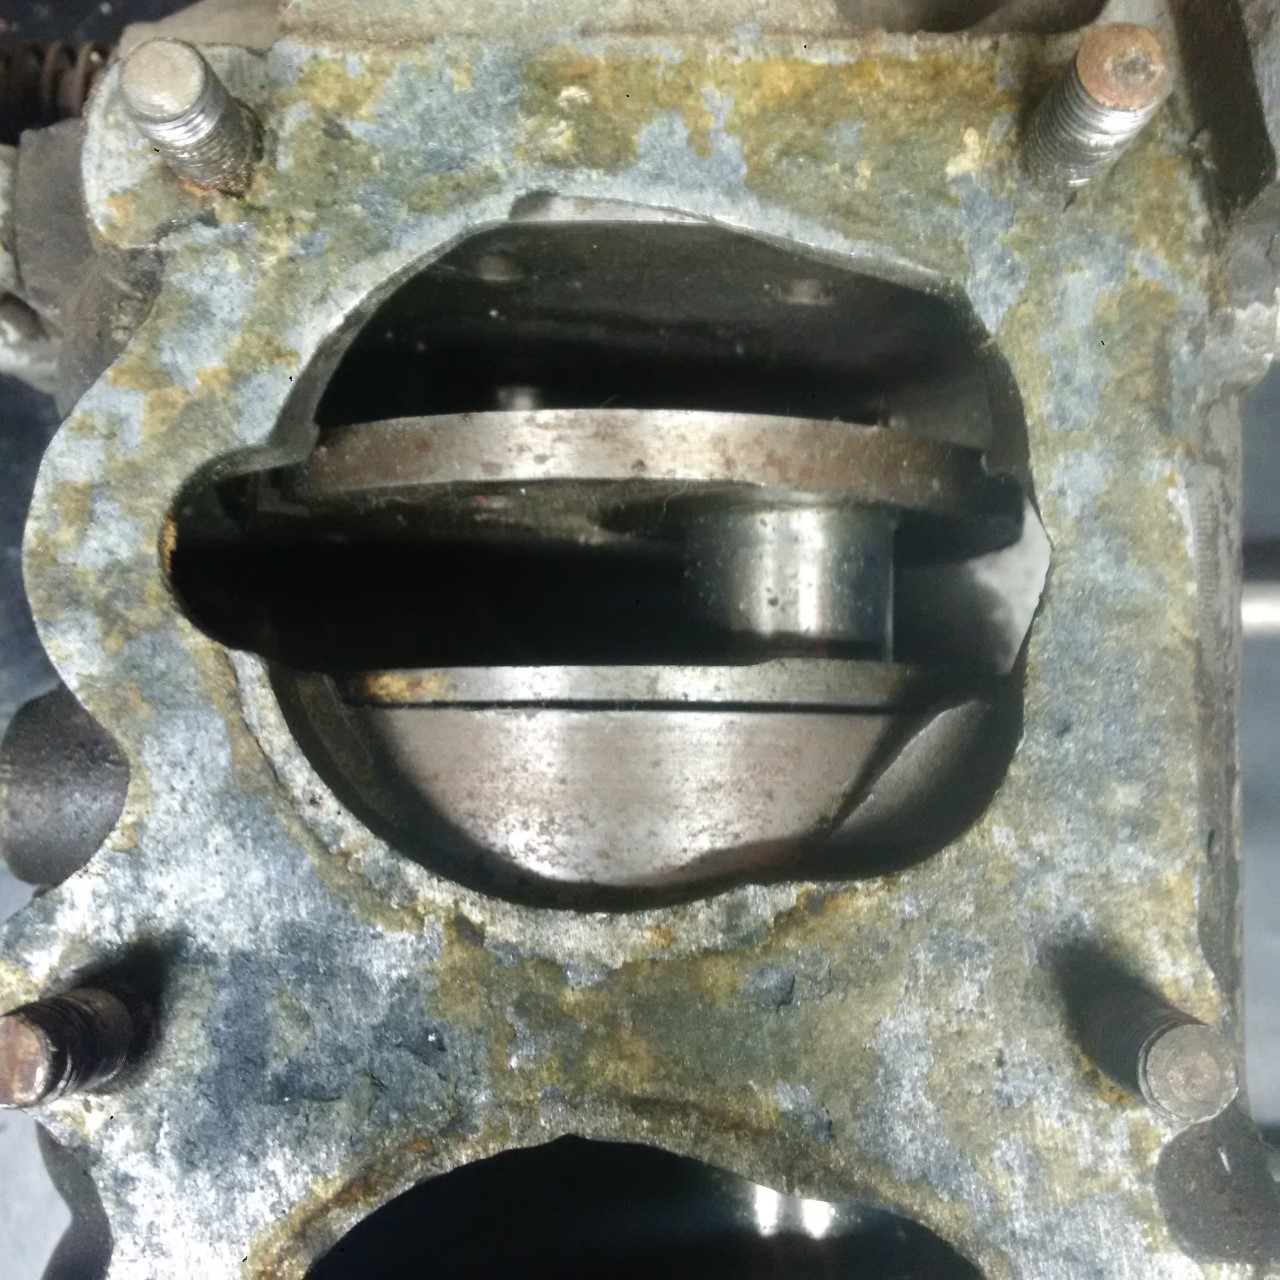
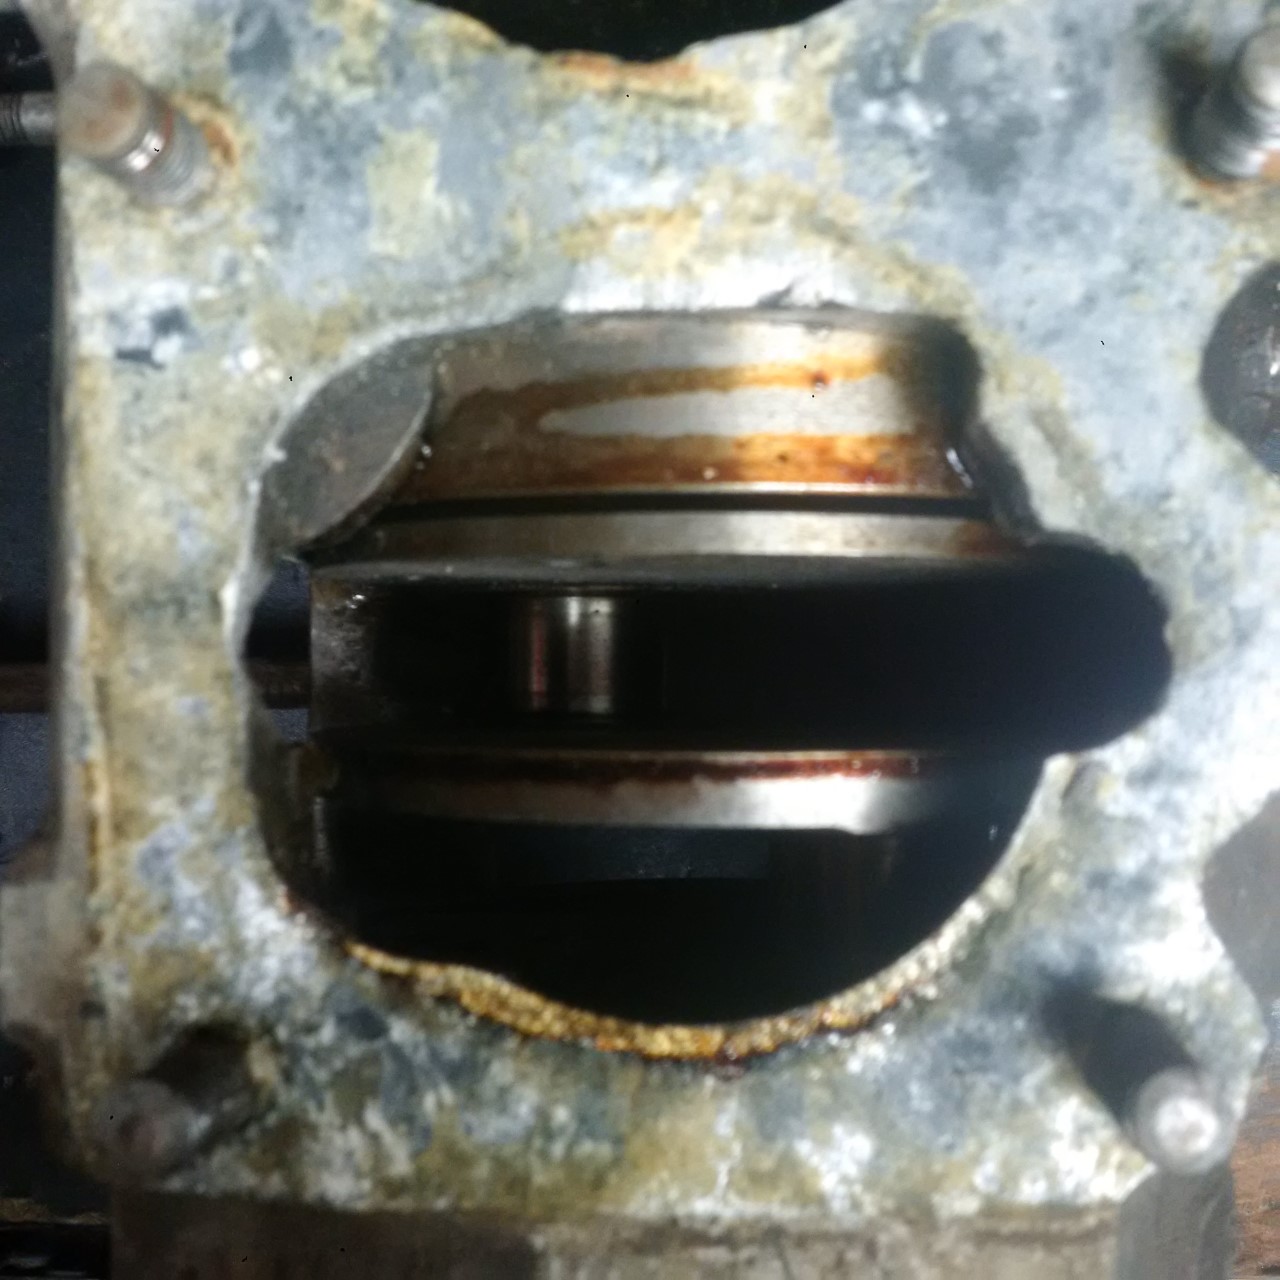
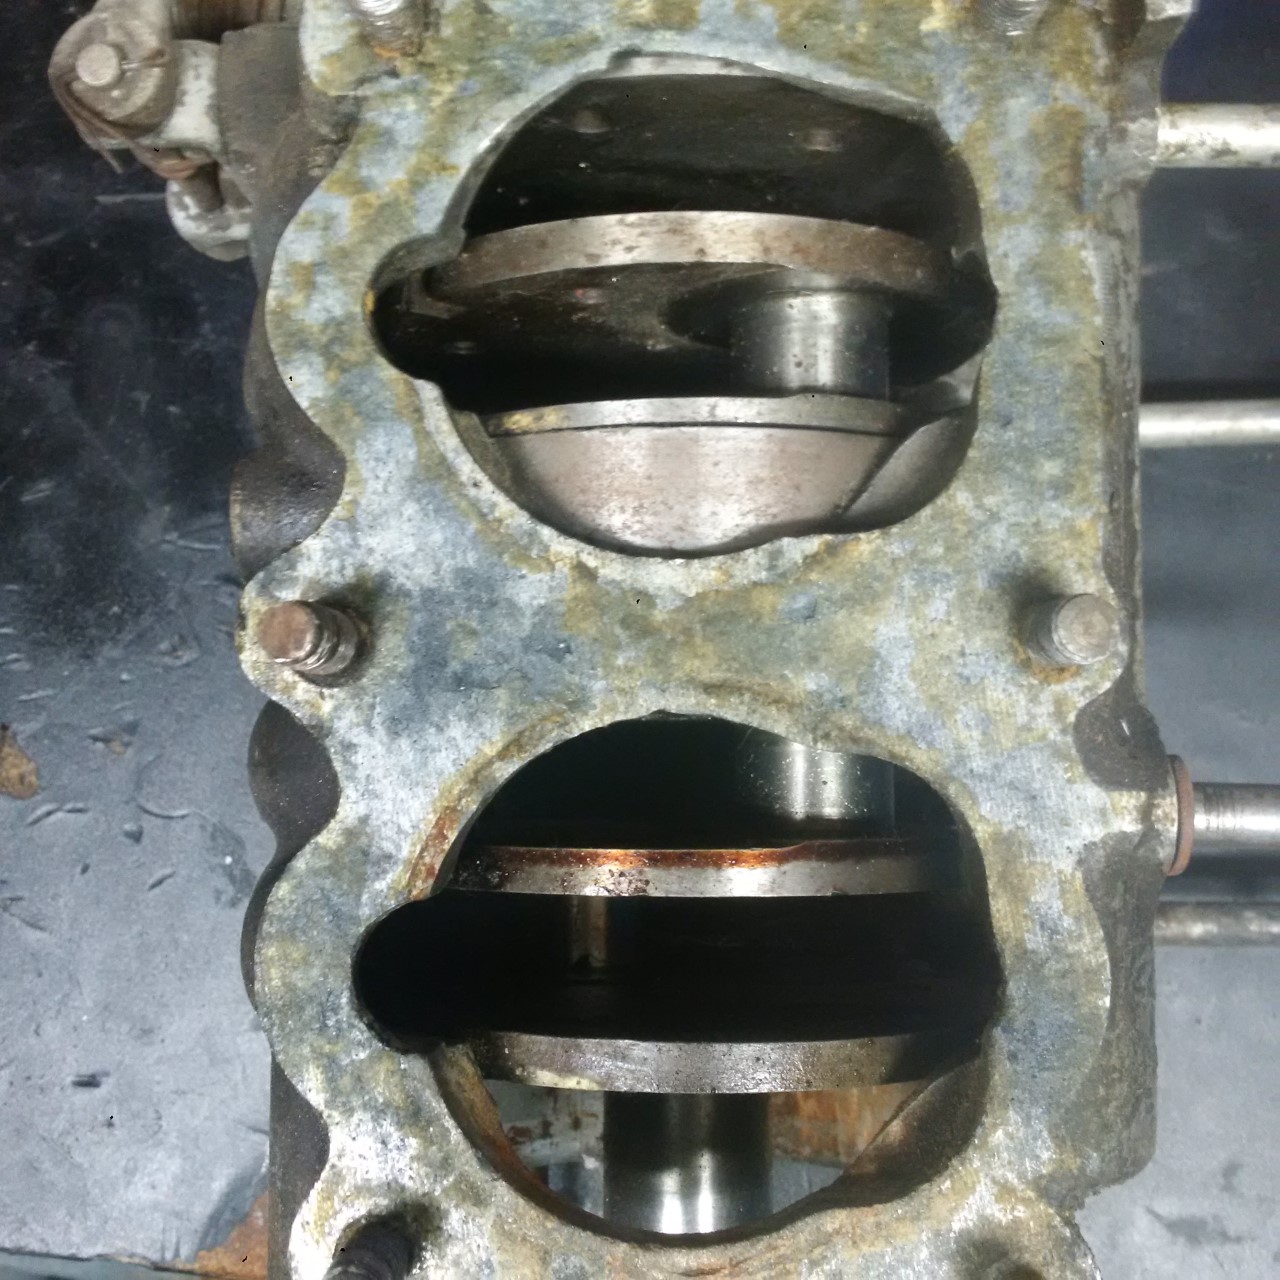
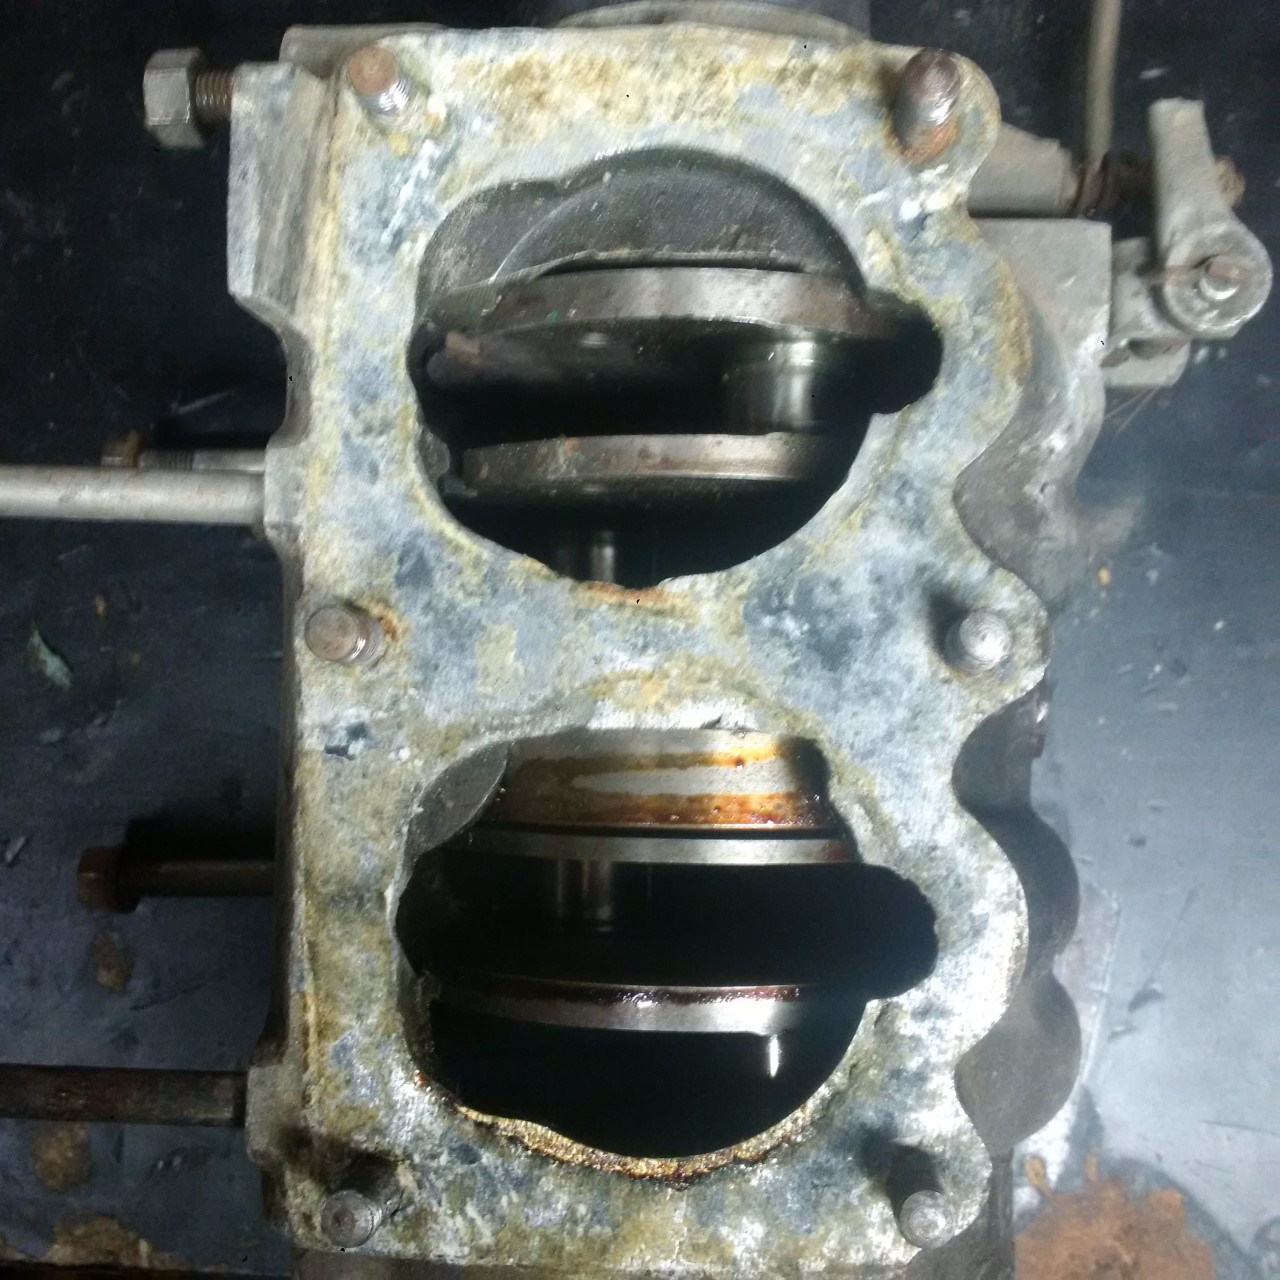
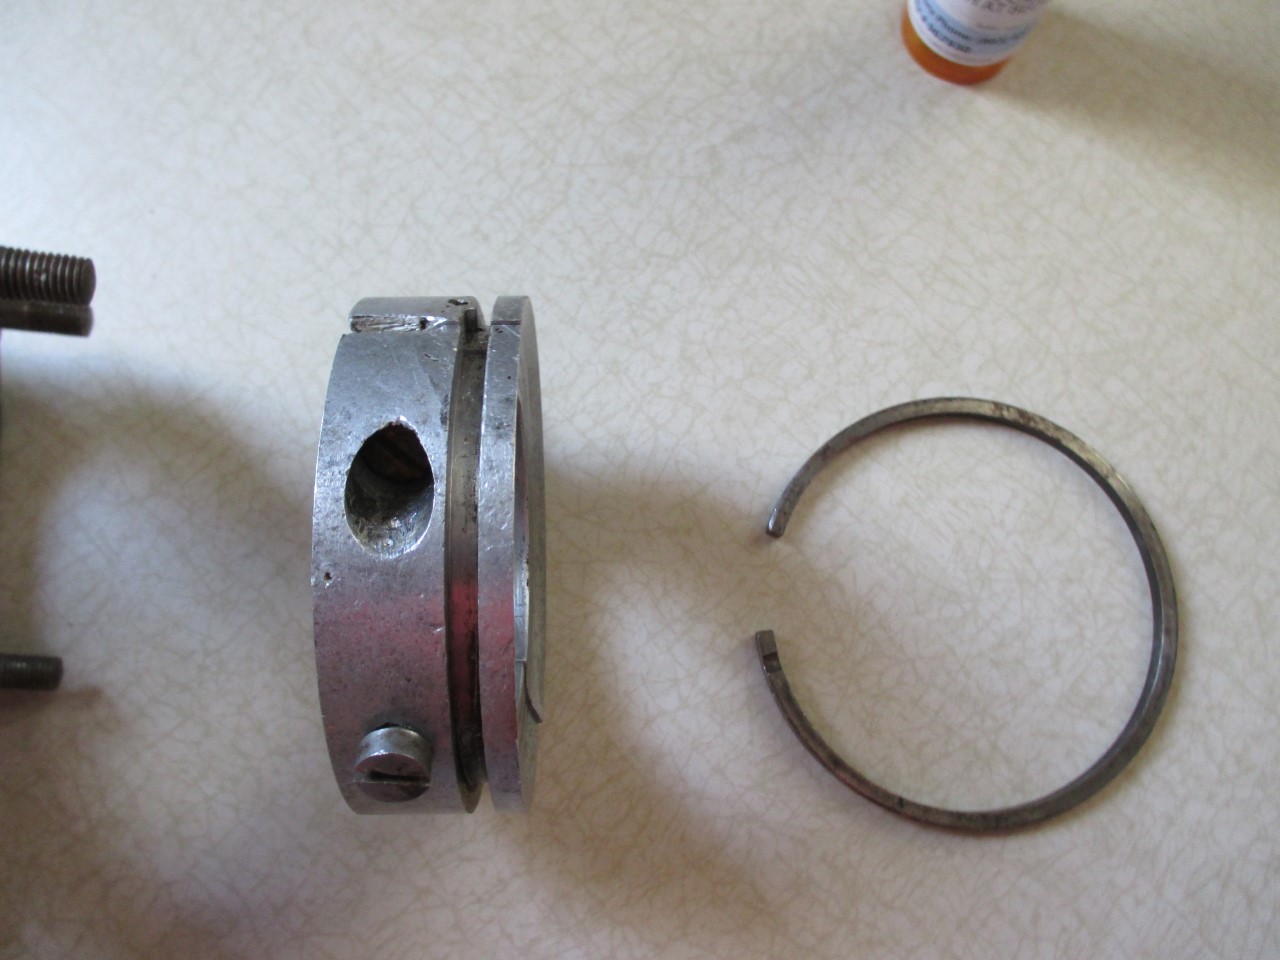
December 25, 2016 at 6:29 pm #49744I’m thinking mine is some sort of special case, or I’m missing something here. My center main seems to be missing the groove/snap ring that everyone is referring to>?
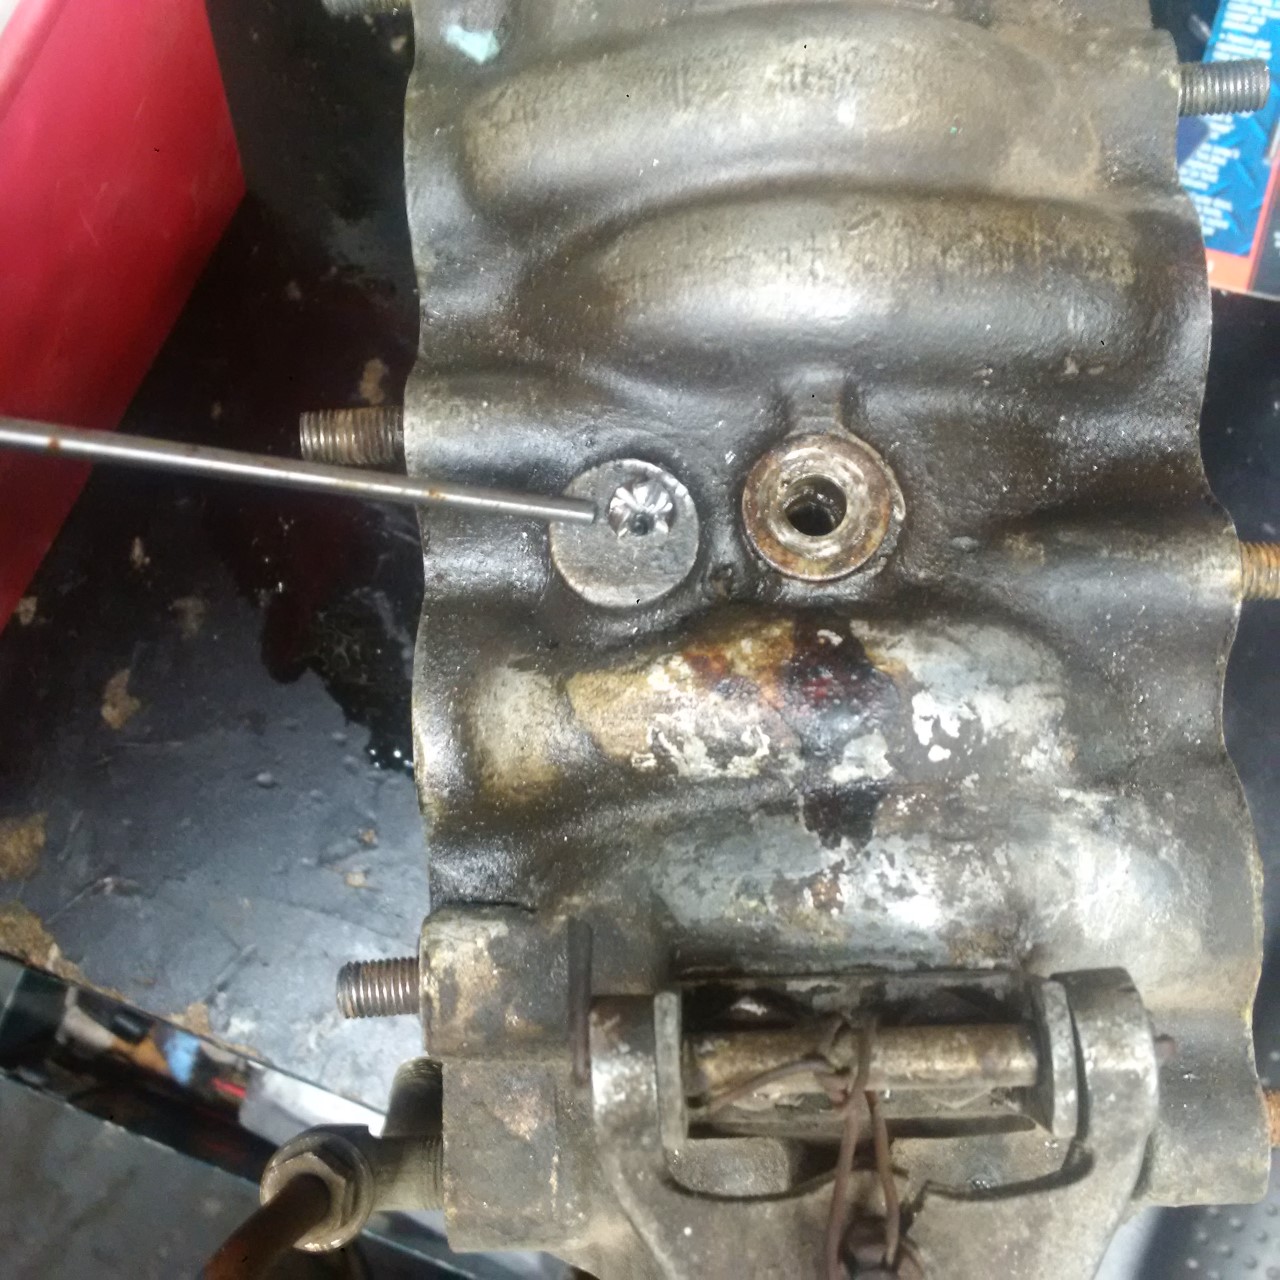
The last standard pan screw does not want to come out either. Tried the usual heat/freezing, impact driver, cut a little notch in it which I hit with a punch/hammer to get it moving, even tried an EZ out(which I hate), but felt I was twisting it to its limit so stopped, I didn’t want it to break in there.
As I have never seen what it locks, I fear drilling it out and re tapping the hole.
Any thoughts.
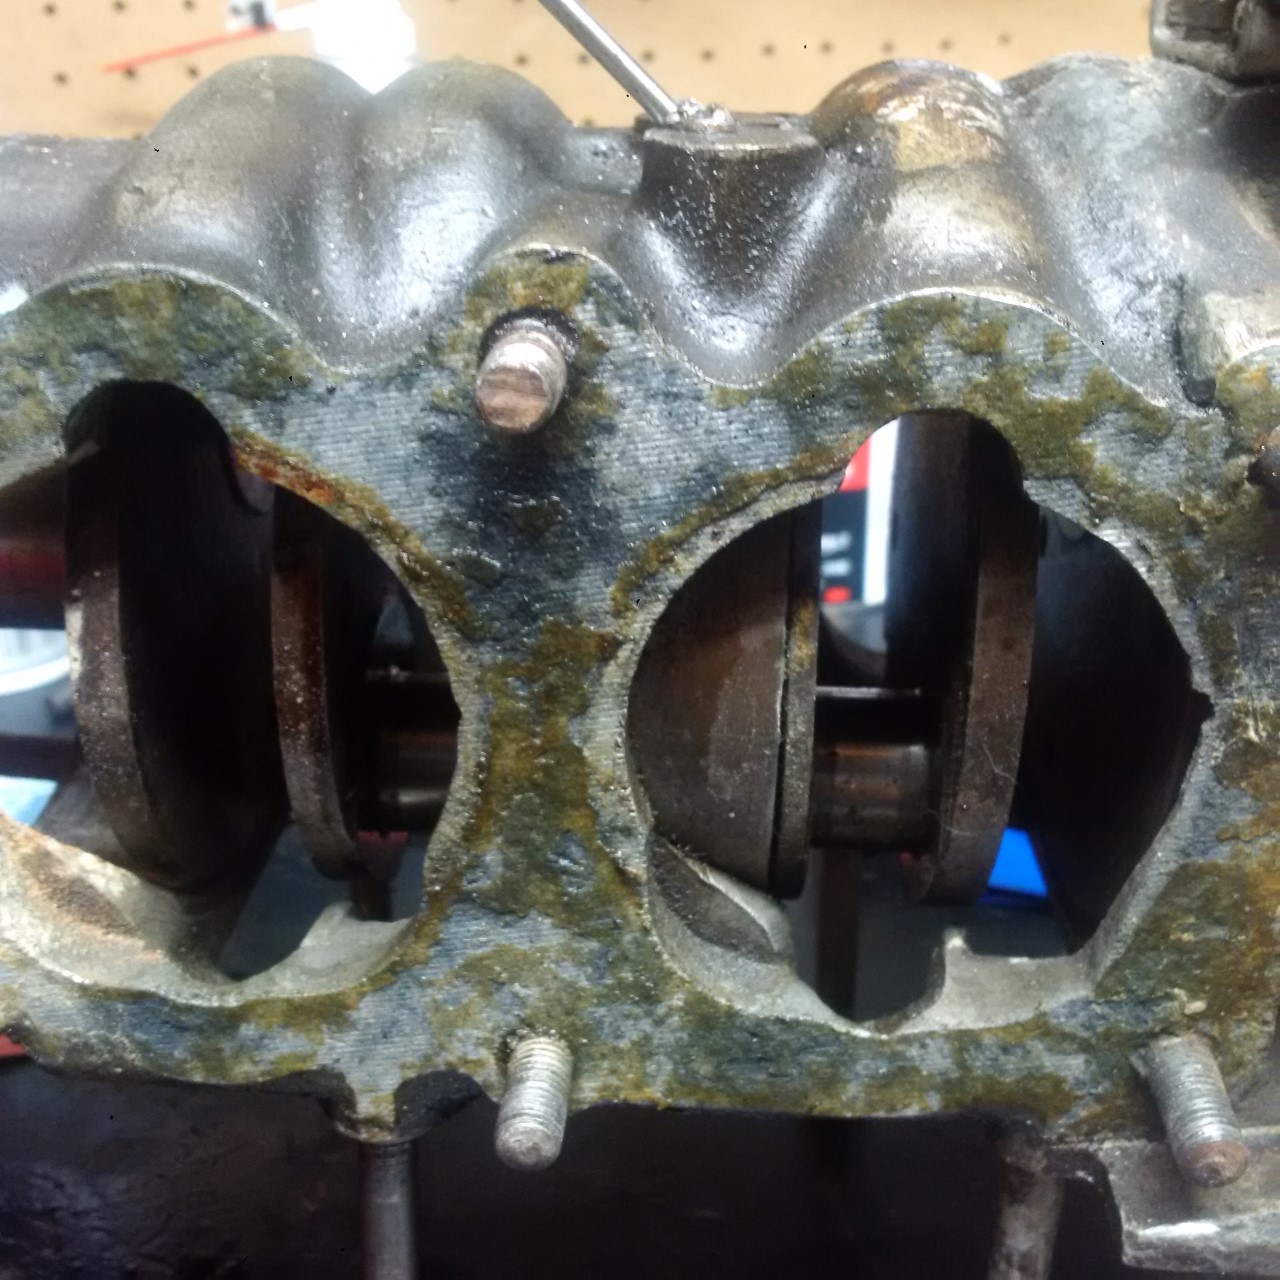
December 25, 2016 at 6:30 pm #49745December 25, 2016 at 6:46 pm #49746Another previous owner must have made the center main housing in my motor, and neglected to cut out the groove for the snap ring, feeling that the lock screws are sufficient. Must be this last troublesome one left and hopefully ill have it free. Im pointing to it in the pics with my punch.
Might have to bore this hole out, fill, then re drill/tap unfortunately.
-
AuthorPosts
- You must be logged in to reply to this topic.


