Home › Forum › Ask A Member › KG7 Water Pump Cover Removal
- This topic has 24 replies, 16 voices, and was last updated 6 years, 2 months ago by
 DAVID.
-
AuthorPosts
-
January 8, 2020 at 10:37 am #191254
I have a fairly clean 1951 KG7 and am having trouble getting the water pump cover loose.
I have the factory tool, been soaking it with acetone/ATF, have also tried some heat around the foot casing.
I know it is a right hand thread, so “tighten to loosen”.
I have a 16″ wrench pulling on the factory tool, and broke one of the pins off the tool.
I have replaced the broken pin with a 3/16″ drill bit shaft.
Any ideas would be greatly appreciated.
Thanks!
BobJanuary 8, 2020 at 2:23 pm #191268call me 1 914 310 7086
January 8, 2020 at 9:31 pm #191312If it’s “tighten to loosen” then it’s called a LEFT hand thread.
For the benefit of educating us “non – Merc” guys. Please come back with the rest of the story once you get it apart.Joe B
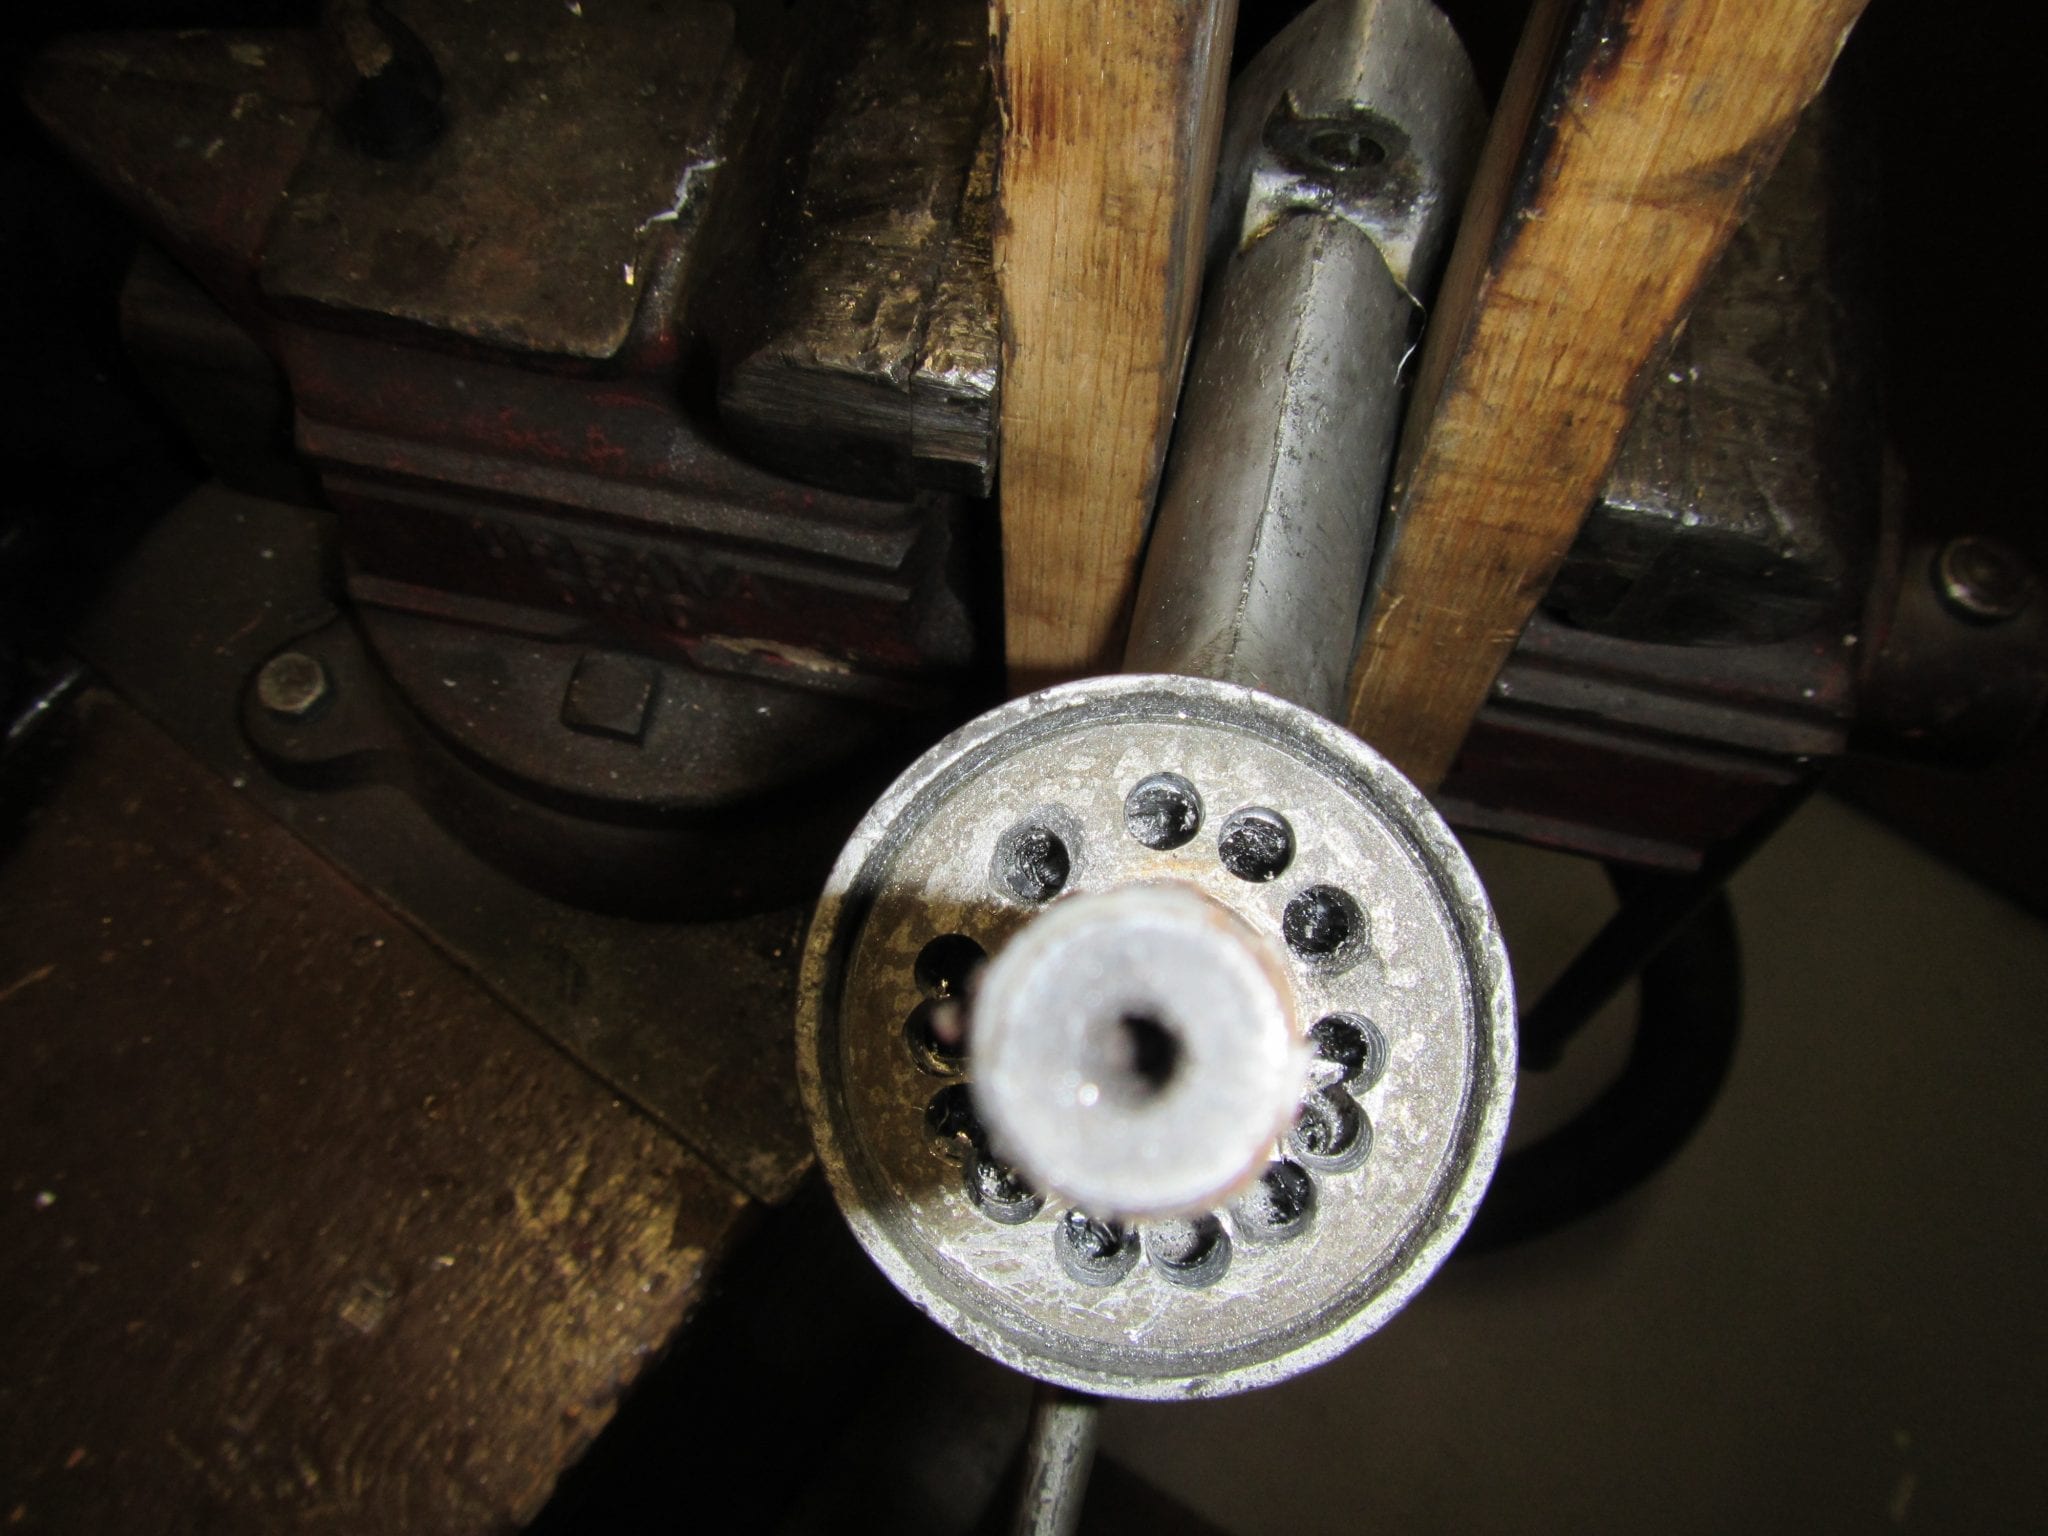
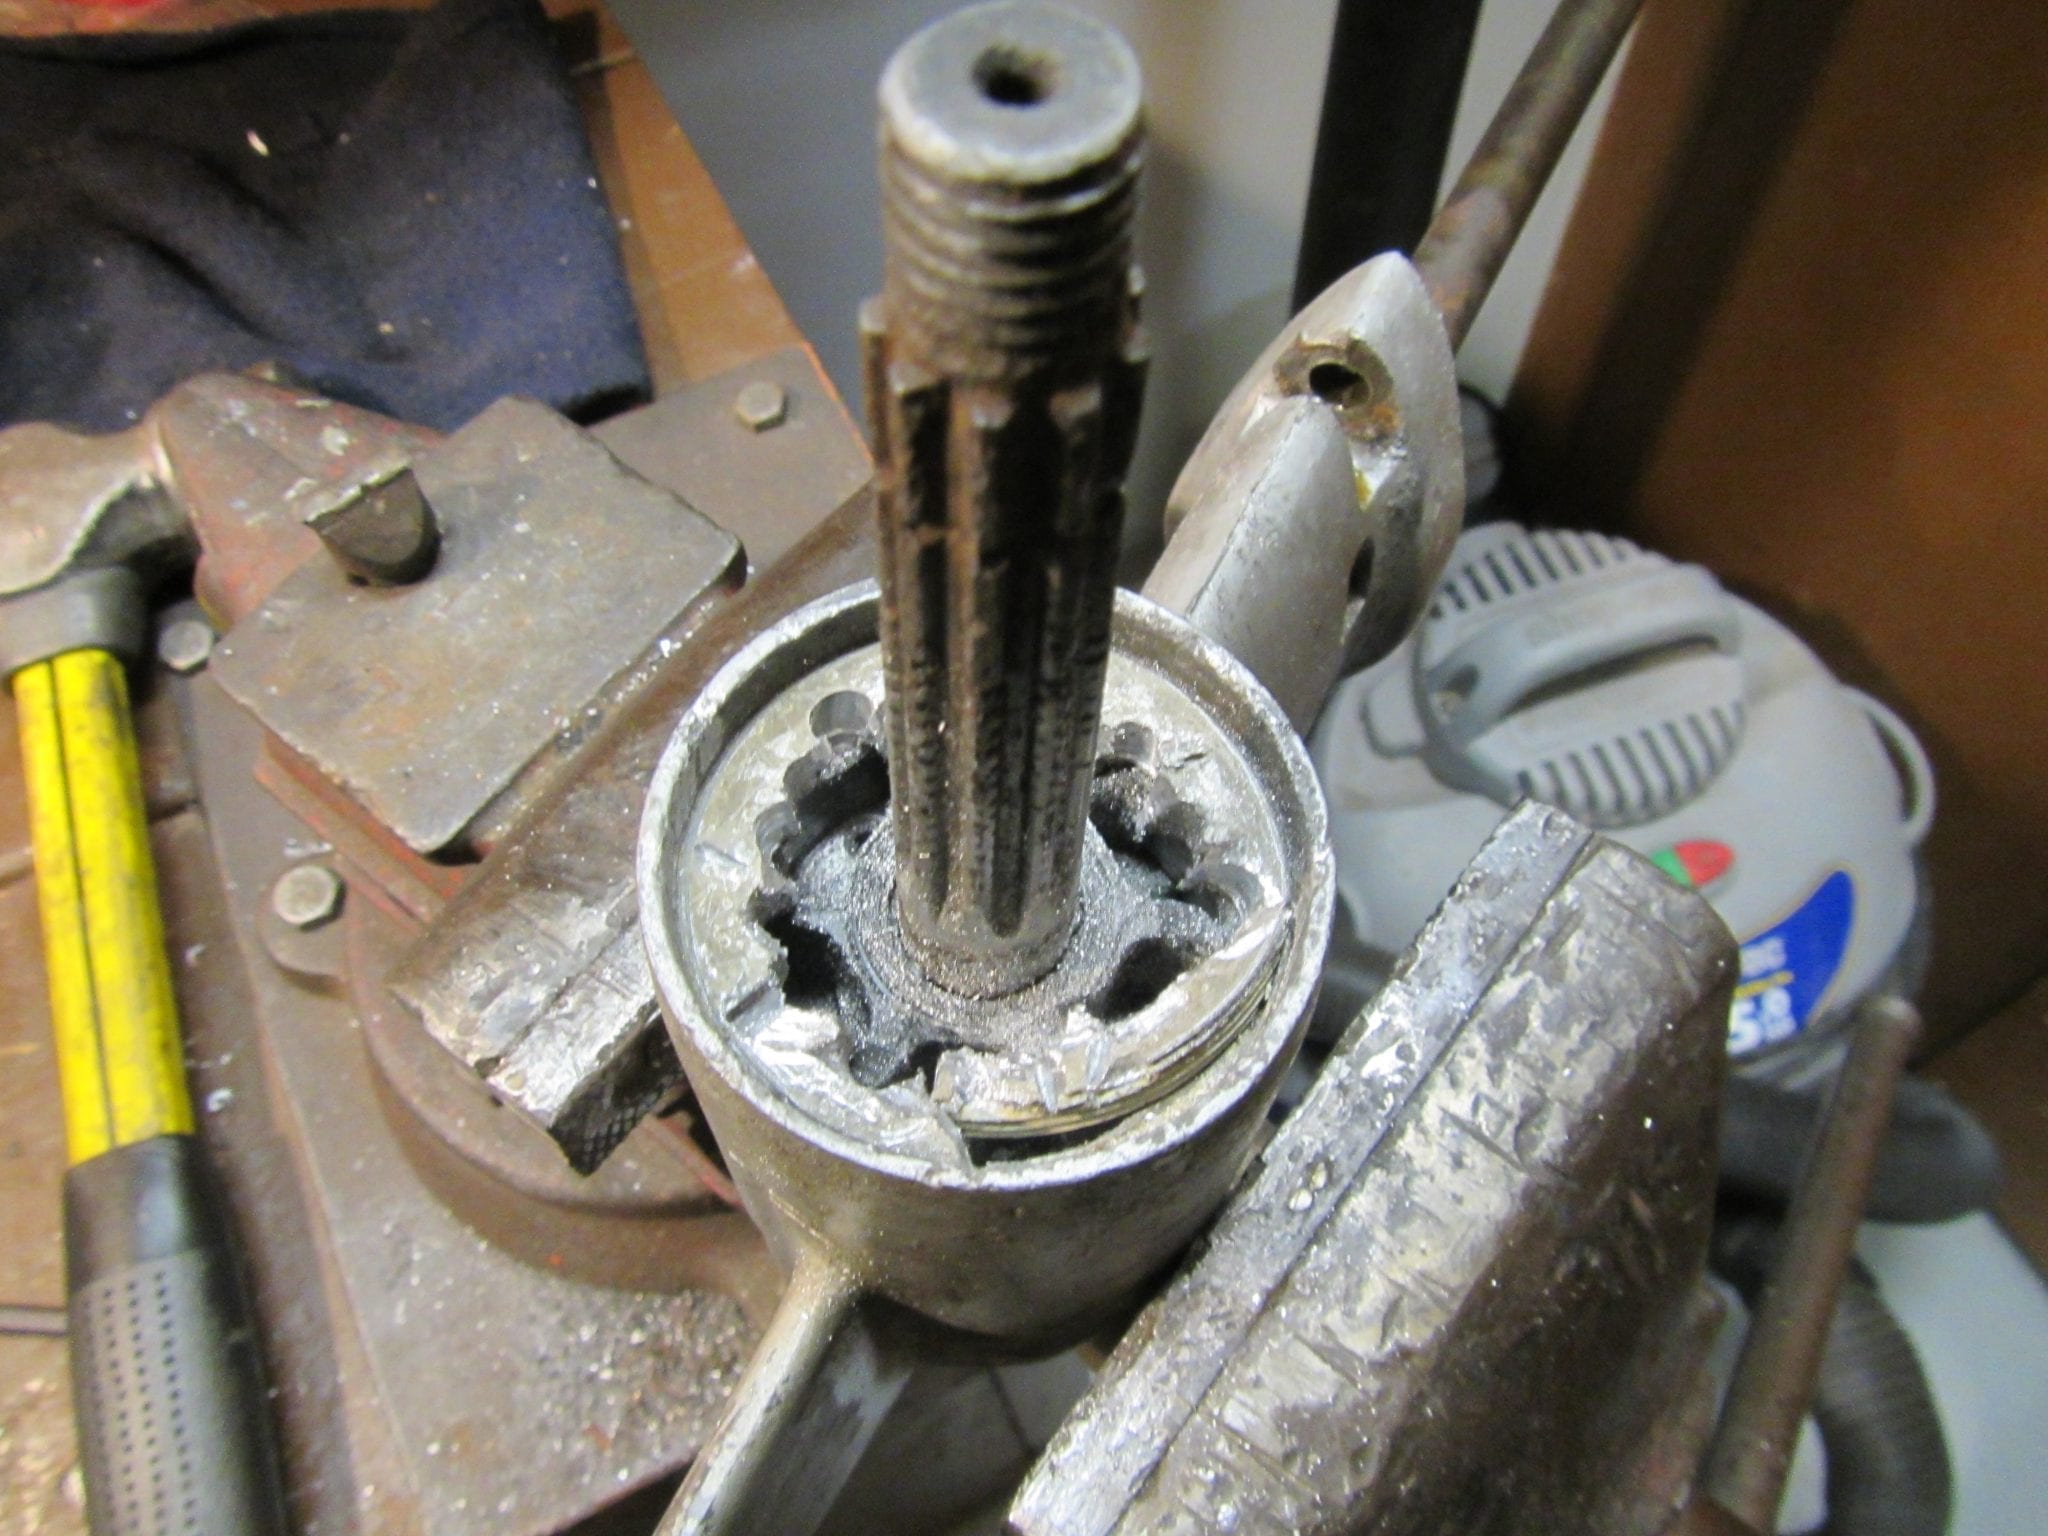
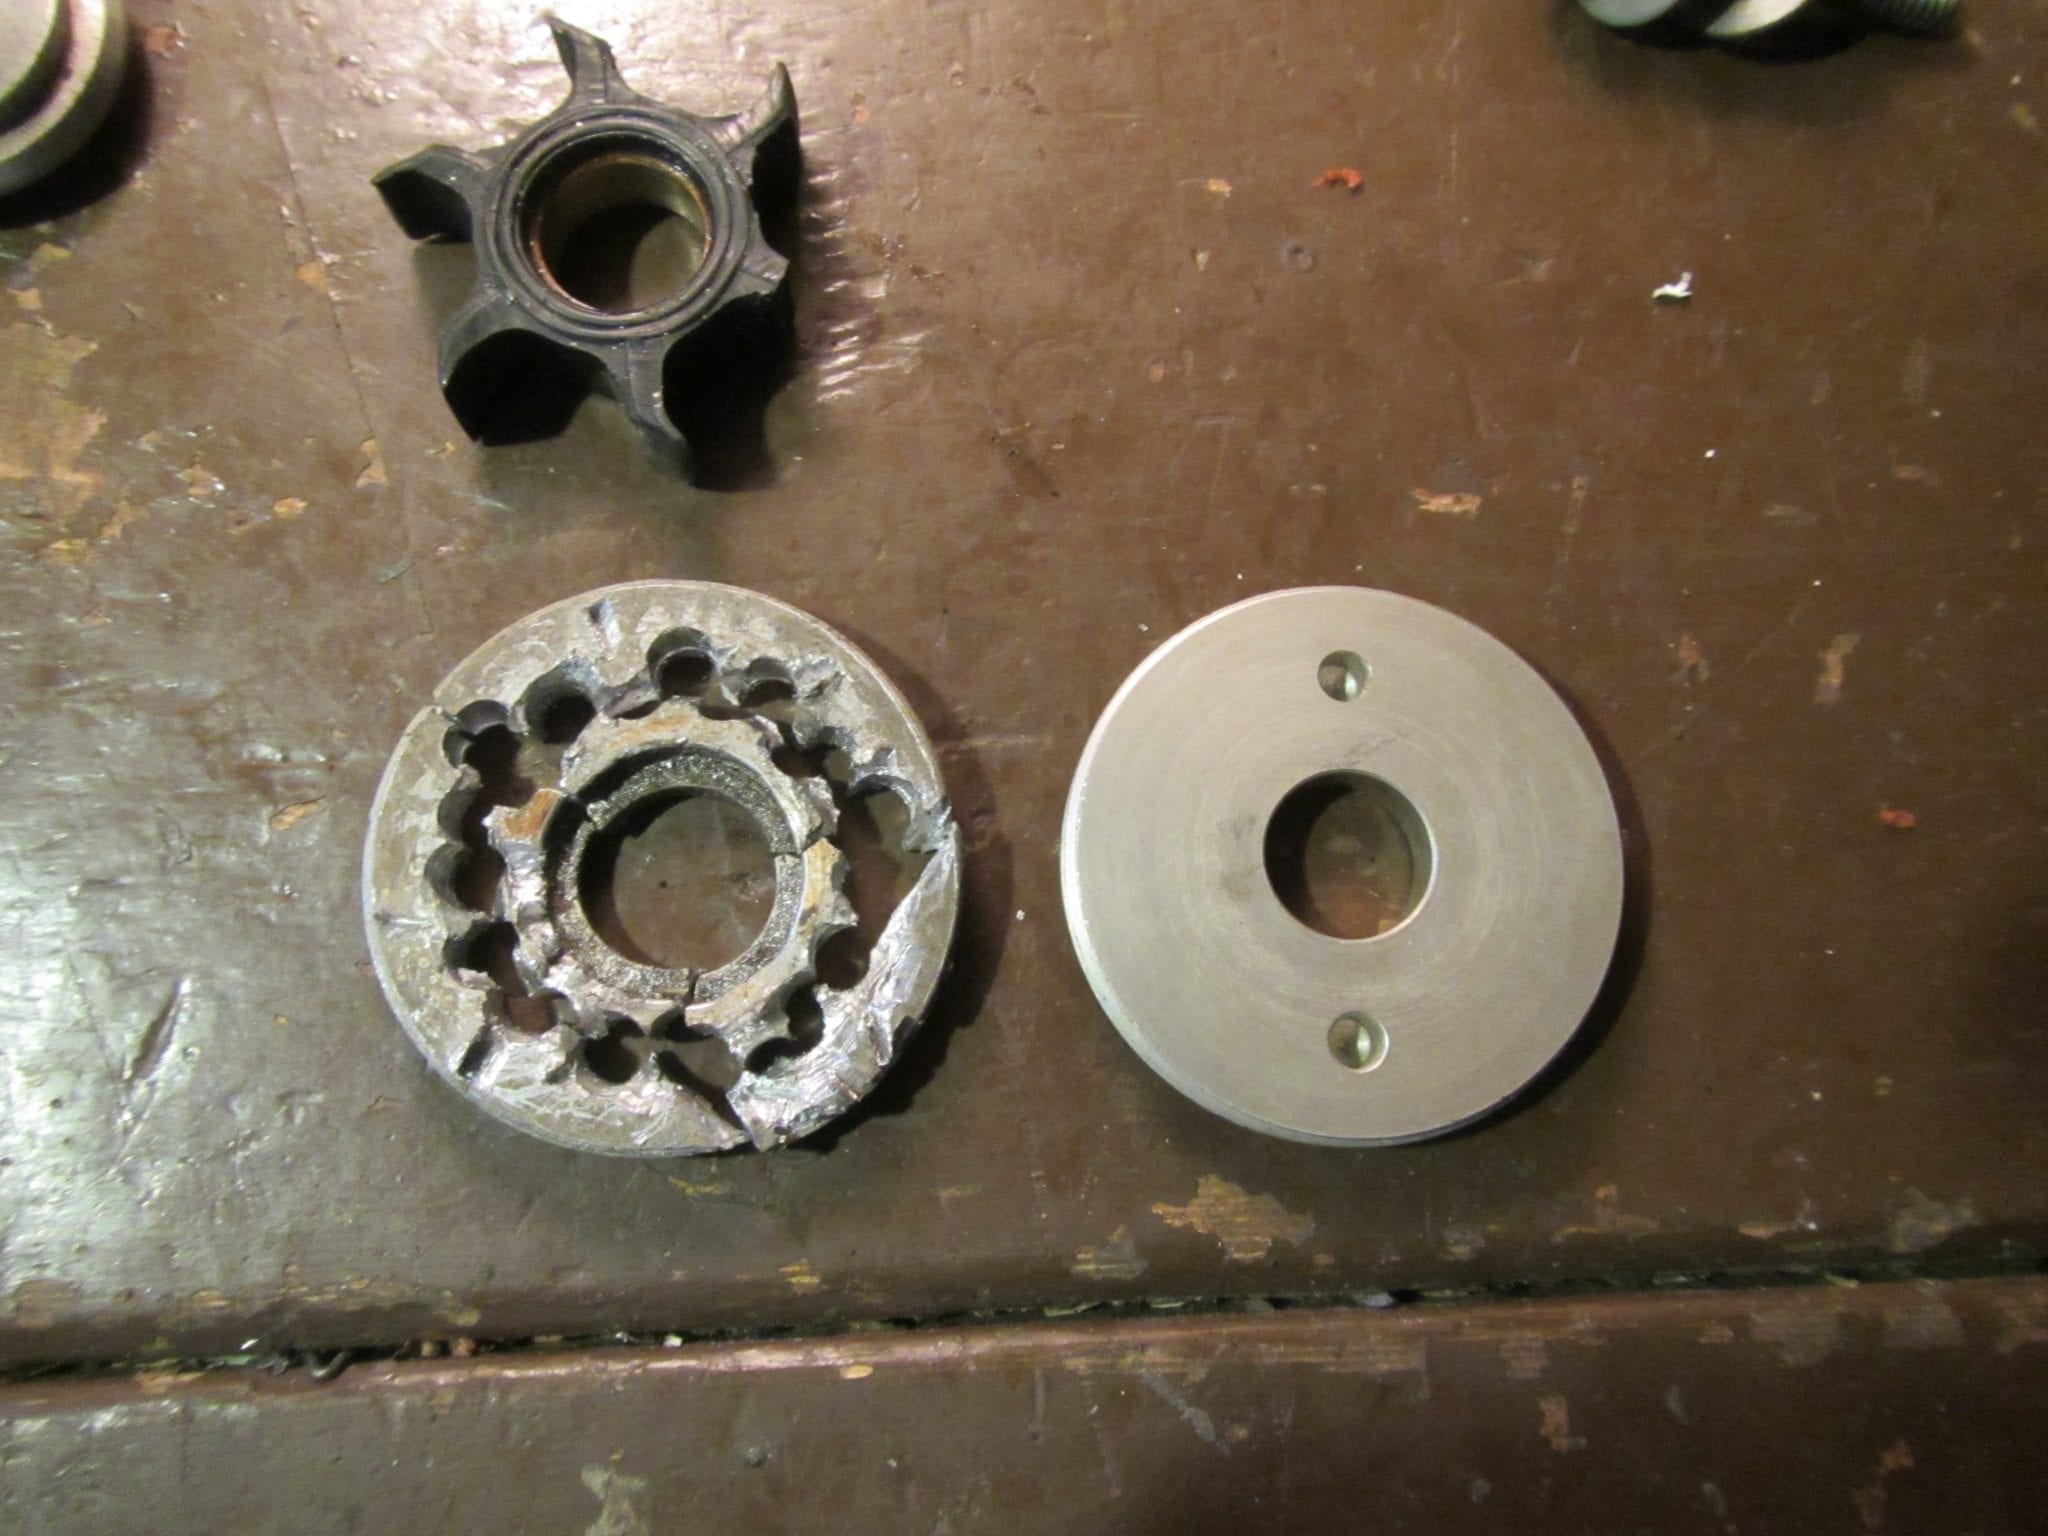
January 8, 2020 at 9:44 pm #191313bkrs, your not getting much response from the Mercury guys! Dave will fix you up, he knows his stuff. I have first hand experience with that dirty sonofagun cover that you are working on! Old Carl got SOB several times before I got mine off. I tried heat several times. Every kind of penetrating potion that I could find. I tried to melt wax into the treads. Hammered the case on both sides. Then I went nuclear! Ya get to a point where its gonna come apart or throw the darn thing it the trash! I built two different tools and I kept breaking the pins off or bending them so bad they wouldn’t stay in the holes. I drilled the darn thing out! Literally, see the pictures! Hope you find a better way.
dale
 January 9, 2020 at 4:05 am #191330
Pardon me while I sit here and smile. I used to work on those things back in “The Day”. At the most, I may have seen three or four that would come apart with the special tool. All the rest got drilled out. I drilled them in a different pattern than you did, but the idea is the same. OK, so I admit they were all salt-water exposed.
January 9, 2020 at 2:53 pm #191366After drilling them out (I used a different patern) and cleaning up the threads, I always wrapped the new cover with teflon tape. It made a better seal and was easier to remove the next time , , , Karl used a left handed thread so the rotation of the prop shaft would keep them from unscrewing – LOL
 January 9, 2020 at 2:57 pm #191368
wont unscrew. the prop direction is the same as tightening.
January 9, 2020 at 6:51 pm #191400Some years back Bob Grubb shared a technique he used…using hammer and punch (not too forcefull) tat tap tap around
the gear case over the area of where cover threads into
case threads. To avoid dimpling I have used aluminum bar stock
A friend demonstrated use of propane torch to cook the
gear case…I can still smell the hot grease.
I have used the Mercury Service Tool and even found a cover
that would come off as shown in service manual.
Once off, clean the threads in gear case and on cover and apply
suitable lube to threads. It is not necessary to install cover
tight as the friction of ruvver impeller and prop shaft tend to
tighten not loosen the cover.
Often cover shows signs of having been removed by use of hammer
and punch in the pin holes, Once the pin holes are damaged
the correct service tool may not engage well enough to remove
even a slightly stuck cover. Drill bits make good replacement pins
however, not all drill bits are equal..low grade steel drills are weak
and will bend. I have found Dremel cut off disc will slice thru even
grade 8 bolts and best quality drill bits.
The cover is LEFT HAND (counter clock wise) 2 1/8 ” x 14 threads
per inch A basic lathe task to make a replacement, but, fairly
time consuming to make on a one off basis.
I have not done a lot with the later Green Mercurys, just enough to
know they are more complex than KE3 and prior K Models
If you get the cover off intact despite damaged pin holes, a new
set can be drille 90 degrees away. Takes some careful doing, but,
price out a replacement cover and think about it.
LouisJanuary 11, 2020 at 9:35 pm #191668I also worked on this style many years ago with the same problem. Our answer was to take a hole saw just a little smaller than the pump cover,and weld it on the end of a pipe that was just a little larger in diameter than the drive shaft diameter, and longer than the driveshaft plus the thickness of the water pump cover, plus about one inch , then cut off one end of an old large allen wrench ( about two inches long ) and weld it on the upper end. Making sure to leave enough room for the drive shaft length plus the thickness of the water pump cover inside the pipe. try to make it as strait as possible,and don’t turn it to many RPM when cutting out the pump cover. Oh ! leave about one inch of the allen sticking out of the pipe to attach your drill motor.
January 12, 2020 at 11:59 am #191772oldc, I like your idea! The hole saw turning right hand might back the bugger out before it was cut all the way through. If I ever get another one, no that’s not gonna happen!
good idea
dale -
AuthorPosts
- You must be logged in to reply to this topic.