Home › Forum › Ask A Member › Making rod bearing inserts, Attention Machinist
- This topic has 32 replies, 11 voices, and was last updated 6 years, 10 months ago by
 RICHARD A. WHITE.
-
AuthorPosts
-
June 22, 2018 at 1:17 am #78273quote dmbono:Cut the rod to length of bush plus 1″ or so for chucking. Split the bronze rod with hacksaw, then file or belt sand surfaces flat. Then soft solder together. Then mount in a four jaw chuck, turn OD and bore Id right to size, then part off. Heat to separate the halves.
That cut joint doesn’t have to be perfect.
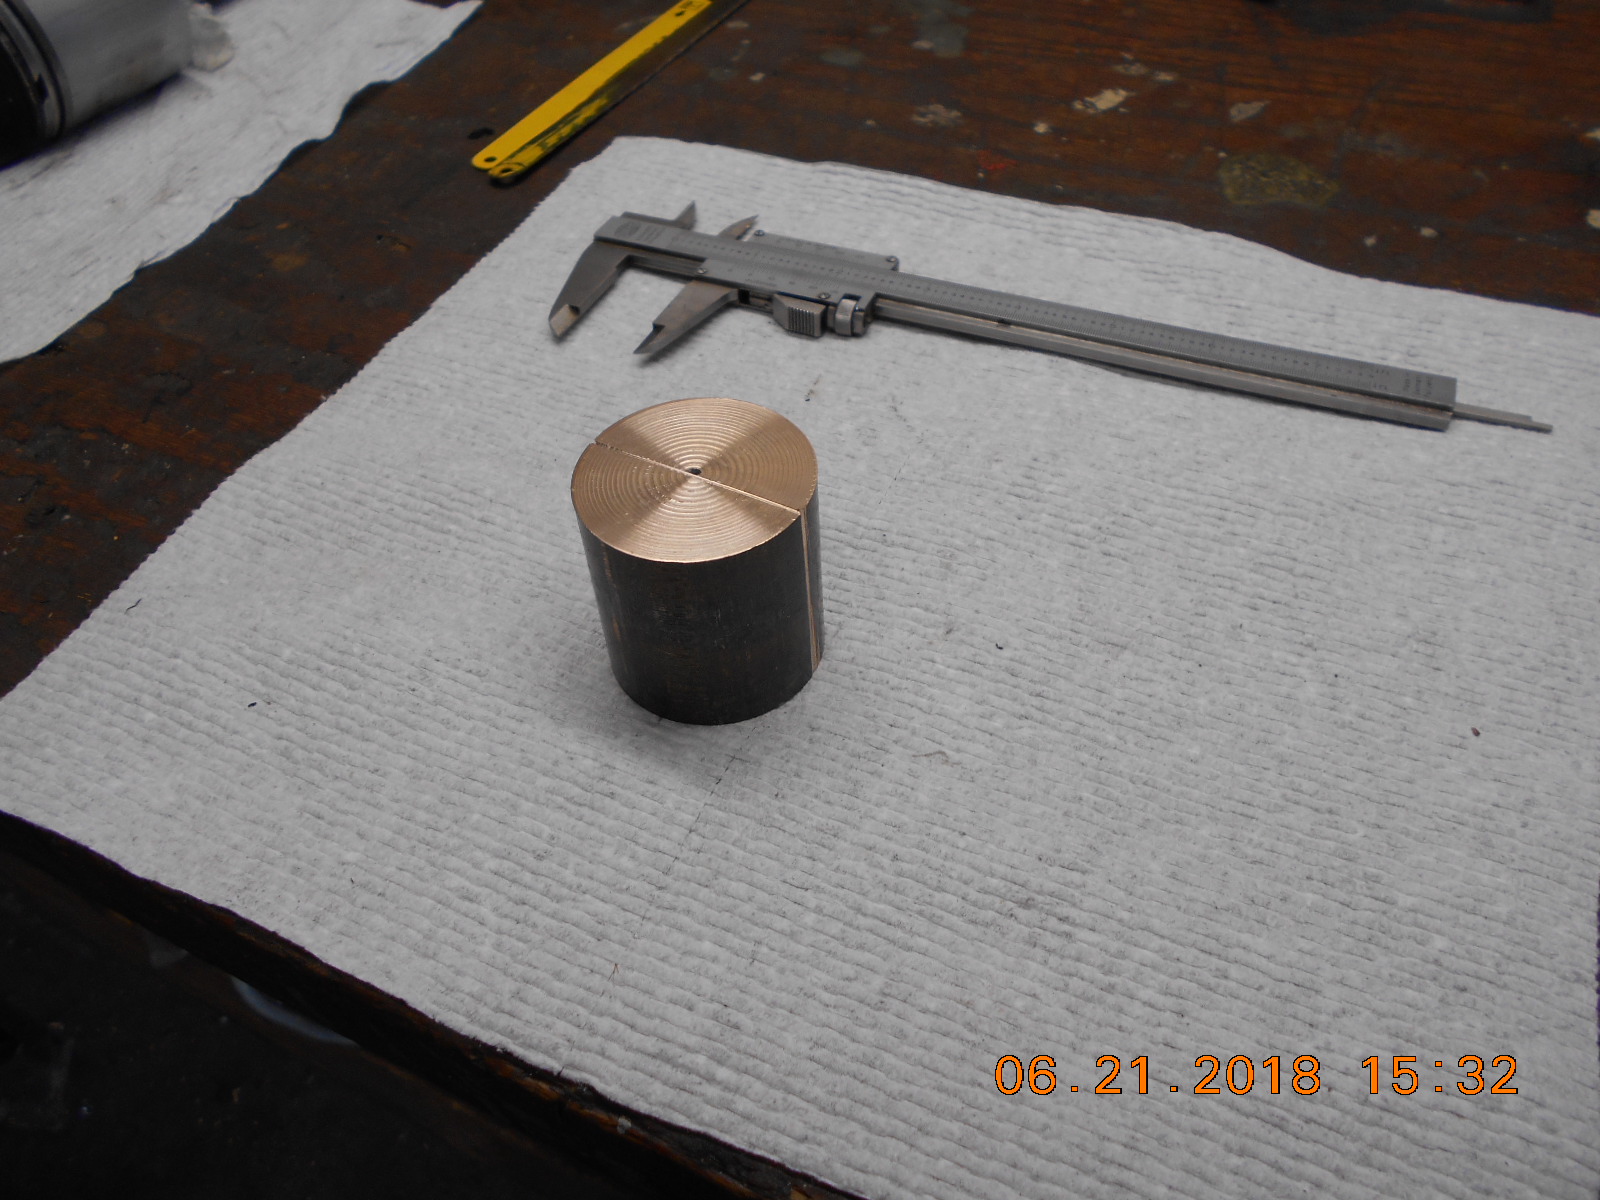
DaveI finally got the material to make the bronze inserts. Only thing I’ve got done
so far is to cut it to length, and attempted to cut it in half by using
the vise jaws as a guide. Found out that I need to go buy some new hacksaw
blades tomorrow. All I managed to do was score in on the four sides.
I got to thinking that if I drilled an undersized hole in the middle of the
bronze blank, say 11/16" (crank throw is 7/8") I’d have less material to
hacksaw through, but was thinking the solder would have less area
to keep the parts together in the lathe as I machine the blank.
What do you think?
Is there a better way to cut the blank in equal halves than what I’m attempting?
Thanks!
Attachments:
Prepare to be boarded!
June 22, 2018 at 3:25 pm #78283just get to work and start cutting. Sharp coarse hacksaw blades a must. A pilot hole will reduce the work- maybe 1/2 dia
June 22, 2018 at 3:53 pm #78288A good hobby shop in your area may have a laser or waterjet cutter to do the job.
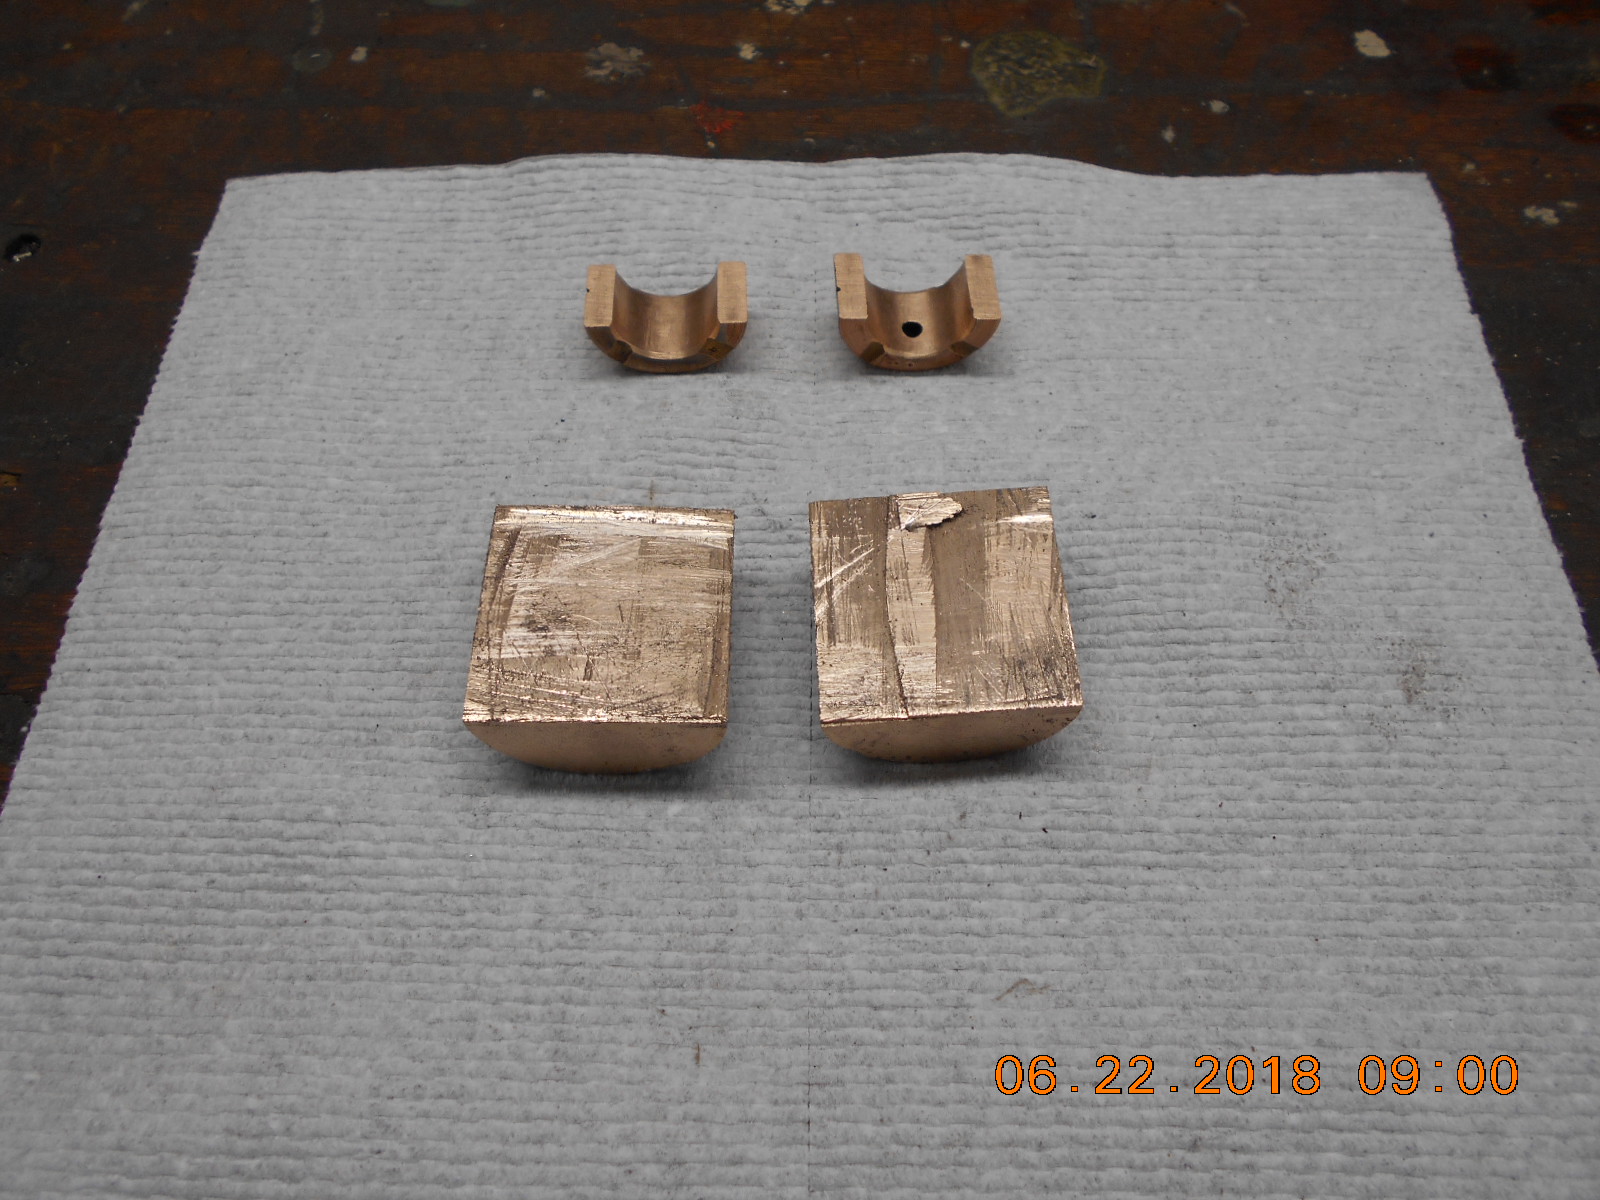
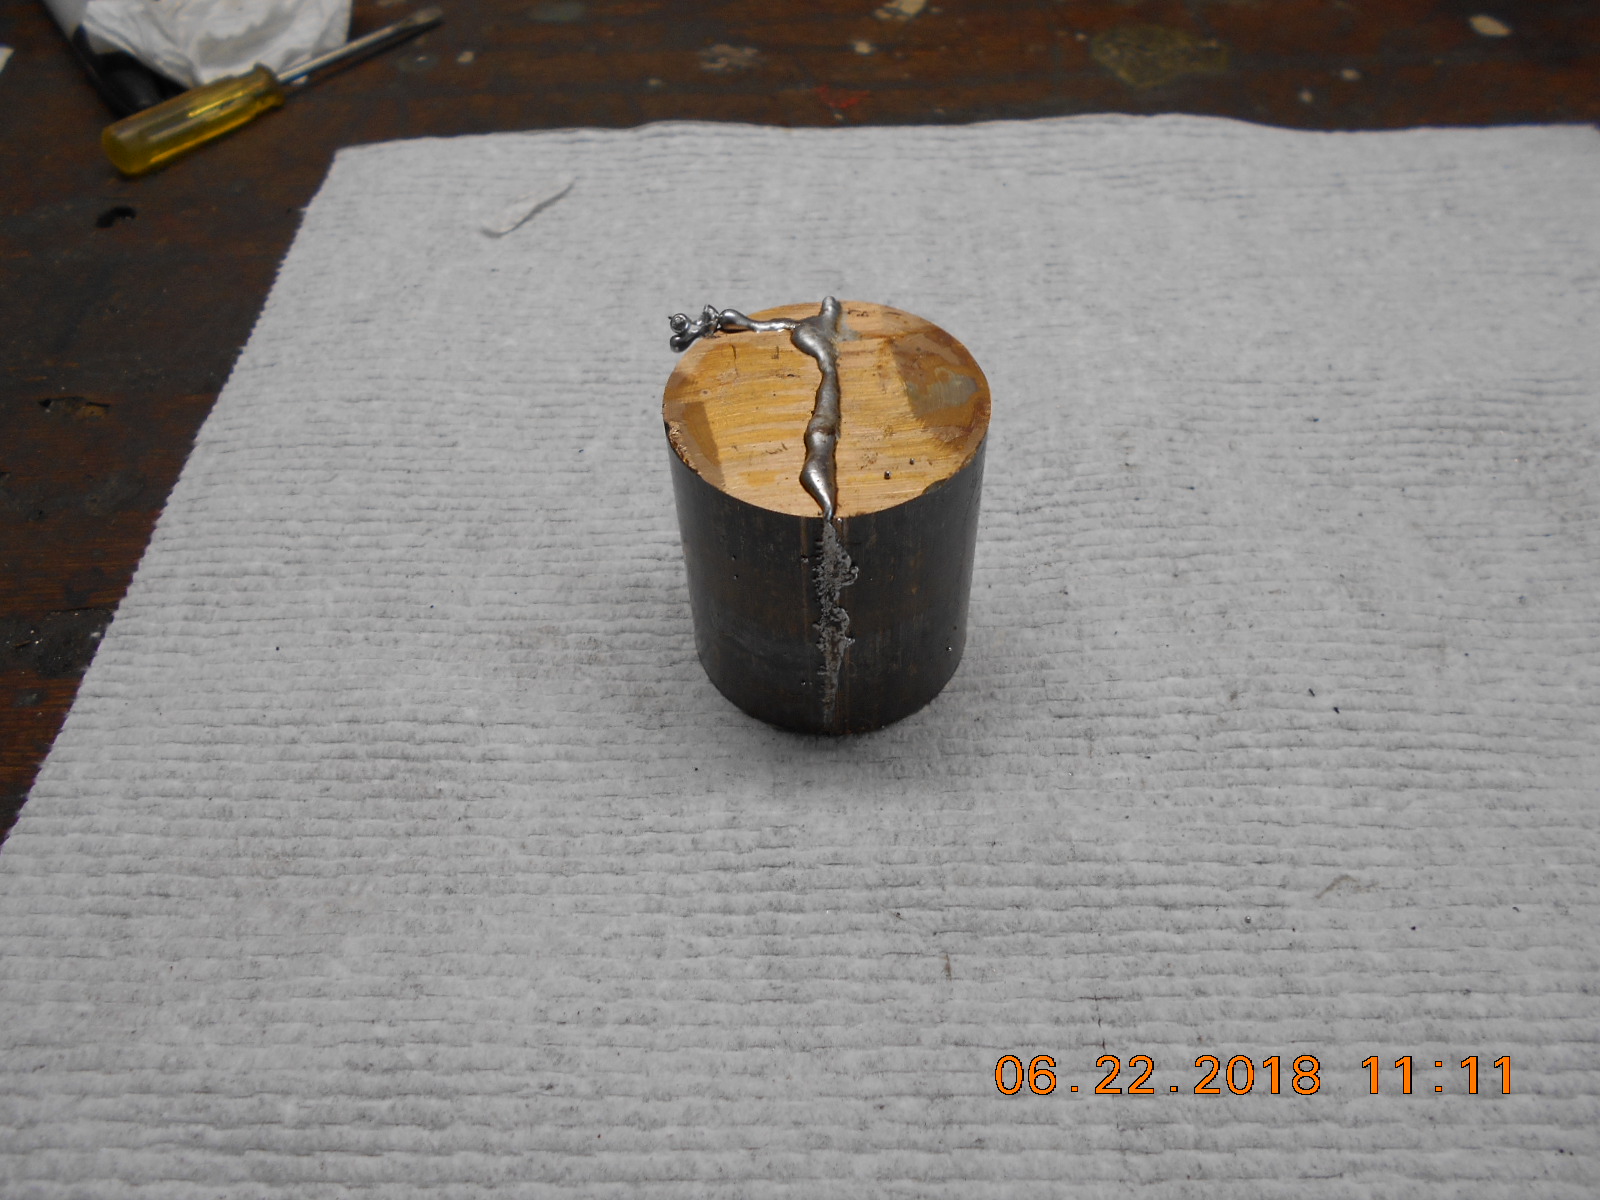
June 22, 2018 at 5:05 pm #78291quote dmbono:just get to work and start cutting. Sharp coarse hacksaw blades a must. A pilot hole will reduce the work- maybe 1/2 diaNew hacksaw blade was the ticket. Got the bronze blank
sawed in half and sanded on the belt sander.
After that, it was about .090 out of round.
I tinned both halves, stuck them together, and heated
until the solder melted. I think it’s about .060 out
of round now. Probably wont matter as long as
it mounts in my three jaw chuck securely?
Decided to do yard work until it cooled, so time to go
play mad machinist again!Prepare to be boarded!
June 22, 2018 at 7:42 pm #78293three jaw will hold it securely. You will only mount it once though, you will never rechuck it true, so finish ID and OD before removing from chuck.
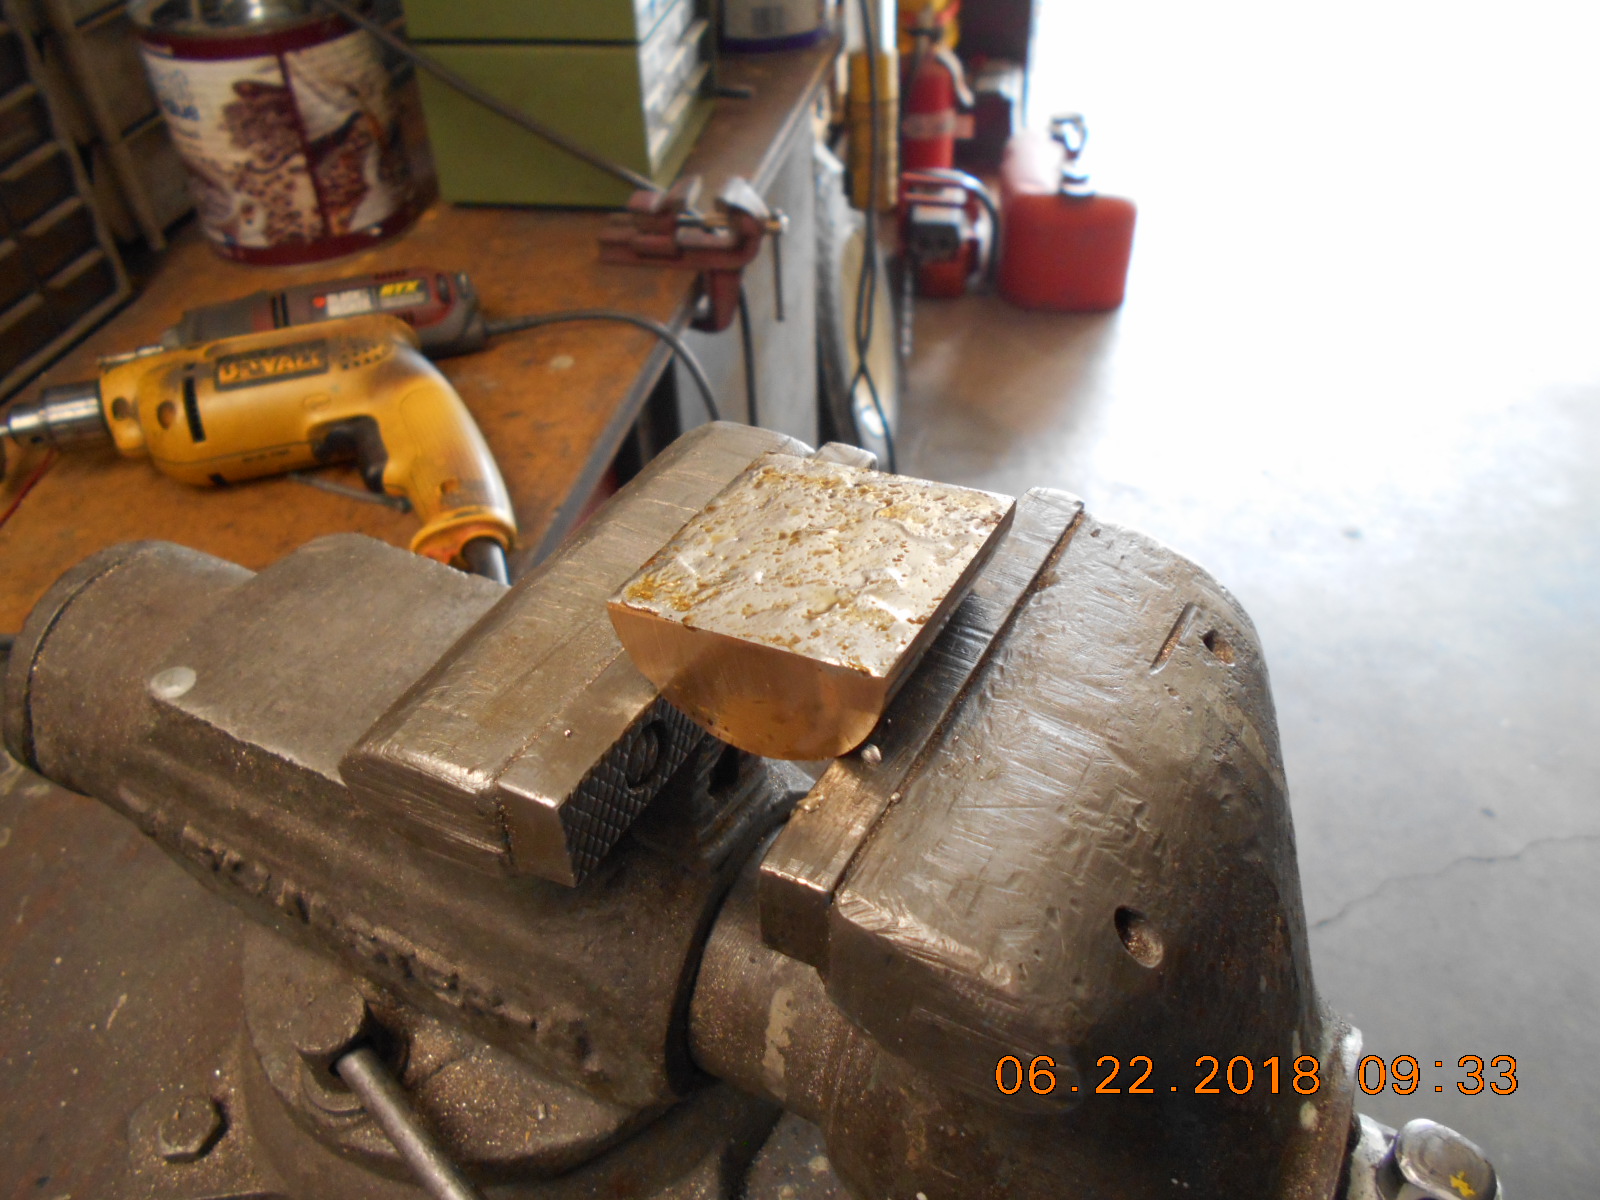
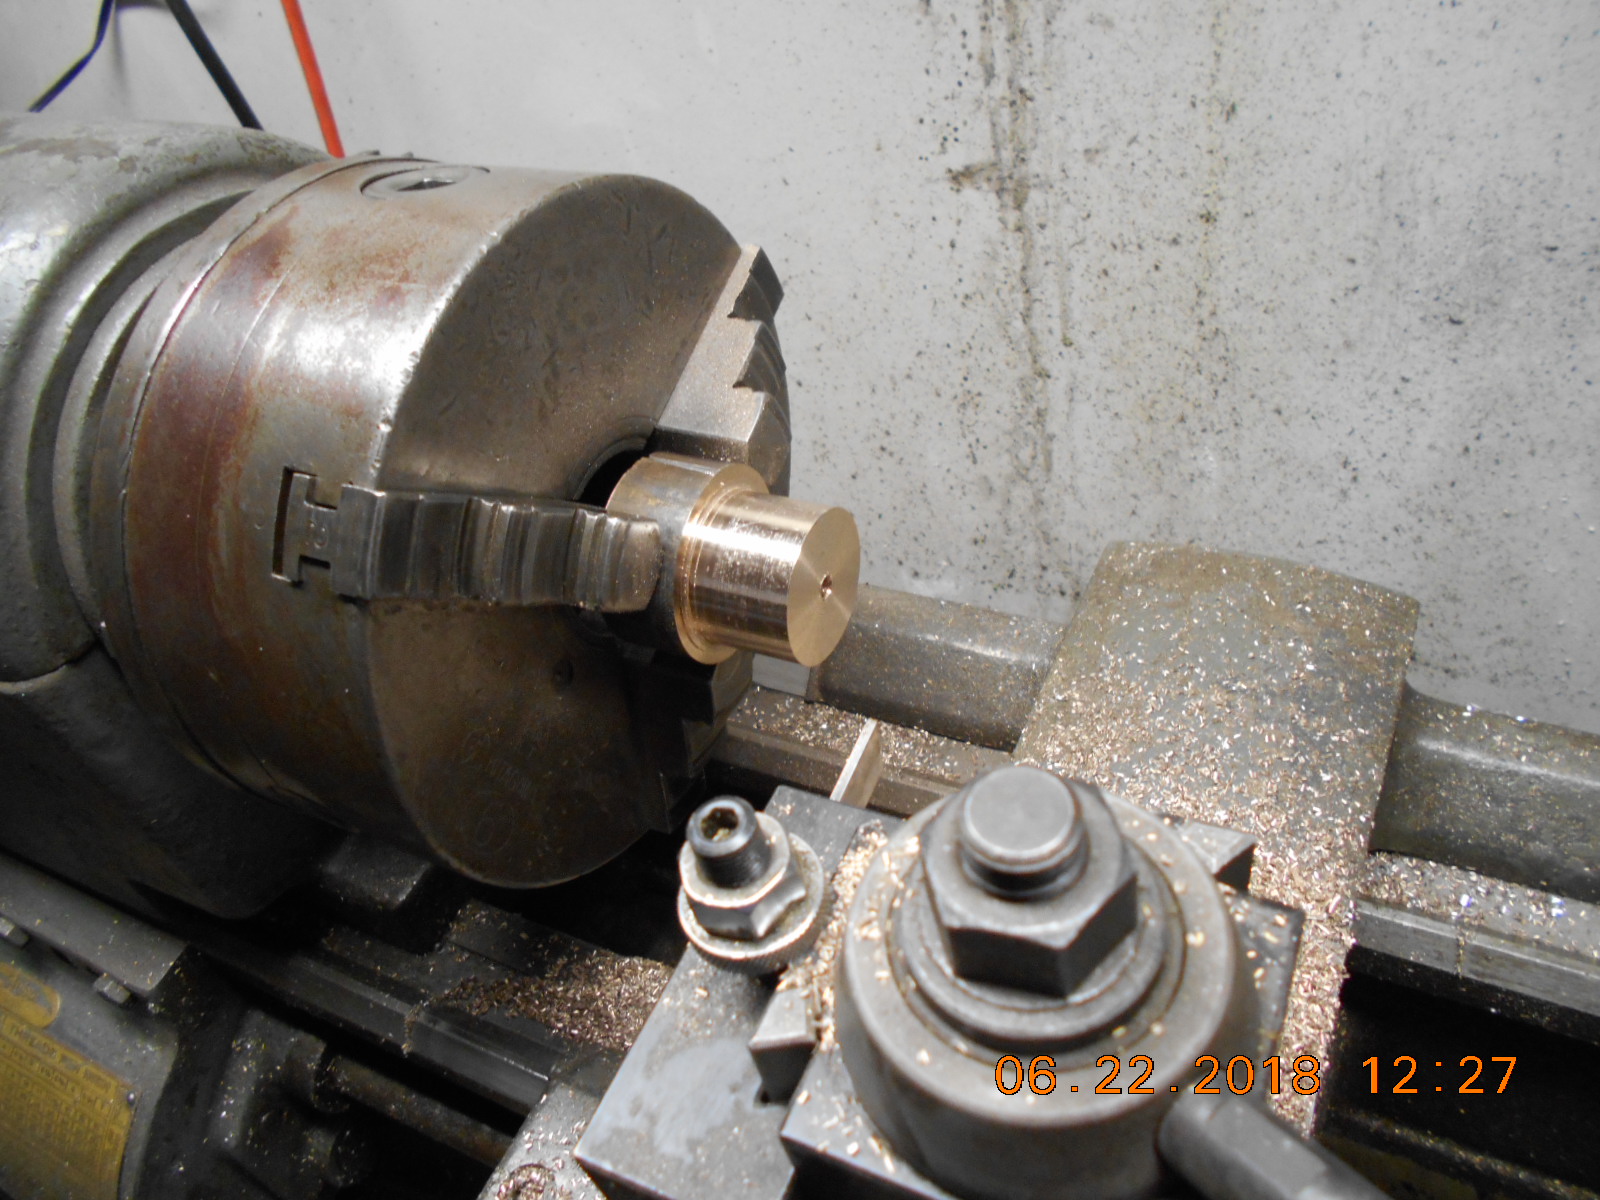
June 22, 2018 at 11:12 pm #78296Got a good start on the project, but wife had other plans for the afternoon. 🙄
OD is turned, next I’ll drill and bore out the ID close to size, and maybe hand ream
to finish after the inserts are in the rod and clamped down. It awaits me
in the lathe chuck for tomorrow fun. I see no signs of the soldering job
having issues yet, and hope for none while I’m boring the ID!
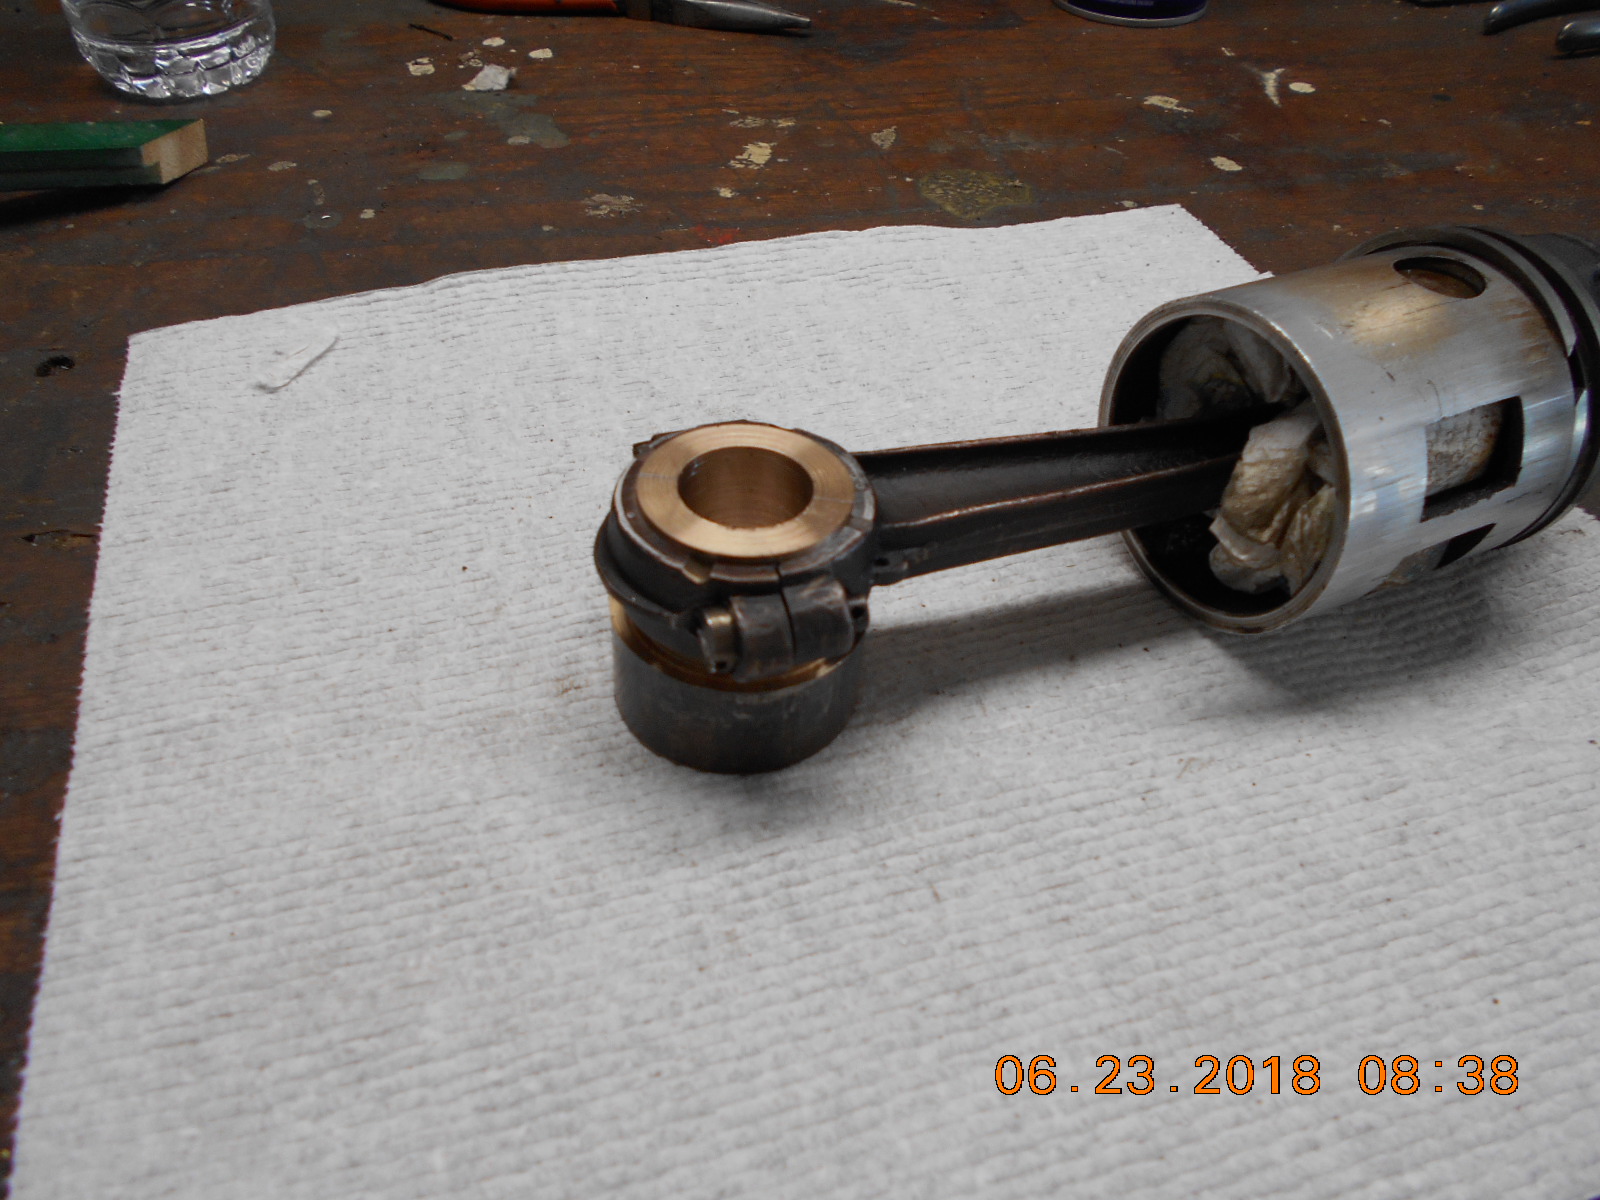
Showing the old buggered up inserts for in the photo, and hoping I end
up with something similar.
Attachments:

Prepare to be boarded!
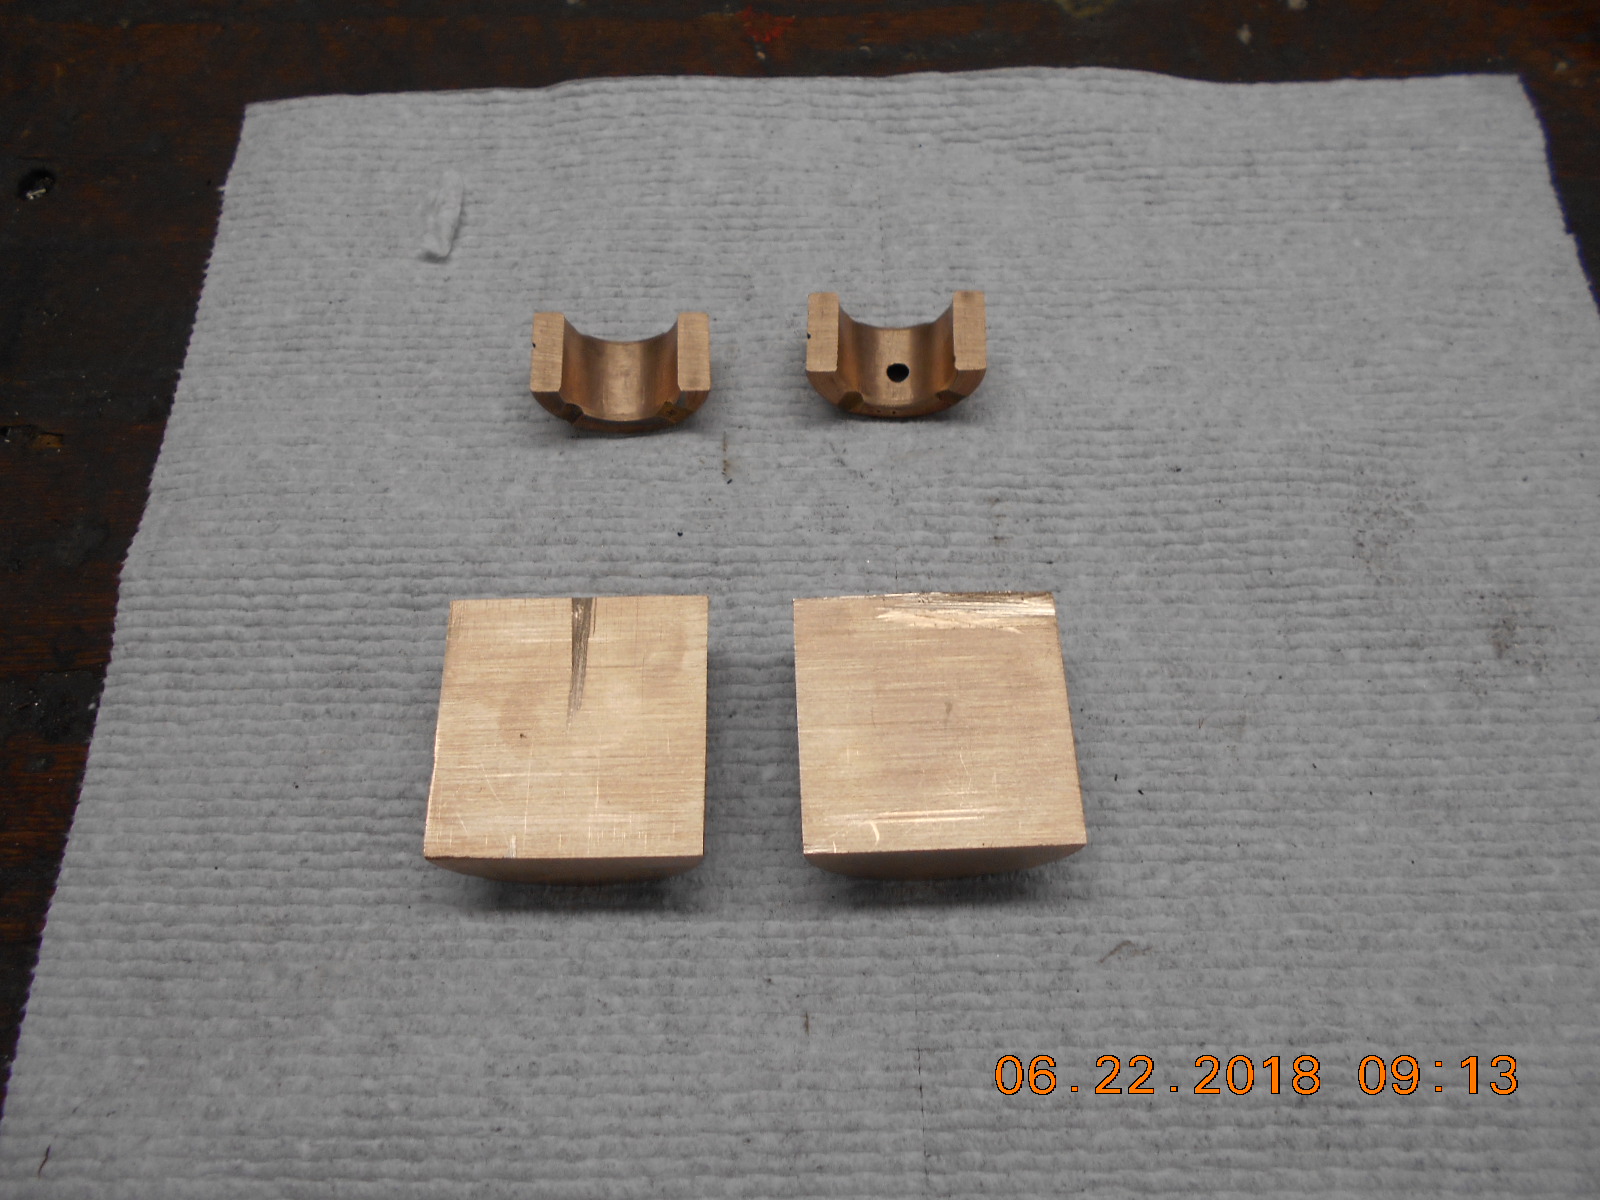
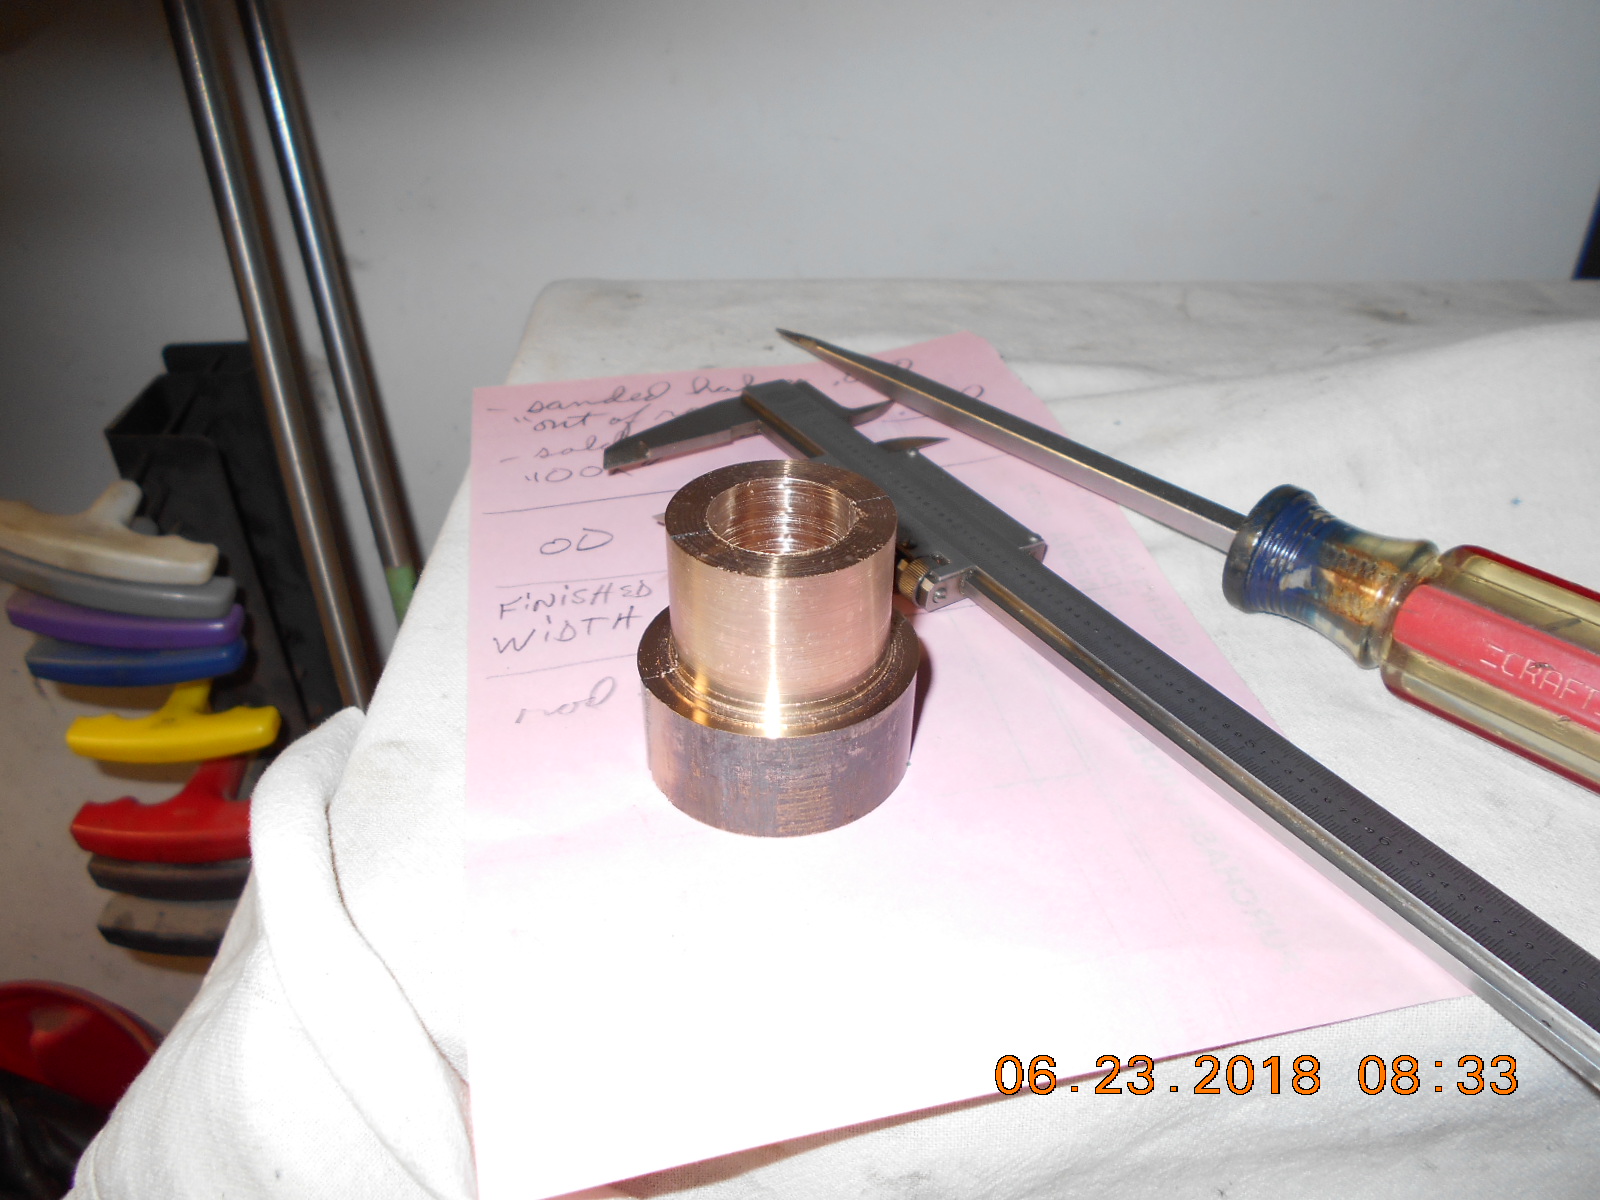
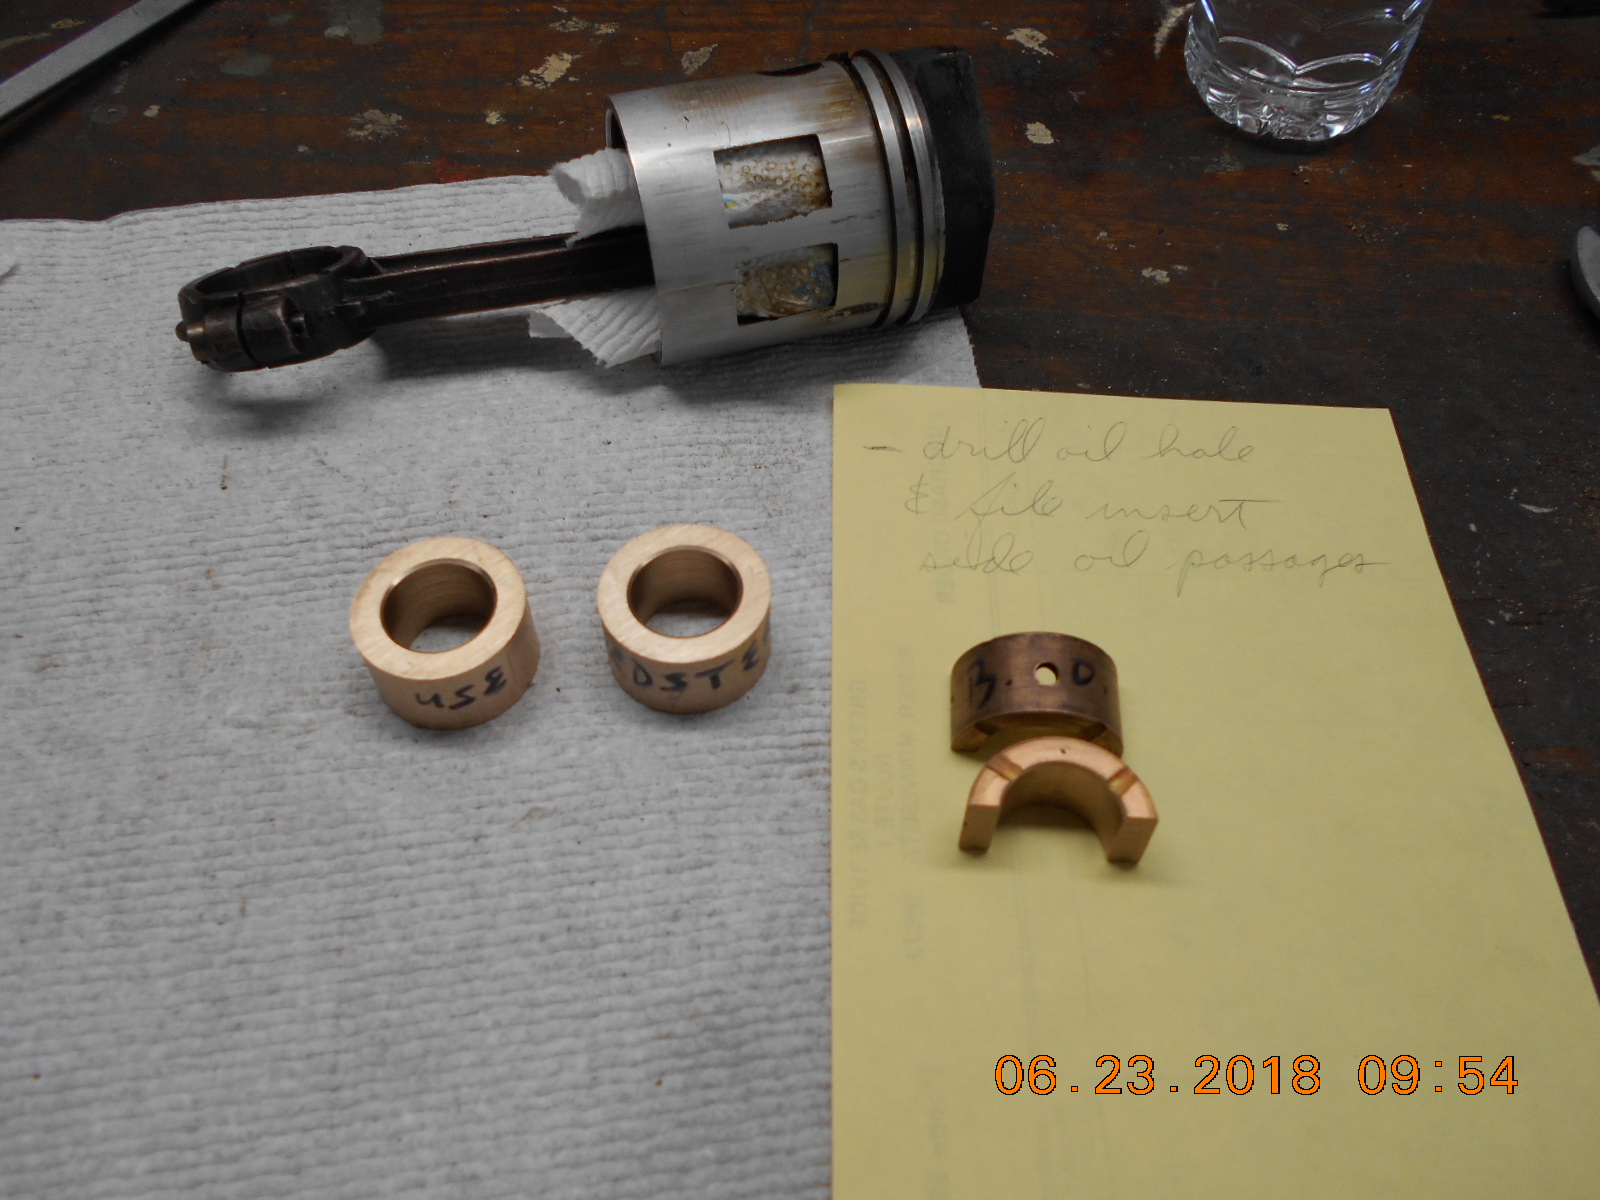
June 23, 2018 at 10:42 pm #78330I got to play around about another 3 hours on the project this morning.
I was going to make "one" set of inserts, but thought I might as
well flip the bronze over and whittle down the other side to
have a spare set of inserts ready. I have both fit to width
and the bore chamfered so the insert seats on the rod journal.
Will have to heat up and un-solder the set I’m going to use,
touch up the ends on the belt sander, then ream the ID to finished size
to fit the crank nice. I wrote a note so I don’t forget to drill
the oil hole in the upper insert. 🙄
Also the old inserts had some oil grooves file in them on the
sides of the inserts. Guess I’ll put those back in as well.
Hoping to finish up on these inserts tomorrow, and wishing
I didn’t have 3-1/2 hours of lawn mowing to do as well. 🙁
Attachments:
Prepare to be boarded!
June 23, 2018 at 11:54 pm #78333Nice work, Buc!
June 24, 2018 at 12:05 am #78334Buc – great looking machine work. Very well done!
Bob
1937 Champion D2C Deluxe Lite Twin
1954 Johnson CD-11
1955 Johnson QD-16
1957 Evinrude Fastwin 18
1958 Johnson QD-19
1958 Johnson FD-12
1959 Johnson QD-20“Every 20 minute job is only a broken bolt away from a 3-day project.”
"Every time you remove a broken or seized bolt an angel gets his wings."June 24, 2018 at 7:20 pm #78383That was the reason for re-manufacturing the Speedifour rollers. A bronze bushing Speedifour only developed about thirty horse power . . . 😉


-
AuthorPosts
- You must be logged in to reply to this topic.