Home › Forum › Ask A Member › Mark 28 issues
- This topic has 31 replies, 11 voices, and was last updated 8 years, 6 months ago by
 Tubs.
Tubs.
-
AuthorPosts
-
October 12, 2016 at 12:17 pm #45686
The crankcase on the early to mid 60s are prone to leaking. I have been through at least 7 or so 60-65 Merc 200s and they all leaked on fuel pump side where crankcase halves meet. There is a fairly long span between bolts in that area which mercury eventually changed. There is a blank (not drilled) boss on the early motors that I have thought about drilling and tapping then using.
As far as the rope staying with mag: Yes there is a little notch in crown for knot, DONT use it! The rope knot doesn’t seem to release well with this design. I had one start and swing the big wooden handle around like a medieval ball and chain, at least it felt that way. Don’t ask how I know all this. Probably others out there who can also say they have had a beat down by one of these.
October 12, 2016 at 2:09 pm #45689quote JasonH:The crankcase on the early to mid 60s are prone to leaking. I have been through at least 7 or so 60-65 Merc 200s and they all leaked on fuel pump side where crankcase halves meet. There is a fairly long span between bolts in that area which mercury eventually changed. There is a blank (not drilled) boss on the early motors that I have thought about drilling and tapping then using.As far as the rope staying with mag: Yes there is a little notch in crown for knot, DONT use it! The rope knot doesn’t seem to release well with this design. I had one start and swing the big wooden handle around like a medieval ball and chain, at least it felt that way. Don’t ask how I know all this. Probably others out there who can also say they have had a beat down by one of these.
Good information Jason! Perhaps I have been lucky with my cases. Although I rebuild all of them first, perhaps I have corrected the leak without even knowing it. As for the rope getting stuck in the notch! I almost had that happen myself. I didn’t have the wood handle on mine though! Yikes!
Steve
November 6, 2016 at 8:20 pm #47083I for some stupid reason only replaced one of the coils a few years back, so I replaced the remaining original coil and cleaned the points . It runs better now, but the case is leaking and I only have myself to blame. I must be getting oldtimers disease as I forgot that I had it apart to change the crank seals .doh 😳 ! I will take it apart and check all those things you guys have mentioned. Thanks
http://vid61.photobucket.com/albums/h57 … s1575e.mp4
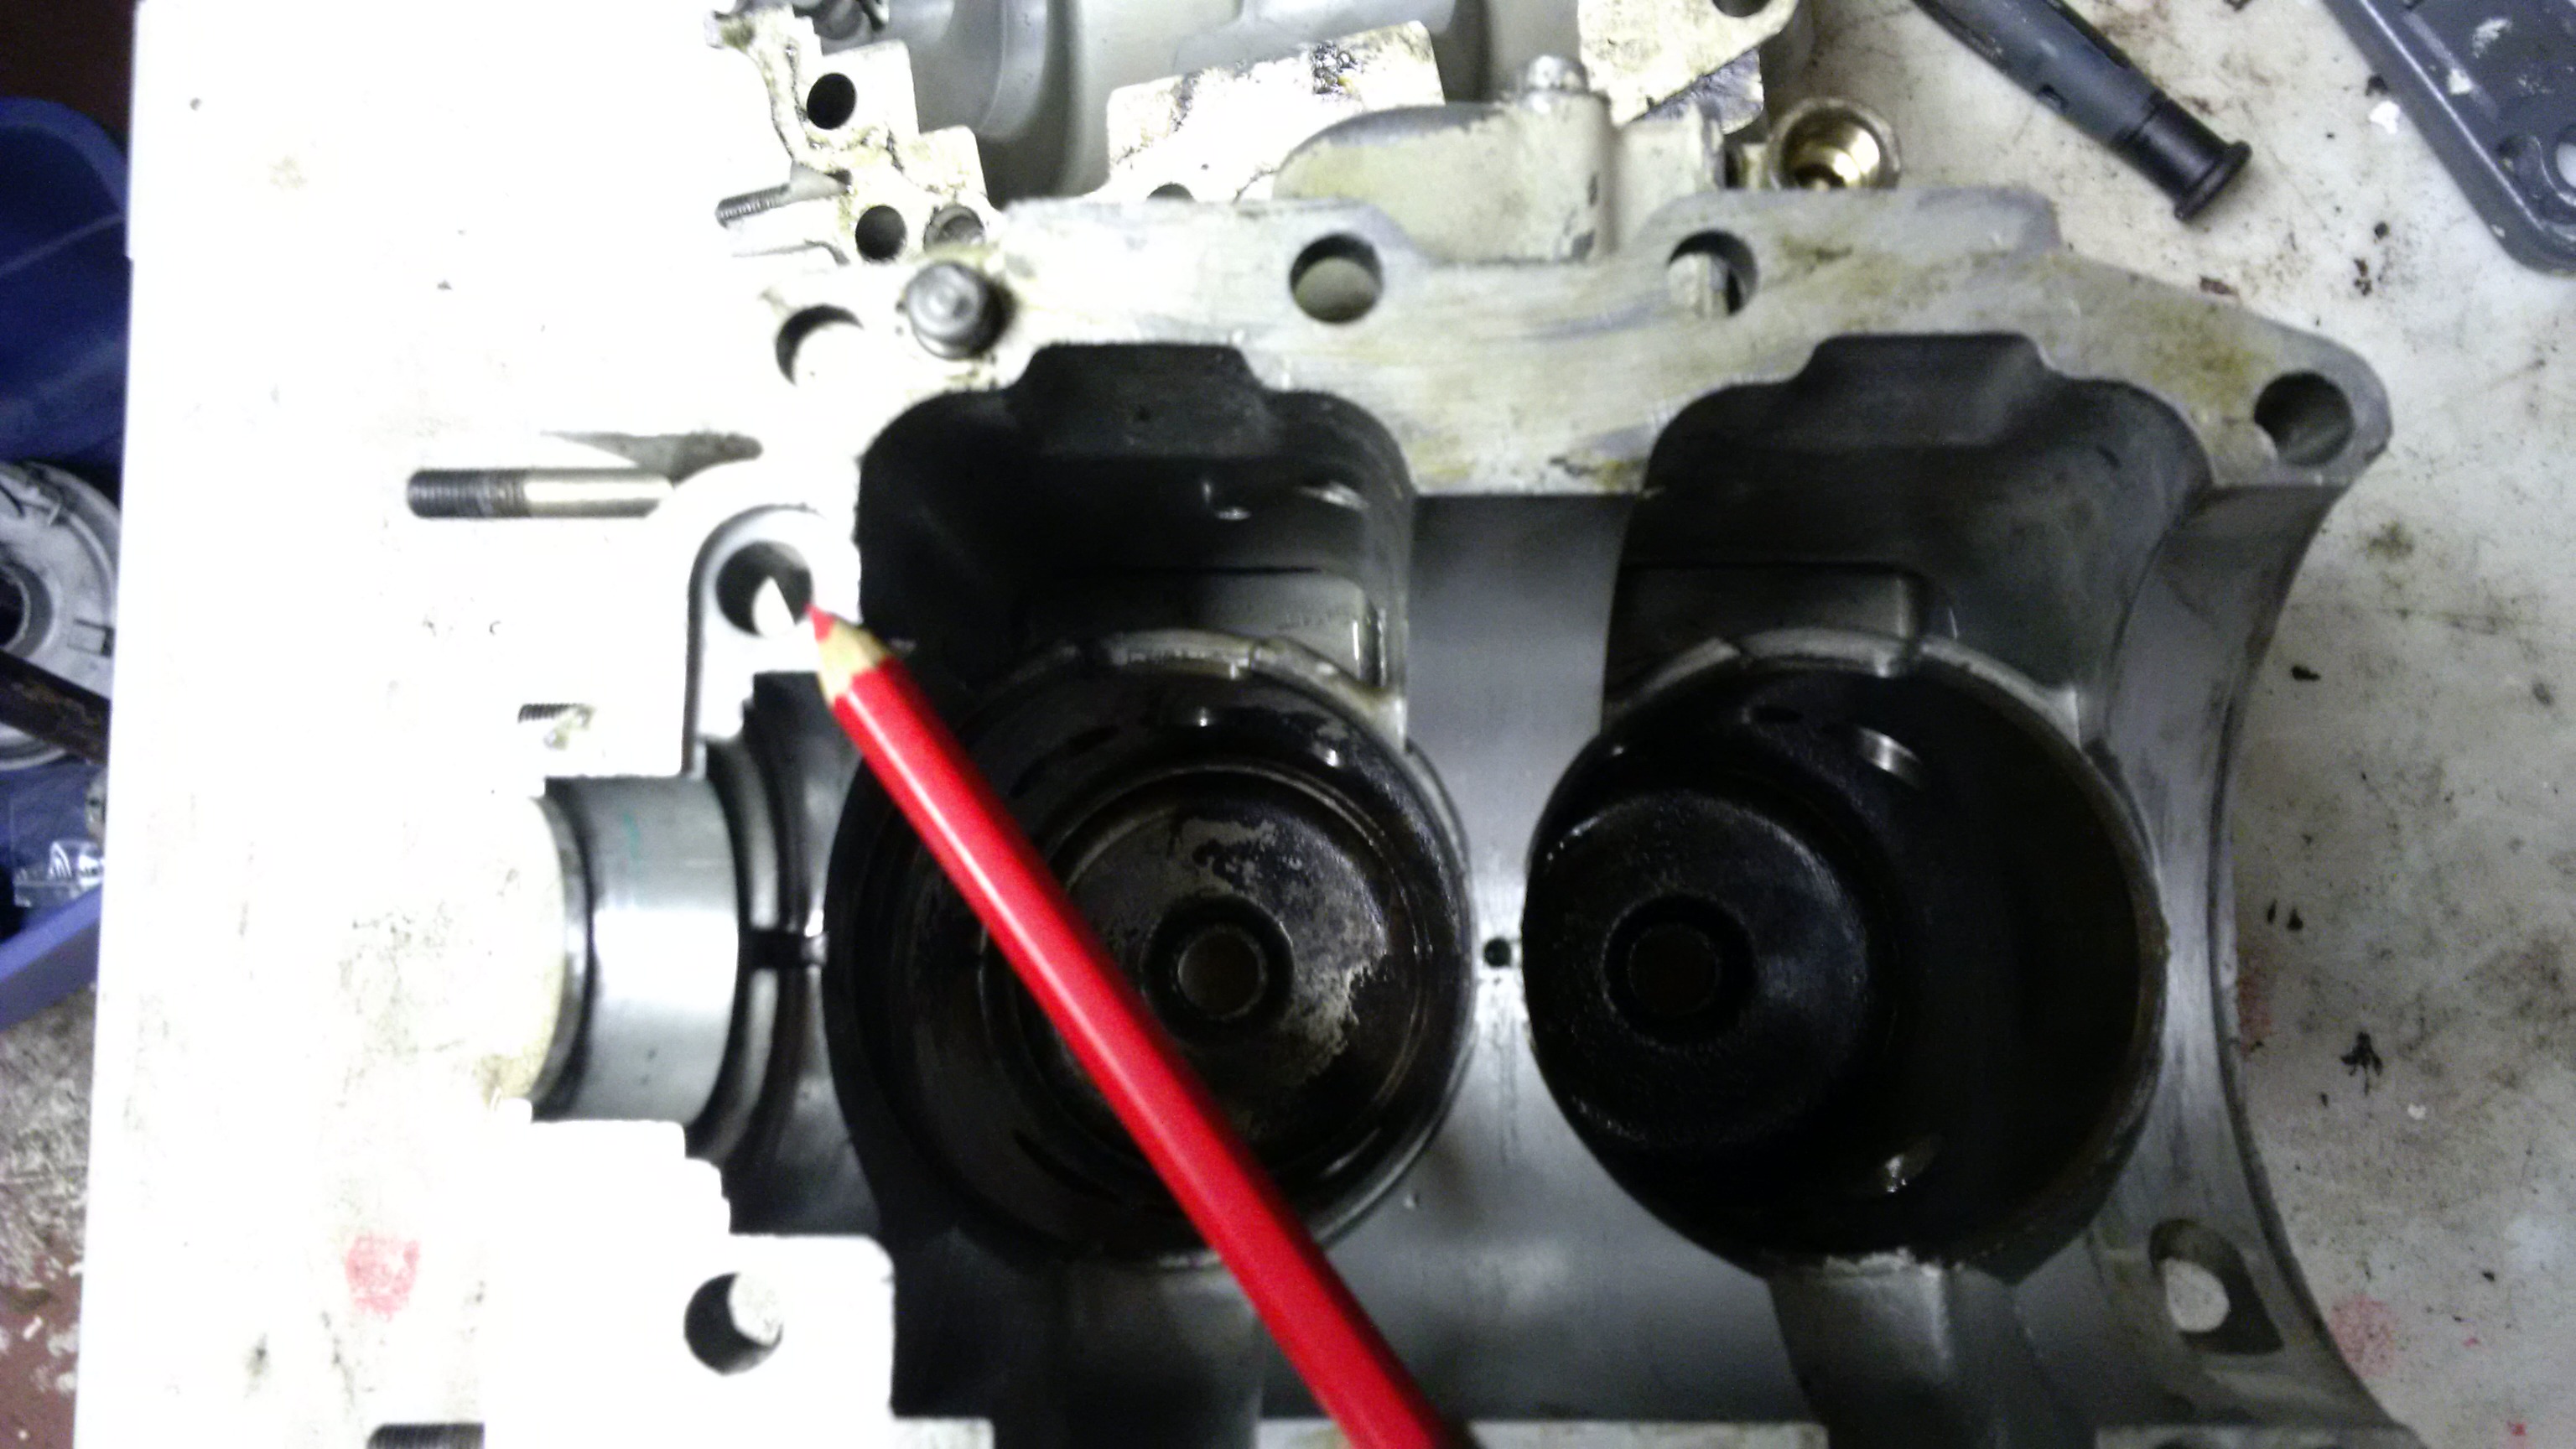
November 7, 2016 at 12:40 am #47091Jeff and 20mercman are right about that o ring. It must’ve been absent when I first had it apart back when. I will order a replacement and put it back together and use some gel seal on the halves this time . I anticipate a struggle getting the pistons back in. Seems like it’ll be tricky with them still attached to the crank .
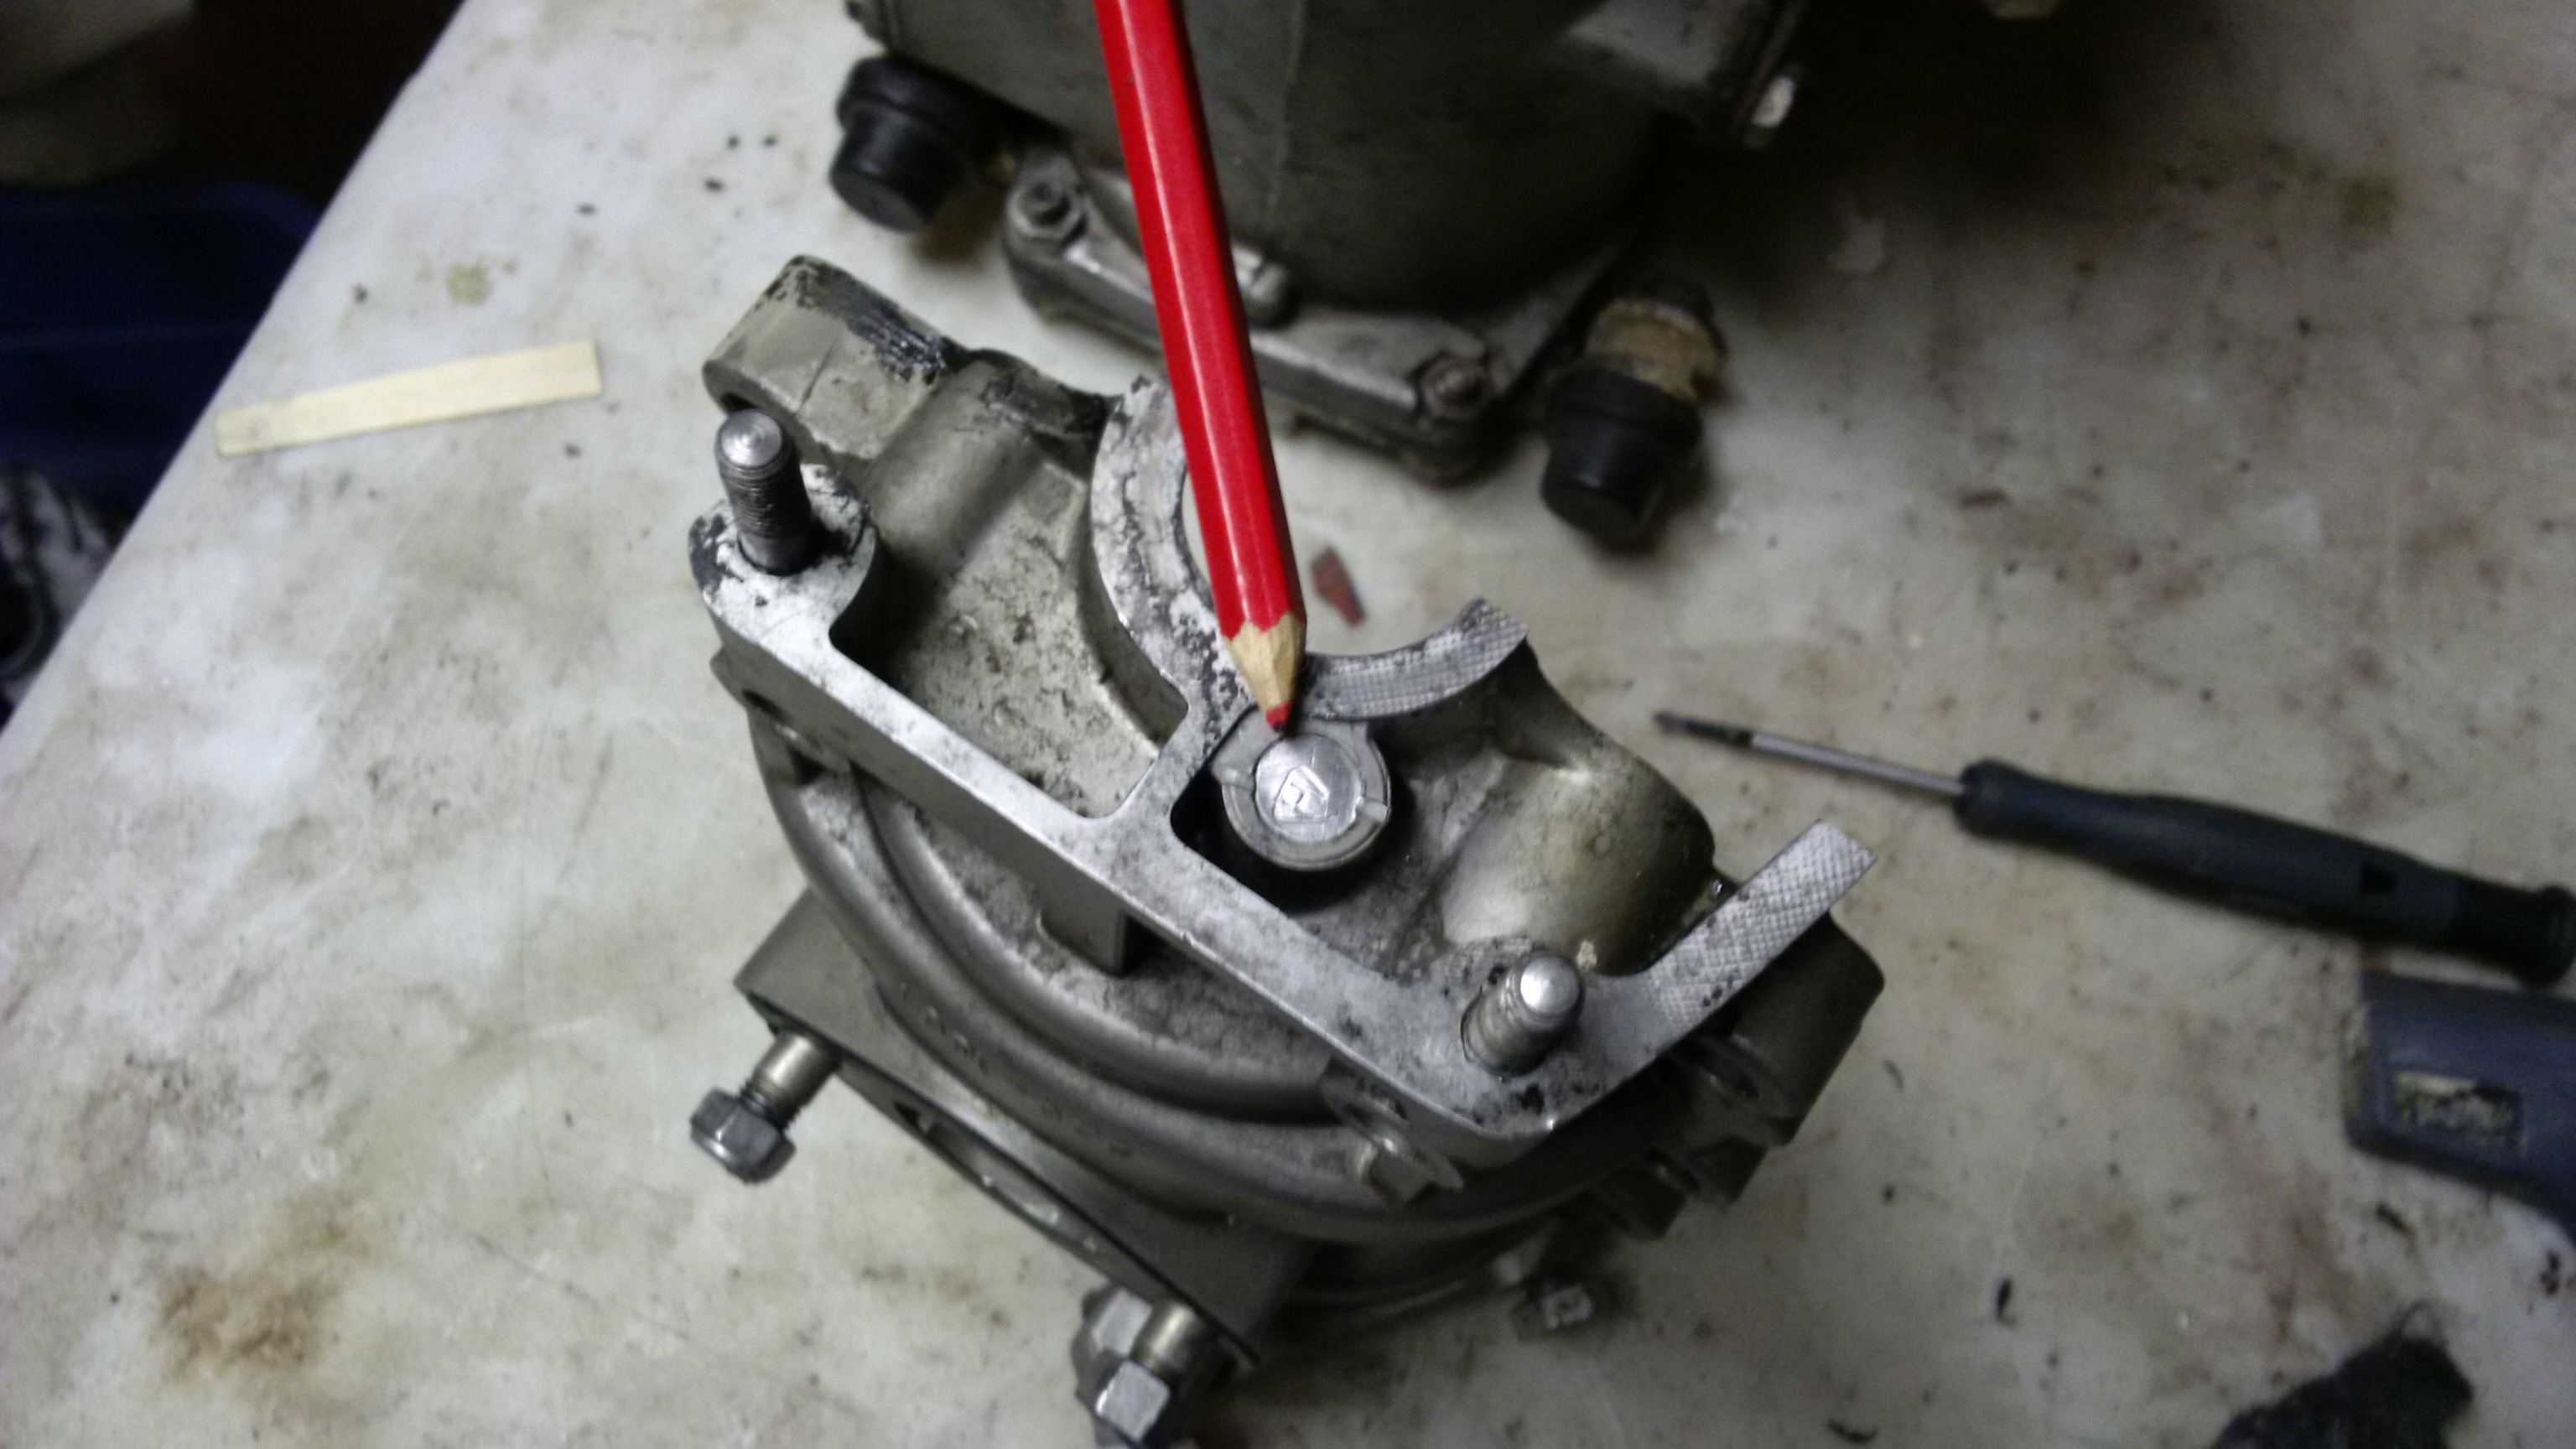
Close inspection of this little check valve welch plug shows it to be loose too. Tap it in and a little sealer of some sort ❓
 November 7, 2016 at 1:54 am #47098
Glad you decided to take it apart and make sure. This the kind of thing that anyone of us can easily overlook. I usually put the crankshaft in on these with just my fingers. You can use a hose clamp and a couple of popsicle sticks to hold the rings down if you want to. I use STP as the stuff is slippery and it really helps sliding into the bore. I usually do the bottom cylinder first as you have less room to work in that area. You can see what you are doing much easier on top. I put the cylinder block on a bench about 2 feet off the floor, as it is easier to hold the crank from above.
Steve
November 7, 2016 at 9:13 pm #47129Maybe I should go get some stp
I can’t even get the bottom piston in using hose clamp and Popsicle sticks. It’s hard to keep the rings from spinning and getting misaligned with the pins. I tried the pop can and zap strap with no luck either. I might have to take it to someone who has the correct ring compressors.
Would a set of new rings would go in easier ?
November 7, 2016 at 10:38 pm #47133biggest key is to clean the grooves really clean makes a big difference.
November 8, 2016 at 12:56 am #47142quote Dave Bernard:biggest key is to clean the grooves really clean makes a big difference.Thanks Dave, that’s good to know. I’ll give that a try.
November 8, 2016 at 11:04 am #47162With no proper compressors, it’s certainly harder. However, what can be done to help is cut some small blocks of wood to pile up and support each end of the crank, over the block. Make the blocks at least 6 inches long, because the crank is going to want to roll one way or another; so the blocks must be stable. This gives you a free extra hand, to work the rings. Just pull out an appropriate-size block, at each end, as you start to lower it in. Also, custom-cut teak or oak sticks are a little more robust than Popsicle sticks, for working the rings.
Long live American manufacturing!
November 8, 2016 at 5:55 pm #47176I agree that the grooves should be clean. When I do this, I concentrate on one ring at a time. I get them aligned with the locating pins as close as I can. I then insert the first ring. You may have to rotate the crankshaft slightly one way or the other so the rings can find their place on the locating pins. The STP really helps. After the first ring slides in, concentrate on the next while being careful to not over stress them and break them. These are much easier than the 11 cid. 9.8 hp. motors as you have a bit more room for your fingers. I often mark the rings with a marker so I know where they need to be to fit into the locating pin. After the first cylinder is in, rest your hands a moment or two and then move on to the other one. Like I posted, I find that putting the bottom cylinder in first makes it easier. You most likely will have the top cylinder rings all moved while working on the other piston, so it is much easier to see them plus you have more room to work. Also, as was mentioned, Oak is a better wood than popsicle sticks, even a brass or metal rod etc. that can slide on the STP. I used to use them on Hurricane blocks, but now I just use a hose clamp on them. Take your time.
My confidence is high!
Steve
-
AuthorPosts
- You must be logged in to reply to this topic.