Home › Forum › Ask A Member › Mercury KB-1A gas tank leaks
- This topic has 12 replies, 5 voices, and was last updated 2 years, 10 months ago by
 Bob Wight.
-
AuthorPosts
-
February 3, 2023 at 4:47 pm #272267
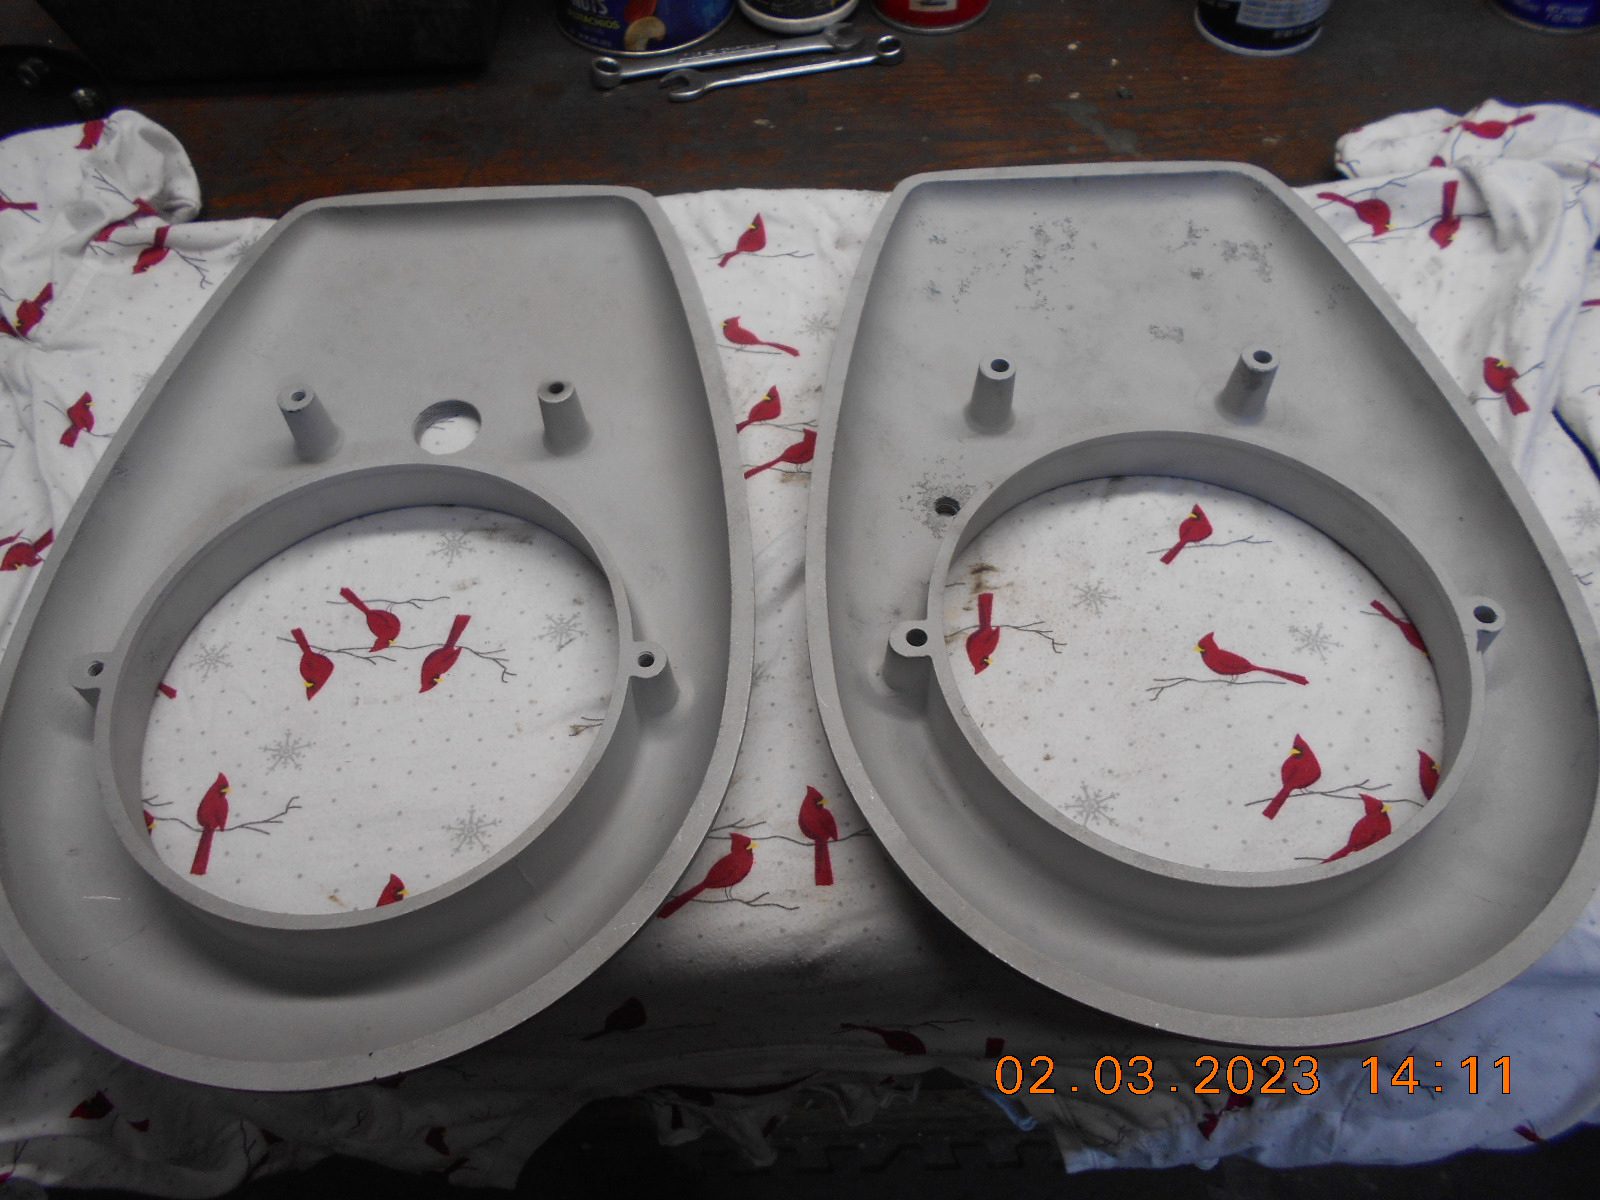
I thought I’d rinse out the gas tank on the subject motor before
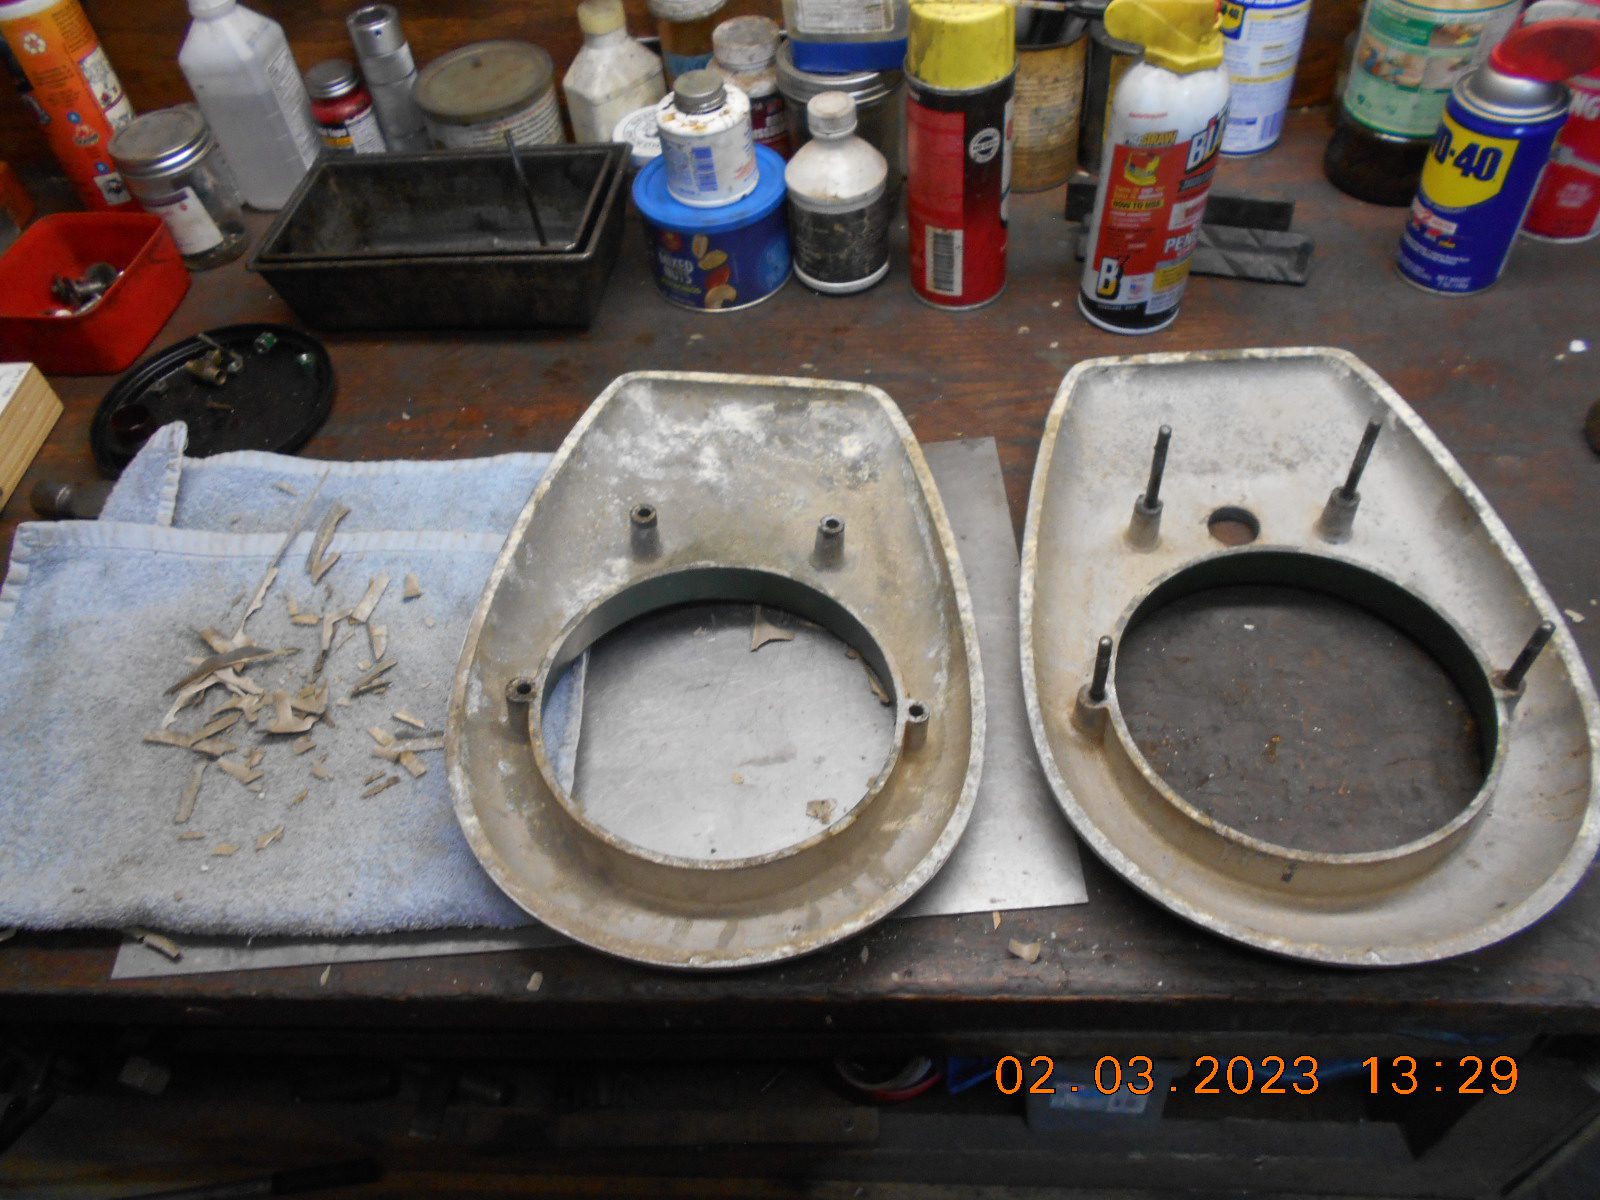
I reinstalled it. It leaked like a sieve around the center seam.I managed to get the two halves separated, and studs removed
without much problem. There was no sign of it ever having
a gasket (unless it’s been apart before), but rather some kind
of seam sealer, that was hard, and broke apart in a thousand pieces.I got the tank sandblasted inside and out, but still need to lap the halves
if I can a piece of glass around big enough.Should I make a gasket, use a magic sealer, or both?
I may have some SealAll sealer, and if that doesn’t work, a little
Kreem gas tank sealer to slosh around.
What has proved successful for you?
Thanks.Prepare to be boarded!
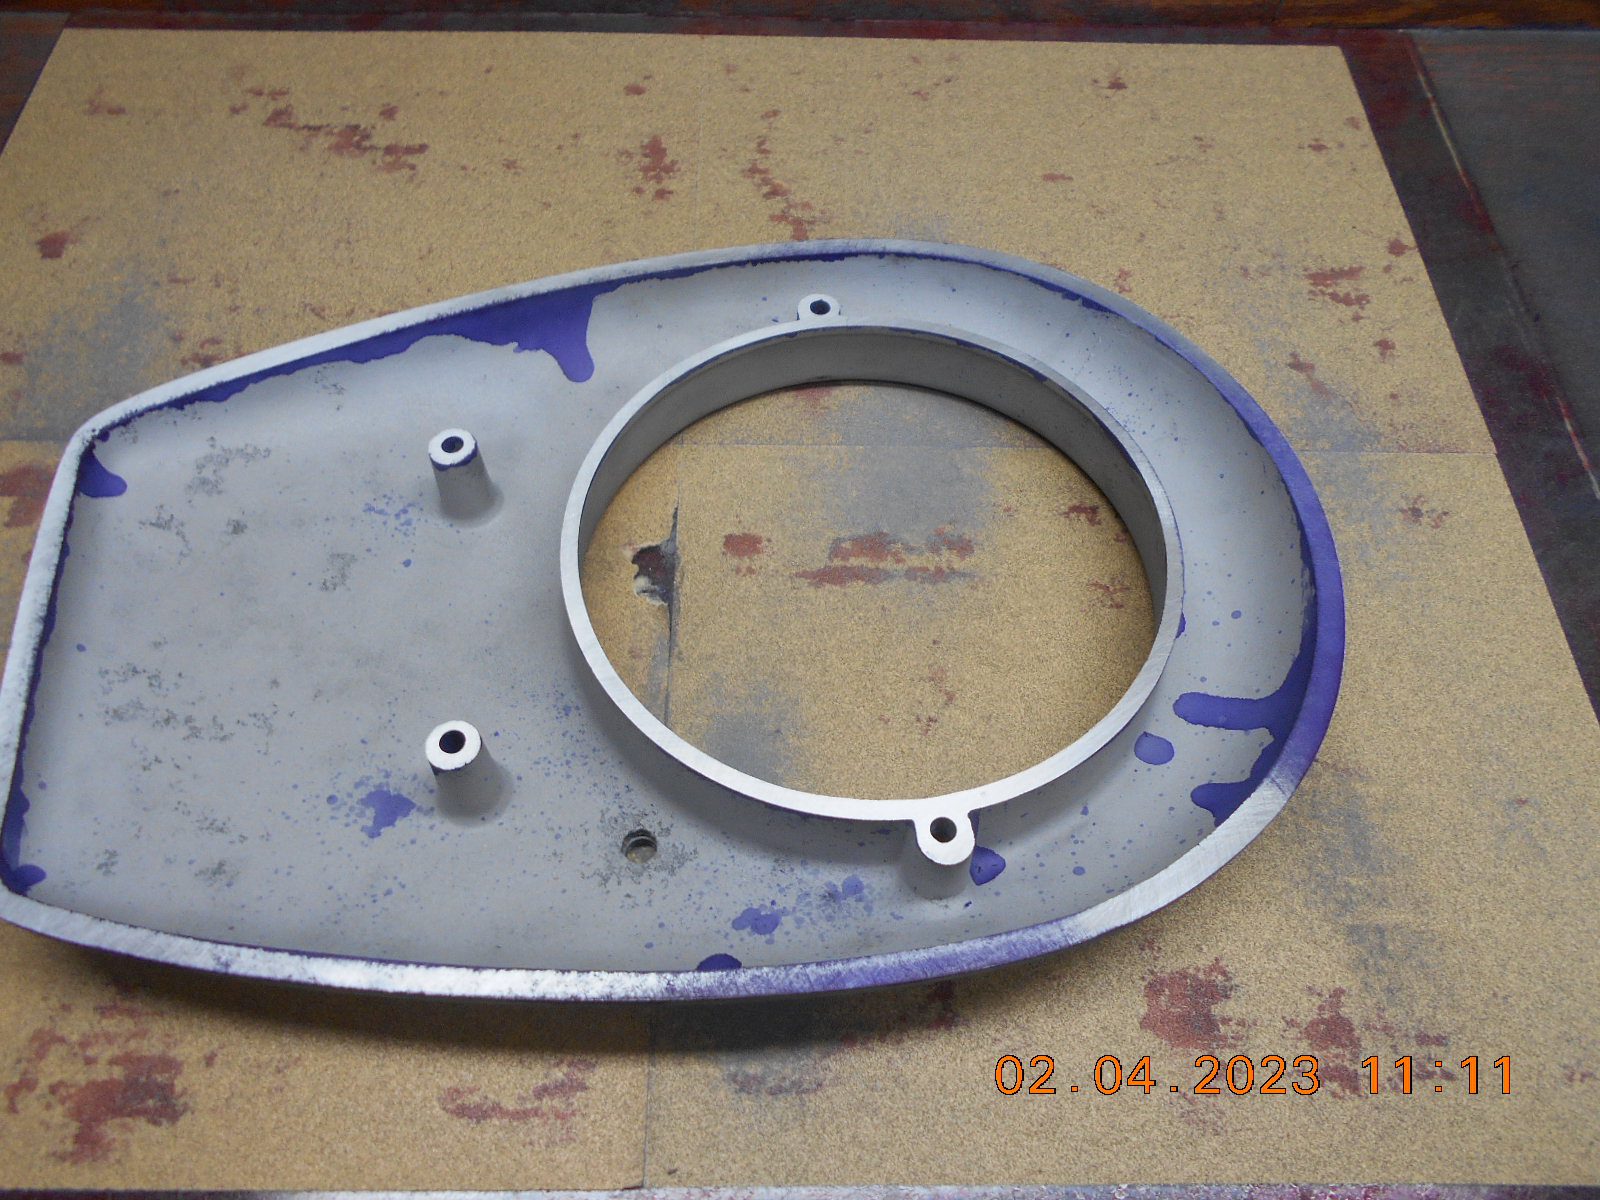
February 3, 2023 at 5:51 pm #272275To lap the tank you will have to remove the studs. Treat the studs carefully. If stuck they will snap off flush to surface. Been there. done that, and don’t care to go back. When lapping it helps to coat the surface with layout dye or felt maker to show high and low spots as lapping removes metal. Takes time and effort, but, results in a flat close fit that clamps the gasket equally at all points. 4 fastener tanks may be more demanding than later 6 fastener tanks.
Good Luck
Louis
February 3, 2023 at 7:16 pm #272282Nobody makes a fuel proof
sealer? Only fuel resistant.
I just did a Sea King cast
tank. I used Permatex
Motorseal “ fuel resistant”
I have not tested yet due
to cold weather.
another option I might
Try is JB weld, buy the big
size.
Good Luck,
Bob
February 3, 2023 at 8:03 pm #272283To lap the tank you will have to remove the studs. Treat the studs carefully. If stuck they will snap off flush to surface. Been there. done that, and don’t care to go back. When lapping it helps to coat the surface with layout dye or felt maker to show high and low spots as lapping removes metal. Takes time and effort, but, results in a flat close fit that clamps the gasket equally at all points. 4 fastener tanks may be more demanding than later 6 fastener tanks.
Good Luck
Louis
Louis, as seen in my first photo, the studs are already removed.
I had to heat two of them, but none came out super hard.
One tank I lapped a few years ago, I had glued two sheets of sand
paper onto a piece of glass, which worked pretty good……
it may have been your idea perhaps.Prepare to be boarded!
February 3, 2023 at 8:08 pm #272284Nobody makes a fuel proof
sealer? Only fuel resistant.
I just did a Sea King cast
tank. I used Permatex
Motorseal “ fuel resistant”
I have not tested yet due
to cold weather.
another option I might
Try is JB weld, buy the big
size.
Good Luck,
Bob
Bob, I’ve never heard of the Permatex Motorseal sealer.
I’d probably have to order it online.It makes you wonder what Mercury used for a sealer back in 1941???
It must have held up pretty well.
I guess Gasoila sealer is pretty good fuel resistance. I used it on a Flambeau
once, but it cost a lot, and doesn’t have a very long shelf life.Prepare to be boarded!
February 3, 2023 at 9:34 pm #272285One not so obvious point…install the studs to same depth as they were…otherwise you wind up with very little thread for nuts and washers.
Louis
February 3, 2023 at 11:04 pm #272292One not so obvious point…install the studs to same depth as they were…otherwise you wind up with very little thread for nuts and washers.
Louis
Good tip, Thanks Louis!
Prepare to be boarded!
February 4, 2023 at 5:52 am #272298I took a KD3 tank to an automotive machine shop, years back. They surfaced the halves on their giant, foot-wide, horizontal belt sander, used for truing up cylinder heads. It took him five minutes, tops, and he charged me twenty bucks. But it would have taken me HOURS of aggravation, so it was a win-win for the tech and for me. I used anaerobic sealant, like for a crank case, on the flanges. It worked long enough for a successful, hour-long boat ride, then the tank was drained, the engine pickled and it was on to the next engine. I don’t know if the sealant would work indefinitely, or not. I have also made thin gaskets for those tanks, which is very tedious, but worked to seal it.
Long live American manufacturing!
February 4, 2023 at 9:17 am #272305Bill, I’m “in the sticks”, so to say, so I won’t be looking for an engine machine shop.
I’ll check the tank halves with a straight edge first, and hopefully a little lapping
will suffice……. one can always “hope”!
However is seal the halves, I may just slosh some Kreem around in the tank afterward
for “good luck”.Prepare to be boarded!
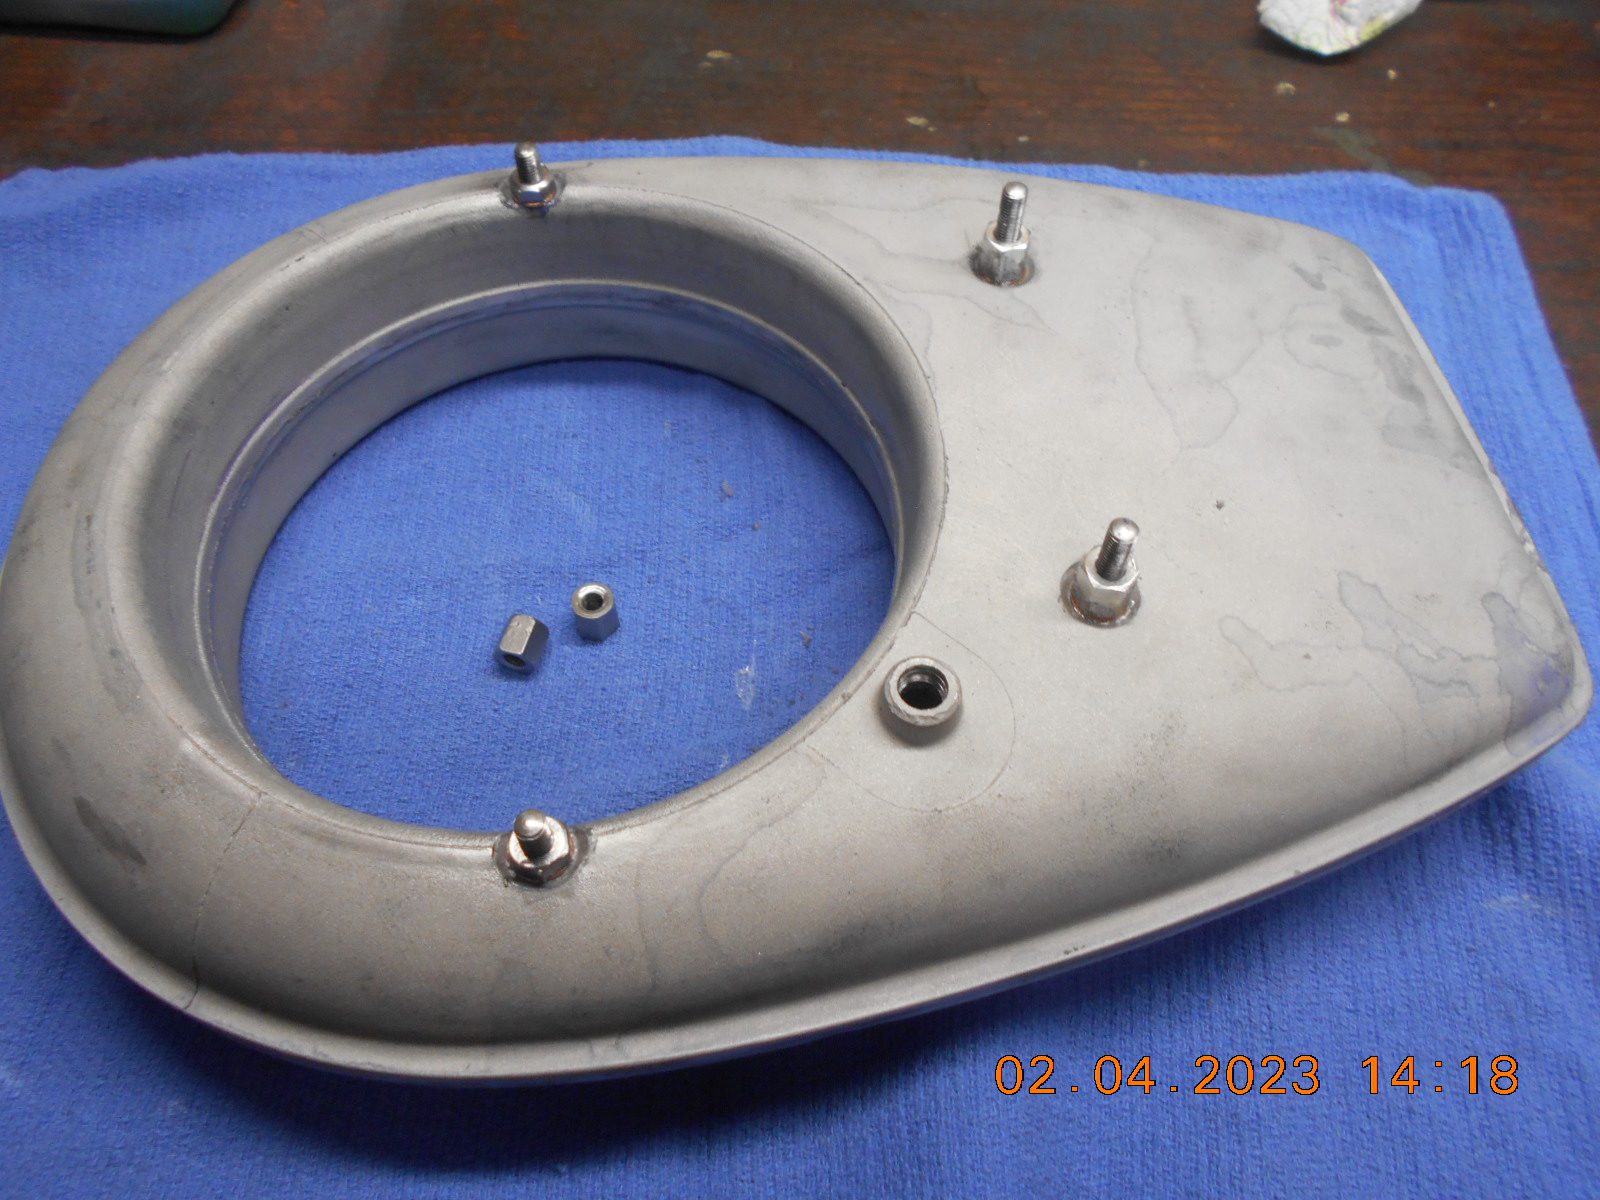
February 4, 2023 at 3:17 pm #272331For better or worse, but hopefully better than it was,
I lapped the tank halves today, and sealed them with
Seal-All, which was the best thing I had handy,
and will slosh some Kreem gas tank sealer around in
it tomorrow.I barely had enough “spray on” adhesive to glue down
the four sheet of 100 grit sandpaper onto my window glass.
The top half of the tank lapped down in about 5 minutes,
the bottom half took over 1/2 hour, but that was including
the time it took to repair my air hose after the end blew off….
that’s always exciting!
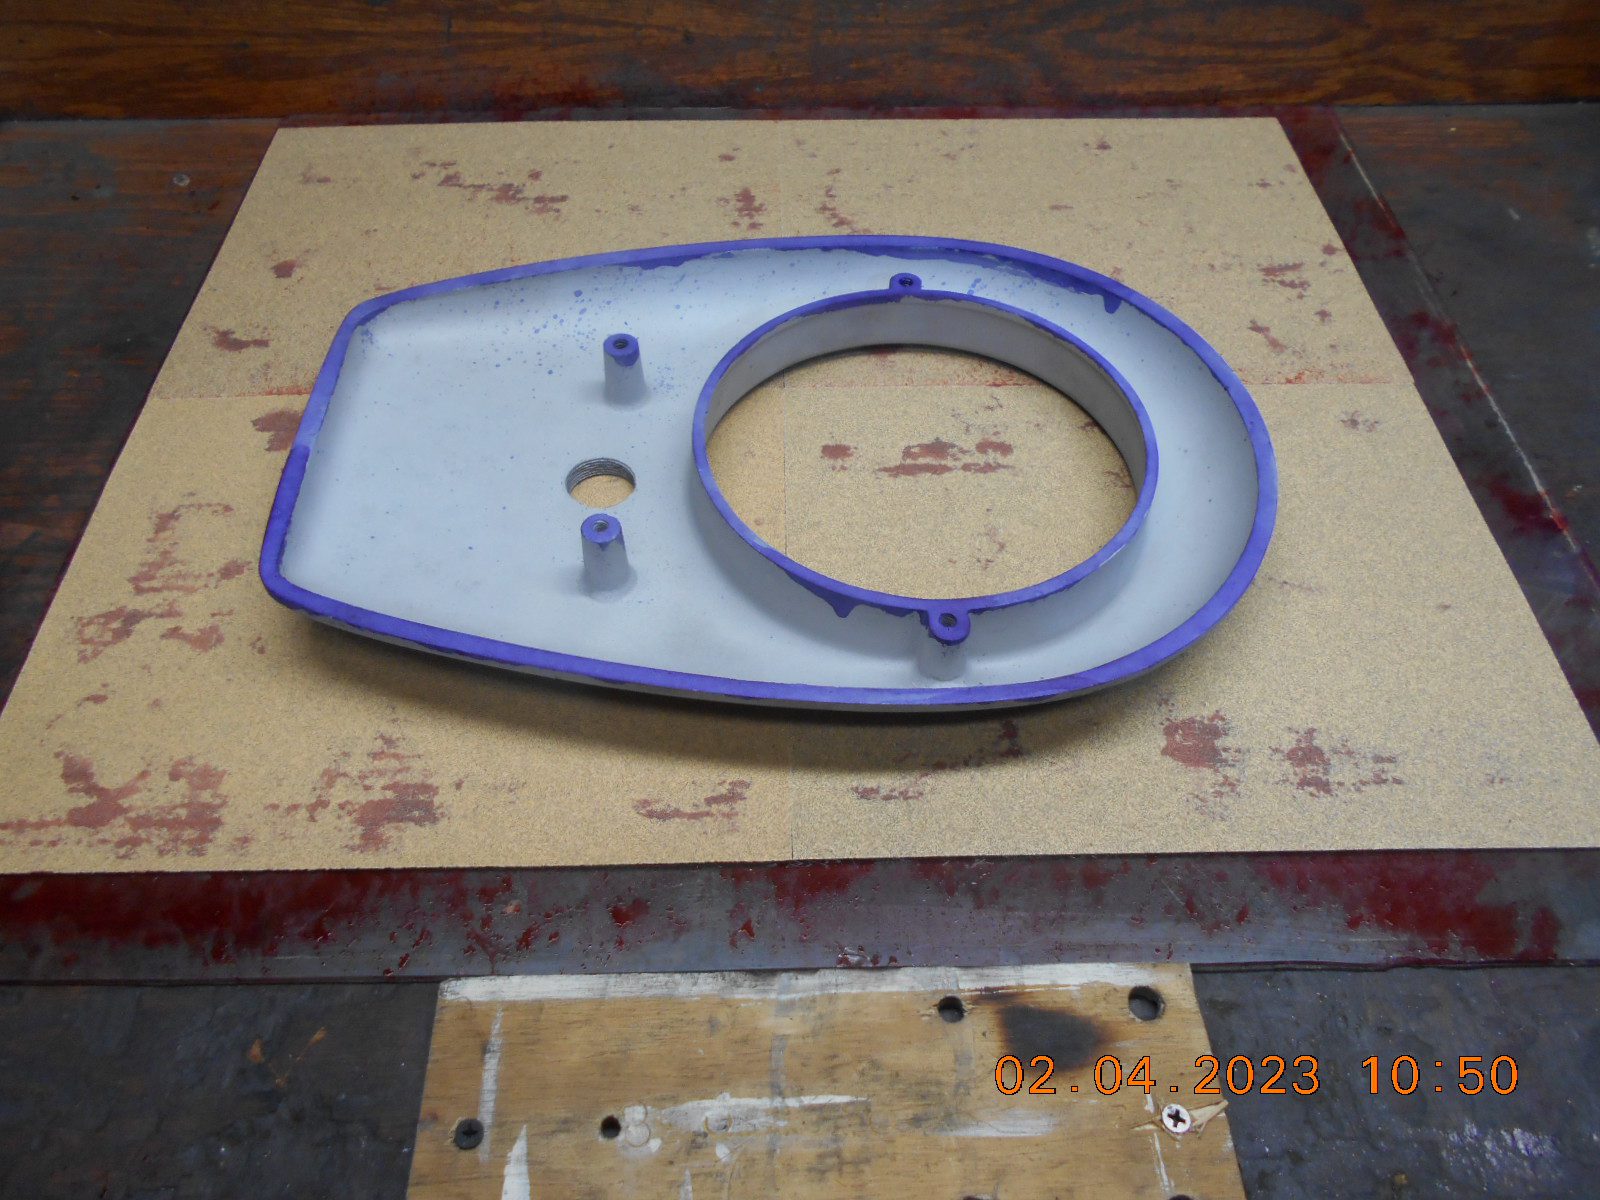
Getting there. The front of both halves seem to be the lowest,
for whatever reason.The studs seem to all original, and I even put the long ones
in the rear like I was suppose to.
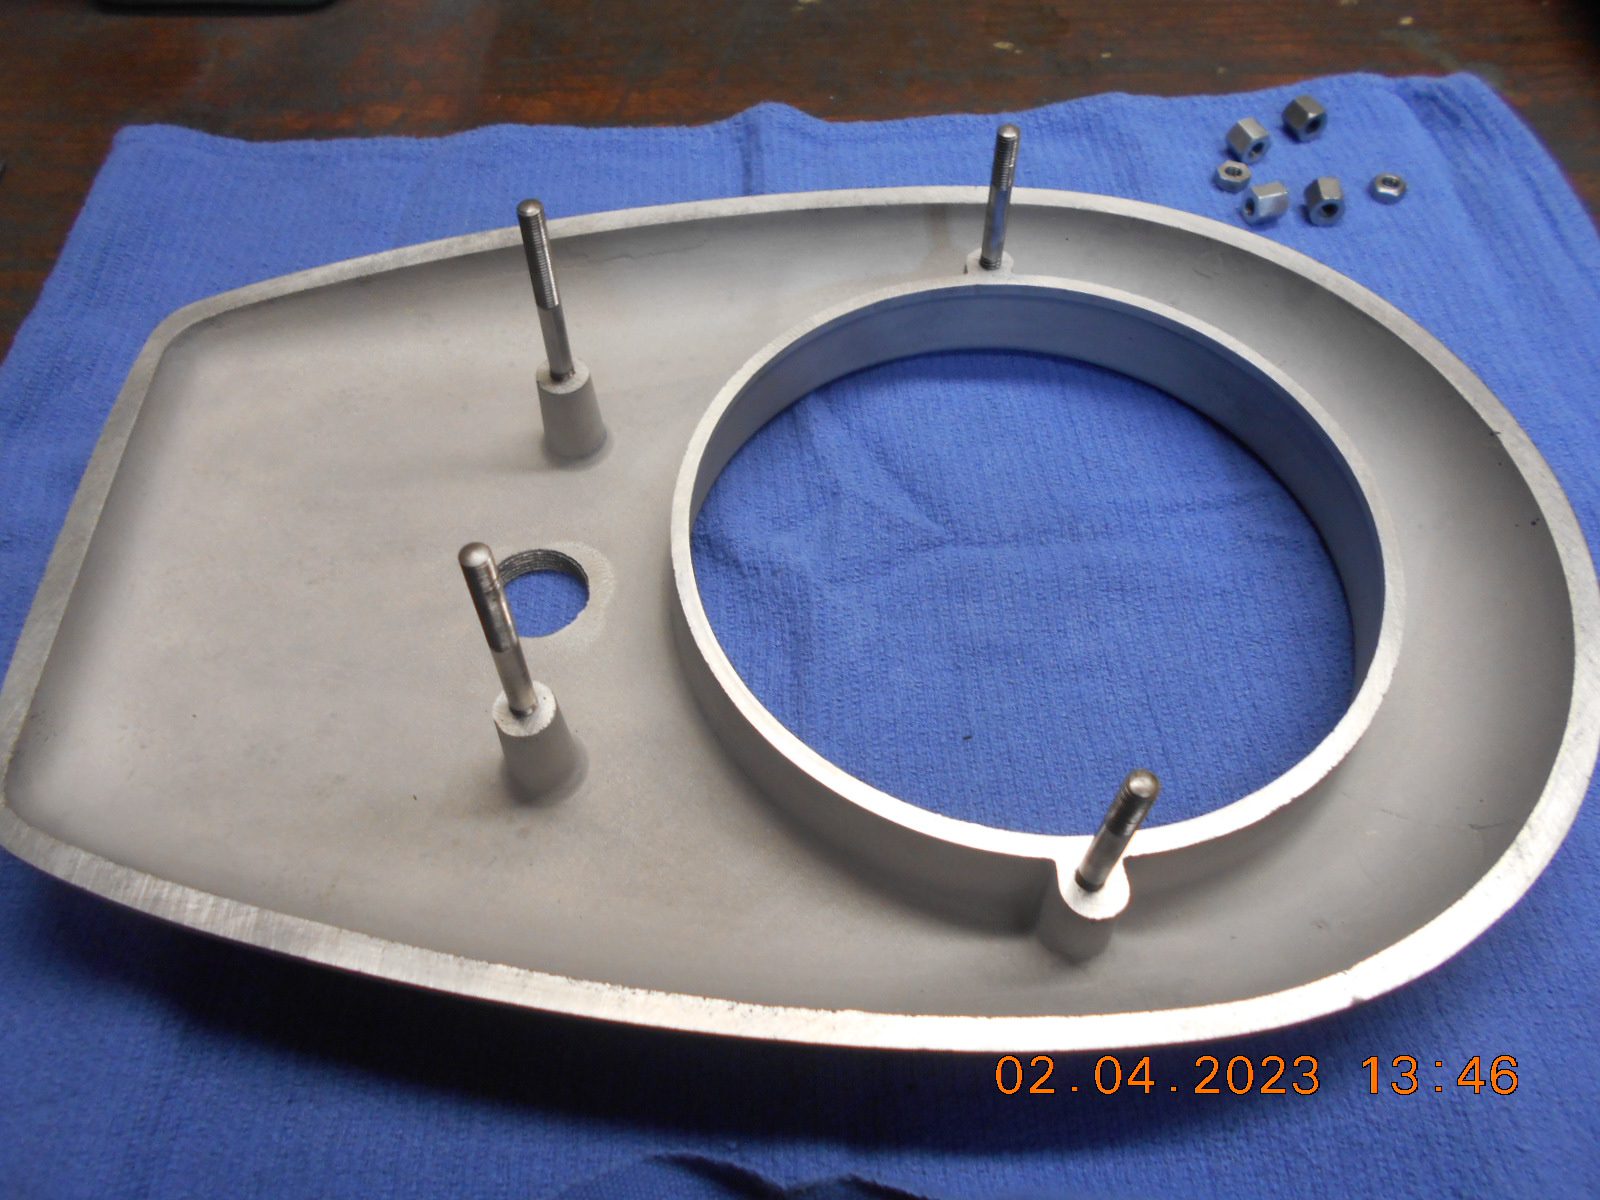
I found some copper washers that I used under the nuts…. it
had no washer before.Prepare to be boarded!
-
AuthorPosts
- You must be logged in to reply to this topic.


