Home › Forum › Ask A Member › Mercury KD-4 Cast Aluminum gas tank seam leak
- This topic has 32 replies, 5 voices, and was last updated 4 years, 2 months ago by
 Buccaneer.
-
AuthorPosts
-
January 19, 2020 at 7:46 am #192491
Good overview on stuck bolts Tubs. My grandfather showed me the trick of frozen nuts back
in the 70’s, using two hammers, holding one against a flat, and whacking the opposing
flat. Works pretty good, but like you say, you have to have room to swing the hammer.
Of course, hammers of equal weight are better.Prepare to be boarded!
January 23, 2020 at 8:57 pm #192896I will just add my two cents to this. When I split my tanks open, I take them to an automotive machine shop. They have a giant, horizontal belt sander. It’s very purpose is to true up slightly warped parts. I give the guy twenty bucks and the tank halves are as true as the day they were made, in about five minutes. Also, the last tank I did was a WD3S Wizard. Rather than fuss with a gasket, I tried an experiment and used that red, jelly donut-like, anaerobic sealant, the same stuff used on crank case halves. It is known to stand up to ethanol, at least as good as anything can. I let it set up for a week, just to be sure to give it the best chance at success. I ran the motor at the Lowell Mass meet in September, for at least an hour straight, with no leaks evident. Going forward, I think I will do this again. It was much easier than the gasket method.. It “seams” to work, if you’ll pardon the pun.
-
This reply was modified 4 years, 3 months ago by
billw.
I sandblasted the gas tank halves today, and will try to lap them tomorrow.
Decided to read up on Anaerobic sealants. Found this article that makes
me nervous about using anaerobic sealants on the Mercury tank.
What’s your favorite “gas proof sealant”?==============================
4. Using an RTV or anaerobic gasket maker on an application that is exposed to gasoline-
Only solvent-based gasket makers have the ability to stand up to repeated direct contact to gasoline. Powersports vehicles, antique cars, gas-powered tools, and equipment all tend to have their gaskets exposed to gasoline. Gas weakens RTV and anaerobic flange sealants. If your assembly will have direct exposure to gasoline, you should use a solvent-based gasket maker.
https://www.enginebuildermag.com/2017/06/10-common-gasket-maker-mistakes/
===================Prepare to be boarded!
January 23, 2020 at 9:25 pm #192900Buc,
Never had to seal a gas tank before but Permatex Motoseal is represented as gasoline resistant and for filling gaps in uneven surfaces. I’m sure others have experience in an appropriate sealer. Here’s a TDS on Motoseal:https://441py33rout1ptjxn2lupv31-wpengine.netdna-ssl.com/wp-content/uploads/tech_docs/tds/29132.pdf
Bob
1937 Champion D2C Deluxe Lite Twin
1954 Johnson CD-11
1957 Evinrude Fastwin 18
1958 Johnson QD-19
1958 Johnson FD-12
1959 Johnson QD-20“Every 20 minute job is only a broken bolt away from a 3-day project.”
"Every time you remove a broken or seized bolt an angel gets his wings."January 23, 2020 at 9:27 pm #192901Thanks Bob. I’ve been studying up, but haven’t found any sealants that use the words “Gas Proof”!
Whatever Mercury used 70 years ago worked pretty good…… too bad we don’t
know what that was!Prepare to be boarded!
-
This reply was modified 4 years, 2 months ago by Buccaneer.
January 24, 2020 at 5:24 am #192952I know my “test” of anaerobic sealant on a Mercury tank is not very conclusive because it was more a vibration test than a time endurance test. As I said, it was an experiment…..but it was based on the fact that manufactures have been using this sealant on crank case halves for many years, now, to replace the old “Type M,” 847-type sealer, that was failing due to ethanol. That sealer used to work GREAT, before ethanol came along, it would seem; but not anymore. Also, I don’t know what they mean, exactly, by “solvent-based sealant?” If there truly IS something that stands up to ethanol based fuel, even better than the anaerobic type, I would sure LOVE to know what it is! The article doesn’t name an actual brand.
Note: I tried “Yamabond” one time, in direct contact with gasoline and it turned promptly to mush.
Long live American manufacturing!
-
This reply was modified 4 years, 2 months ago by
January 24, 2020 at 8:55 am #192954Glad you mentioned the Yamabond……… that was a thought in my head as well!
I gave up researching last night……. how can we land a man on the moon
in 1969, and I’m having trouble finding info about gas tank sealant in 2020, lol.Prepare to be boarded!
January 24, 2020 at 2:03 pm #192971Everyone has their own way of doing things…the steps I follow have given good results
1) wash out tank
2) remove studs
3) split tank open
4) remove old gasket and adhesive
5) smooth and level flanges
6) wipe flanges with lacquer thinner
7) trace tank on gasket stock
8) apply sealant to flange and outline traced on gasket material
9) allow sealant to become tacky then clamp tank half to gasket
10) next day unclamp and trim gasket
11) install studs, apply sealant to flange and to gasket surfaces
12) allow sealant to become tacky then assemble tank
13) tighten nuts on studs and set tank aside to cure
14) trim excess gasket and sealant
15) TEST by blowing in fuel filler opening with finger over outlet.
Seal-All is gas, oil and coolant resistant…old school product
Karropak gasket material in 1/32″ part # 3046 will do 2 tanks
LouisJanuary 24, 2020 at 5:27 pm #192974Louis, Seal-All is on my list of “good as any”. Just bothers me that there’s
not a product that says something more convincing than “resistant to fuel”.
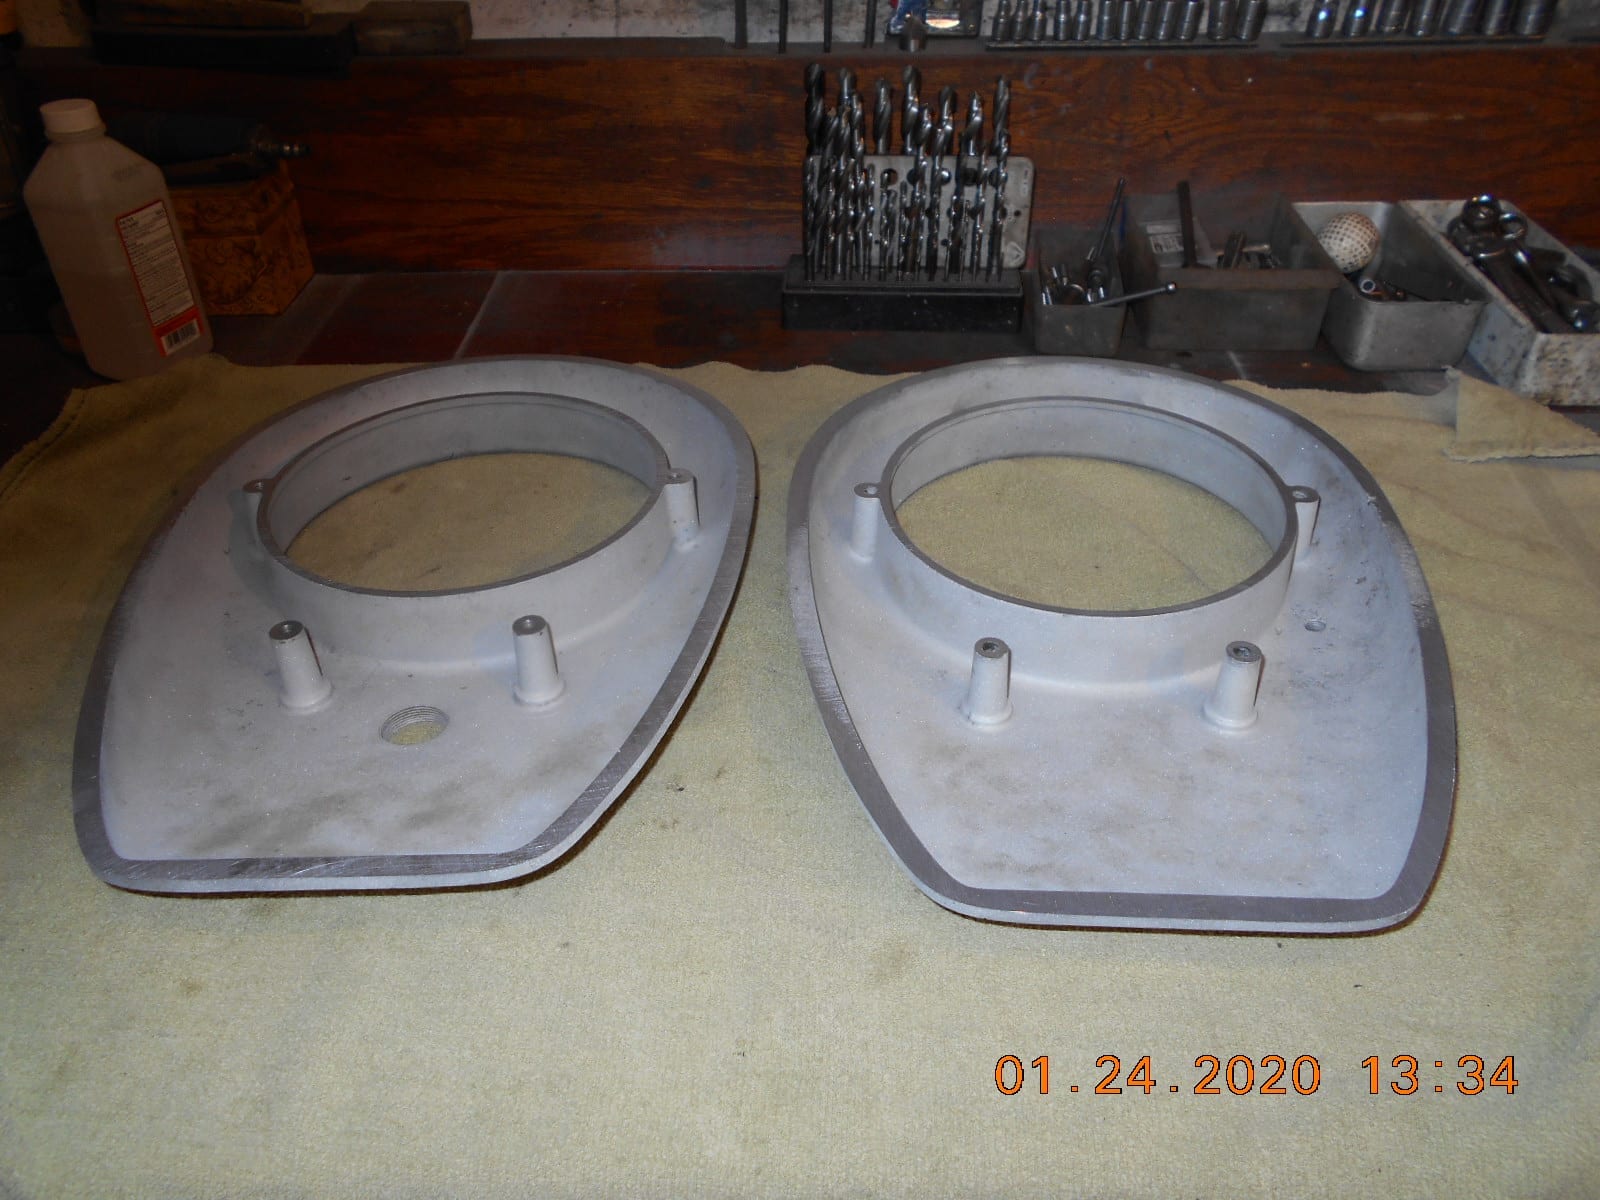
The gasket I took out was about .019 thick….. closer to 1/64″ I believe,
but after much lapping of the halves today, I can still see a gap on the outside
seam when I hold the two halves together. I didn’t bolt them together dry yet to see
how it looks. I did quit a bit more lapping after the photos were taken.
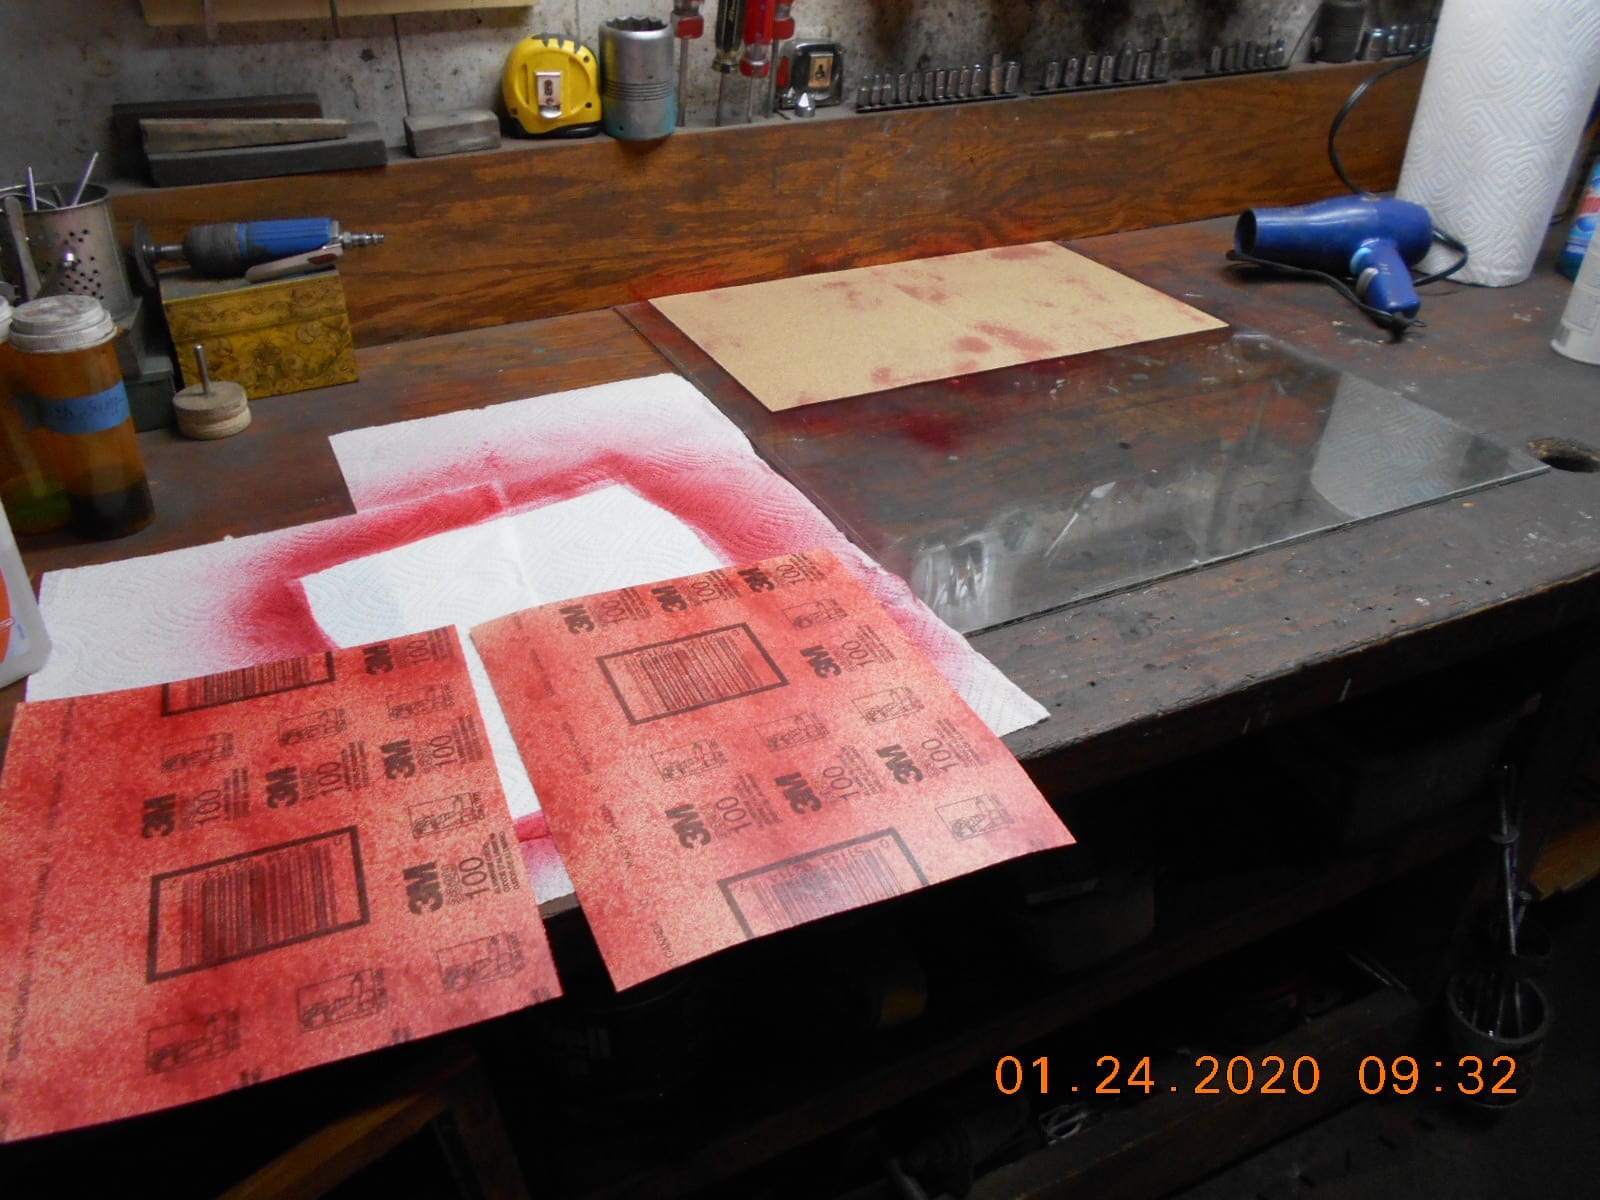
The old window pane I used was 1/8″ thick, laying on my workbench that’s
made from a solid oak door. It all seemed pretty flat, but perhaps not perfect.
I glued 4 sheets of sand paper on each side of the glass. 60 grit on one side, 100
on the other. I first duct tapped the window to the work bench to hold it steady, but
ended up screwing a board along each side of the mirror. It didn’t wiggle around then.
The original machining on the tank half seams was rather crude, with
lots of machining grooves, but perhaps that helped hold that 70 year old “mystery” sealer in place.
The Karropak I have on hand is only 9″ wide, so I’ll check out your part number.
Thanks again!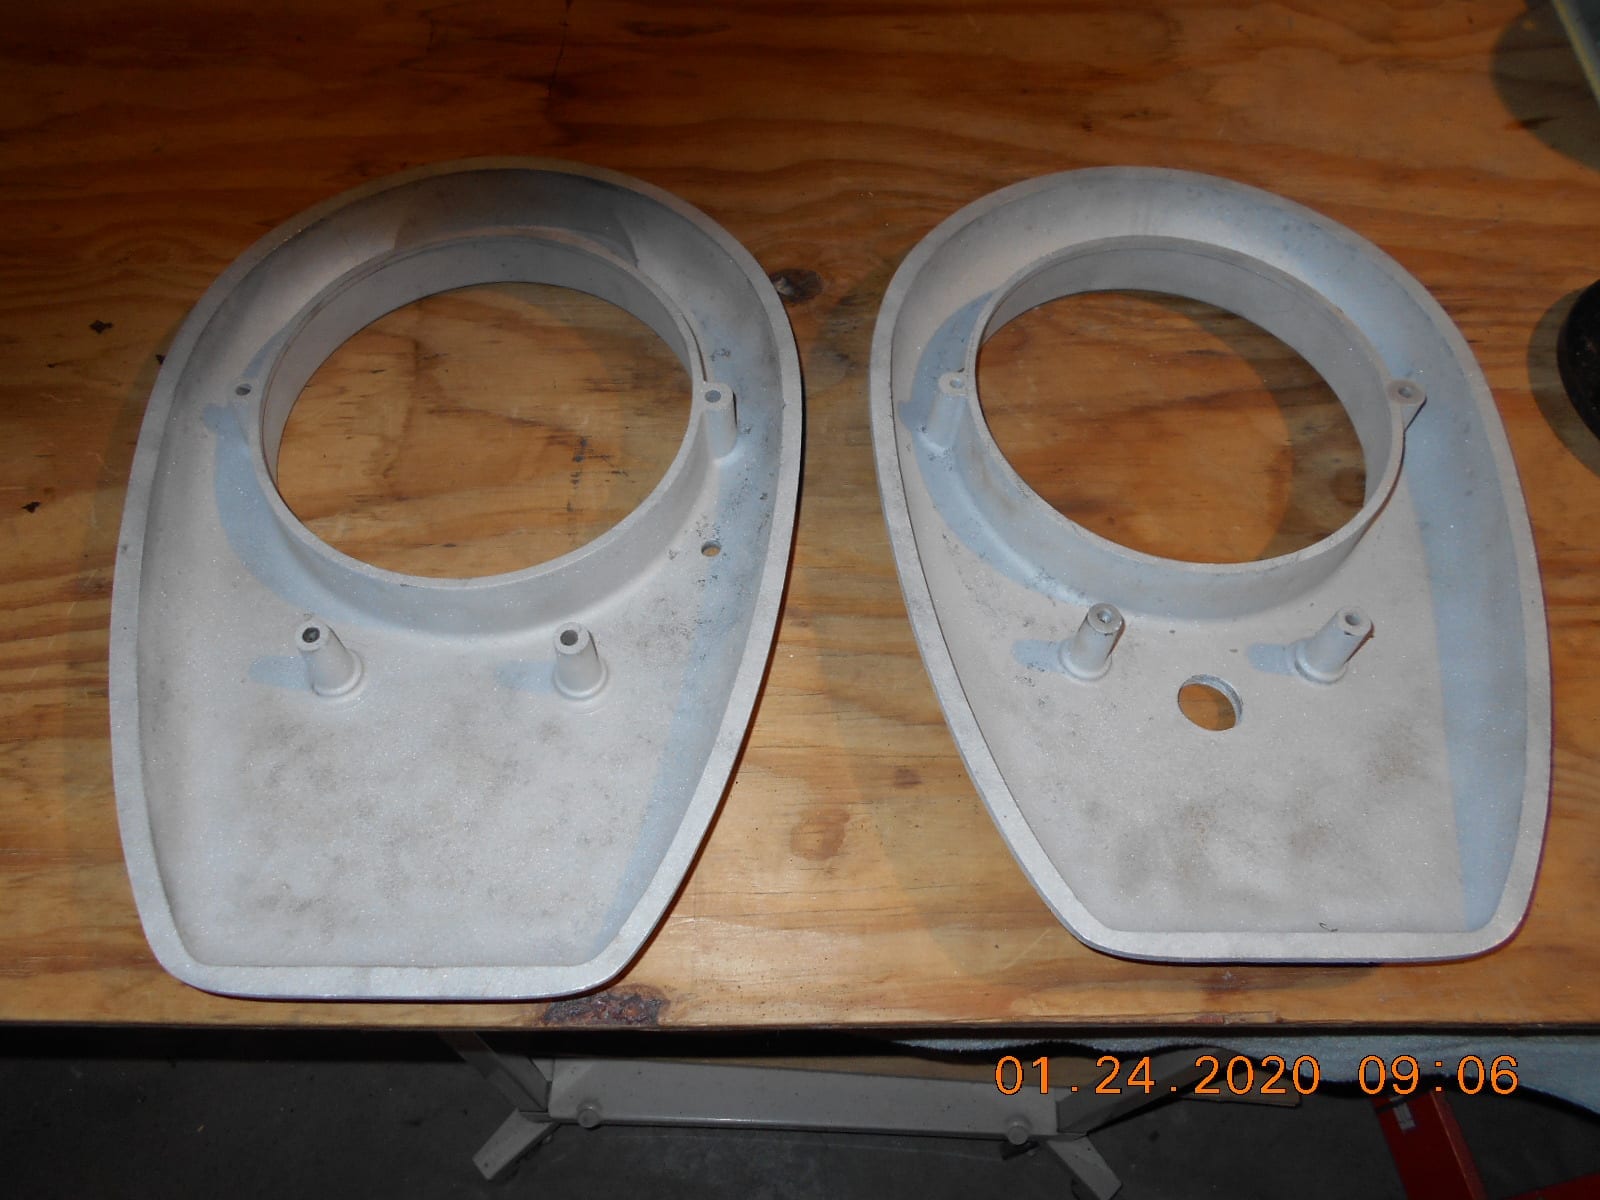
Prepare to be boarded!
January 24, 2020 at 9:24 pm #193004I used 220 wet or dry glued to mirror and LOTS of water…
and flushing grit and metal off frequently.
The paper has to be replaced several times as it tears
Elmers spray adhesive to glue paper down and single
edge razor blade to scrape off glue and paper
Twin tanks are wider than paper, does not seem to make a
difference so long as each side if overlaps edge while
the other on paper.
I put first tank on surface plate and measured gaps with feeler
gauge marking area and gap on a piece of foam board
with outline of tank. Layout dye on tank mating surfaces
proved to be a good idea. The high spots and low spots showed
clearly as work progressed. I found that coarser grit than
220 removed metal faster and gave a decent finish.
Most important is to flush frequently as the wet or dry
loads up and stops cutting otherwise.
First tank came out well, subsequent tanks improved
technique. I left out a few details in step by step
to avoid cluttering up with details.Louis
January 25, 2020 at 5:59 am #193021Not to disagree with Luis, as he is the KD MAN, for sure; but again, an automotive machine shop will sand them down perfectly, in five minutes. Best $20 I may have ever spent. I’ve had this done on a WD3S and a KD4.
Long live American manufacturing!
-
This reply was modified 4 years, 3 months ago by
-
AuthorPosts
- You must be logged in to reply to this topic.