Home › Forum › Ask A Member › Mercury Mark 20 Rebuild
- This topic has 34 replies, 11 voices, and was last updated 8 years, 5 months ago by
 jpatti75.
-
AuthorPosts
-
November 15, 2016 at 1:45 am #5700
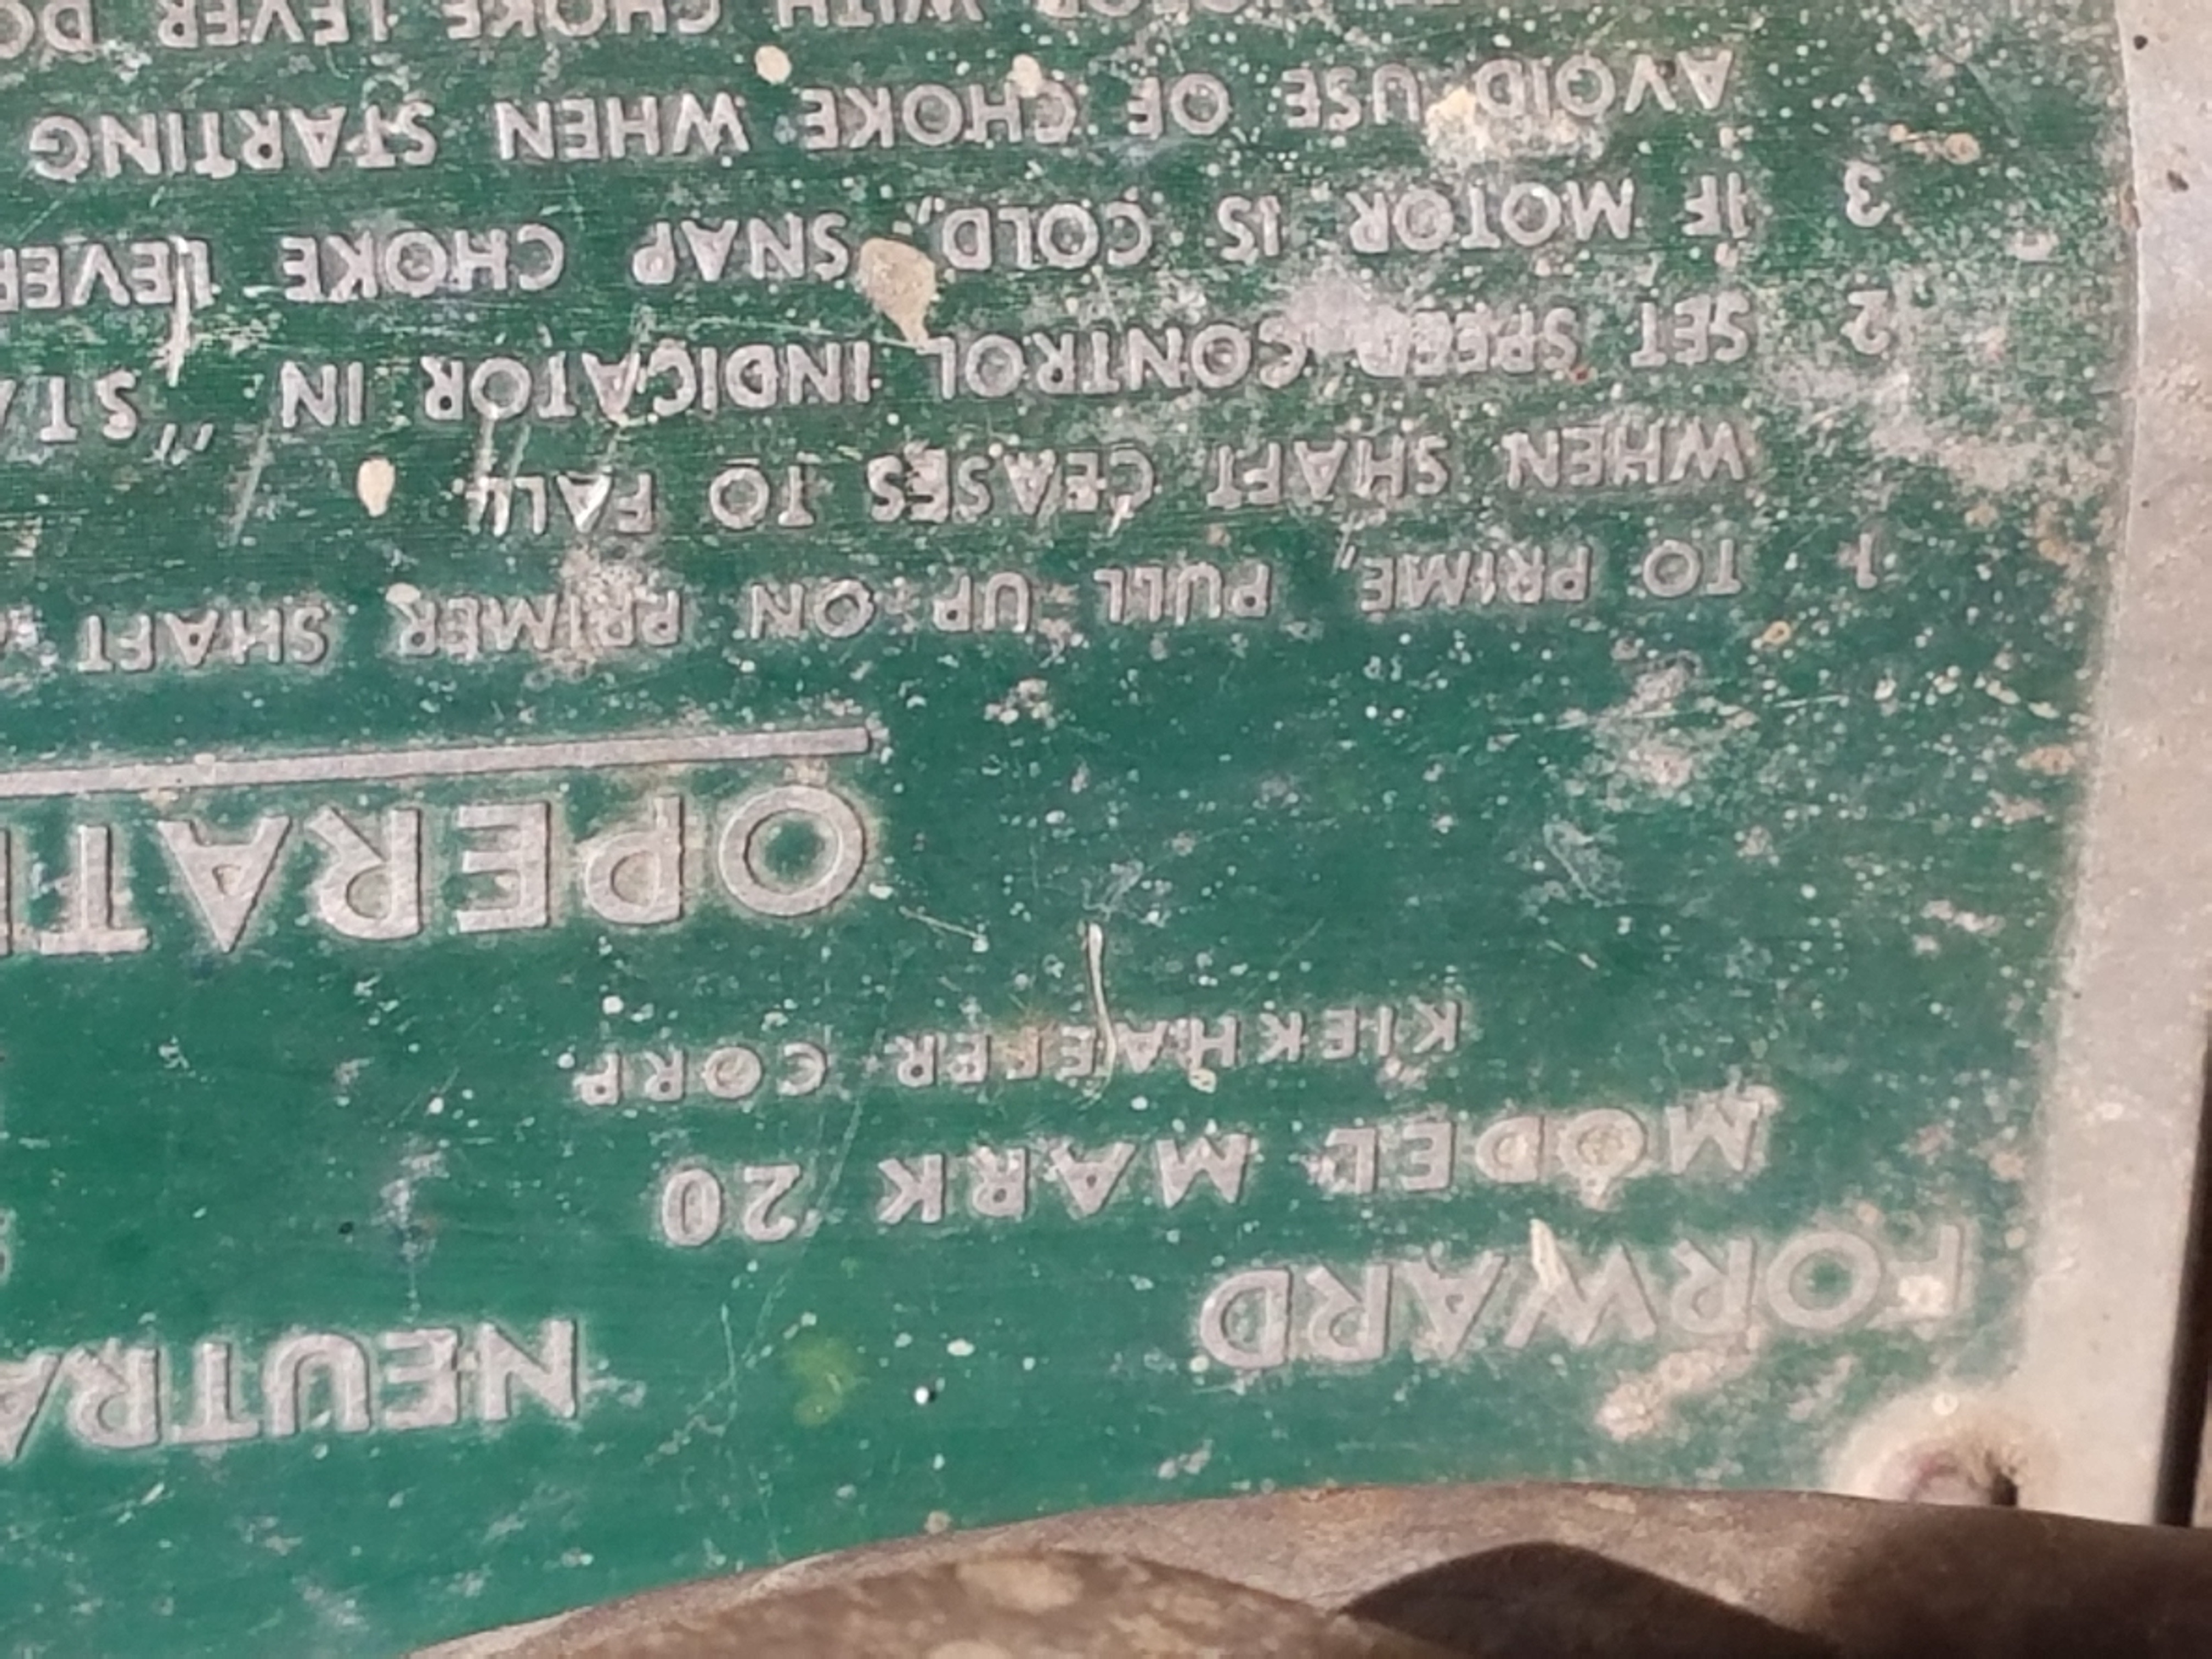
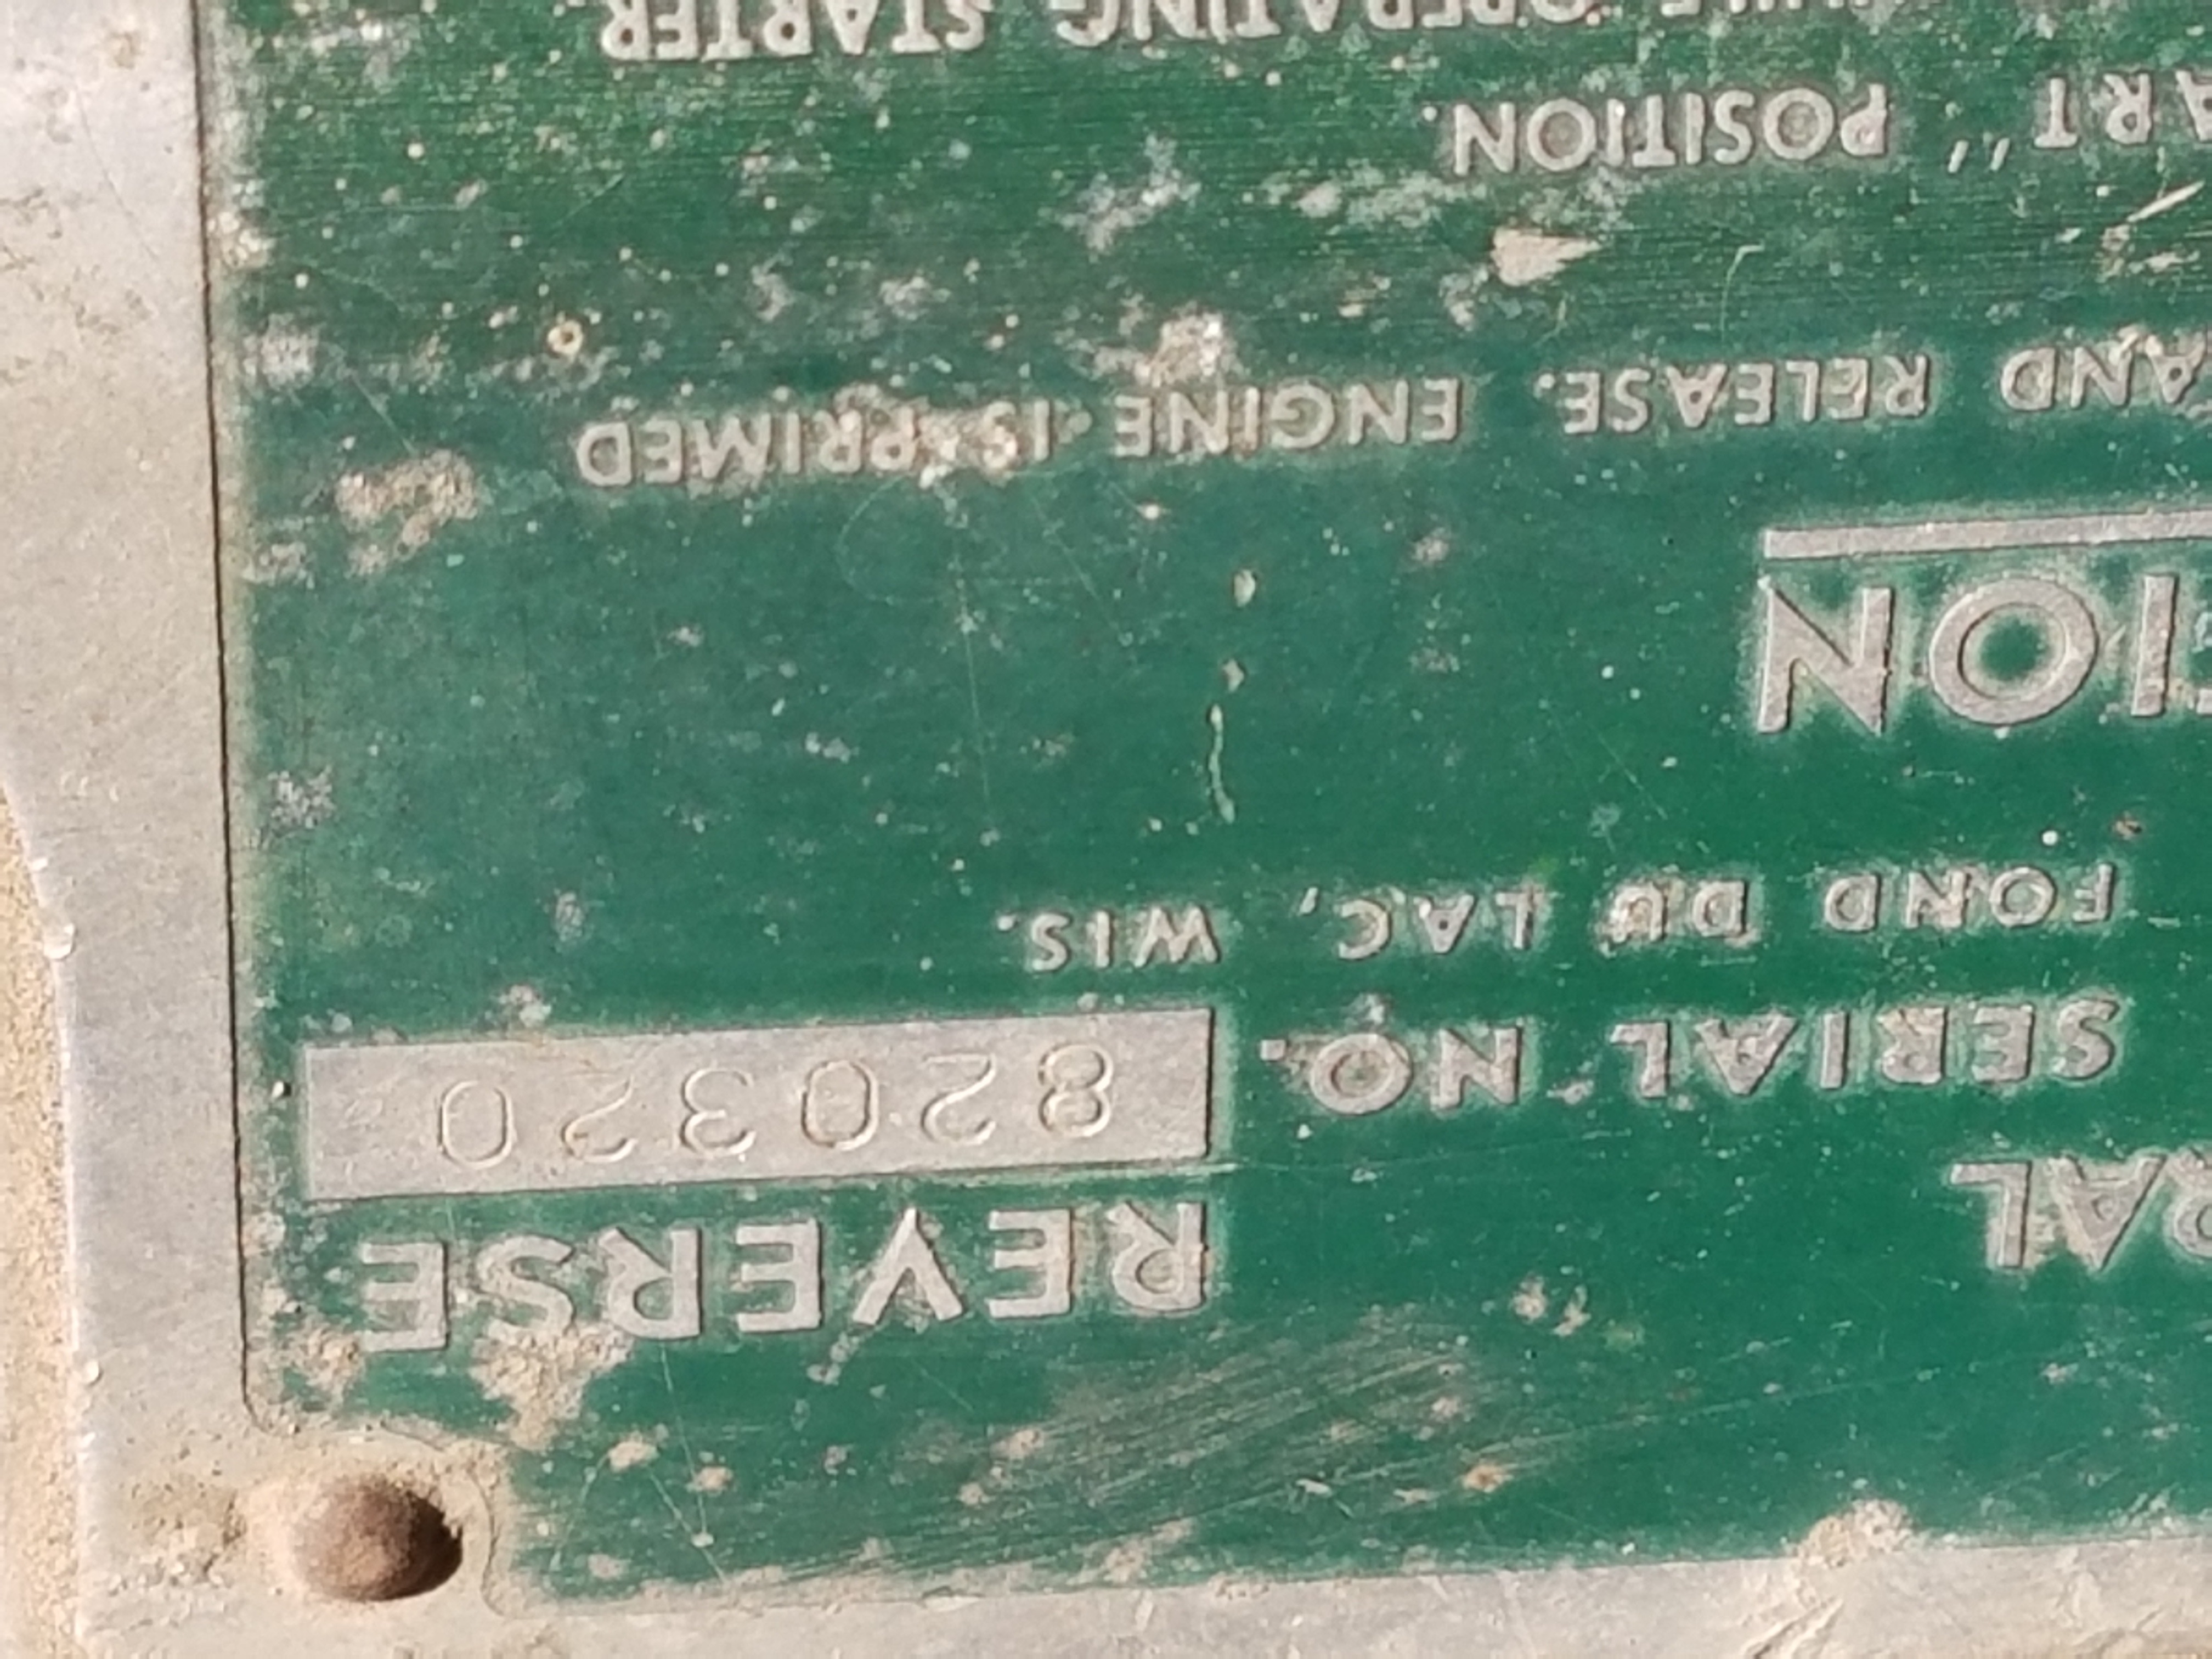
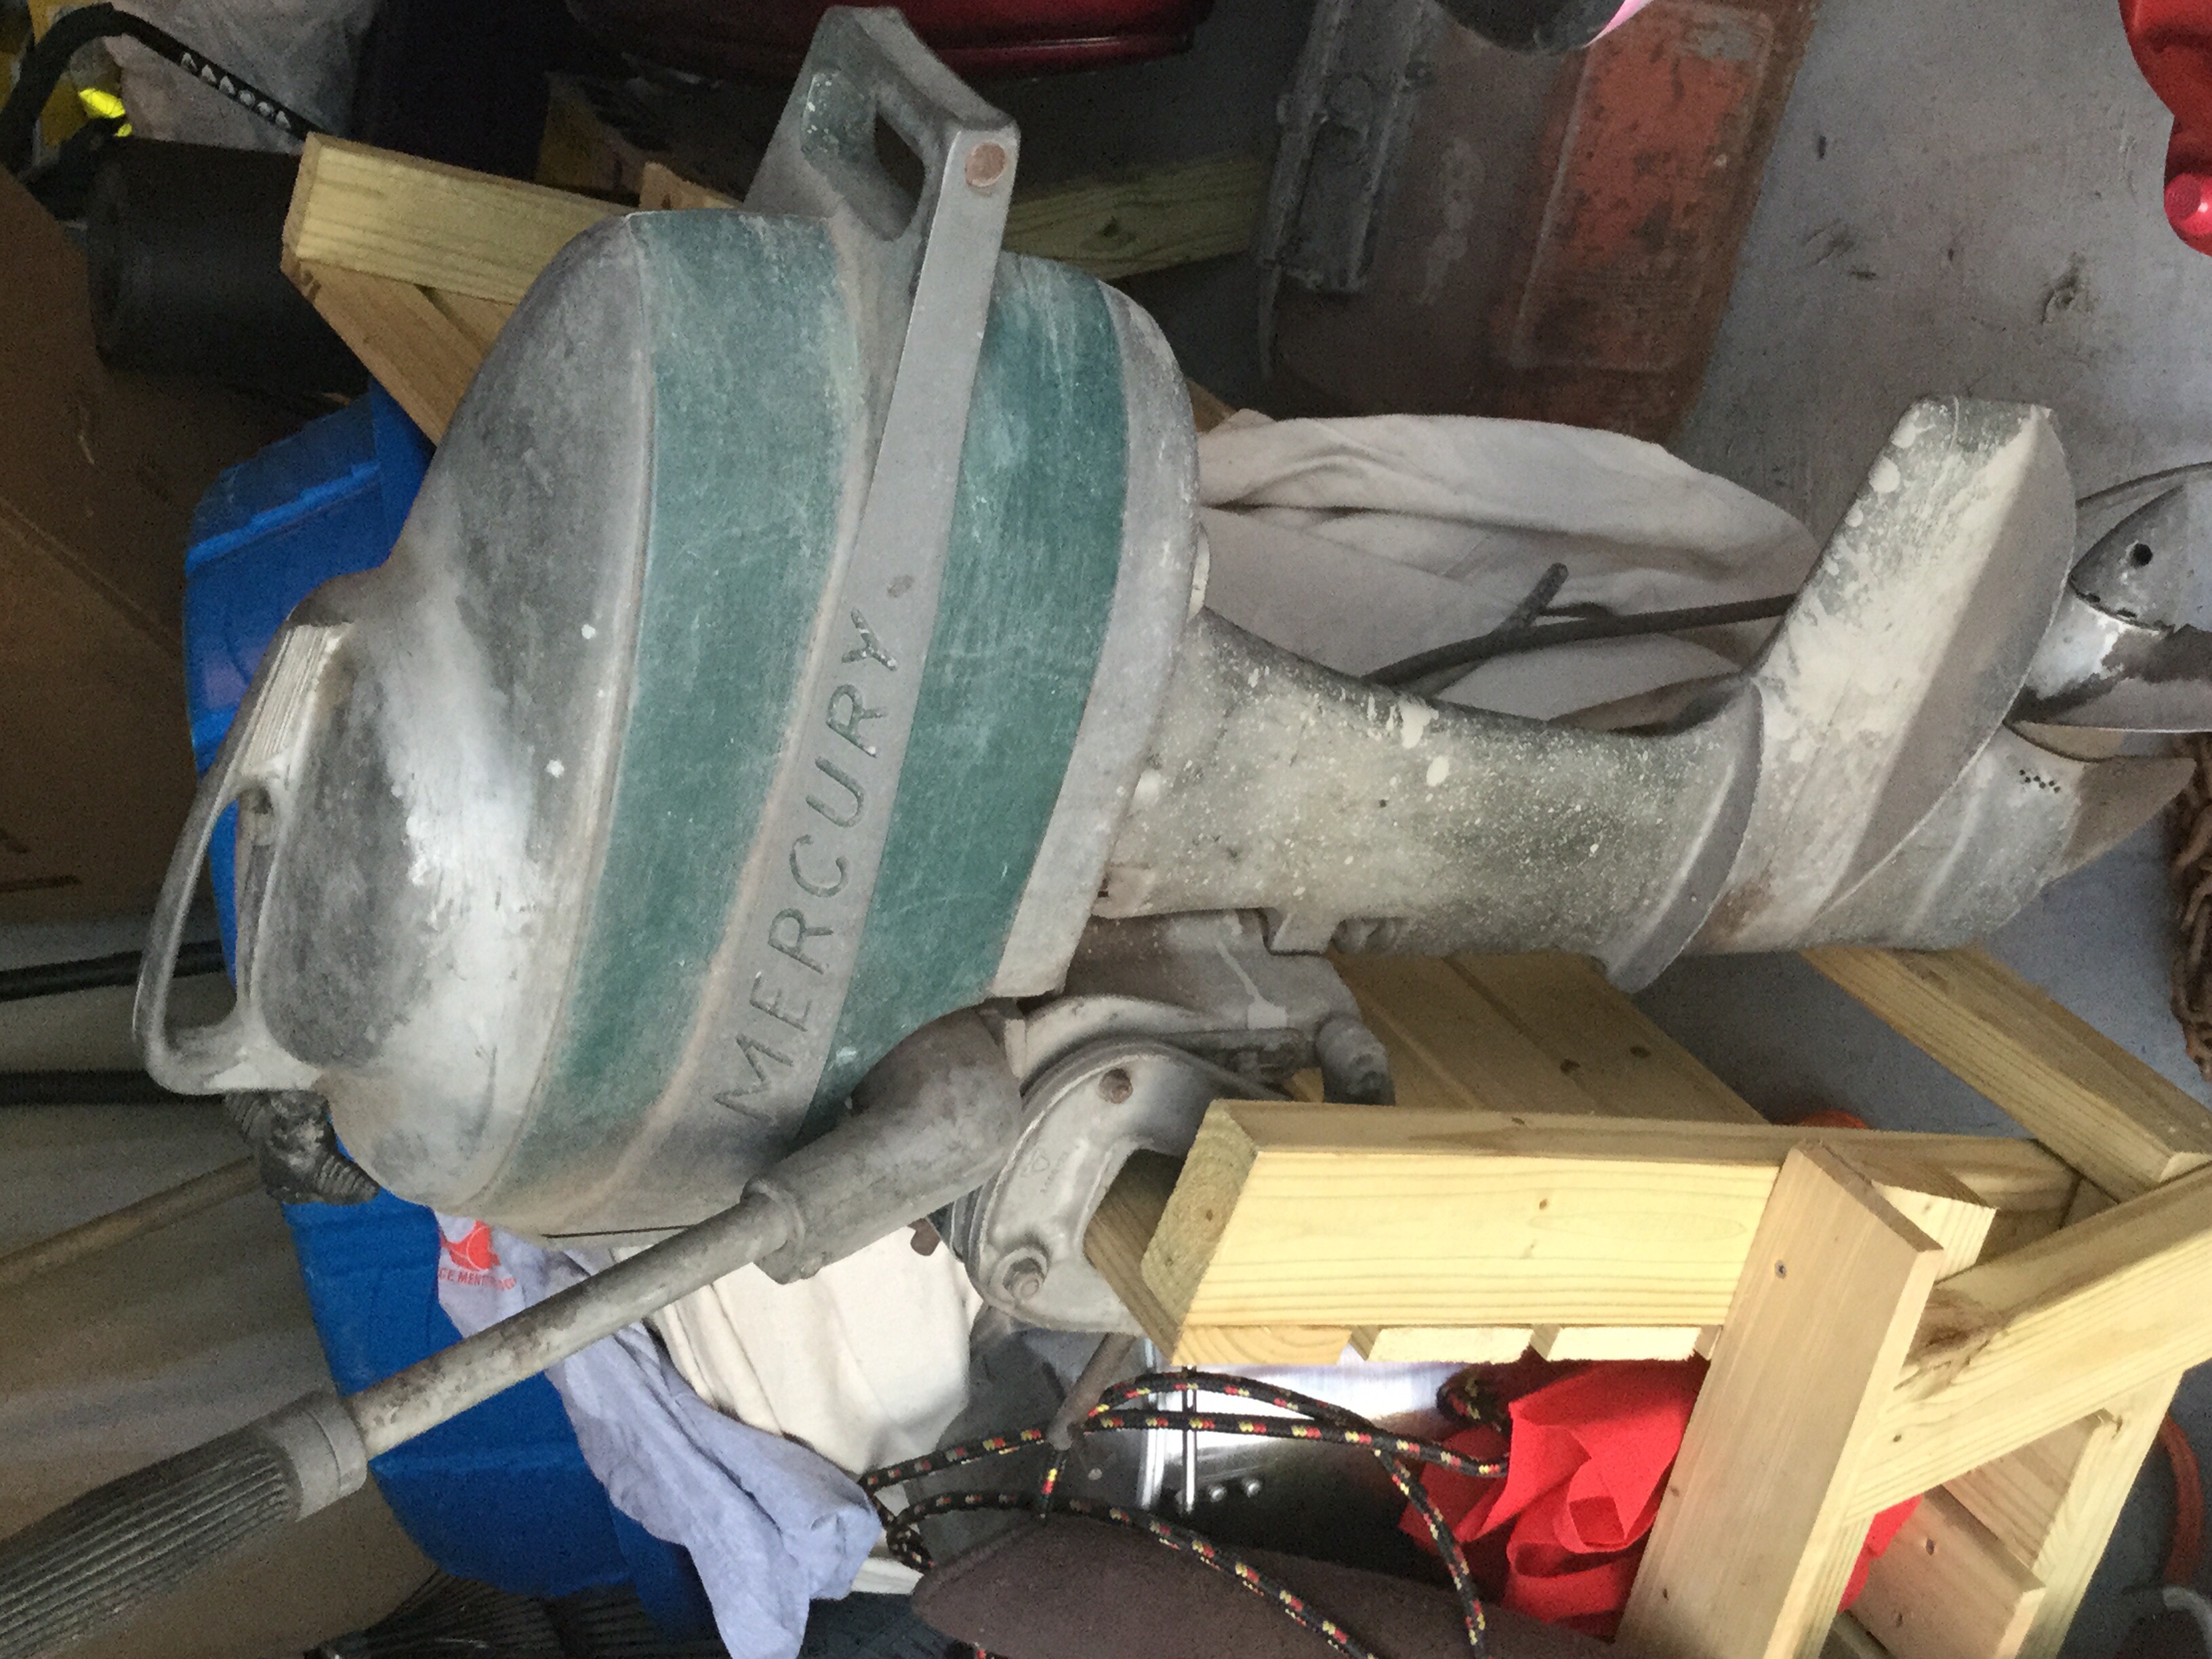
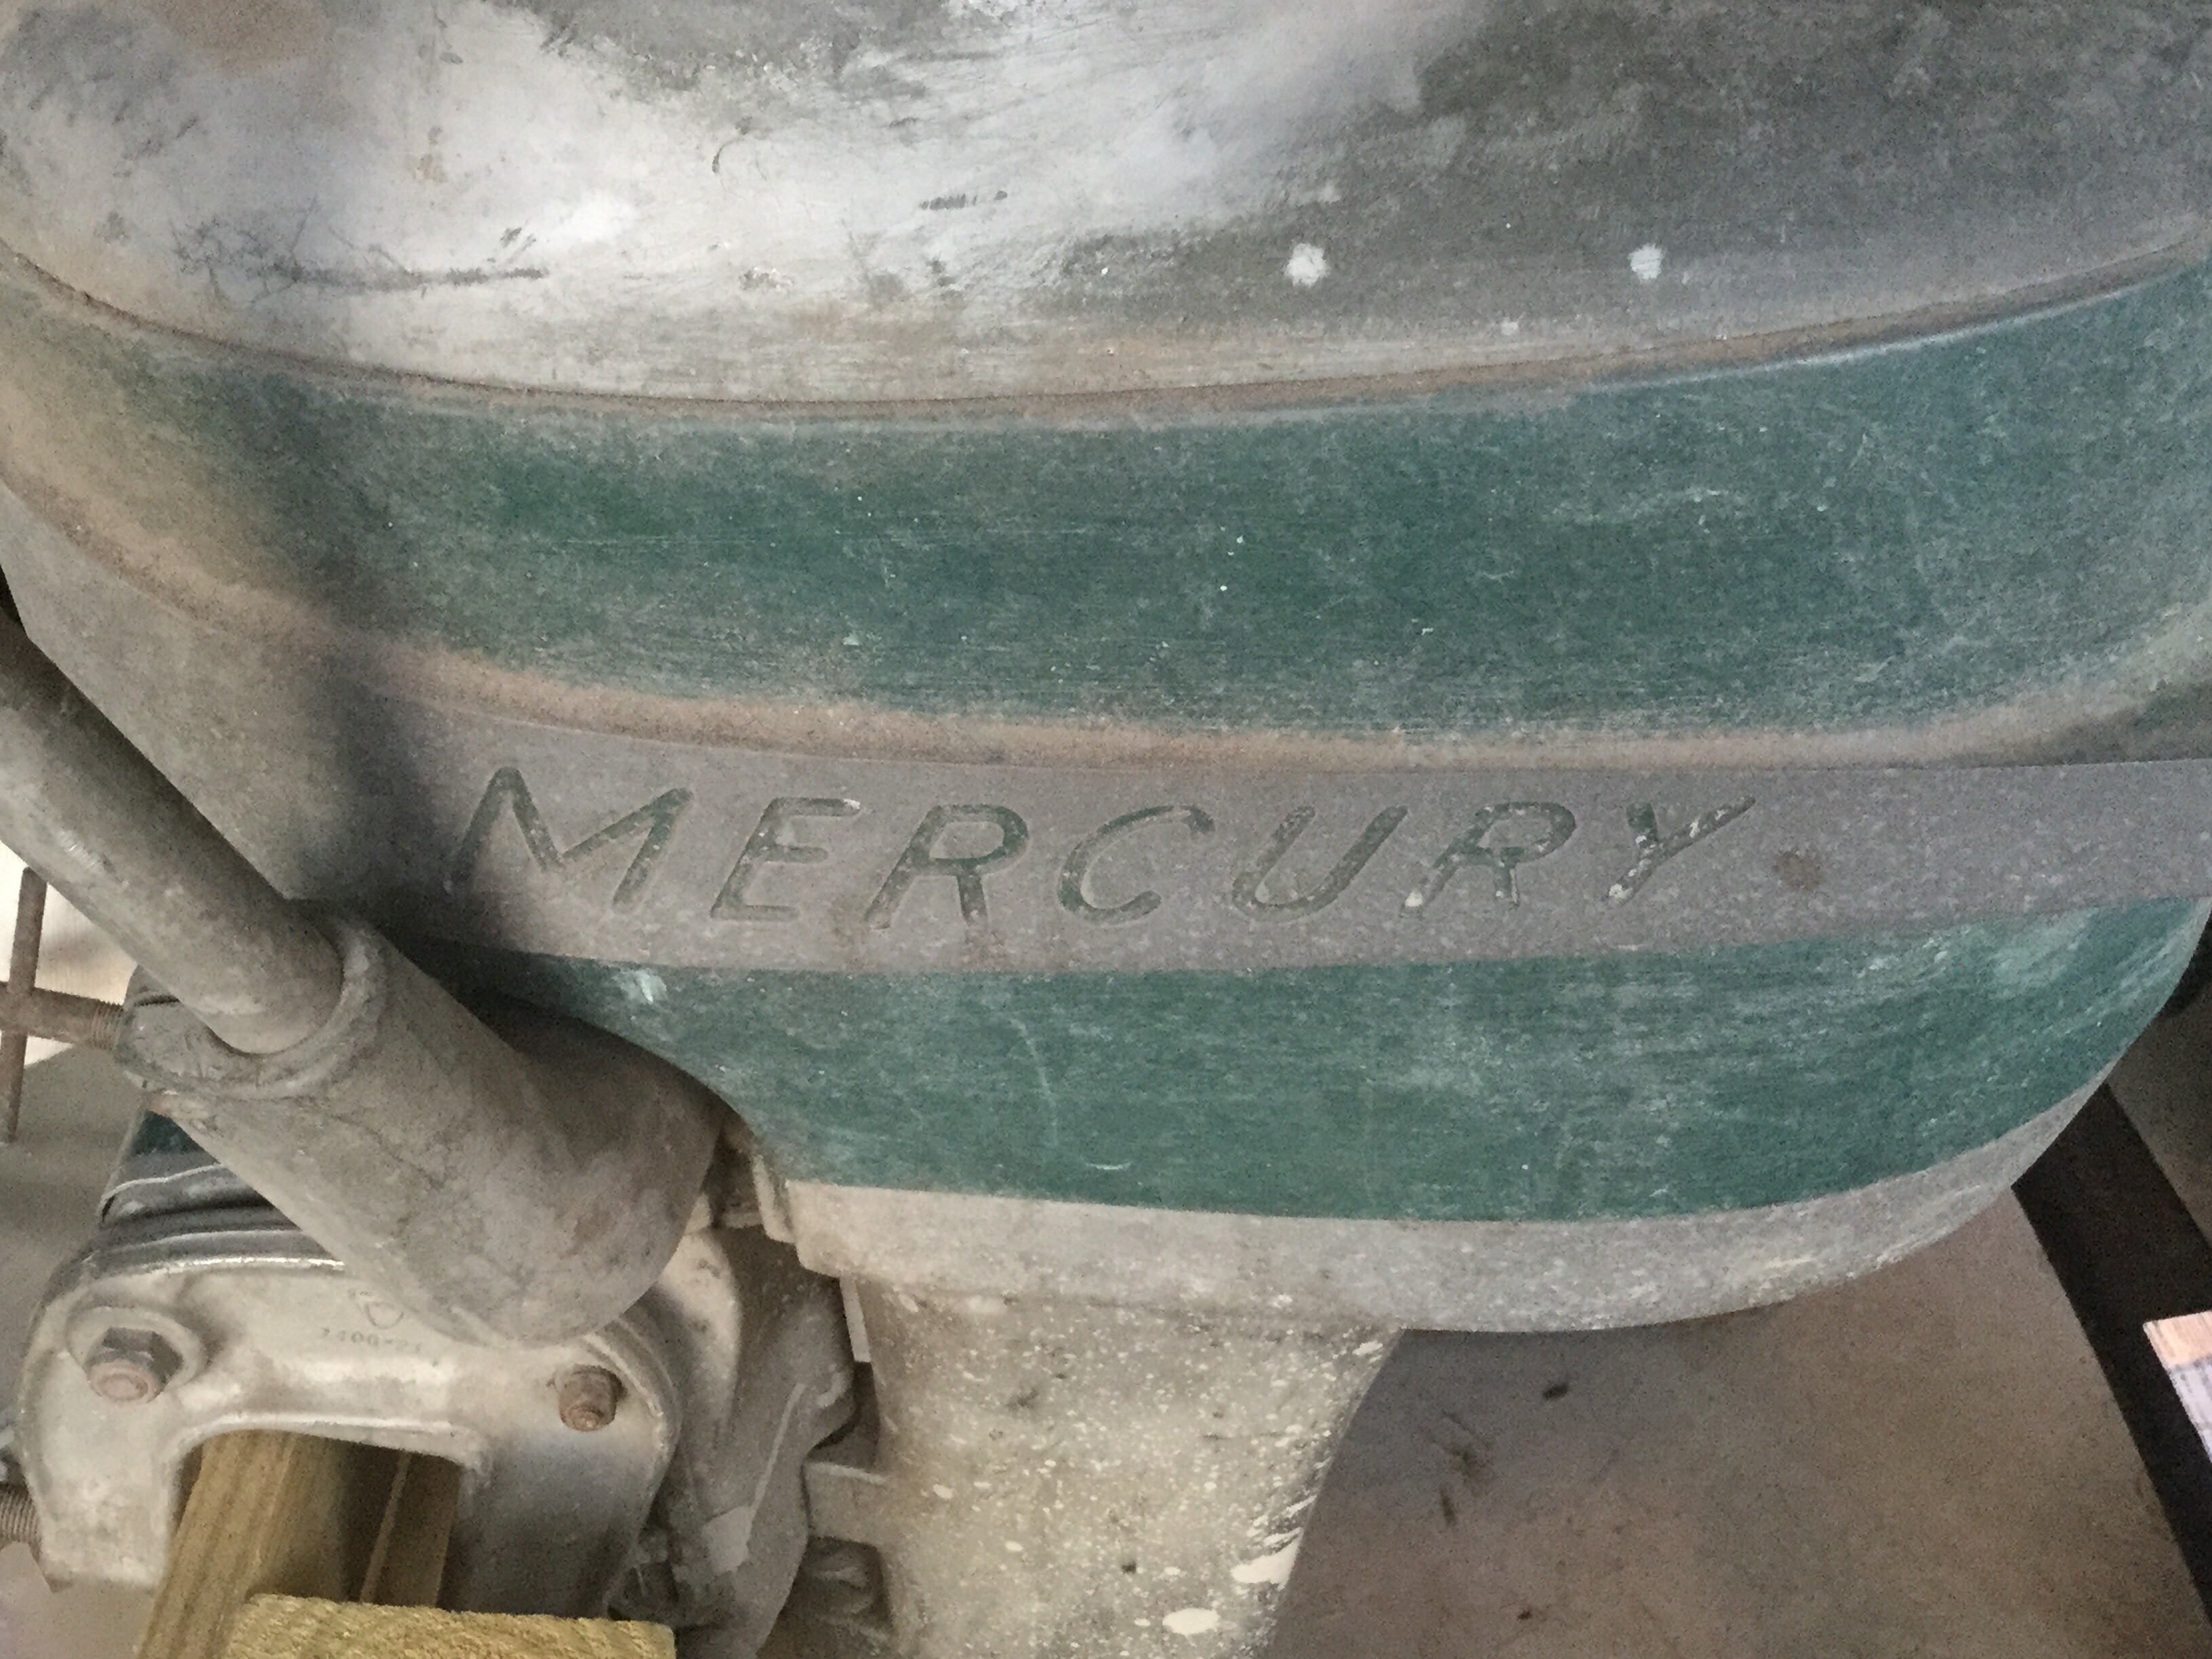
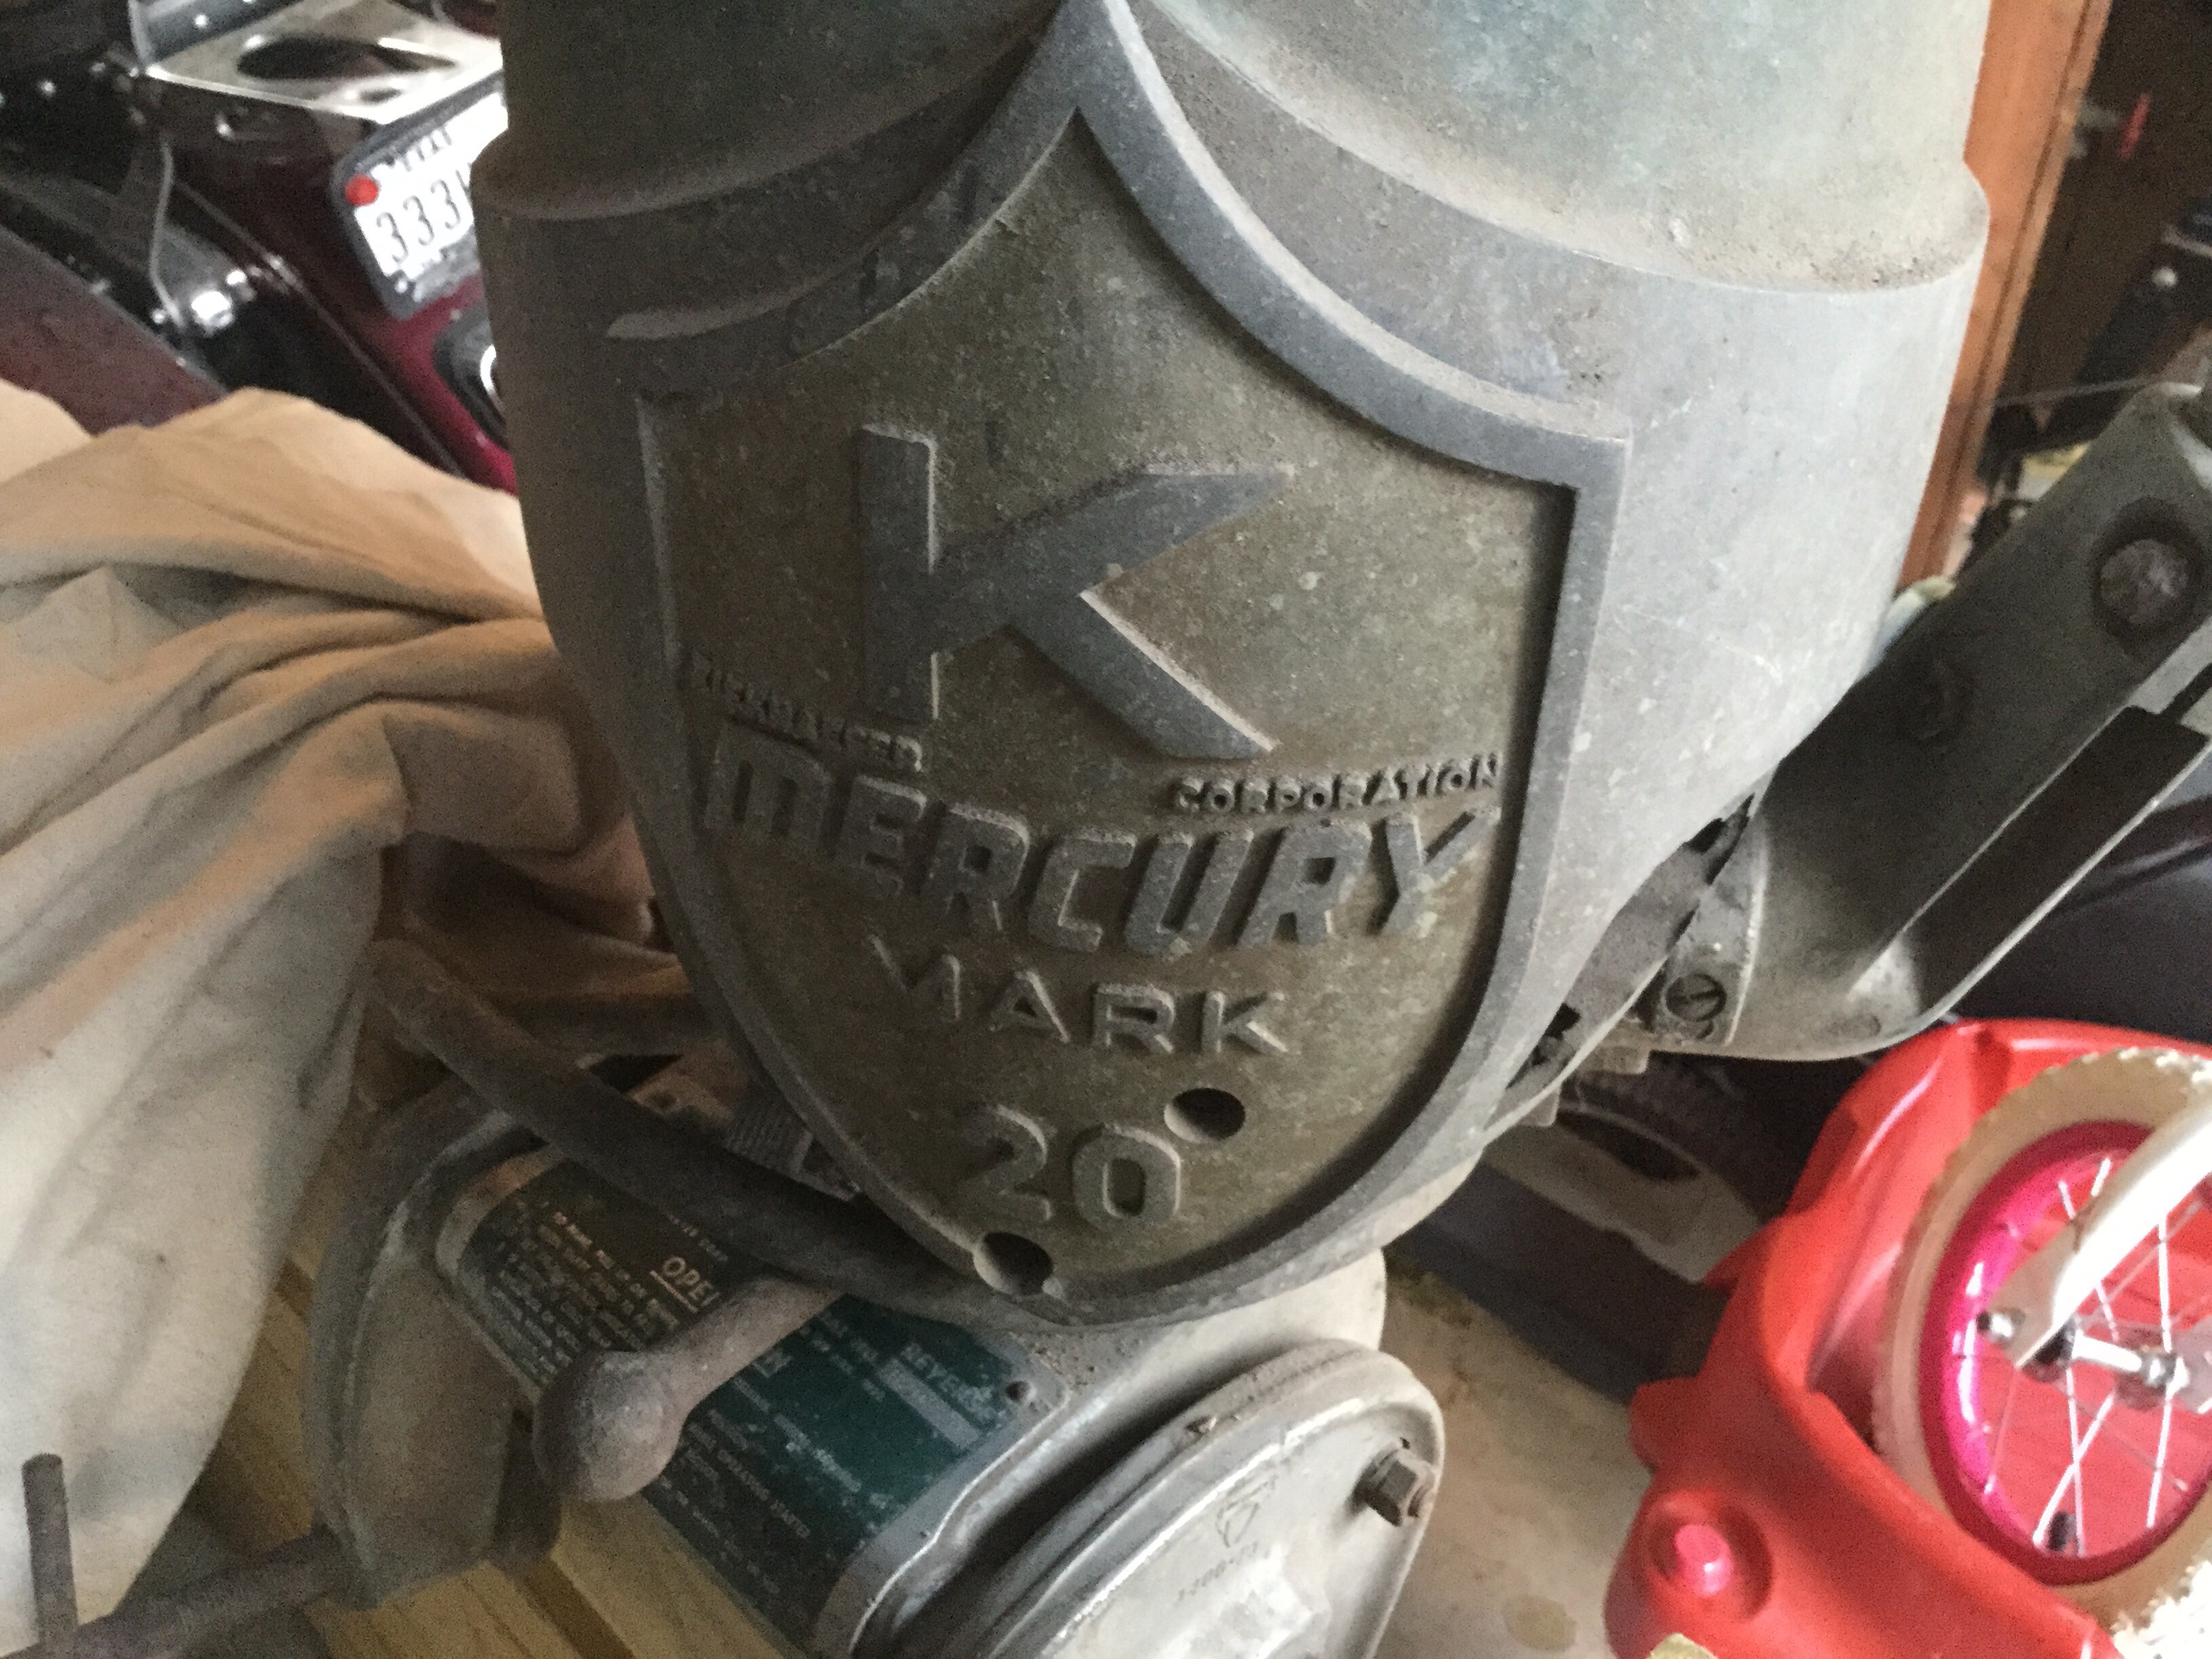
Hi all! I got a new to me 1953 Mark 20. It looks to be in pretty good shape. I have cleaned up the gunk and dust from it sitting in someones garage in Austin, TX. It is still pretty dusty and will need a good bath. I am going to pull the carb off this week and see if I can just clean it really well and possibly reuse the parts and pieces. I have found some carb kits for about 20$ which is not bad.
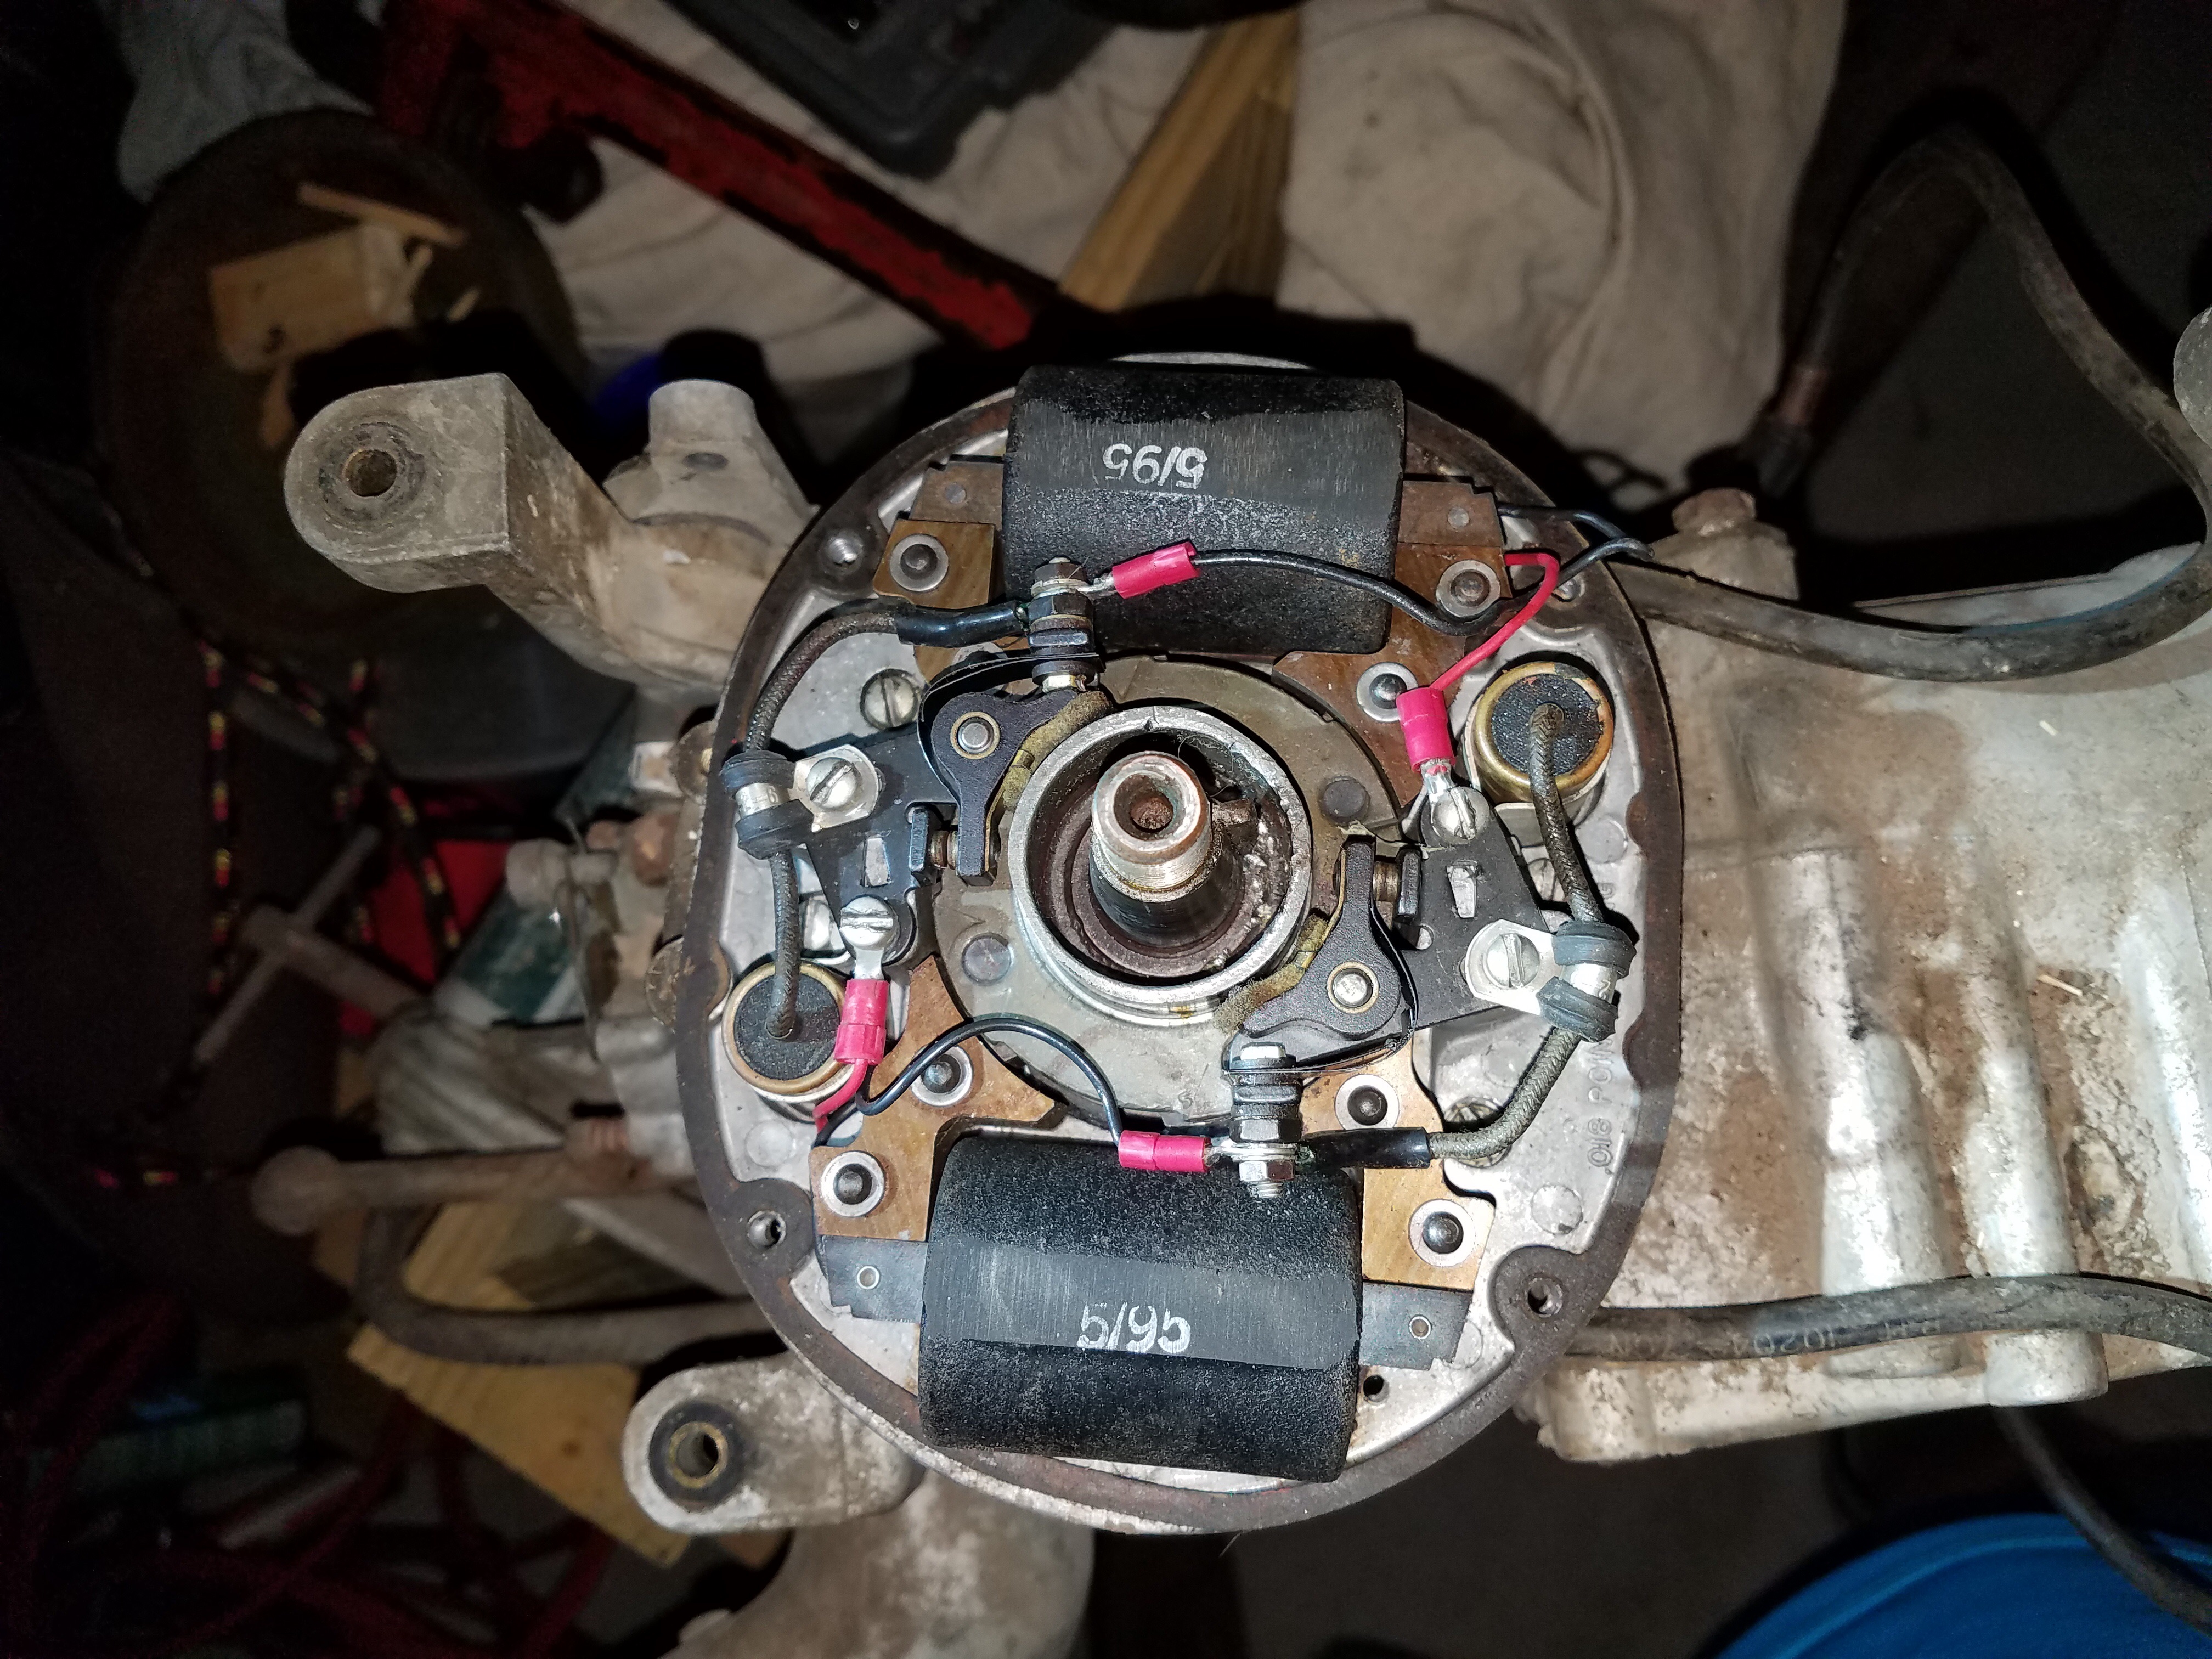
Last night when I lubed and freed up some of the internals to check the compression I found out I have no spark. Tonight I pulled the flywheel off and got to the electronic parts to try to test them. I was able to use some wood blocks and my large pipe wrench with a strap around the flywheel to loosen the antique Mercury nut. It was a lot easier than I thought it was.
I tested the coils for continuity and they are good. I am getting 4 ohms from the coil to the spark plug wires. Tested the middle of the wire inside the shielding and it was the same 4 ohms. To the spark plug connector it was no good. So I will solder some new spark plug wires on and test the other components tomorrow.
I am trying to see and understand how the gear oil is changed in the Mark 20?
I am also missing the fuel line attachment from the cowling. I am trying to convert it to a single line system. I plan on using a fuel pump from the Mark 35 or 55. Any thoughts on how to close off the opening in the cowling?
I plan on repainting it more of a lime green to match my boat decals and lettering. And doing the base color in a tan or baige base.
November 15, 2016 at 2:09 am #47480Do you have the spring clips that hold coil in place ? Also don’t solder the plug wires just twist around the hole in coil high voltage tab.
November 15, 2016 at 2:10 am #47481I converted my Mark 20 to a fuel pump, too. You need the pump off a Mark 25 or one of the motors you listed, along with the backer plate in order to mount it to the powerhead. As for mounting the bayonet style fuel connection, I actually replaced the port side cowling from the Mark 20 with one from a Mark 25, so I didn’t have to deal with coming up with a solution to mounting the fuel fitting on the original port side cowl. All the fun of the Mark 20 with the conveniences of a Mark 25. 😀
Another option is buying a cool single line fuel fitting that some crafty guy concocted to work with the original Mark 20 fitting. I’ve seen them on eBay for sale, but can’t find one currently.
JP
November 15, 2016 at 2:28 am #47485Hello,
The gear lubricant uses a grease (versus an oil) originally. A very well sealed lower unit may retain gear oil, but otherwise, use of a suitable grease (Lubriplate 105 or John Deere Cornhead) is typically a better solution. The fill machine screw is on the port (tiller handle side) on the lower front of the "bullet" portion of the lower unit. The smaller vent machine screw is on the opposite side, but higher up, a little below the anti-ventilation plate underside. Both screws do have (as typical) a sealing washer which may be wise to replace. Induce grease (or oil) into the fill screw until it exits the vent hole to properly fill with lubricant. If you should like, I can share lower unit pictures through regular e-mailing.
Regards,
JoeNovember 15, 2016 at 3:29 am #47490quote mercuryman:Do you have the spring clips that hold coil in place ? Also don’t solder the plug wires just twist around the hole in coil high voltage tab.Yes sir. I just took them off. They are in my parts cup 🙂 Wanted to take a picture before I started taking them all apart. I would probably forget if I don’t take a picture lol.
So I shouldnt solder the connections? What would keep the connection from coming off? Do I need to get a connection from the wires to coil? They are now soldered… They are still getting a good connection per multimeter.
November 15, 2016 at 3:30 am #47491quote jpatti75:I converted my Mark 20 to a fuel pump, too. You need the pump off a Mark 25 or one of the motors you listed, along with the backer plate in order to mount it to the powerhead. As for mounting the bayonet style fuel connection, I actually replaced the port side cowling from the Mark 20 with one from a Mark 25, so I didn’t have to deal with coming up with a solution to mounting the fuel fitting on the original port side cowl. All the fun of the Mark 20 with the conveniences of a Mark 25. 😀Another option is buying a cool single line fuel fitting that some crafty guy concocted to work with the original Mark 20 fitting. I’ve seen them on eBay for sale, but can’t find one currently.
JP
Got any pictures??? 😀
November 15, 2016 at 3:32 am #47492quote MercurySpecialist:Hello,The gear lubricant uses a grease (versus an oil) originally. A very well sealed lower unit may retain gear oil, but otherwise, use of a suitable grease (Lubriplate 105 or John Deere Cornhead) is typically a better solution. The fill machine screw is on the port (tiller handle side) on the lower front of the “bullet” portion of the lower unit. The smaller vent machine screw is on the opposite side, but higher up, a little below the anti-ventilation plate underside. Both screws do have (as typical) a sealing washer which may be wise to replace. Induce grease (or oil) into the fill screw until it exits the vent hole to properly fill with lubricant. If you should like, I can share lower unit pictures through regular e-mailing.
Regards,
JoeShould I put grease from a grease gun or is there a different way to do it? Pictures would be awesome!
November 15, 2016 at 4:00 am #47494clean the points and replace the condensers and you should have spark.
November 15, 2016 at 11:58 am #47507If you have 4 ohms from coil to connector on end of plug, this should be OK. Are you on the Rx1 scale on meter. You have about 6500 ohms in secondary winding another 4 ohms won’t make any difference.
November 15, 2016 at 2:34 pm #47516You have the newer replacement coils in there – nice score! They’re pricey if you need to replace them.
I concur – focus on the condensers (new can be found) and the points (not aware of new replacements available anywhere). Disassemble and CLEAN the points. Contact surfaces should be shiny and squared up to each other.
-
AuthorPosts
- You must be logged in to reply to this topic.


