Home › Forum › Ask A Member › Old Johnson motor
- This topic has 4 replies, 4 voices, and was last updated 4 years, 10 months ago by
 seakaye12.
-
AuthorPosts
-
May 6, 2021 at 7:31 am #237828
Hi!
I have an old Johnson motor:
Serial number: 40544
Model: LT 39
Apparently it’s in good running order
Any information about it would be appreciated
ThanksMay 6, 2021 at 8:15 am #237829Yours in a 1939 5 hp. I have a collection of post for my reference………
========================
Johnson LT-10 condenser: Blue Streak DR-60 or =. The original #72-1036. Capacitance .18-.24 mFd.
Points are gapped at .020 inch. For flywheel nut torque, according to the service manual (I swear I didn’t make this up) tighten fully, then whack the wrench a few times with a hammer. Run the motor for 10 minutes and repeat. I think it’s suposed to be about 40 ft-lbs.
My ignition problem was due to point contacts dirty, grounders dirty and mis-adjusted and most importantly, the magnets needed recharging. Also, the water jackets were plugged solid and I spent many hours chipping away at the scale.
————————————————————
T-37 and -38 were 4.2 horse. They had cast iron blocks. The 5 horse LT-39 and -10 had aluminum blocks.
———————————————————————————–
The LT-10 was the economy 5 horse for 1940. If you add a recoil starter, you have the AT-10. Recoil plus a streamlined tank and rear cowl gives the Deluxe Twin model DT-10. Clean the bakelite hub inside the flywheel and slightly bend the two grounding tabs to ensure they made contact. How strong is the flywheel magnet? Seems that these are some of those that can lose magnetism and would need recharged.
——————————————————————-
The points polish up nicely with croakus cloth or fine sandpaper. The weak point of the ignition system is the distributor. On the inside of the flywheel hub, there is a bakelite drum with a brass patch. As this brass patch comes around it contacts a brush finger that grounds out whichever plug is not firing. These fingers can be a bit fragile, or sometimes they get mis-adjusted and don’t contact the drum. Another problem is carbon streaking on the bakelite causing it to short out both sides. Points are set at .020 inch and the Champion J8J (modern CJ8) plugs are gapped at .030 inch.Cooling is pretty straight forward. It’s not the pressure-vac system. Instead, there is a plunger pump just above the prop. There are a few possibilities for problems here. Sometimes the eccentric on the prop-shaft can wear a hole in the bottom of the plunger. Just solder a penny over the hole. Sometimes the ball check valves can get stuck. Clean them with liquid wrench or PB-Blaster. There should be a tattle-tale pisser on the elbow on the port side where the cooling water enters the powerhead. Yes, I know the water pissing out is warm. It just came up a tube in the exhaust and picked up heat along the way. It will still cool the powerhead just fine as long as it’s water and not steam coming out.
Carburetion is a fun spot on these motors. Think of it as 2 carbs. Carb number one is between the center main bearing and the tank. It sorta looks like an inverted “Y”. The top branch is an oil return line from the top main bearing. The port branch is your mixture needle. The starboard branch is a fuel line from the float bowl. This carb operates throughout the operating range of the motor and needs to adjusted first. A good starting point is 3/4 of a turn out from lightly seated. Carb number 2 only works whenever the throttle butterfly is open-that is, from “START” of to “FAST”. After you get carb 1 adjusted for smooth idle, open up the butterfly and tweak the high speed needle. Again, a good starting point is 3/4 of a turn from lightly seated.
There’s no reed valves o the motor. Carb 1 feeds the mix into the crankcase via a rotory valve machined into the main journal. Carb 2 feeds into the crancase through a third port. 1/2 pint of oil (or more) per gallon of gas.
OK, now you got both needles open 3/4 of a turn, you’ve put the right mix in the tank and opened the fuel valve and the vent in the gas cap. Wrap the rope around the flywheel clockwise. Push down on the plunger about 5 times. This squirts gas directly into the throat of carb 1. The owners manual says 3 licks on the primer, but it seams to me the first few licks don’t do anything but fill the fuel line. You’ll hear the gas squirt. Now make sure you’re pointed towards open water and pull the rope. It should fire. If it starts to act like it’s starving, hit the primer another lick. Flooding? Slide the spark advance over to “FAST”. And you’re off and running!
Prepare to be boarded!
May 7, 2021 at 12:57 am #237889Great instructions Buc.
May 11, 2021 at 8:13 am #238164Any idea what this motor would be worth?
May 11, 2021 at 11:00 am #238173If you can post a picture it would help although mechanical condition is not always evident from a picture. If you could provide a video of it running….then we’re getting someplace!
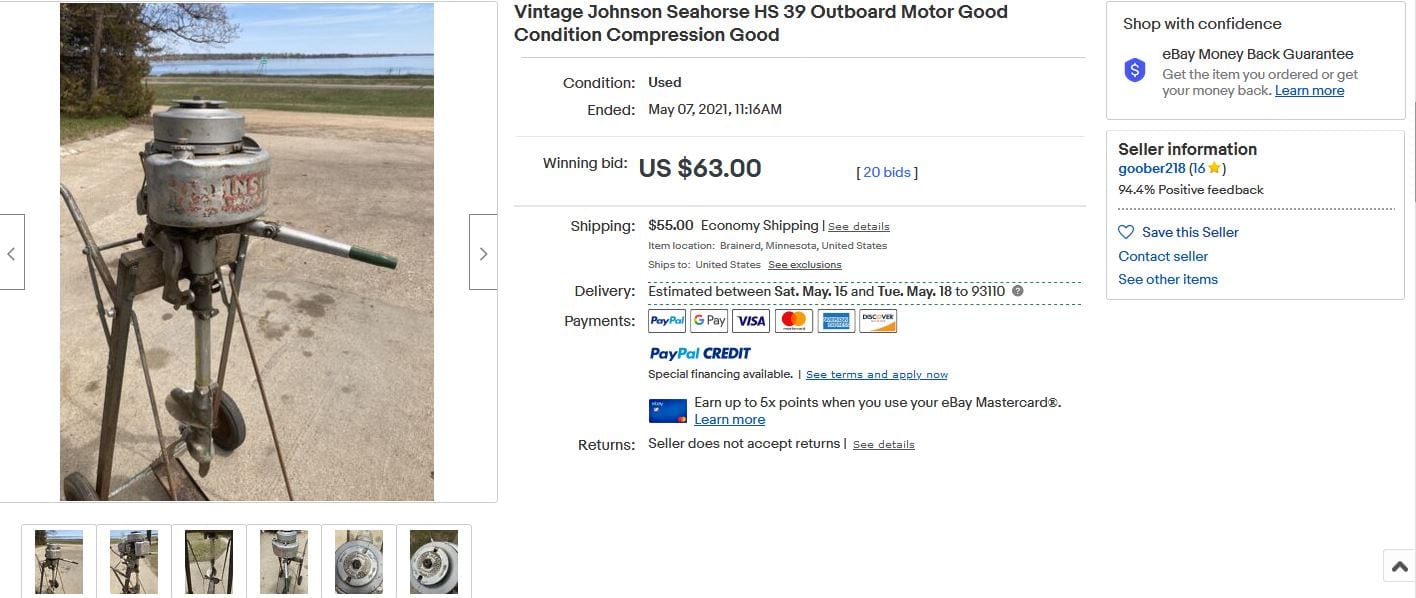
There was one that just sold on e-bay a few days ago…..but like I say….condition is everything. Location is important as well.
-
AuthorPosts
- You must be logged in to reply to this topic.