Home › Forum › Ask A Member › pressure tank rebuild
- This topic has 15 replies, 6 voices, and was last updated 8 years ago by
 Mumbles.
-
AuthorPosts
-
March 5, 2017 at 2:14 am #6462
Anonymous
Have a couple tanks to rebuild, one of each type plunger. Don’t think that it will be difficult to do but thought, "Hey, check youtube to see if there’s a video". Guess what, I couldn’t find one. Thought that at least Tubbs would have published one.
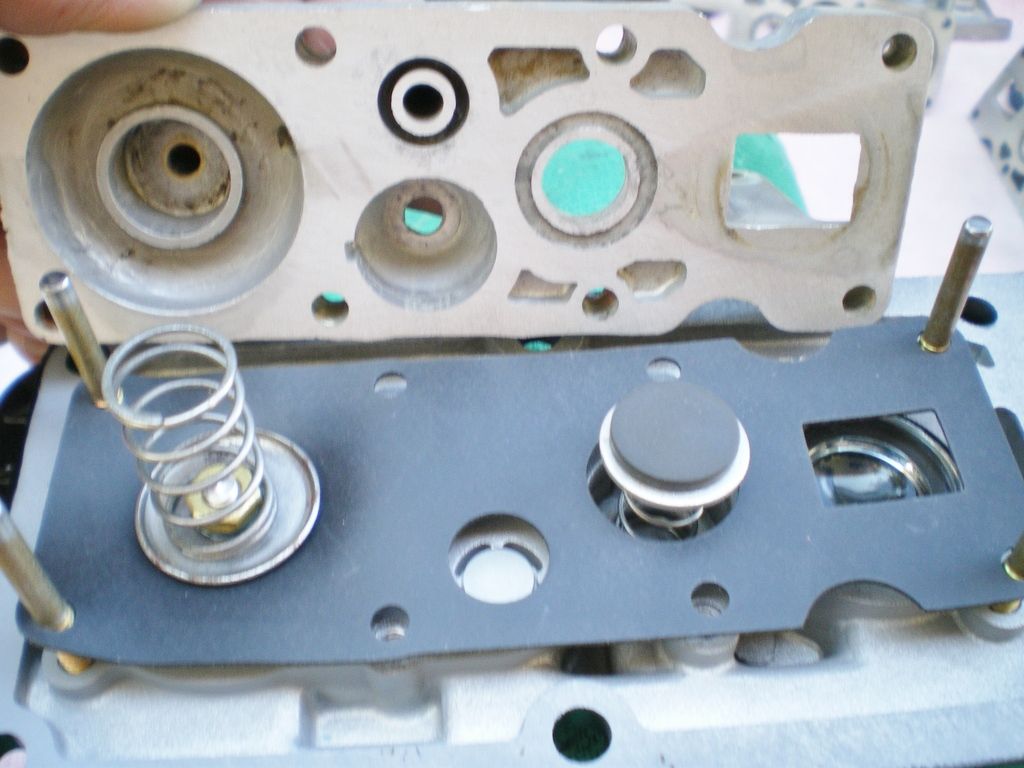
KirkMarch 5, 2017 at 3:44 am #53841No video needed. Just watch where the check valves are when you take it apart.
As for Tubs, he doesn’t run anything new enough to need a pressure tank. 😎
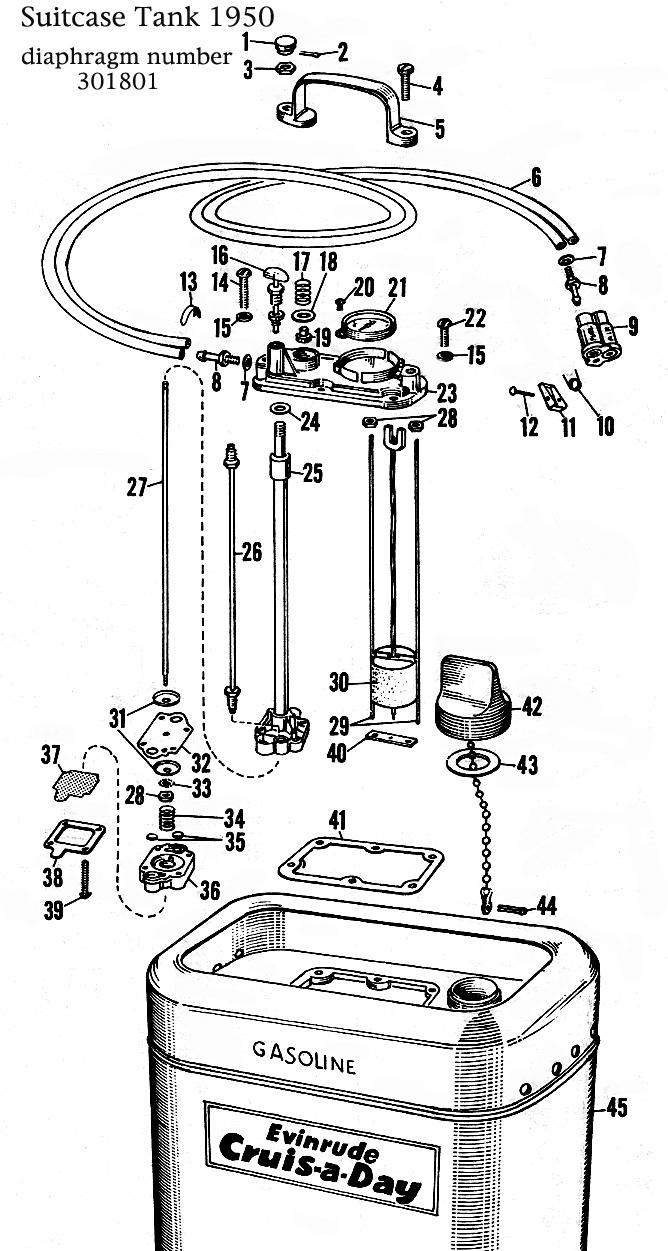
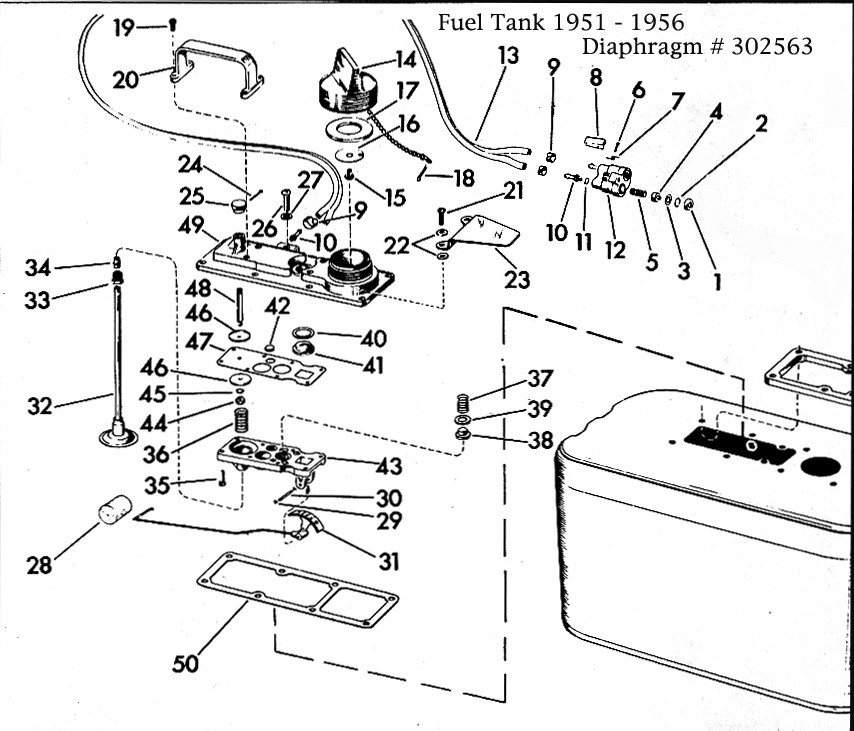
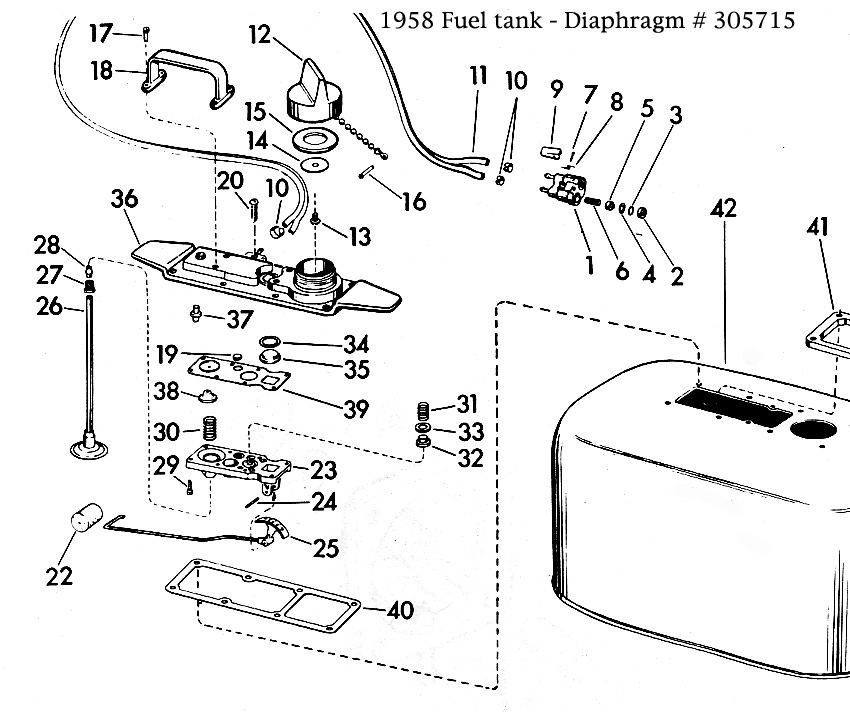
March 5, 2017 at 5:29 am #53845There were a few changes through the years. . . 😀


 March 5, 2017 at 6:54 am #53848
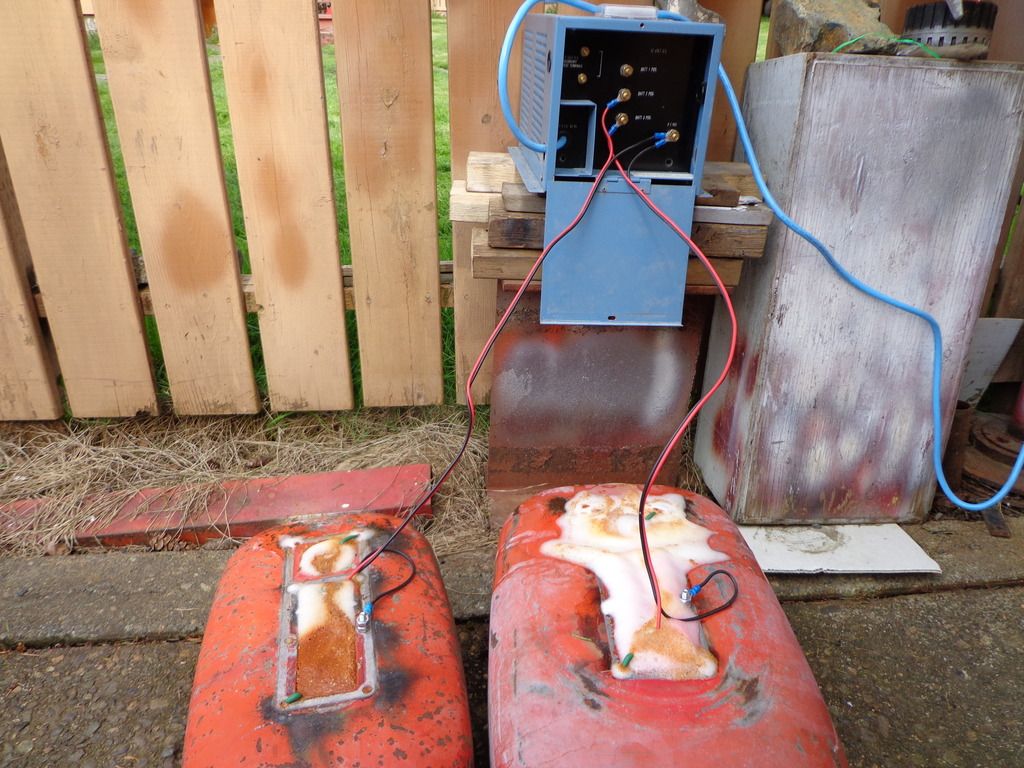
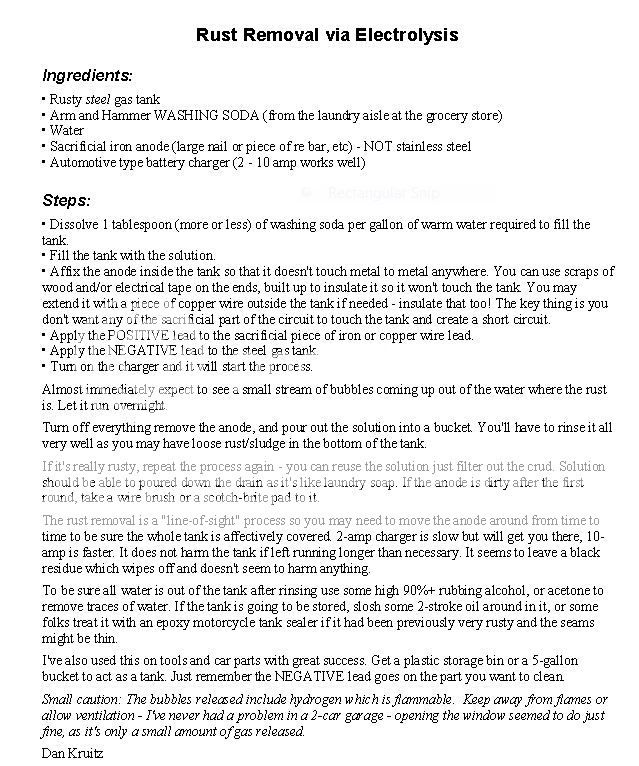
If you want to make the tank like new again, you first have to remove any rust that’s inside it. I like using electrolysis to do this.

While waiting for the paint to dry after bead blasting and doing any needed bodywork, the new diaphragm can be installed.
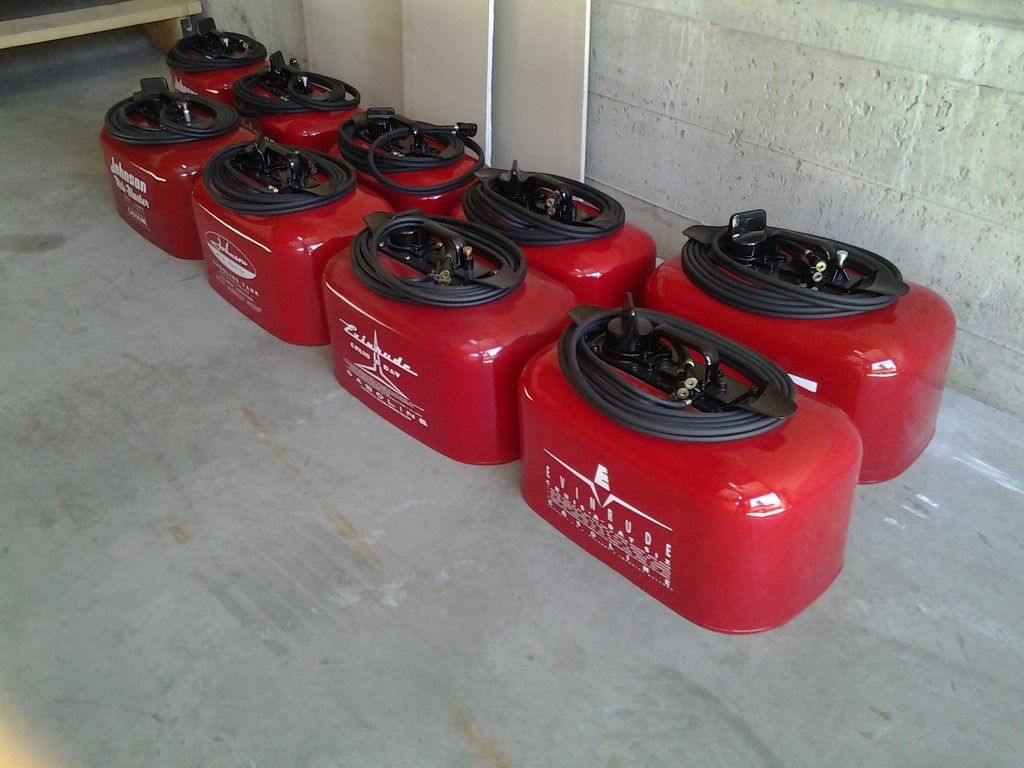
Then the decals can be applied and new hose installed and the tank should be good to go.
 March 5, 2017 at 2:02 pm #53861
Real easy to do if you pay attention as you take it apart. Usually good for 15 years or so, not something to do often
Doug
how is it motors multiply when the garage lights get
turned off?March 5, 2017 at 2:51 pm #53865quote Mumbles:If you want to make the tank like new again, you first have to remove any rust that’s inside it. I like using electrolysis to do this.I’m always blown away by the quality of your work; not only in the looks of the finished project….but also in your methods and dedication to doing things the way they should be done.
That electrolysis setup you have there intriques me. Have you done any posts describing the equipment and procedure? That looks to be a rather hefty power supply….
March 5, 2017 at 4:27 pm #53874Yup, it is straightforward but was just surprised that someone somewhere hadn’t posted something on youtube.
Mumbles, that is one impressive setup and finished product. How many you can you hook up to your power source at one time?
Garry, thanks for the images. You have so much information and knowledge accumulated I hope you never stop posting.
Next step for me is to find a source for the gasket sets.
Kirk
March 6, 2017 at 12:44 am #53907quote Seakaye12:I’m always blown away by the quality of your work; not only in the looks of the finished project….but also in your methods and dedication to doing things the way they should be done.That electrolysis setup you have there intriques me. Have you done any posts describing the equipment and procedure? That looks to be a rather hefty power supply….
Thanks Seakaye but it’s the Virgo perfectionist trait in me which keeps coming out. Doing things haywire isn’t one of my specialties. ☺
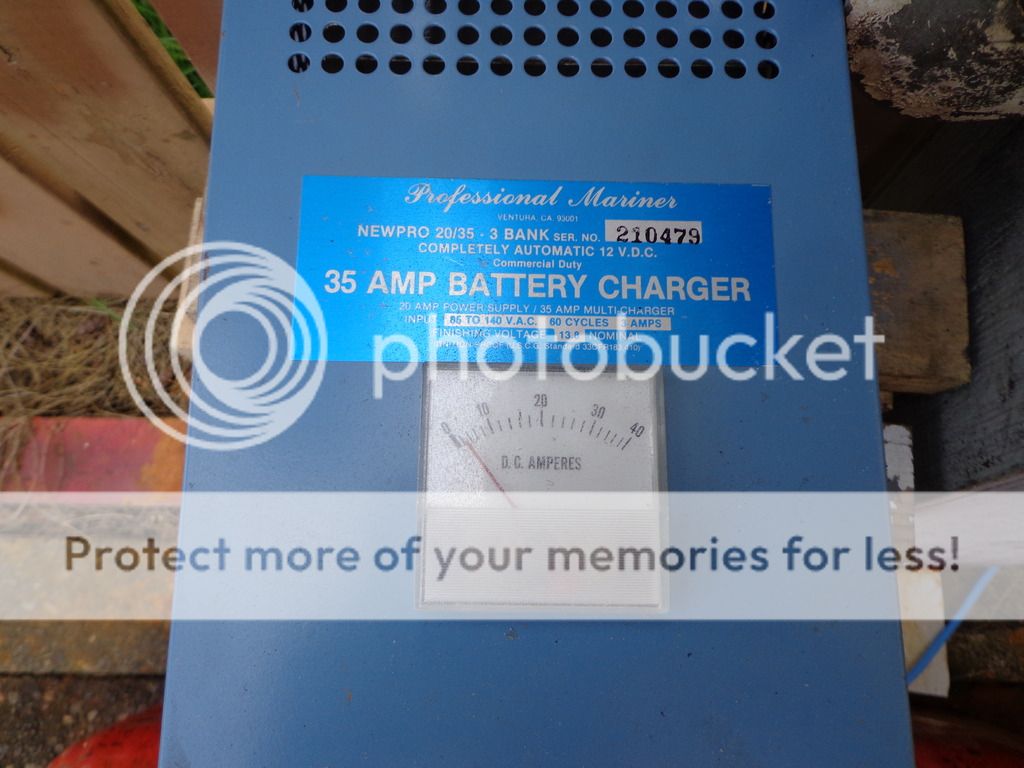
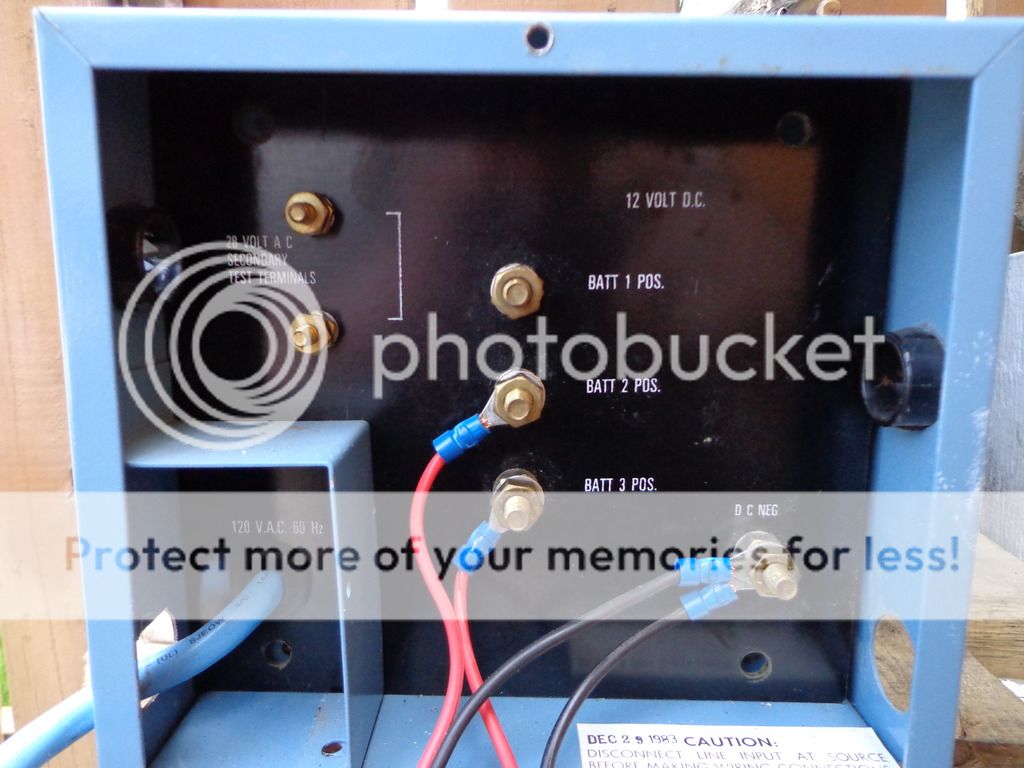
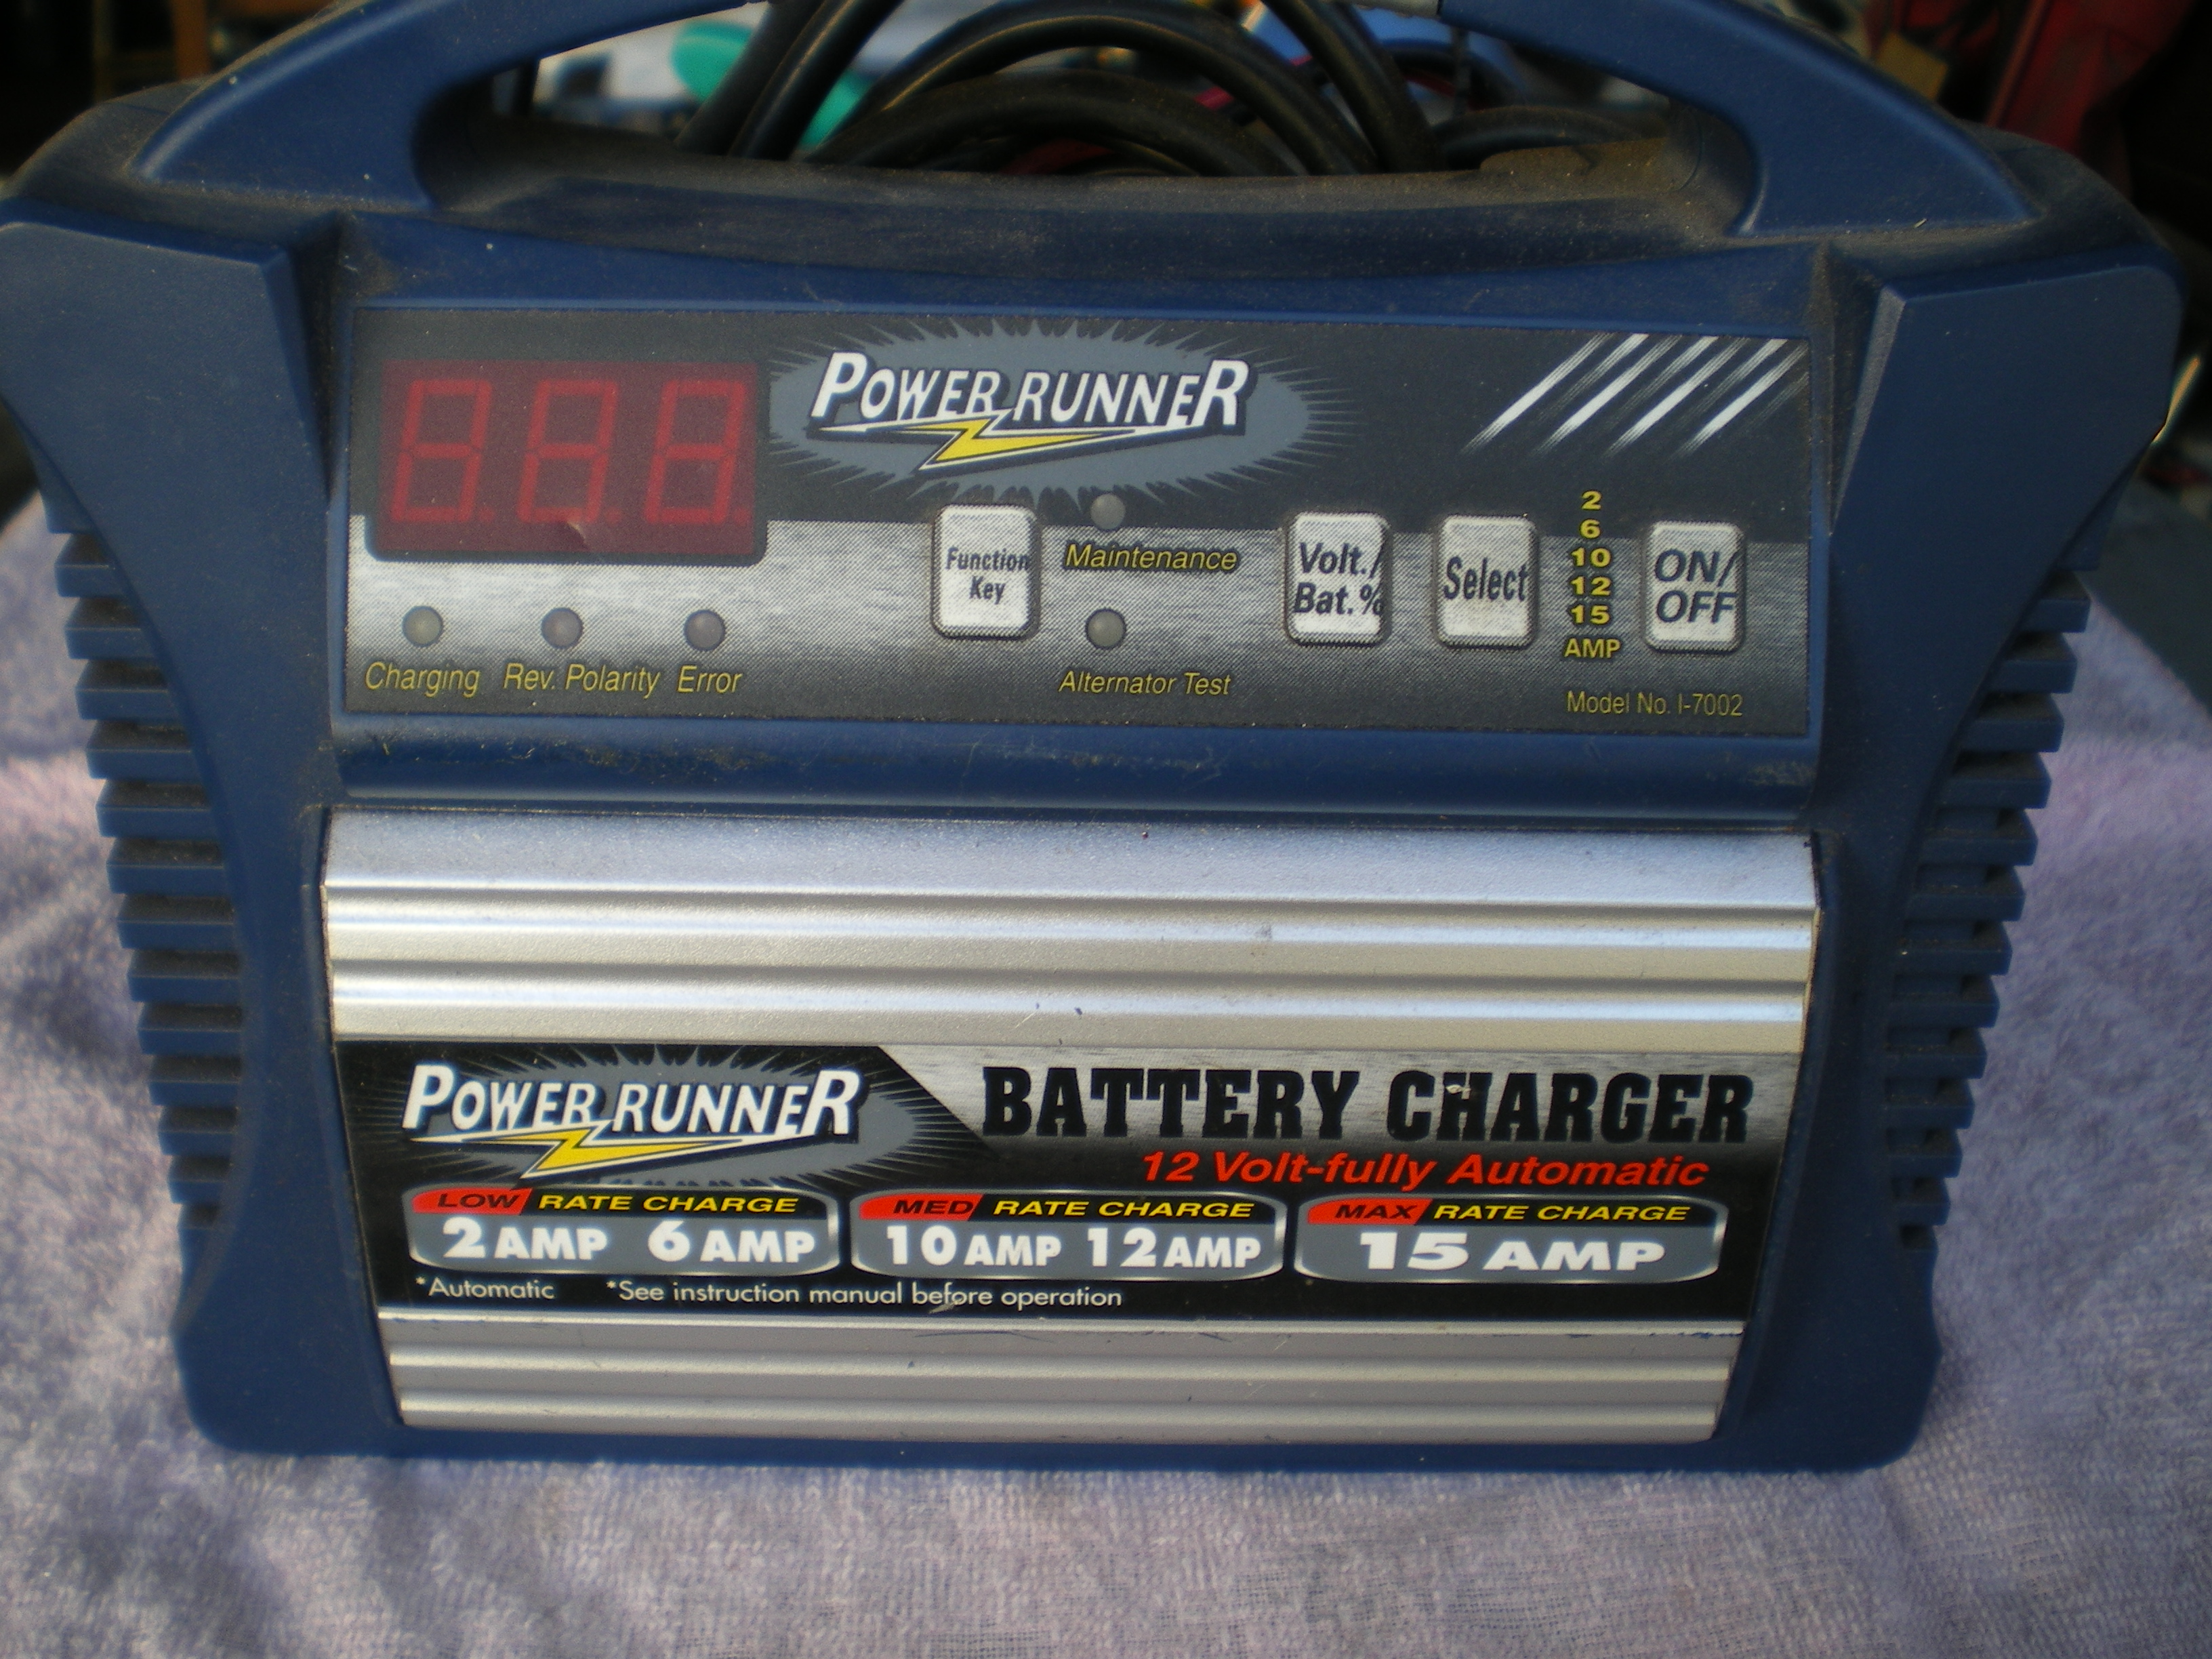
The power supply I’m using is a three bank 35 amp battery charger out of a boat. I’ve tried it using an automotive battery charger but they need to be hooked up to a battery before they’ll put out any current. Lots of boat owners are upgrading their floating palaces electronics to ‘smart’ chargers so these automatic chargers can be picked up for a reasonable price. It will cook three tanks at once quite easily so it will probably do six at once to, although it would take a bit longer. The method I’m using is the one outlined by Dan Kruitz and found in the Old Iron Reference Library.
https://www.aomci.org/members/library/index.htm

 March 6, 2017 at 2:22 am #53919
Mumbles, the process as I’ve read it and I believe others have used is like what you provided. Having to hook it up to a batter to work is the first time I’ve heard of it. Care to elaborate?
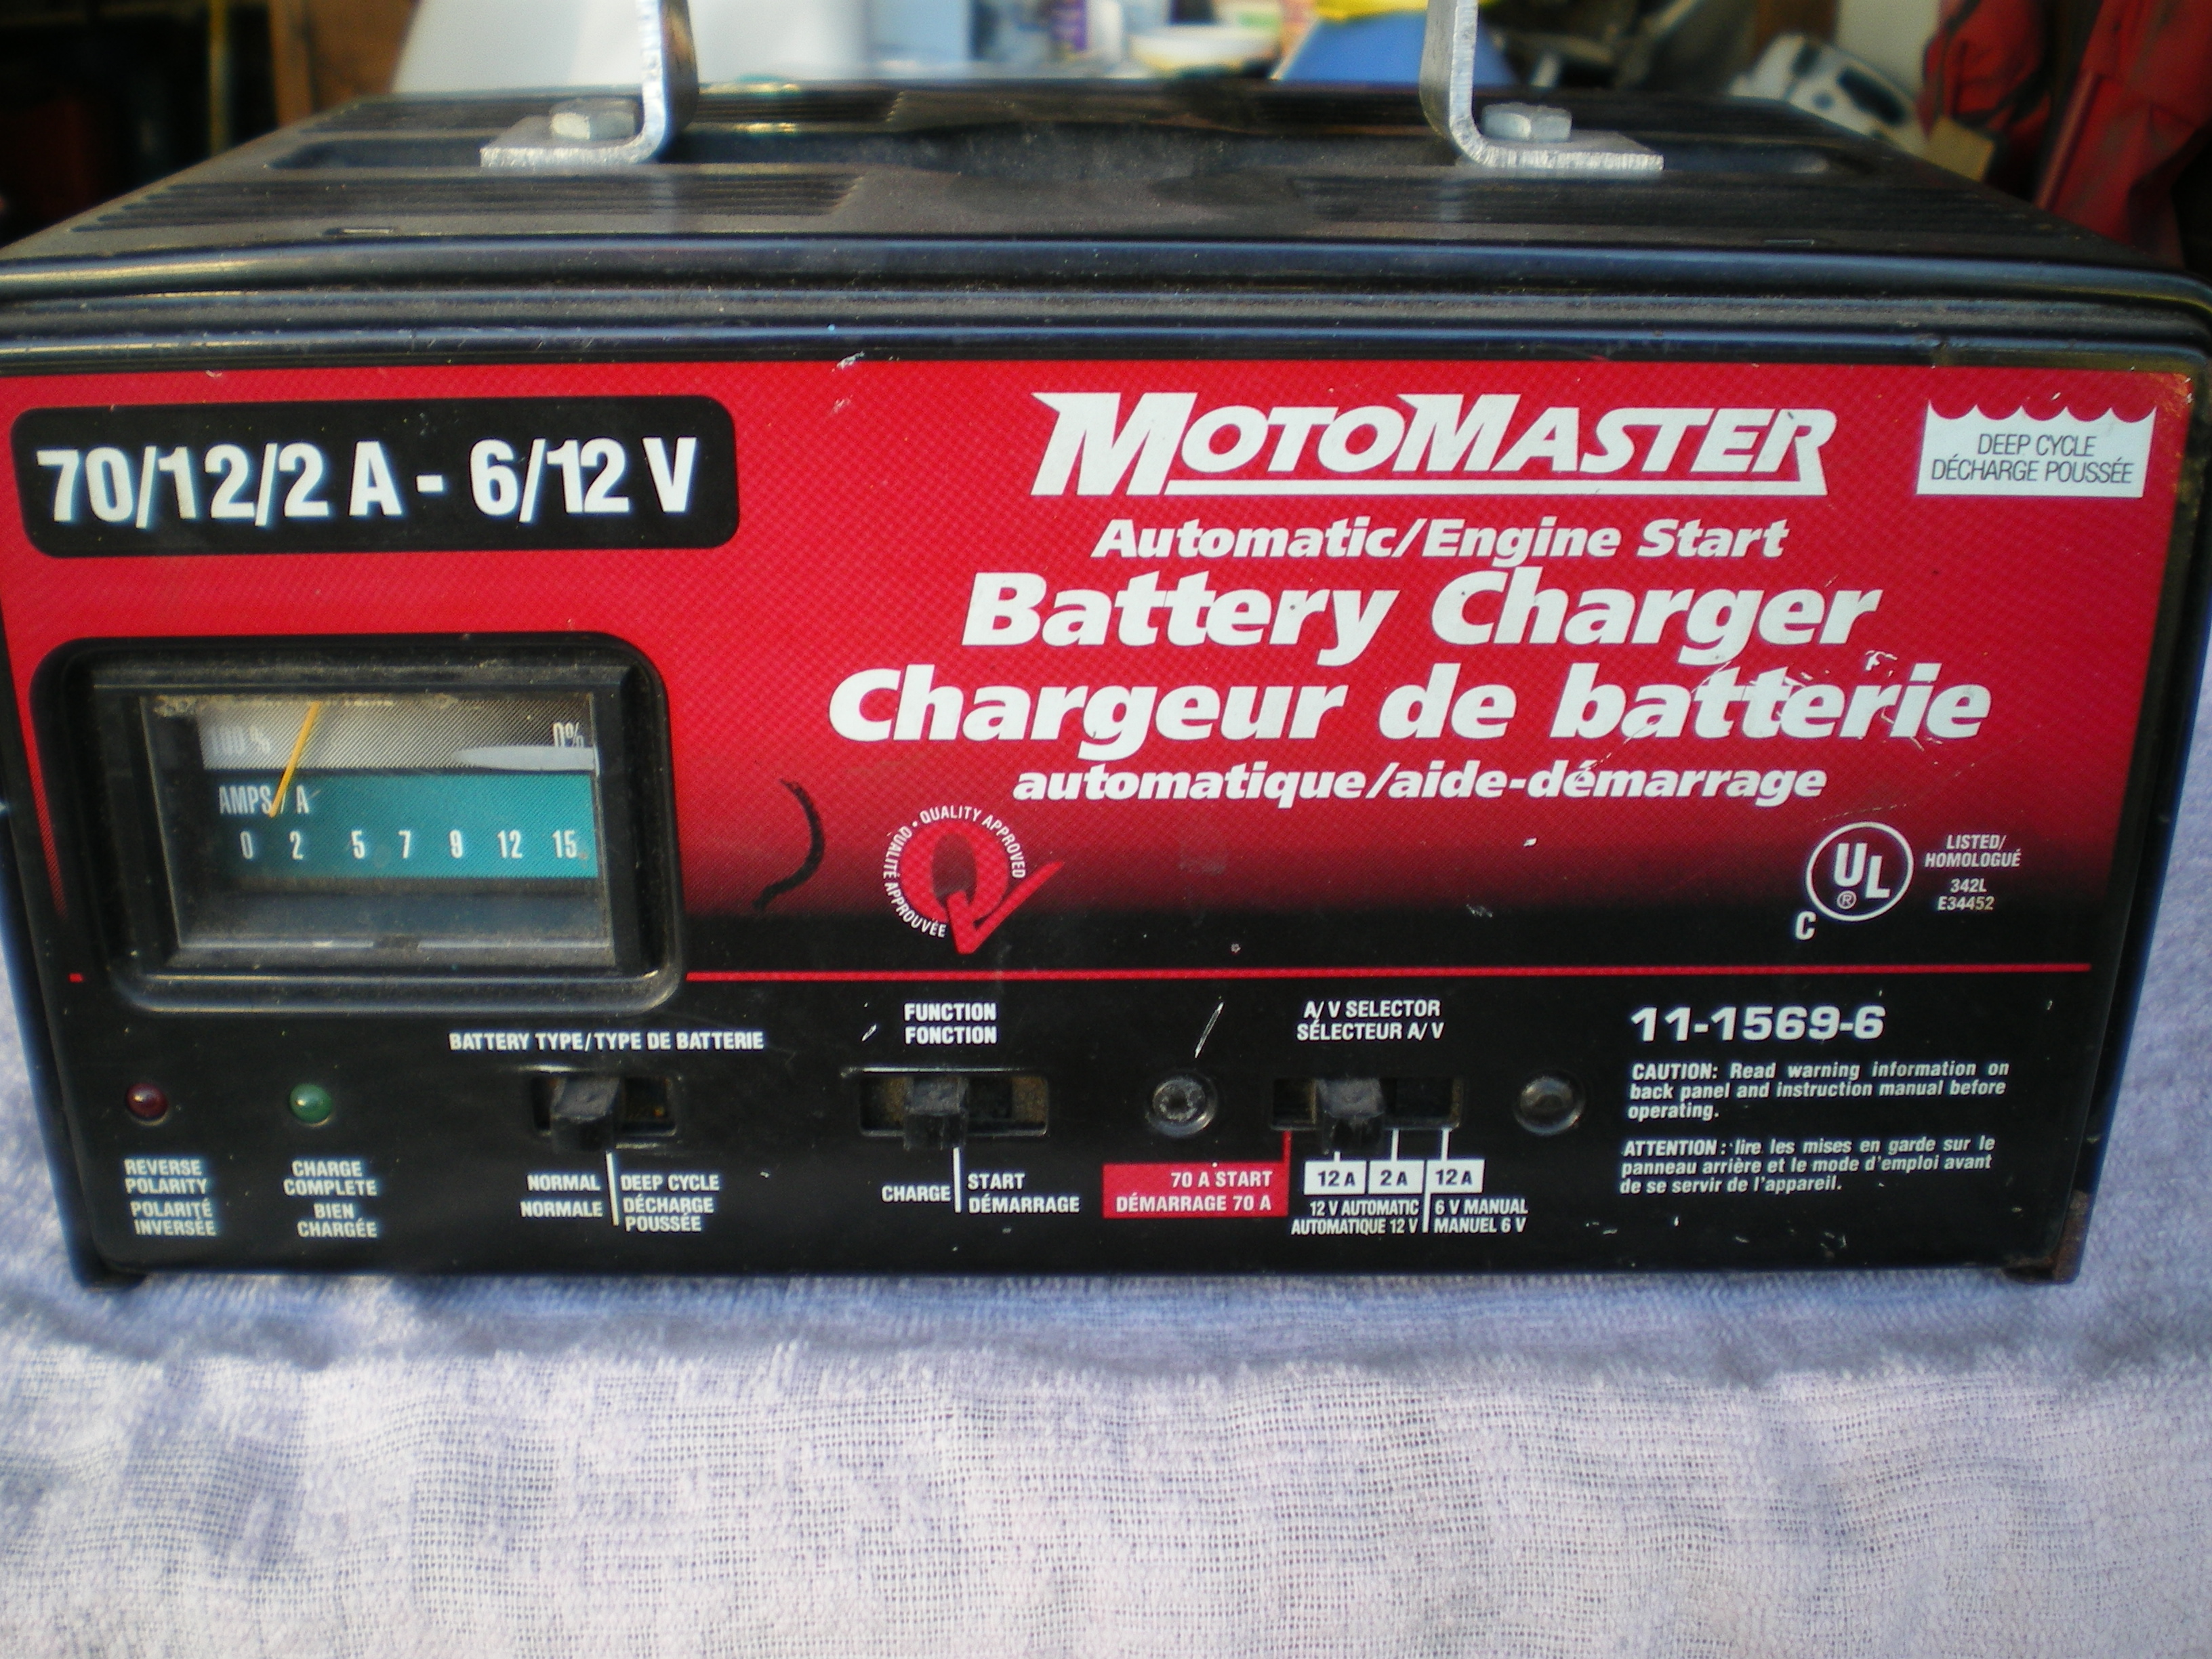
KirkMarch 6, 2017 at 3:14 am #53924The other chargers I have need to have power going in them thru the leads to excite them before they will put out any charging power thru the same leads. In other words, if I plug them in and turn them on, I can touch the leads together with no sparks or hook a voltmeter to them and it shows zero current or voltage. To cook a rusty tank with them, a battery must be hooked up to get the chargers to charge. An old six volt charger I have and the three bank marine charger are the opposite, when they are turned on, the leads are hot, just like an arc welder. It’s probably a safety thing.
The CTEK smart charger pictured here is a bit different as it has a supply mode which puts out a constant voltage and could possibly be used to clean a tank.
Attachments:

-
AuthorPosts
- You must be logged in to reply to this topic.