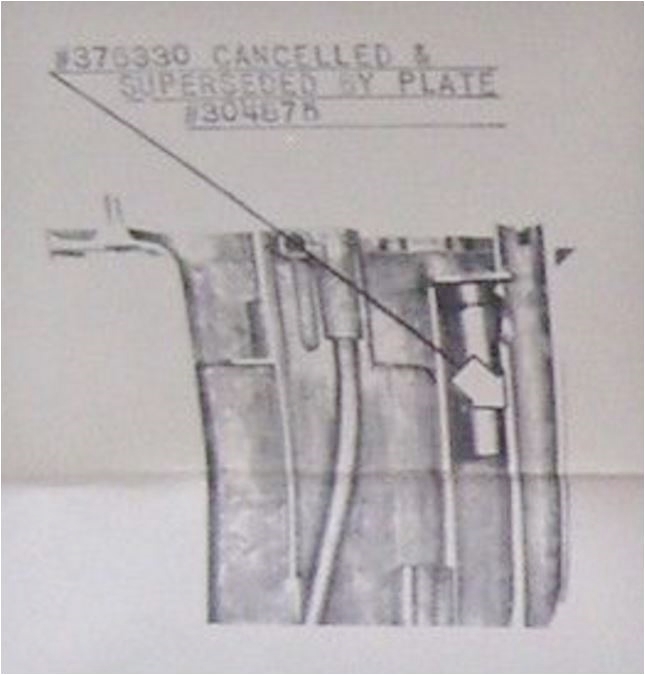
Home › Forum › Ask A Member › RDE-18 powerhead to exhaust plate/gaskets
- This topic has 62 replies, 13 voices, and was last updated 5 years, 10 months ago by
 outboardnut.
-
AuthorPosts
-
February 7, 2017 at 3:45 pm #52585
I would not do steps 5 and 8. I do not see any reason to drill into the water tube.
February 7, 2017 at 4:40 pm #52590It was thought to cool the exhaust on motors pushing a heavy load. On a light boat the exhaust is so efficient on those models that the exhaust cavity runs at negative pressure. This pulls water from the normal outlet and makes you think it’s not pumping. I sold quite a few after market overheat warning light kits to concerned customers. They bolted to the cylinder head and included a push button to check the batteries (two "D" cells) The sending unit could be tested in a pan of heated water. It was supposed the turn on over 190 degrees F. Thermostat equiped two cycle outboards run around 150 to160 degrees F. . . 🙂

 February 7, 2017 at 7:30 pm #52603
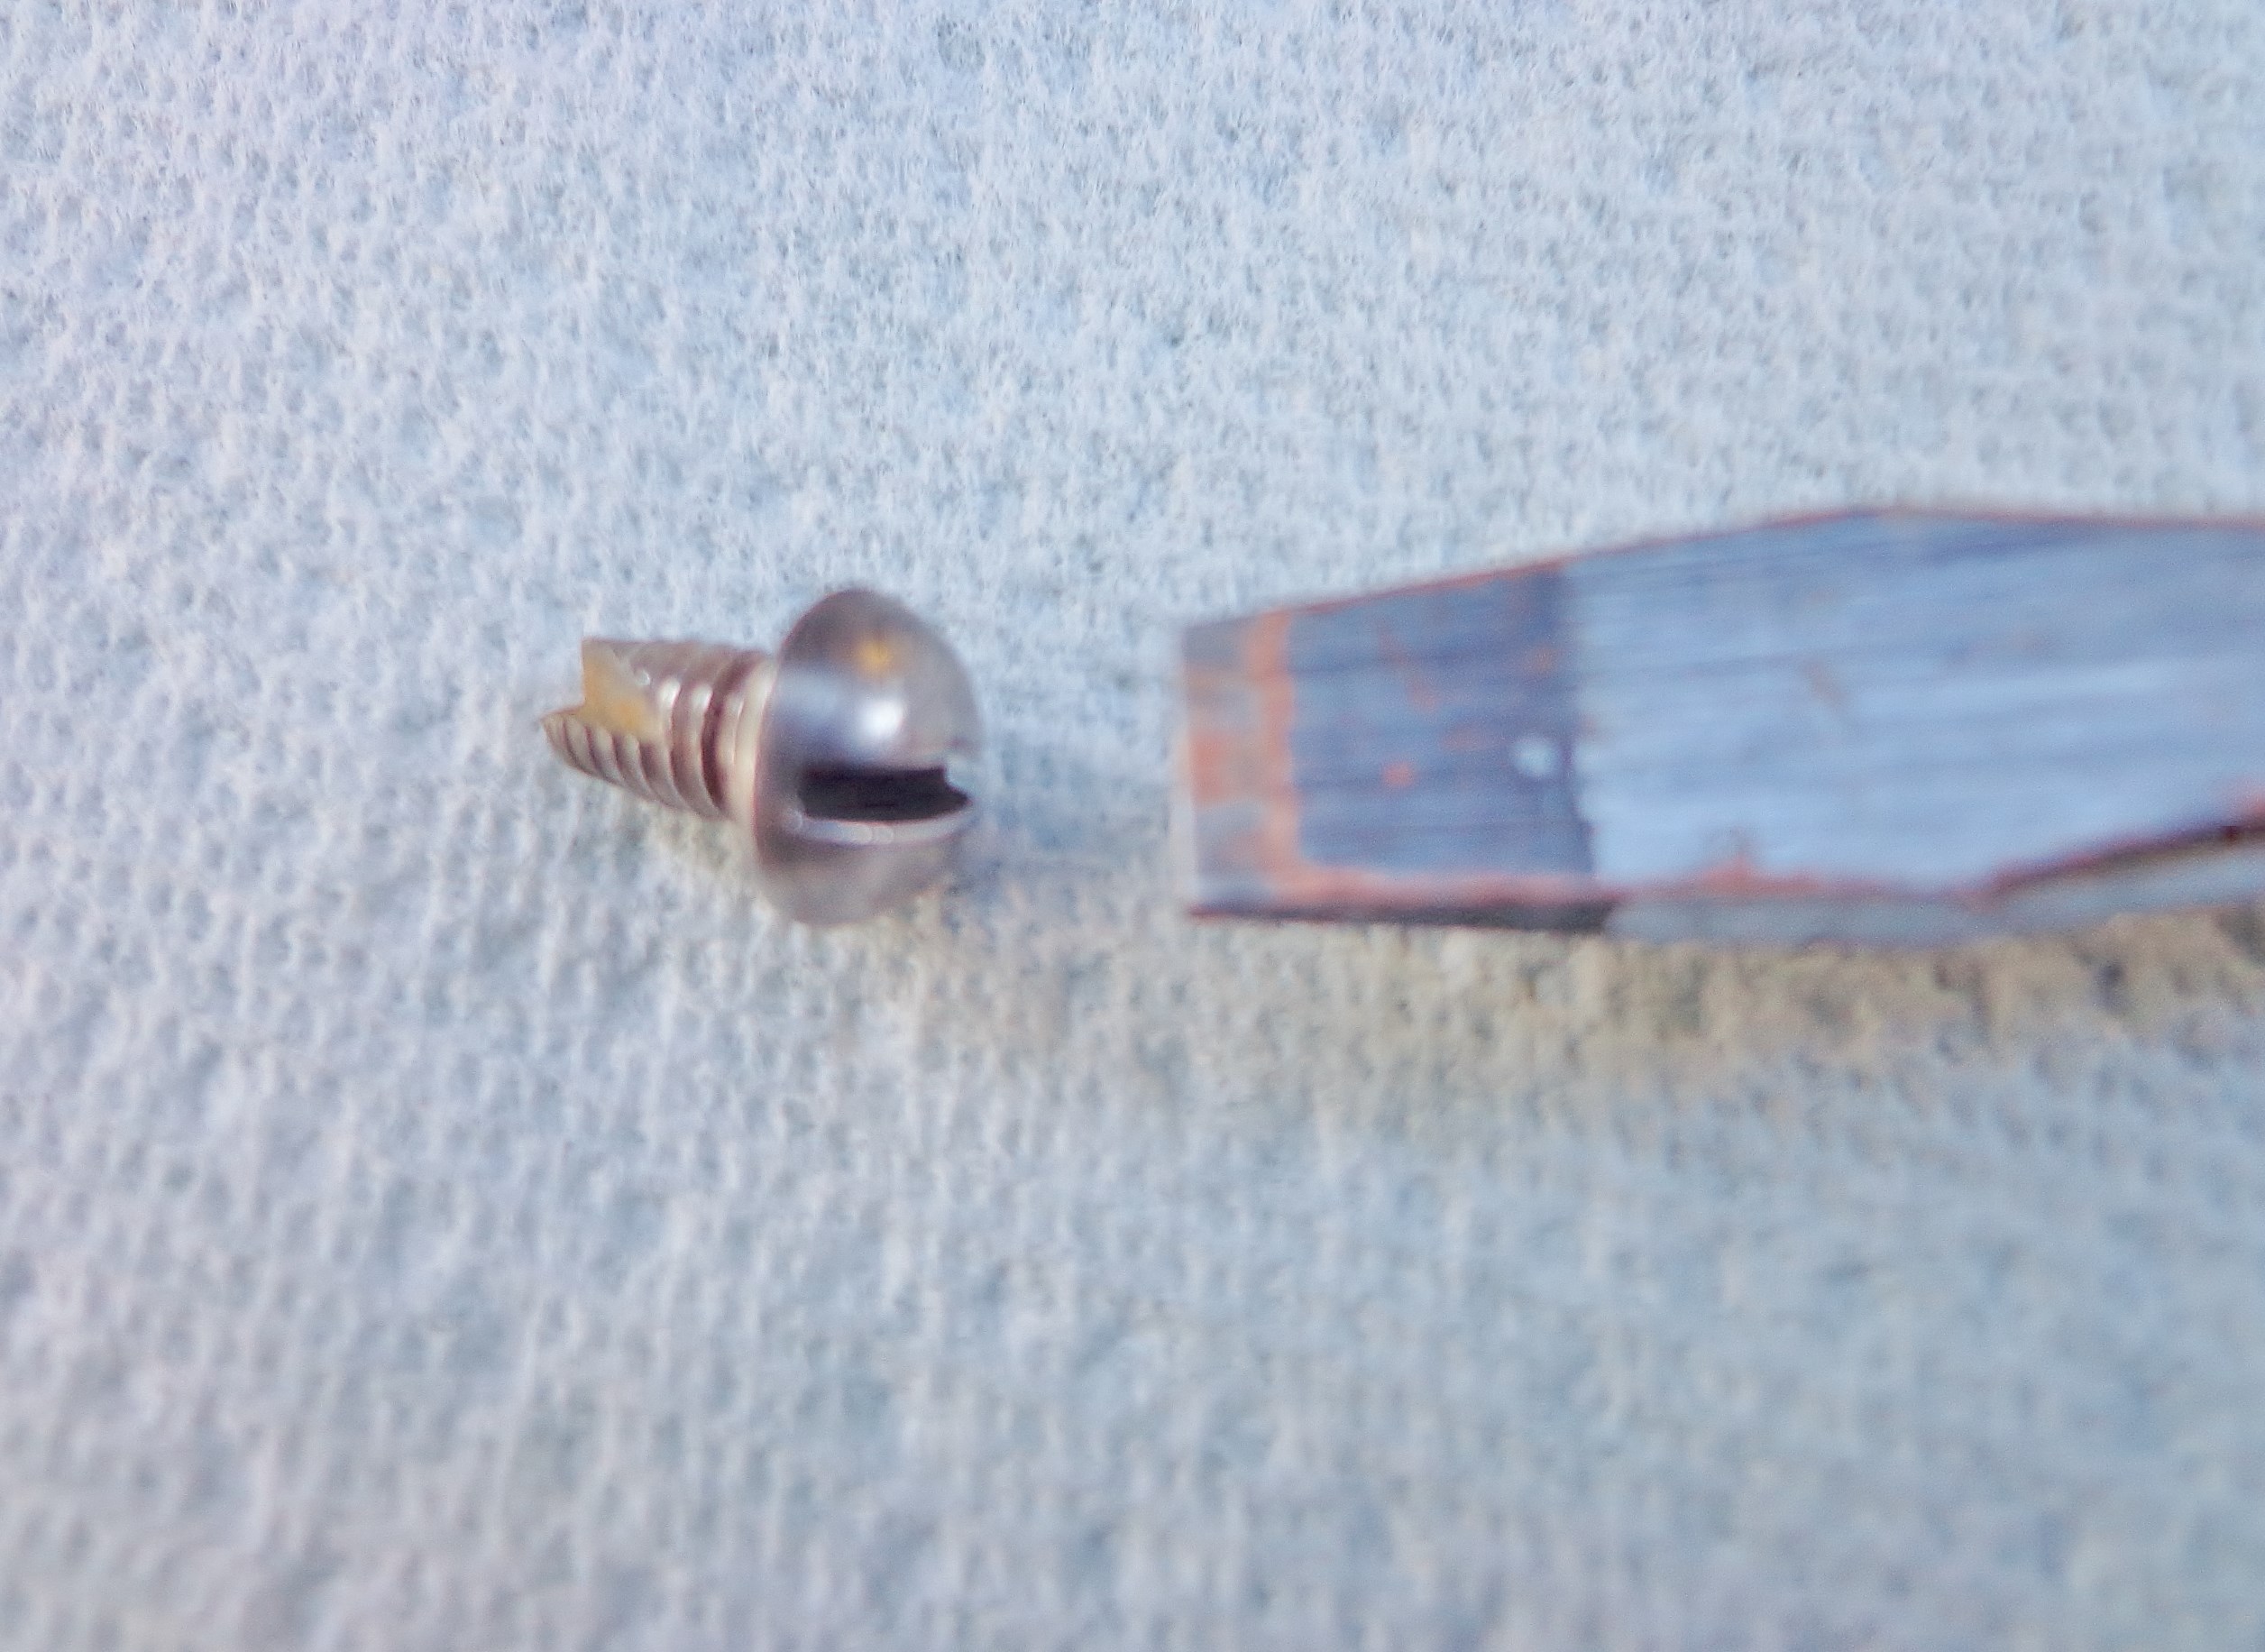
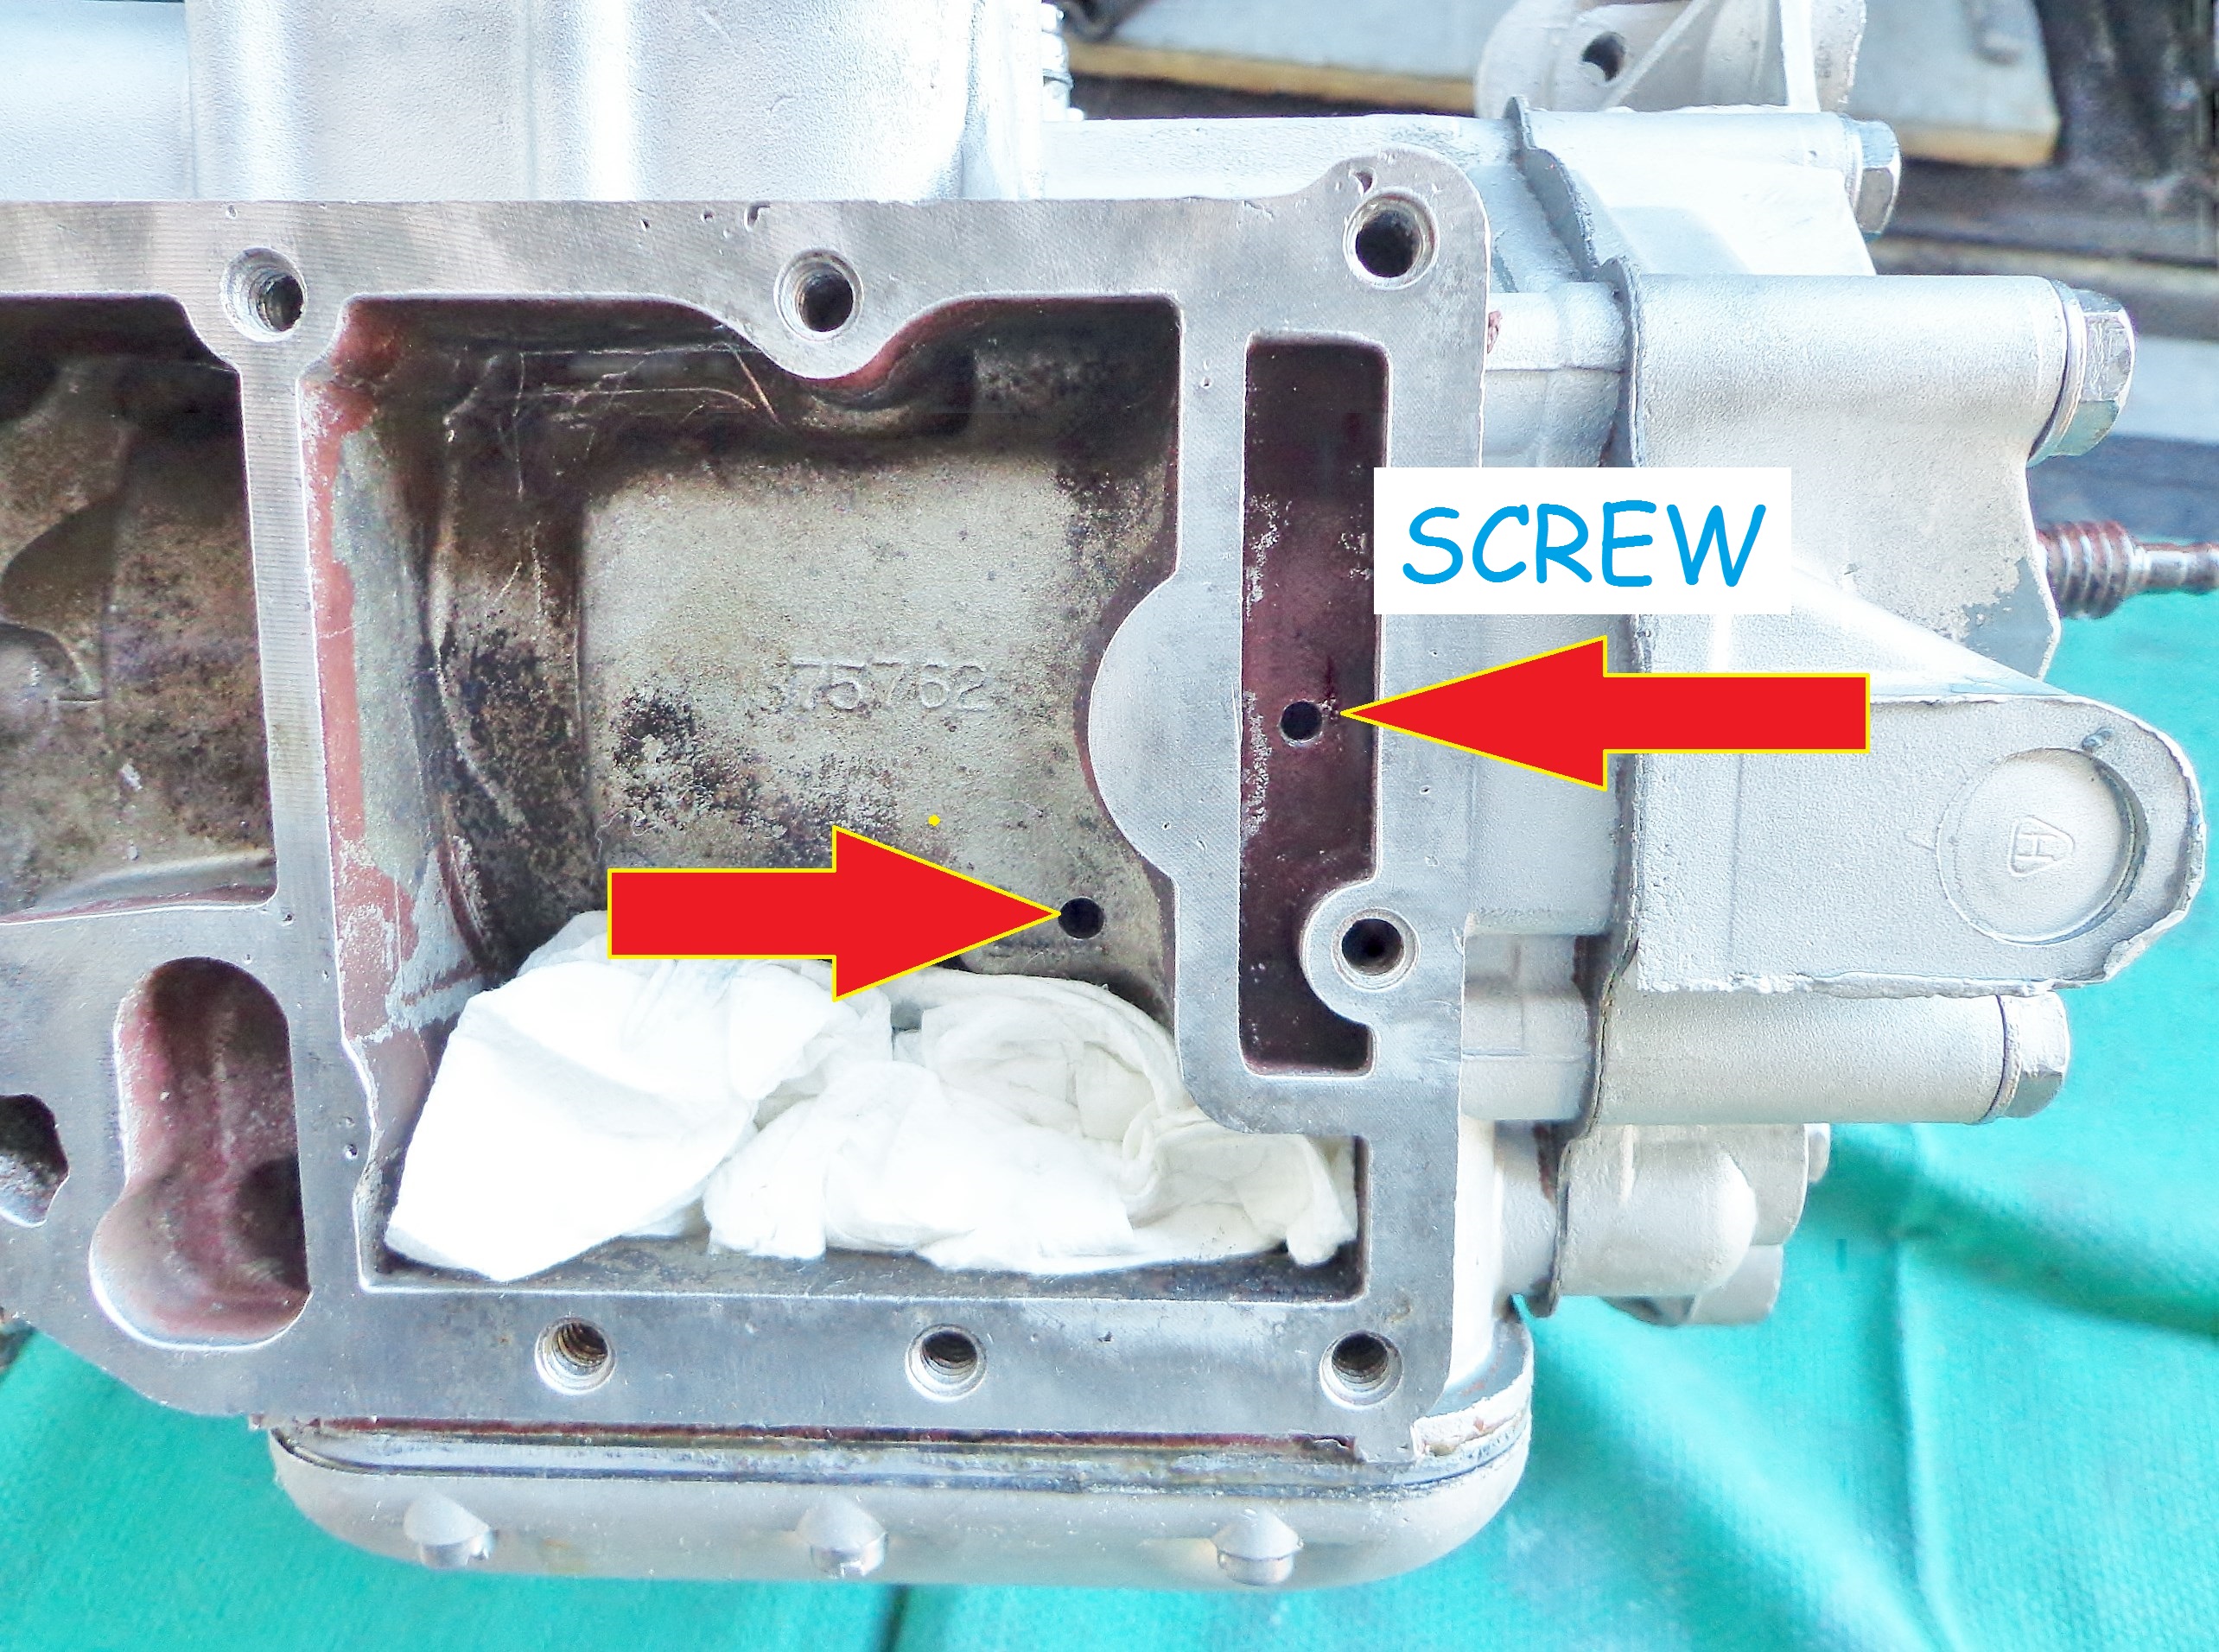
Someone mention ’55 Big Twin? Trying not to get off topic but my ’55 Big Twin has a self tapping screw in the #1 position in Richards photo. While rebuilding the motor a few years ago, I asked about it on the Green Boards and a very knowledgeable member had the answer taken from a service bulletin. All I can remember is the screw was there for a reason so back in it went. There is no plug in the #2 position either or a baffle plate below the powerhead. What he did explain was it had to do with what letters were stamped on top of the block back at the factory. Mine has ‘AE’ stamped on it so it fell into the category requiring the screw. I’m guessing there are at least two different versions of the blocks even though they are from the same year. I sure wish I had saved that thread now.
Attachments:

 February 7, 2017 at 8:33 pm #52607
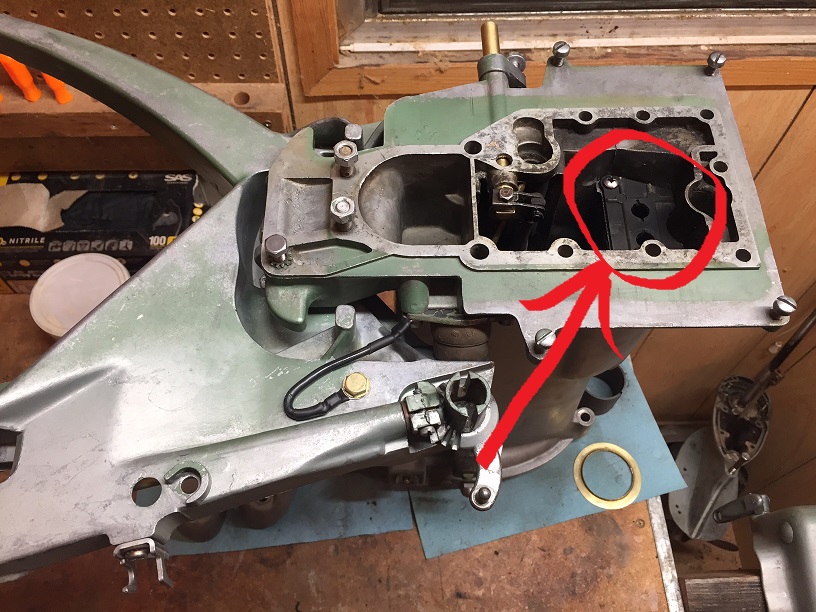
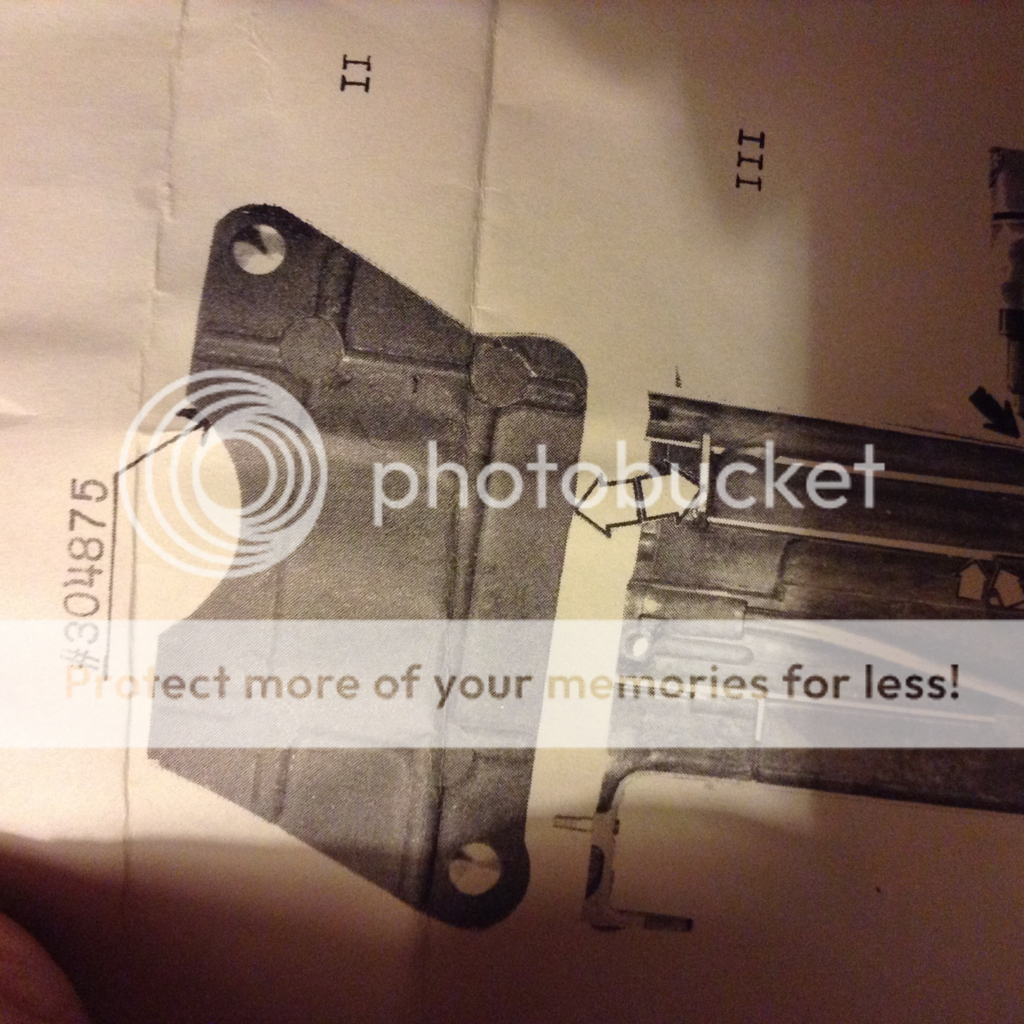
Mine also has the AE stamp, now is this the baffle plate you are referring to?
http://www.richardsoutboardtools.com
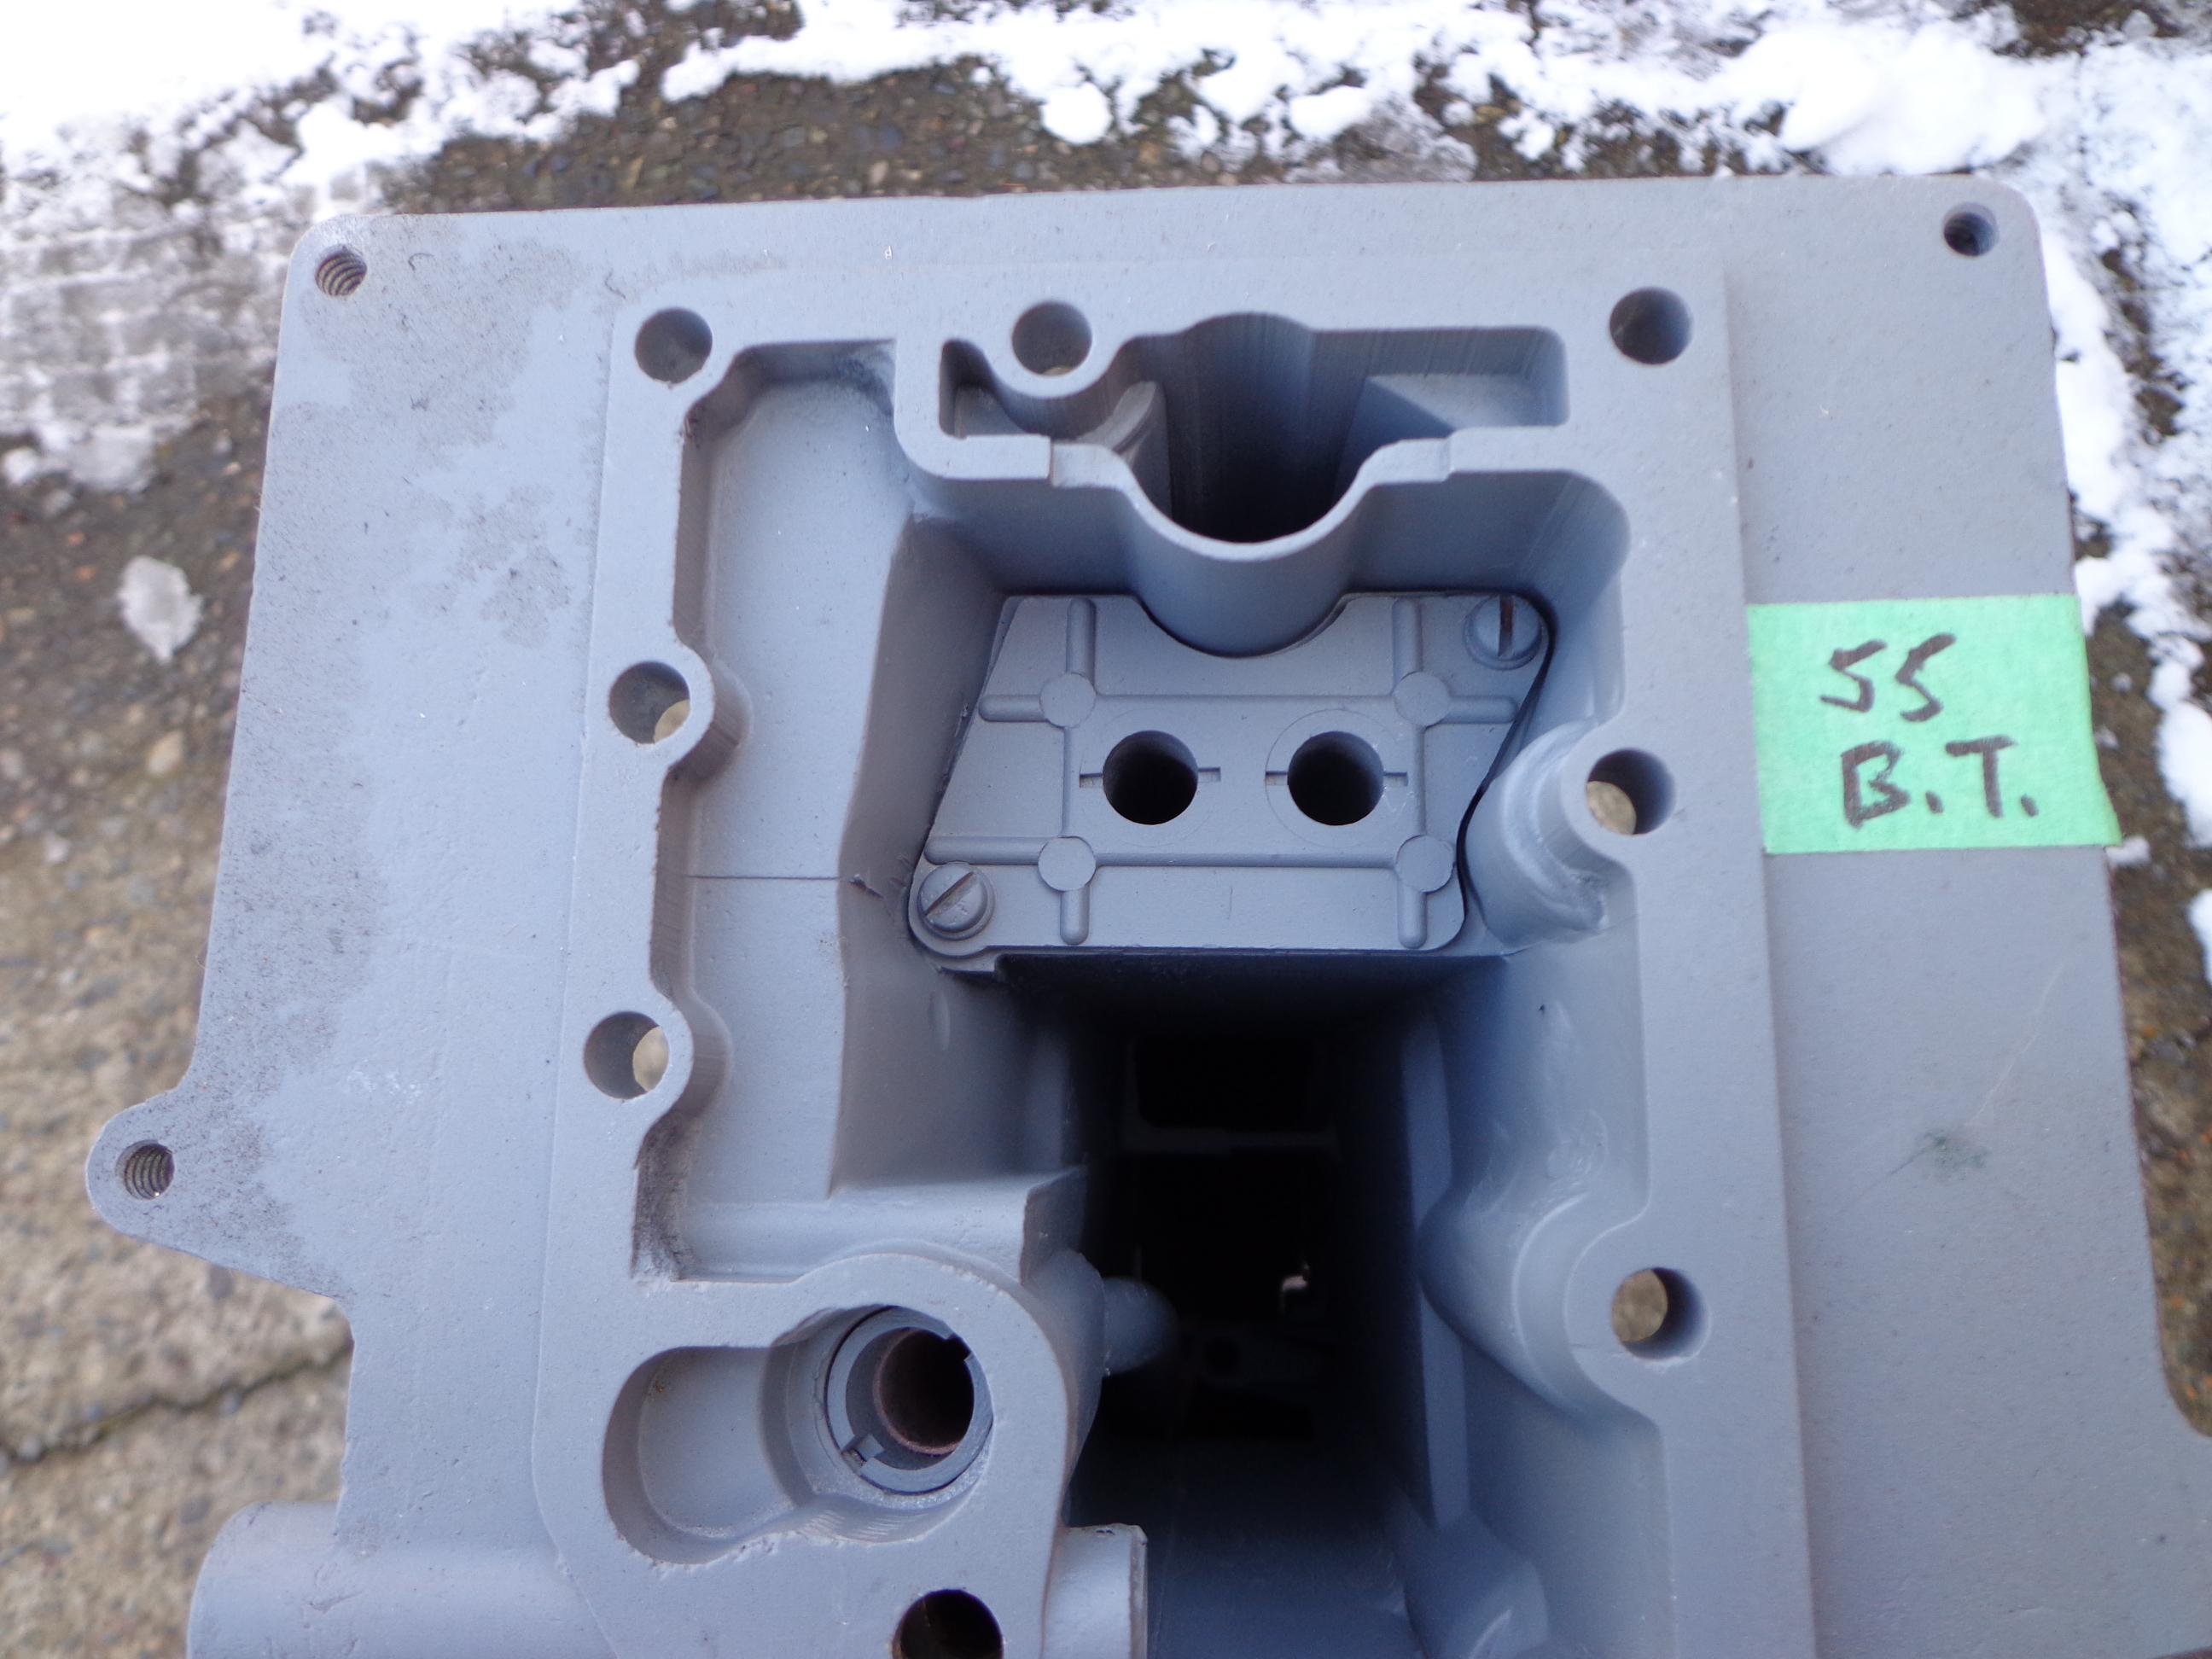
classicomctools@gmail.comFebruary 7, 2017 at 10:01 pm #52614No, I meant the large baffle plate as found on the ’56 models. I just went out to the fridge to check the 55’s exhaust housing and it has the same small baffle plate with the tubes as your motor does.
Attachments:
 February 8, 2017 at 4:28 pm #52645
Ok now I am starting to get confused. The baffle plate I was refering to was the one that goes on top of the exhaust housing and below the power head. It is sandwiched between two identical gaskets. My understanding was that is the one that was omitted and then the one with the two tubes was to be replaced by a solid plate. Am I understanding this correctly?
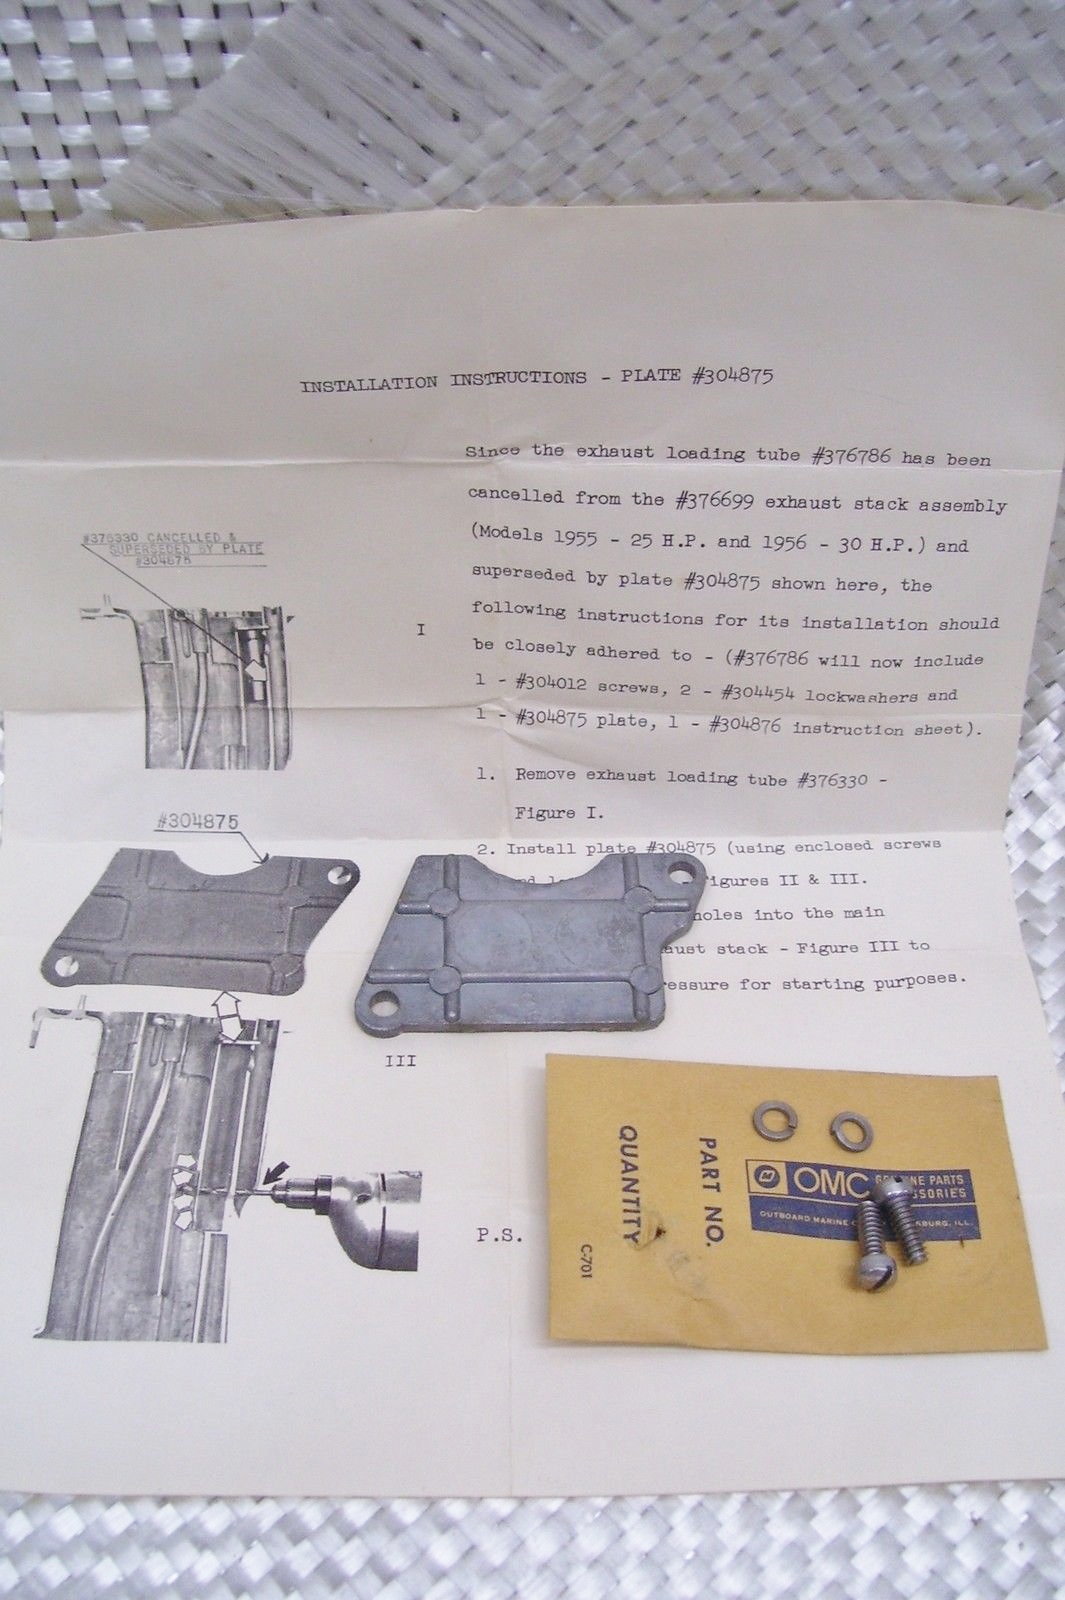
February 8, 2017 at 4:37 pm #52646Better late than never on a subject! Just bought a kit off Ebay that might shed a little light on this subject. I haven’t received it yet, but should be here today. Hope you guys can make something out of it. I have 4 of these engines, but don’t have one tore down at the moment. Read & enjoy.
http://cgi.ebay.com/ws/eBayISAPI.dll?Vi … K:MEAFB:IT
Dan in TN
February 8, 2017 at 5:10 pm #52649Thanks Dan. That explains a lot! 😀
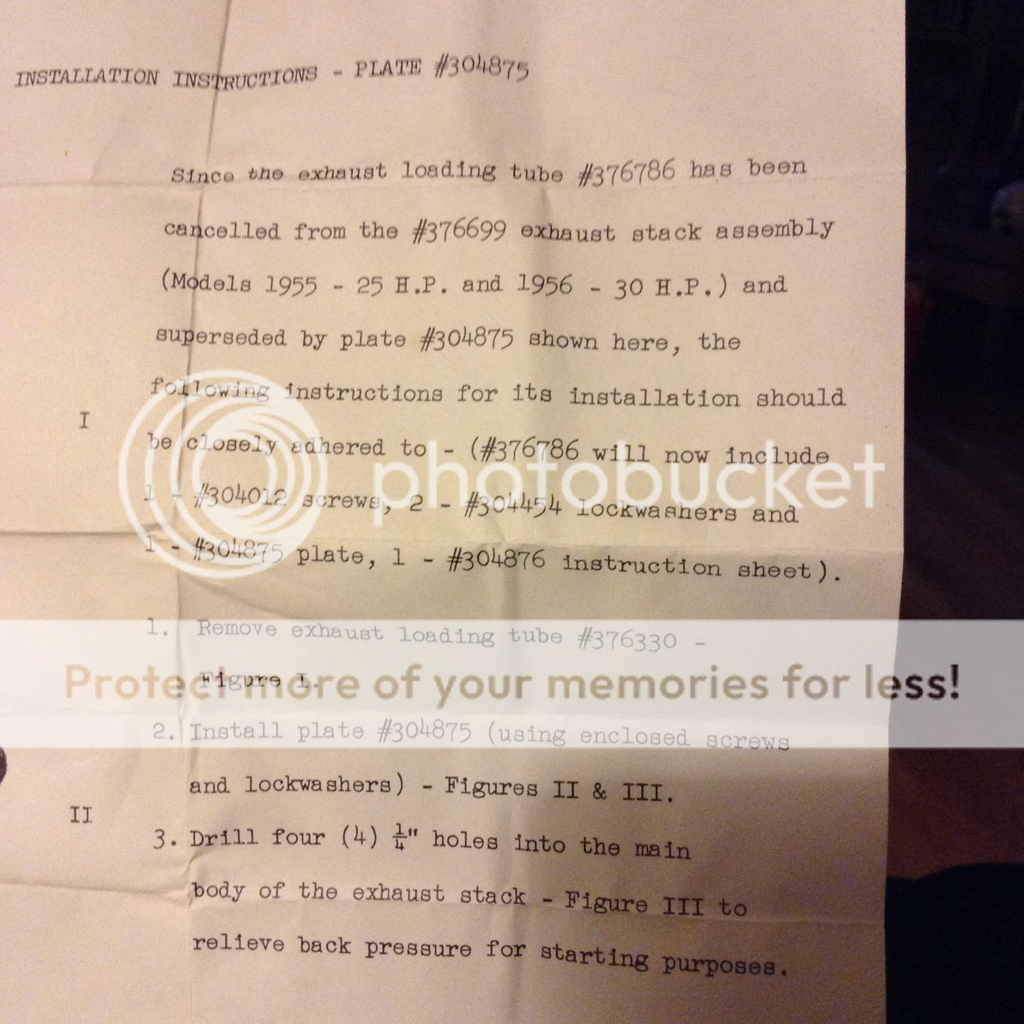
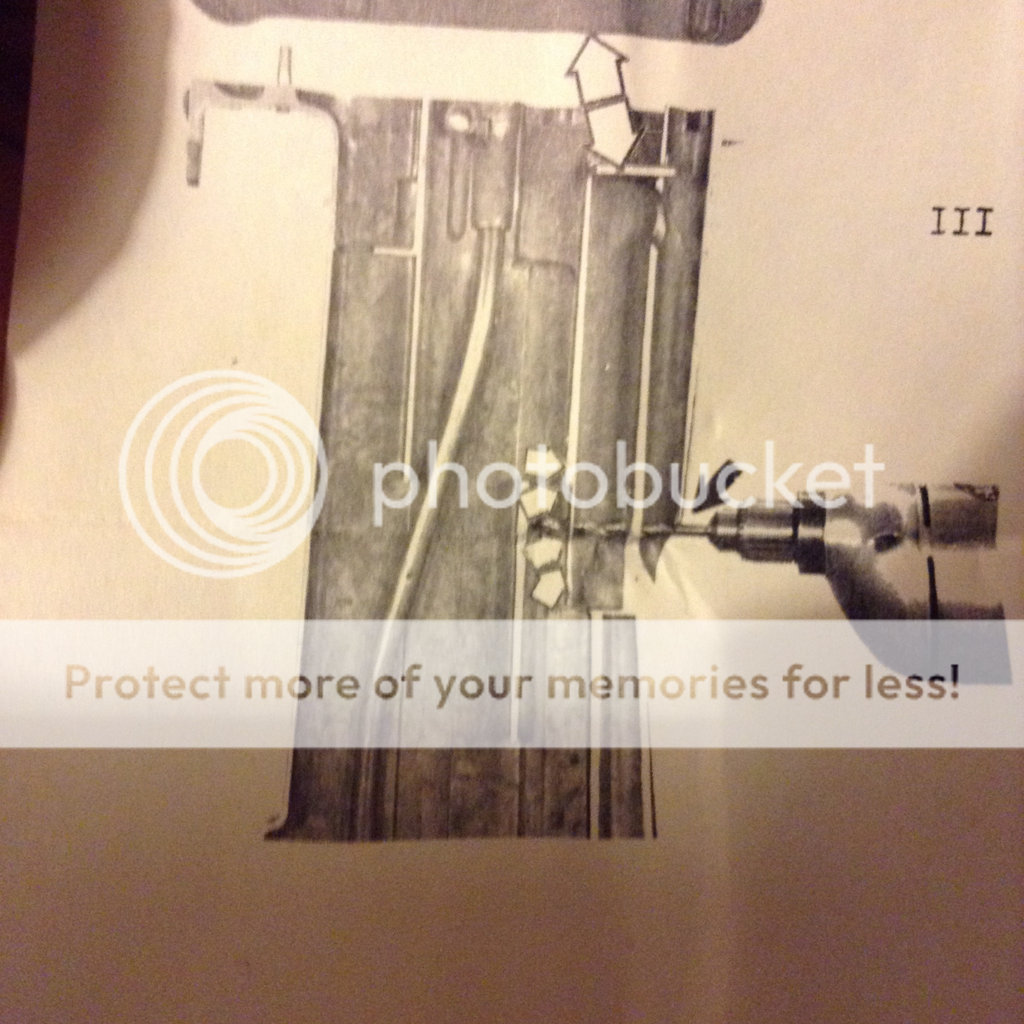
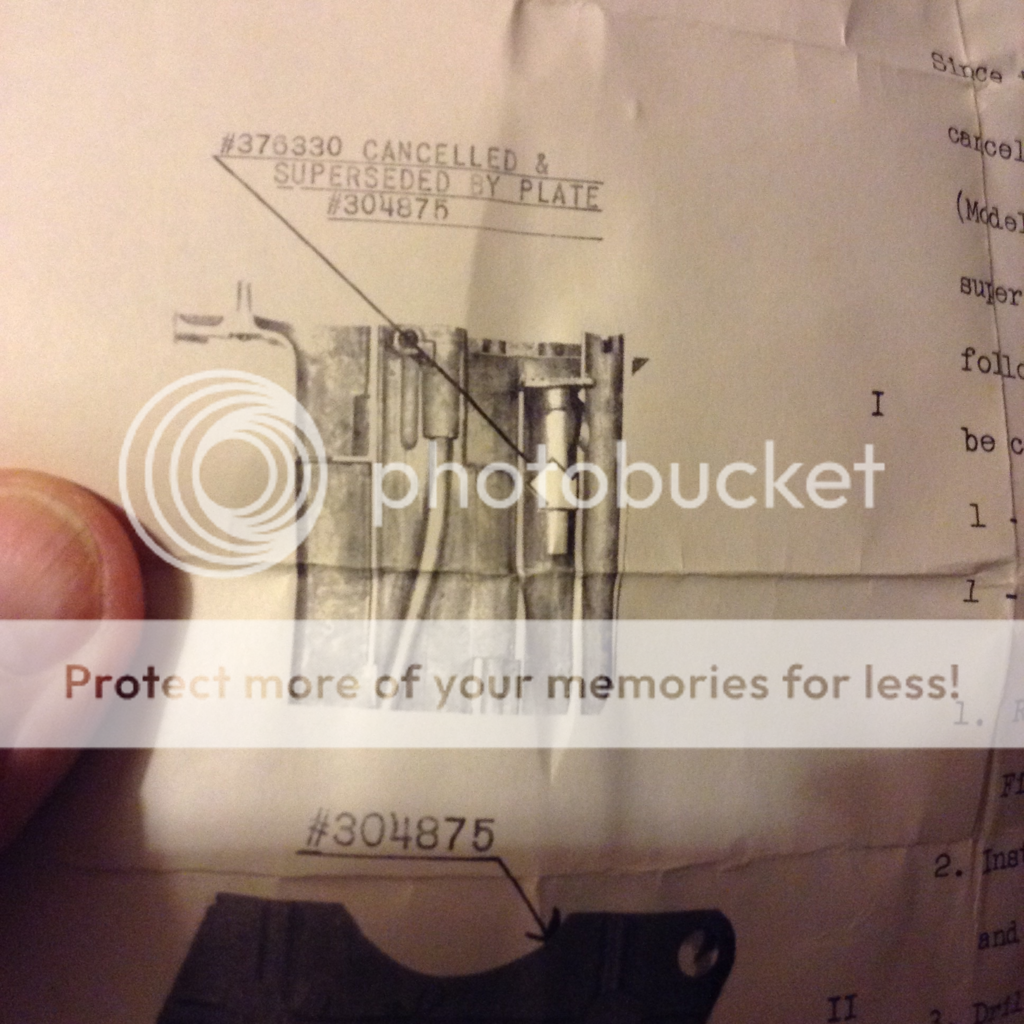
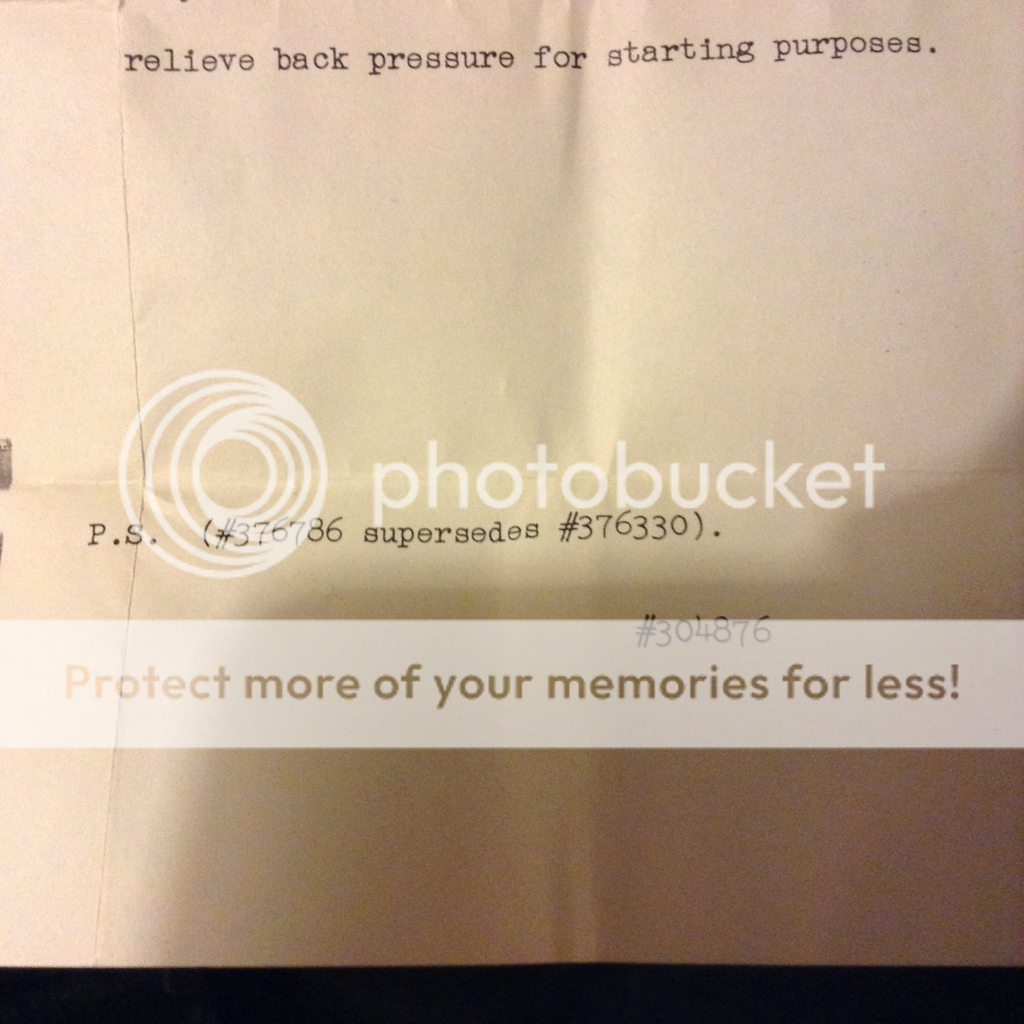
So it’s an upgrade to replace the loading tubes with a flat plate and drill new holes for the idle relief on the ’55 and ’56 models? That’s easy enough.
Attachments:
 February 8, 2017 at 5:17 pm #52650
Could you please post step 2 and subsequent in those instructions when you receive them? Looks like the number of holes and location is different.
February 10, 2017 at 1:08 am #52712Dan in TN provided better photos of the kit above (Kit 376786):
Where I think we are with this:
RD18: Use carbon seal on lower crankshaft bearing
RD18: remove the large baffle – reason – it was not used on RD19, or maybe because OMC went back to carbon seal on lower crankshaft bearing. Disadvantage – the large baffle deflects hot exhaust away from the exhaust leg. May cook paint on the port upper side. I am not going to use the large baffle on mine.
RD18: replace the small tube plate with a solid plate. Likely this was to prevent water from flowing up towards the powerhead when the pressure in the exhaust varied.
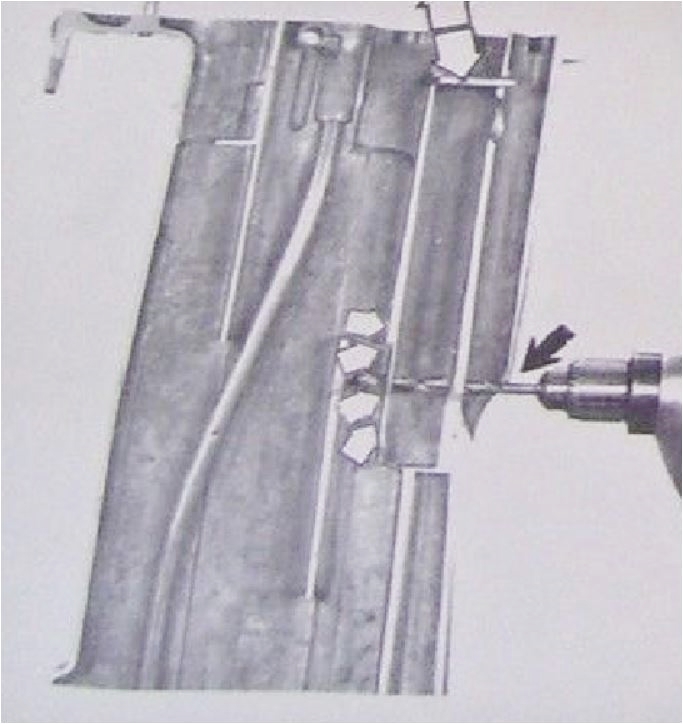
RD18: Drill thru poop hole. Then drill four holes thru the next cavity boundary. This is not easy. I will probably drill undersize and file to make a single oblong opening.RD17: Use carbon seal on lower crankshaft bearing.
RD17: Cut 2 inch opening in pan so carb gets more air.
RD17: IF the water outlet is a 1/8 inch hole in the first cavity, do same as for RD18. If not I think this is sticky. The first kit in this thread plugs water outlet openings in other locations and then drills a 1/8 inch hole so the water outlet is in the same place as RD18. Discussed briefly with Dan in TN. Dan thinks that the outlet should be moved. Mumbles remembers a problem. If outlets are not moved but the solid plate was used, outlet water would splash directly against the solid plate and maybe up to the powerhead. Maybe it would be better not use the small solid plate or do the drilling, but put together without the large baffle plate and just put the small tube plate back in. It is an original 1955 setup. Billy J describes it above. -
AuthorPosts


- You must be logged in to reply to this topic.